

Introduction
I’ve seen reports about problems with PXE boot specifically related to the boot images not getting properly upgraded during the upgrade to Service Pack 1, and I came across this problem yesterday, the suggested fix’s published by others online however did not resolve the problem I had therefore I decided to post this in case others run into the issue.
Symptoms of the problem
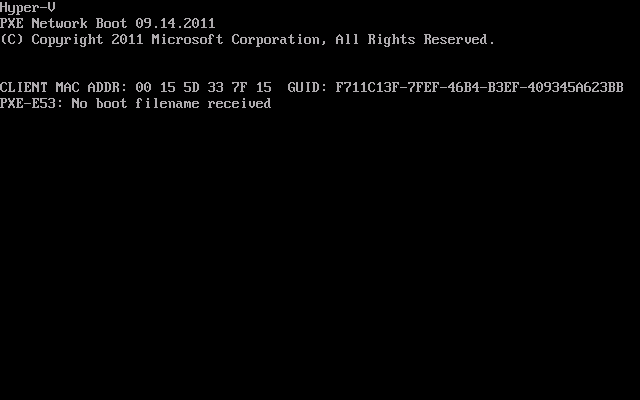
When PXE booting a computer after the upgrade to System Center 2012 Configuration Manager SP1 you receive an error like PXE-E53: No boot filename received, this means that PXE boot fails and you cannot image computer via network boot.
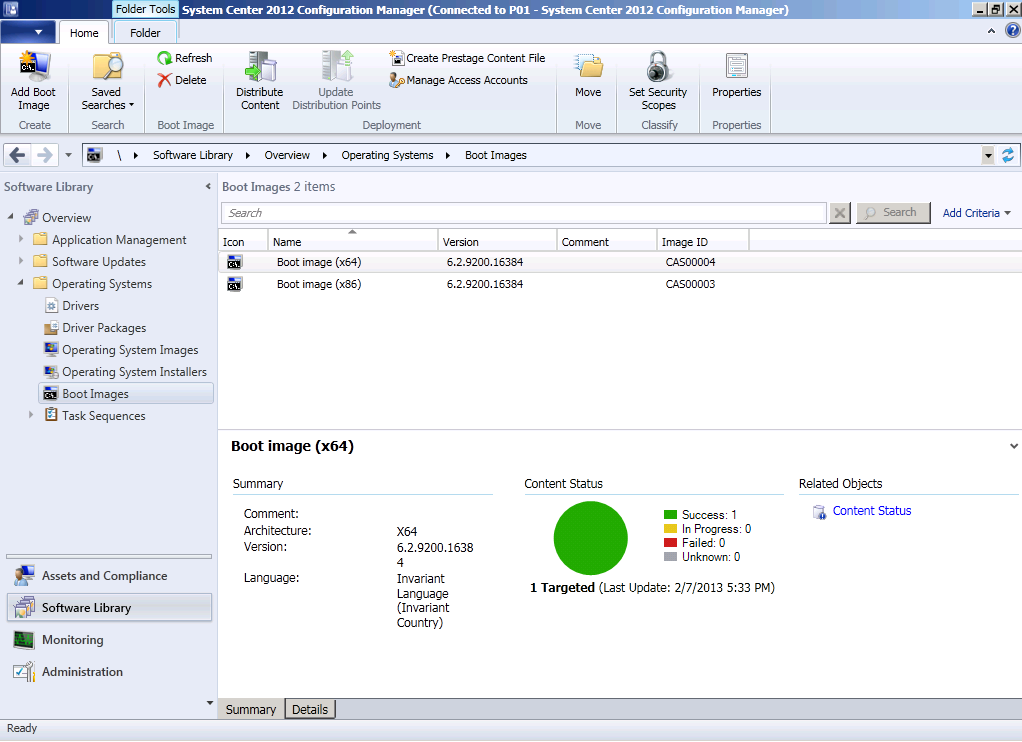
 The boot images on your Configuration Manager server (in my case, the Primary site server in a hierarchy) look good, and the boot images are reported as being the correct version for SP1 (6.2.9200.16384). Redistributing the content makes no difference to this issue.
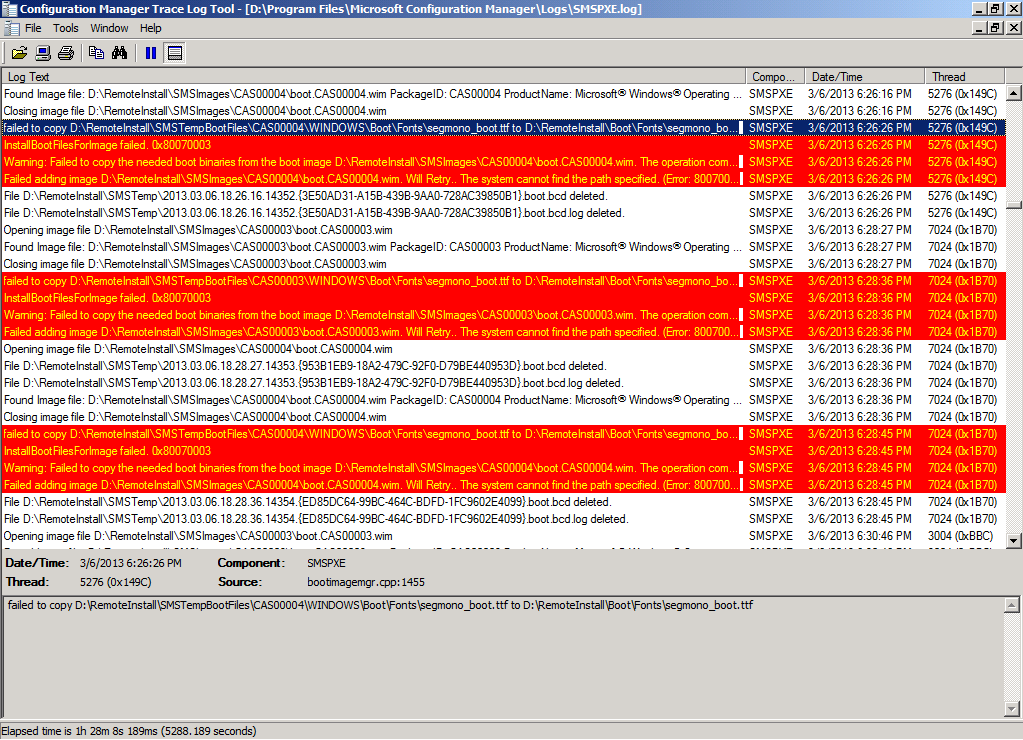
Checking the SMSPXE.log file on your PXE enabled distribution point shows errors repeating over and over which reference the inability to copy files (in my case it was font files). See screenshot below:
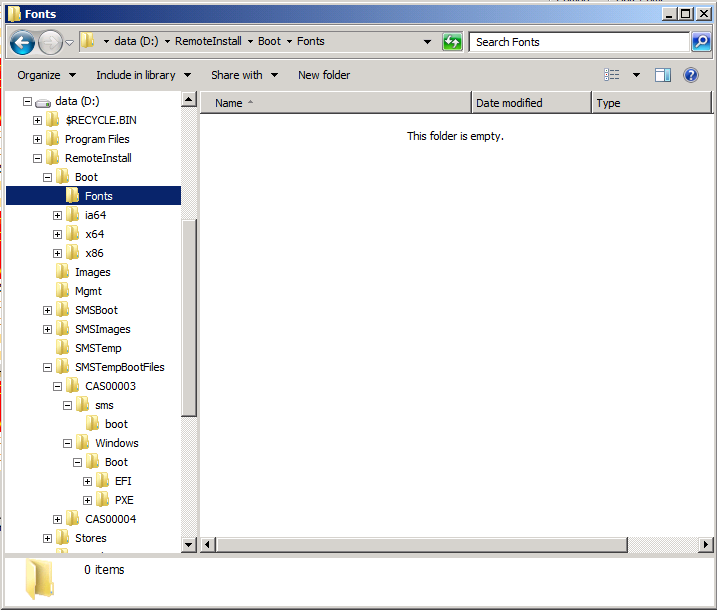
The files referenced are fonts that should be present in the Windows Deployment Services Fonts folder, and if you check the location(s) listed you will probably see that the font files (and folders in some cases) do not exist.
Failed to copy D:\RemoteInstall\SMSTempBootFiles\CAS00004\WINDOWS\Boot\Fonts\segmono_boot.ttf to D:\RemoteInstall\Boot\Fonts\segmono_boot.ttf
You may even see messages like “Warning: Matching Processor Architecture Boot Image (0) not found” but this is a red-herring, normally you would distribute the correct architecture boot image, but they are both distributed already, ConfigMgr has not properly finalized the boot images therefore they don’t work (and are not found by PXE clients).
There are some suggested workarounds for the above problem (listed at the bottom of this post in the related reading section) but none I tried worked and as a result I still could not PXE boot.
I did not want to simply manually copy the required font files into the Fonts folder, I wanted the Configuration Manager server to place them there (that would mean that the correct ACLs were applied).
I needed a method that would restore PXE boot ability and the method involved deleting the built-in images and replacing them with new ones from the ADK. This process places the missing files back in the RemoteInstall folder (WDS) and allows the boot images to finalize.
Step 1. Remove the built in boot images from distribution points
As our current boot images don’t work we’ll remove them from our distribution points.
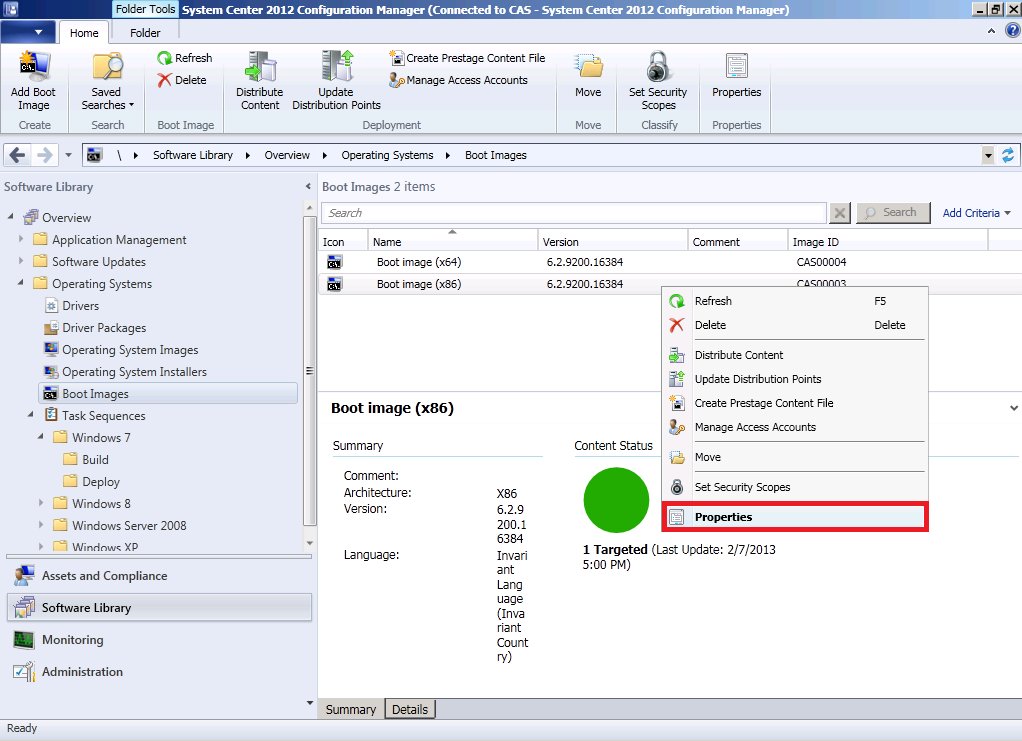
Right click a boot image and choose properties
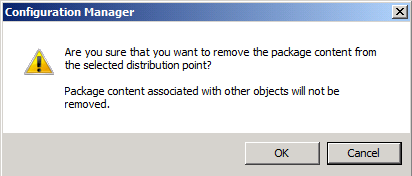
select the Content Locations tab, and highlight the distribution point you want to remove the boot image from, select Remove

and continue with the wizard, click ok when prompted.
You may see delete failure messages in distrmgr.log, ignore them. Repeat the above process for each boot image you want to remove.
Step 2. Delete the boot images from the ConfigMgr console
In a hierarchy, do the following process on your CAS. In a Standalone Primary, do the process on that Primary servers console.
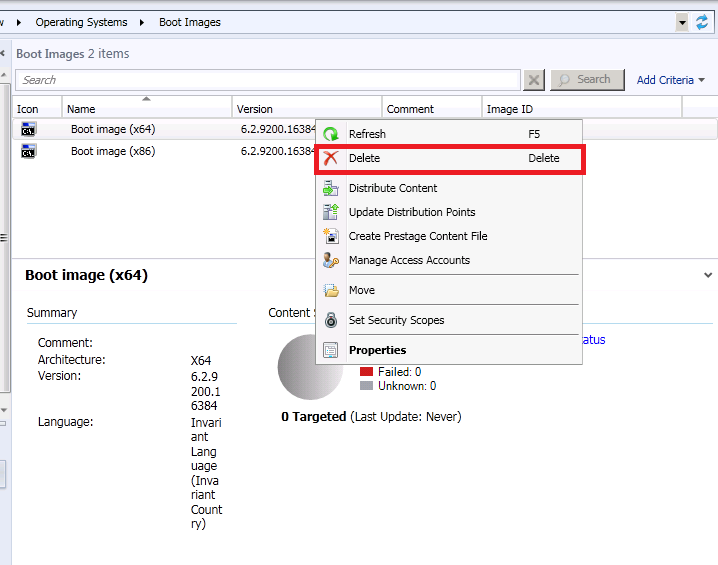
In the Operating Systems workspace, select boot images, then select a boot image to delete, right click and choose Delete
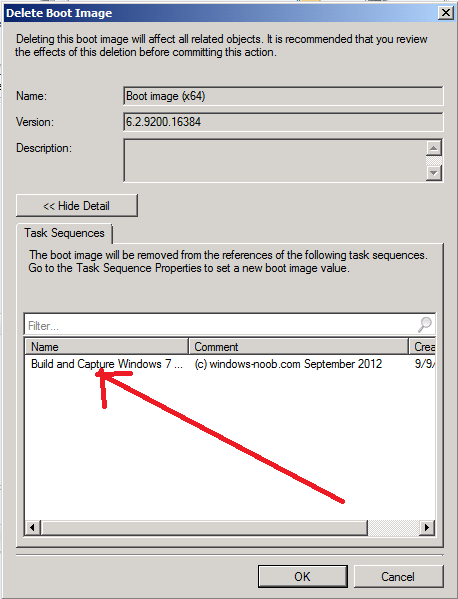
a Delete Boot Image wizard will appear, if the boot image is used in one or more task sequences you’ll see those details listed by clicking on the Show Detail button
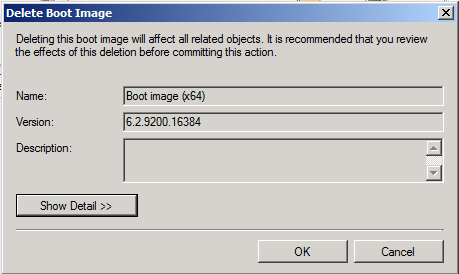
Take note of the name(s) of any task sequences listed and the boot image architecture (x86 or x64) as you’ll need to add the respective boot images back to those task sequences later in this process otherwise they will not work.
Repeat the above process for all boot images.
Step 3. Adding boot images to Configuration Manager
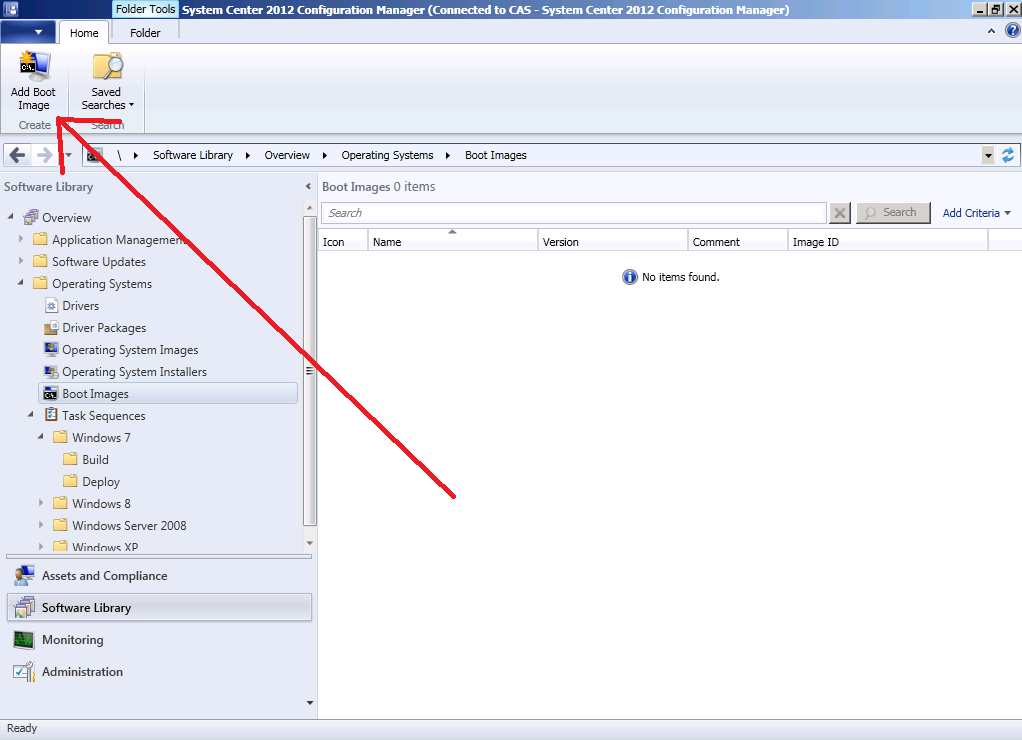
Now that your boot images are gone, we need to replace them with working boot images, so in the ConfigMgr console click on Add Boot Image.
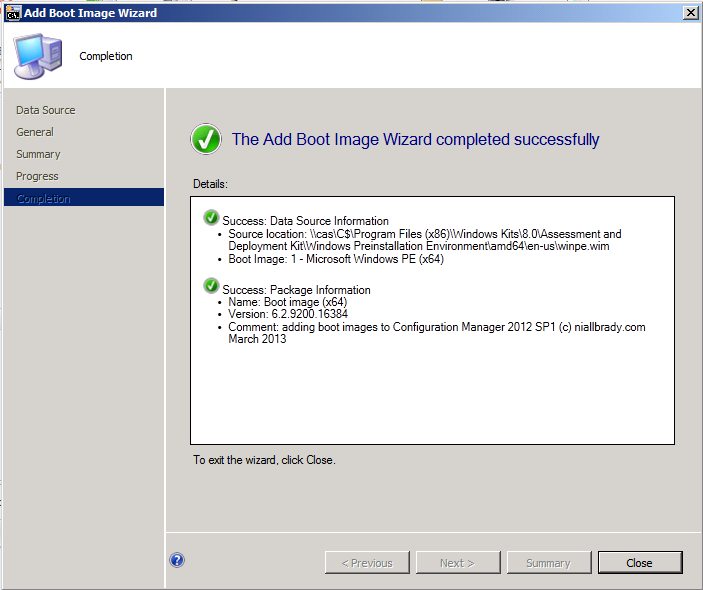
Browse to the UNC (network) location of the X64 WinPE.wim file located in your Assessment and Deployment Kit installation folder on the server in question, in my example I’m adding boot images from the CAS server, if you have a standalone server add the boot images from the ADK installation on that primary server, the UNC path will probably be something like the following:-
\\CAS\C$\Program Files (x86)\Windows Kits\8.0\Assessment and Deployment Kit\Windows Preinstallation Environment\amd64\en-us\winpe.wim
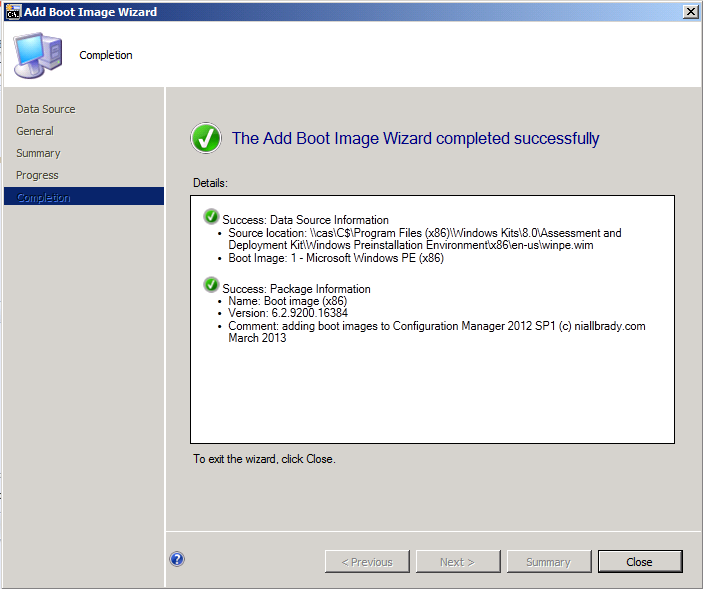
the drop down menu will list your winpe wim image as in the screenshot below

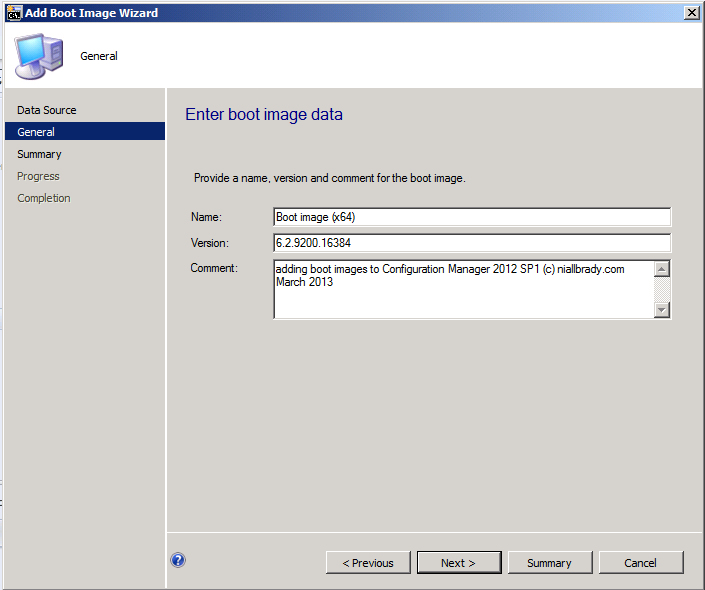
Give the boot image a name that is descriptive of the boot image architecture eg: Boot image (x64) and the version should be 6.2.9200.16384 for this version of WinPE.
complete the wizard
And repeat the above for the X86 boot image, obviously pointing to the UNC path of the X86 winpe.wim file.
Step 4. Edit the boot image properties
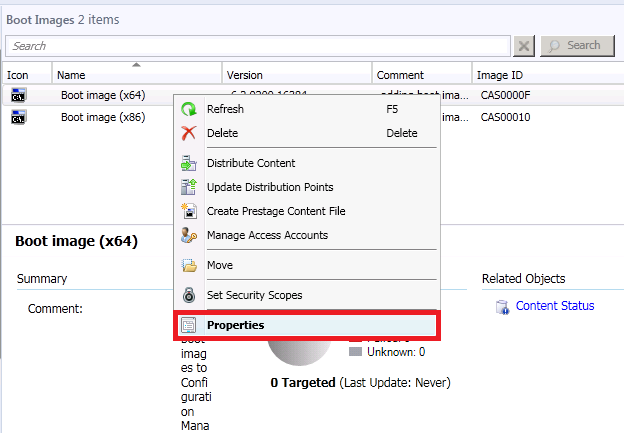
Now that we’ve added both architecture boot images we need to make sure they can be used for PXE boot. So right click on your boot image, choose properties
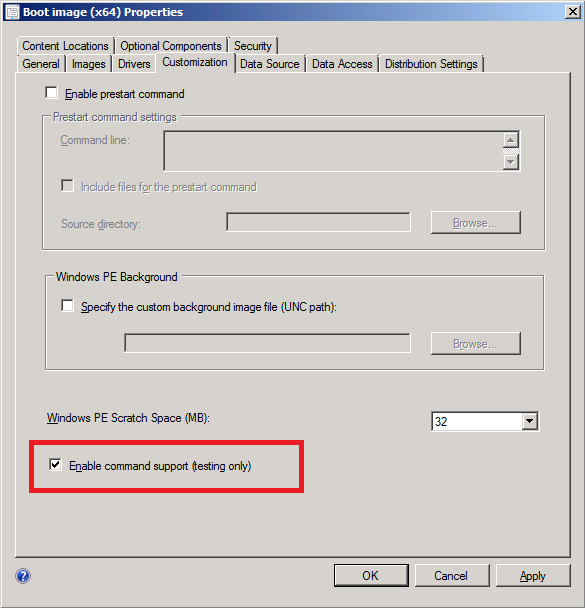
click on the Customization tab, place a check mark in the Enable command support (testing only) option, this allows us to press F8 during deployments to bring up a command prompt to troubleshoot using cmtrace and the SMSTS.log file.
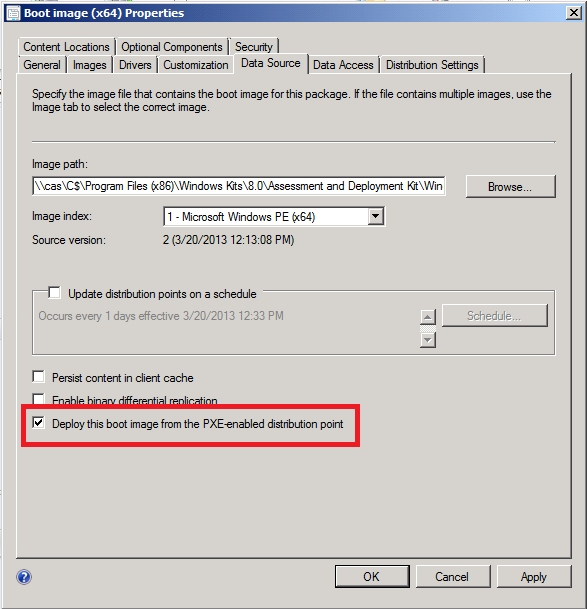
Next click on the Data Source tab and ensure that the Deploy this boot image from the PXE enabled distribution point is selected otherwise we cannot use this boot image in PXE deployed Task sequences
Make any other changes you want (such as optional components, prestart files, drivers) and then click Apply and answer NO when prompted to distribute the boot image, we will distribute the boot images in our next step.
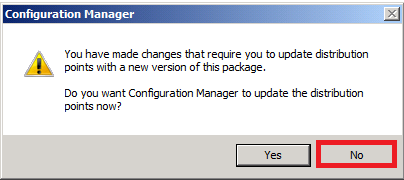
Note: don’t forget to repeat the above process for your X86 boot image.
Step 5. Distribute our Boot images
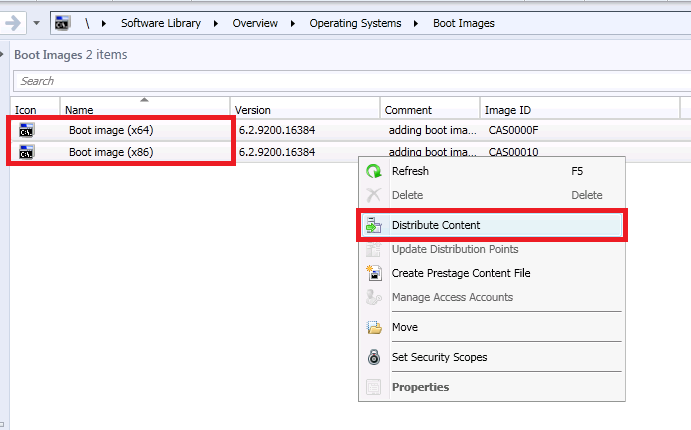
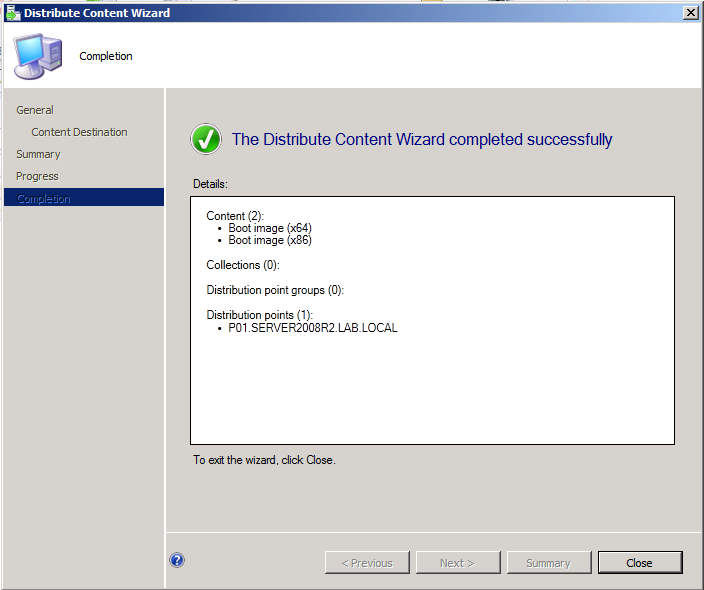
Now that our boot images are added and customized, we need to distribute them to our distribution points, select both boot images, right click and choose distribute content
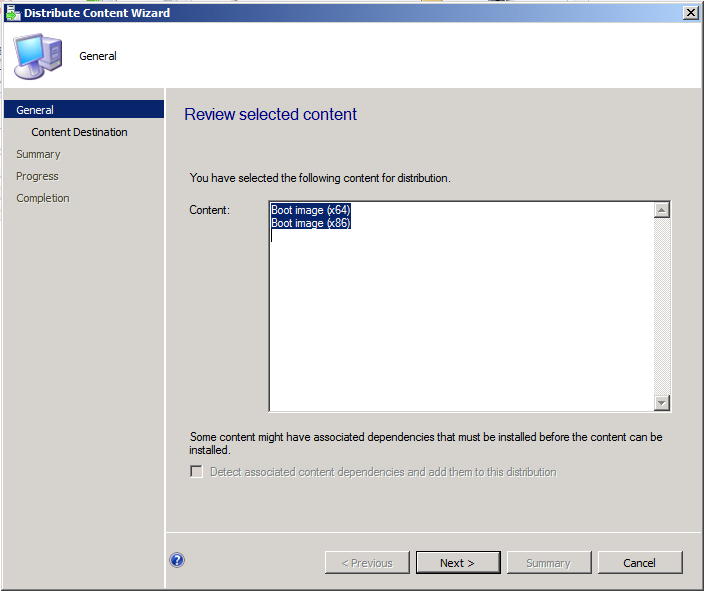
review the review content screen, click next
 select your distribution points(s) by clicking on the Add drop down menu
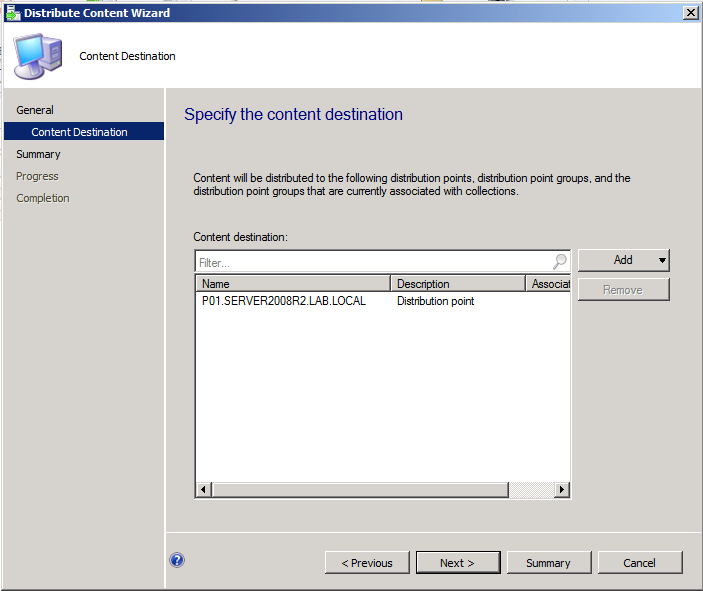
and continue through the wizard until completion.
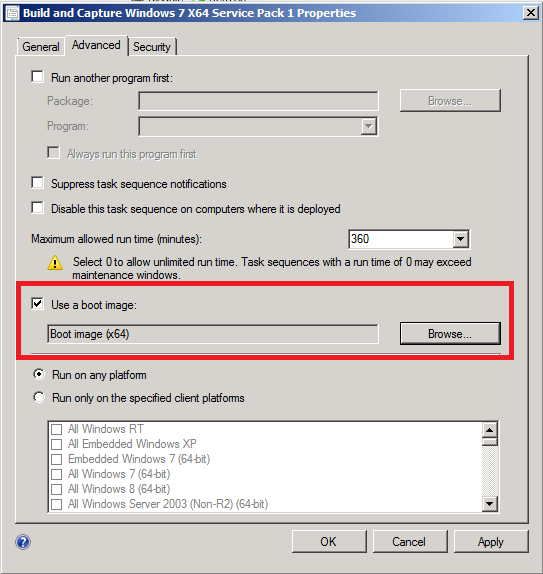
Step 6. Adjust your task sequences to use the new boot images
Now everything is in place for using the new boot images, so right click on your task sequences individually, choose properties, advanced and point the boot image to the appropriate boot image by placing a checkmark in Use a boot image and browsing to the correct architecture of your new boot image
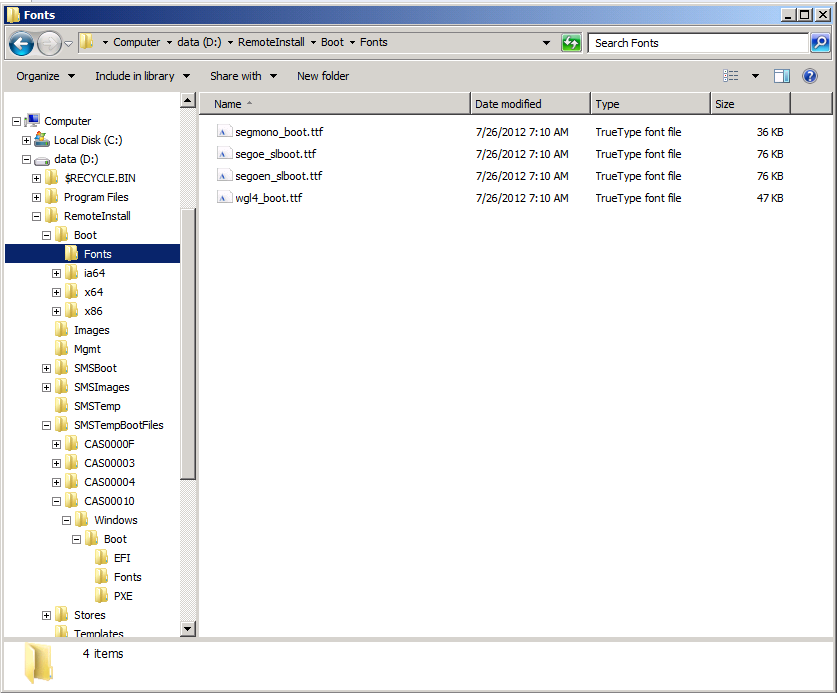
Step 7. Boot a client computer
Now that the changes are complete, boot a client computer and enjoy the working PXE boot process once more,

notice also that the Fonts folder(s) are now correctly populated in your RemoteInstall directory structure on your server (P01) that hosts the PXE enabled distribution point.
Summary
Hopefully the above process will highlight how you can replace the default boot images in Configuration Manager 2012 after upgrading to Service Pack 1.
Related reading
The following links provide additional information about issues with boot images after upgrading to Service Pack 1 or suggestions to resolve the problems once identified.
- https://www.windows-noob.com/forums/index.php?/topic/7437-using-system-center-2012-configuration-manager-part-11-upgrading-the-hierarchy-to-service-pack-1
- http://social.technet.microsoft.com/Forums/en-US/configmanagerosd/thread/c7b2cdfb-ce0c-4726-bba4-0c0d1a7dba6e/
- http://blog.coretech.dk/rja/post-sccm-2012-sp1-failure-to-update-boot-images/
- http://blogs.technet.com/b/systemcenterpfe/archive/2013/01/11/updated-system-center-2012-configuration-manager-antivirus-exclusions-with-more-details.aspx
- http://social.technet.microsoft.com/Forums/en-US/configmanagerdeployment/thread/a1dfee53-9c0f-41a6-9c0f-1ad5b49ead30/
- http://jackychuasce.blogspot.se/2012/07/how-to-troubleshooting-pxe-service.html
- http://social.technet.microsoft.com/Forums/en-US/configmanagerosd/thread/c7b2cdfb-ce0c-4726-bba4-0c0d1a7dba6e/
Until next time, adios
cheers
niall

Niall, I wanted thank you for the rescue. I did the upgrade to SP1 and it killed the PXE OSD features which had been working great. I spent the last several weeks coming through all the suggestions for correcting the issue with no resolution. I really appreciate the solution you documented, as it work the first time like a champ and I am now back in the game rolling out the rest of SCCM 2012 SP1. From grateful Kite thanks!
Great article.
I spent uncountable hours trying to figure out OS Deployment using SCCM 2010 and this is the only guide that helped me understand and configure the deployment successfully. Thank you so much…God Bless you.
Thanks for posting this up. It saved the day. I had just upgraded to 1602 and everything looked fine. Went to image some workstations and couldn’t PXE boot. I found this procedure and now we’re up and running.
Pingback: How To Add Boot Images To The Pxe Service Point | Information