
Introduction
I’ve come across various problems during Windows Autopilot causing OOBE to fail that could be solved if only we could decide the order of when things were installed, and to resolve this in a nice way we wanted to dynamically populate an Azure AD group that could be targeted with a device configuration profile. That would mean that we could target sensitive policies to devices after enrollment instead of during enrollment allowing for a smoother, less error prone experience.
Being able to apply a profile after Autopilot is finished requires knowing when Autopilot is actually complete, and I touched upon that subject in a previous blog post here. To expand upon that, we can run a scheduled task on login which runs a PowerShell script which in turn, only delivers the payload if certain things are in place such as.
- C:\ProgramData\Microsoft\IntuneManagementExtension was created within the last X hours
- The logged on user is not defaultuser0
We could do this using a PowerShell script which runs as a scheduled task after login but that would require storing sensitive credentials on the client.
This blog post will show you the necessary steps taken to get to a stage where you can add devices to an Azure AD group using Azure Functions and Graph, and that is interesting because in conjunction with an app registration allows you to embed certificates or secrets within the function and thereby bypass the need for storing credentials in your PowerShell script which runs on the client.
There are other ways of doing this, but this is kind of neat. You need to do the following steps.
- Create a resource group
- Create an app registration
- Create a client secret
- Create a function app
- Add a HTTP trigger
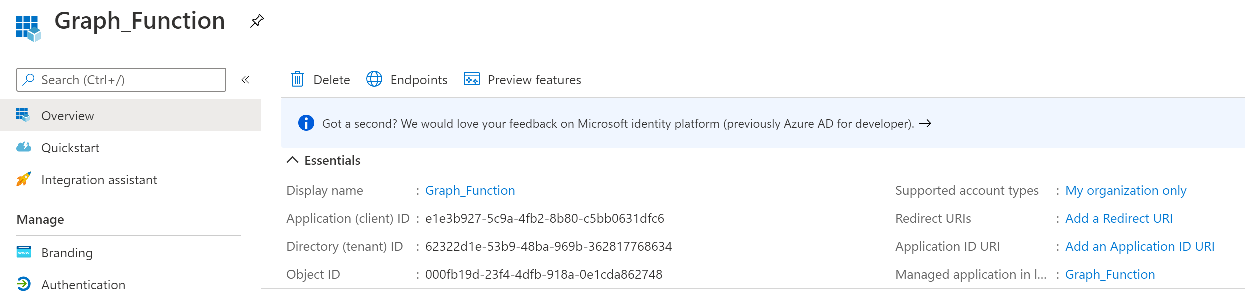
- Get the application ID
- Create an azure ad group
- Add missing details
- Configure API permissions
- Test adding a client
So now you have an idea of what this blog post is about, let’s get started.
Step 1. Create a resource group
In Azure Active Directory, create an Azure Resource Group. To do that click on Create a Resource in https://portal.azure.com. In the page that appears, search for Resource Group. Select it and click on Create. Next, give it a useful name like Graph_Functions, and select the region applicable to you.
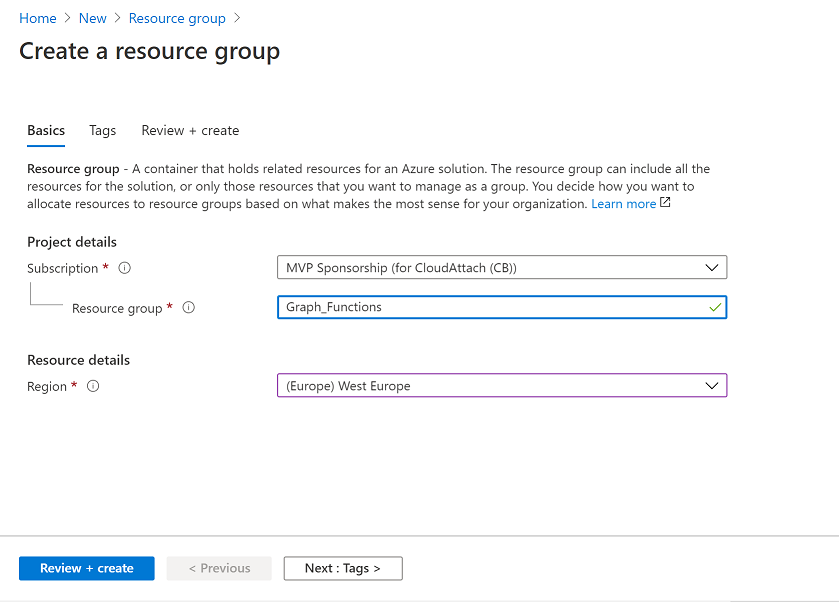
And click on Review + create and after being presented with the summary, click Create.
Step 2. Create an app registration
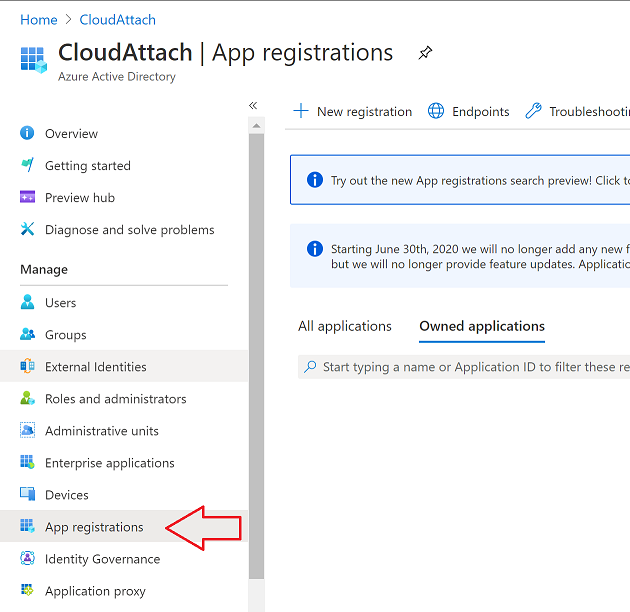
In Azure Active Directory, create an create an APP Registration called graph_functions by clicking on App registrations in the left pane and clicking on + New registration.
fill in the user-facing display name and then click on Register.
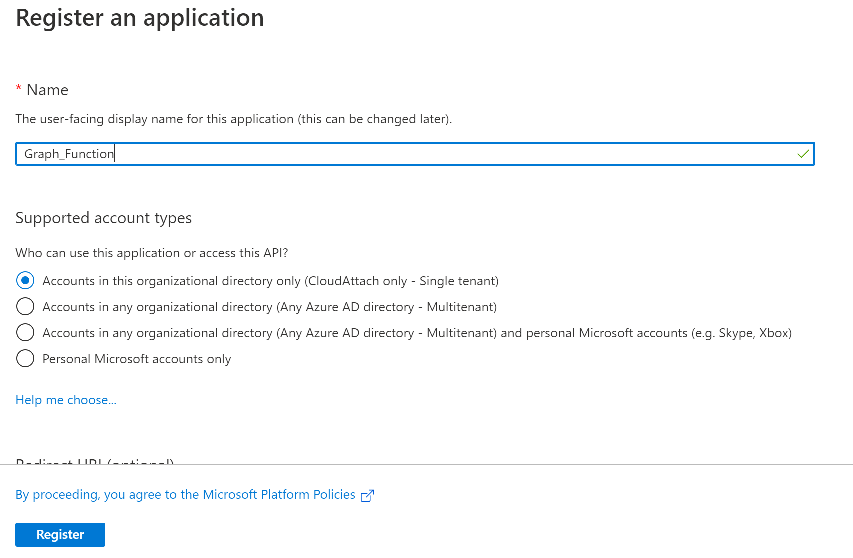
The app registration is created.
Step 3. Create a client secret
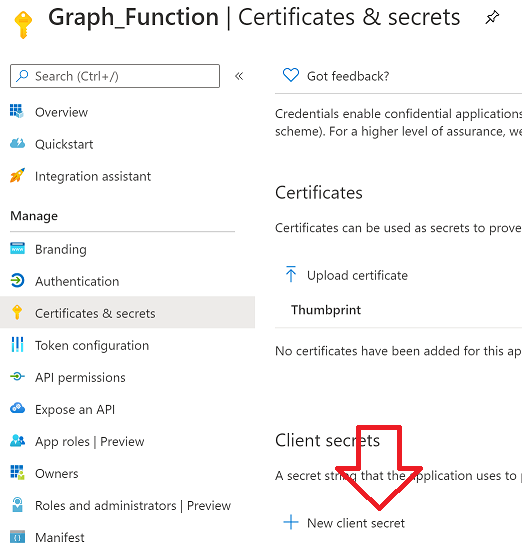
In the Graph_Function app registration you just created, click on Certificates & Secrets, choose the option to create a + New client secret
Give it a name like graph_function_secret
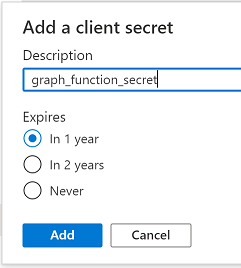
Click Add
After adding the client secret make sure to copy the secret and keep it safe.
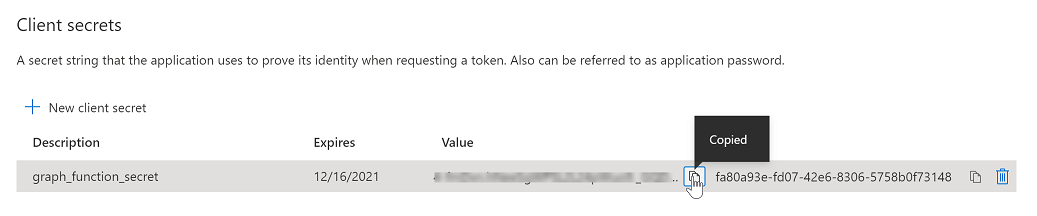
copy the secret value and id, you will need them later.
Step 4. Create a function app
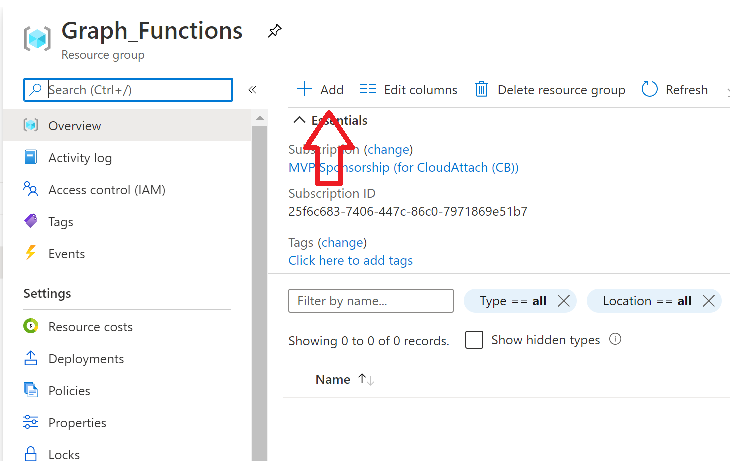
Next, select your previously created resource group called Graph_Functions and create a function app in the graph_functions resource group by clicking on +Add
Search for Function App and click Create. A wizard will appear, fill in your choices and select PowerShell core and your region.
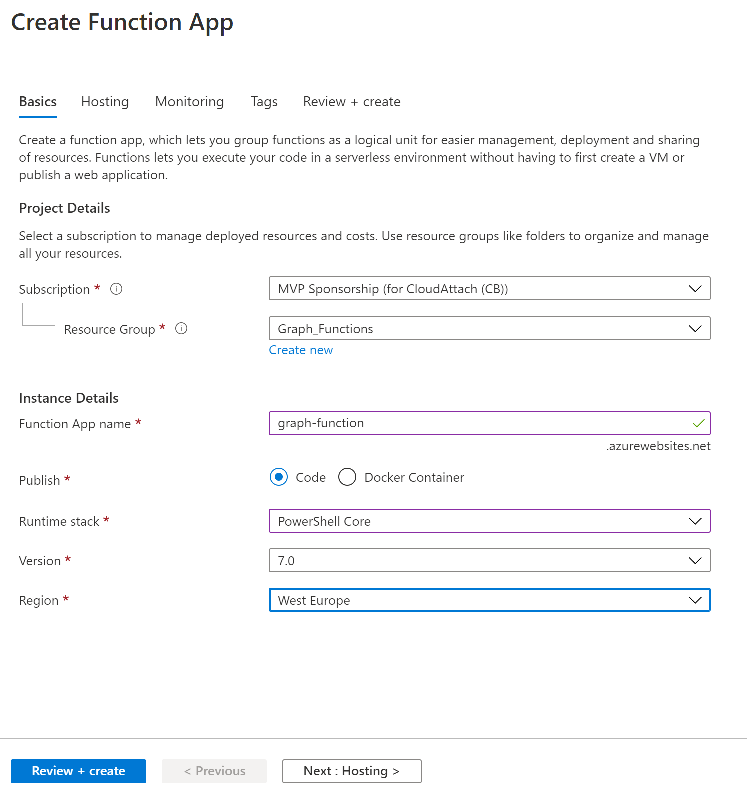
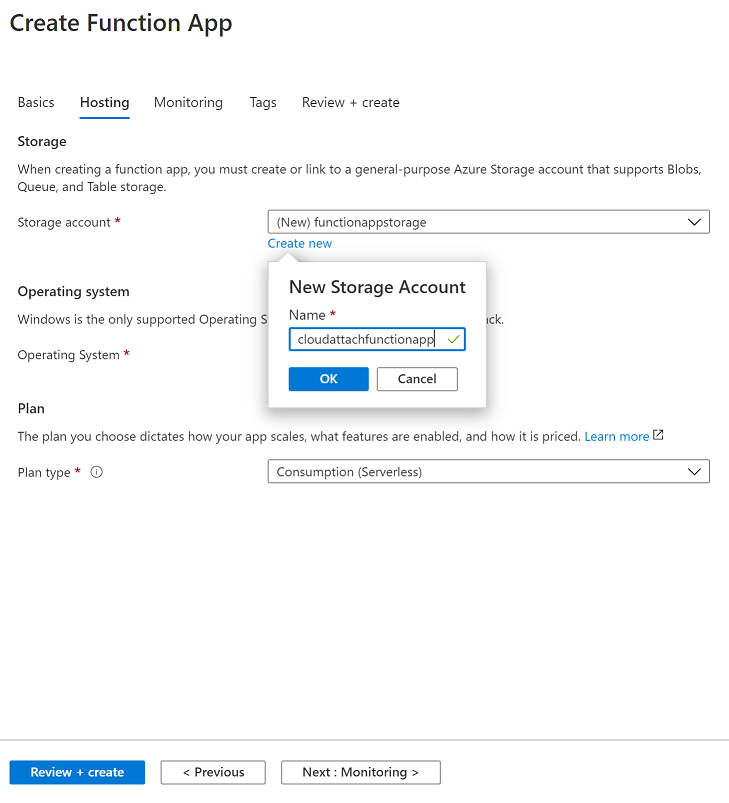
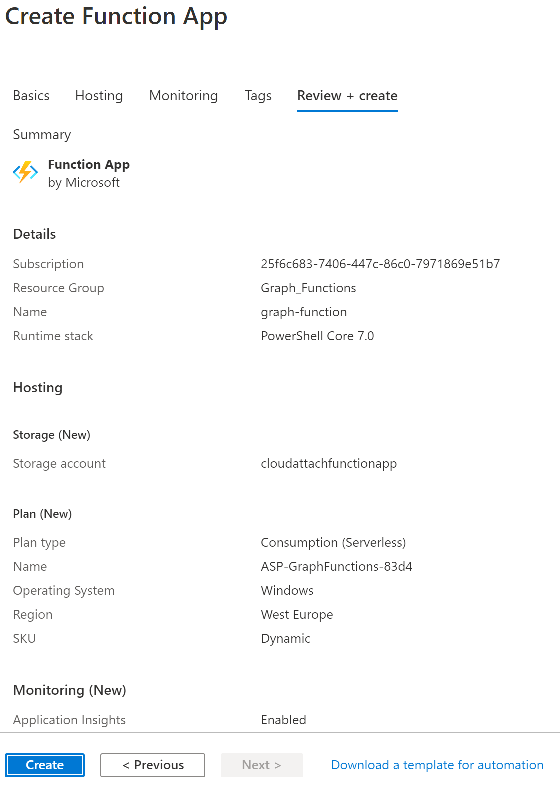
Create a new storage group or let the wizard create it’s own, then click Review + Create. If it generates an error click on the error details, most likely the storage group name you tried to create is already taken. If so, pick another name.
Finally, click on Create to create the function app.
You can read the rest of this guide here at windows-noob.com.
