
Introduction
Understanding when Windows Autopilot is complete is an interesting topic. It would be great if there was a reg-key or file that was set when Windows Autopilot completed successfully, but there isn’t, at least not now. In the meantime let’s use some other method of determining whether it’s complete or not.
To do that we’ll rely on the creation date of the Microsoft Intune Device Management Extension folder as that gets created on the device if a PowerShell script or a Win32 app is targeted to the user or device, and I’m fairly confident that we all have at least one Win32 app or a PowerShell script deployed to our Autopilot devices during the Enrollment Status Page (ESP) phase of Autopilot.
You can see how the enrollment date is calculated from the script here.

Now that we have an idea of when Autopilot finished, we can deploy a PowerShell script to our Autopilot users to present a welcome page to the end user. At least that’s the idea, and speaking of ideas, this great idea came from a friend of mine on Twitter, I just expanded upon it and fine tuned it for my needs, so please show your thanks to Chris Roberts for the great idea, and do him a favor and follow him on Twitter.
The scheduled task will only show the web browser once (1 minute after login), during the time frame we’ve decided (first 48 hours after enrollment). This gives your users a nice warm fuzzy feeling that everything is completed, and let’s them know that they can now use their computer.
In order to achieve this we’ll do the following.
- Create a static website in Azure
- Upload some files to the website
- Add a PowerShell script in Intune
Note: This guide assumes you’ve already created an app for Microsoft Edge Chromium and deployed it to your Autopilot users.
Step 1. Create Storage Account
In Azure Active Directory create a storage account. To do that click on Create a Resource in https://portal.azure.com.
In the page that appears, search for Storage Account. Select it and click on Create.

You can attach it to an existing Resource Group or as in my case (to keep things clean) create a new Resource Group. Next, fill in a Storage account name and select the region and performance.
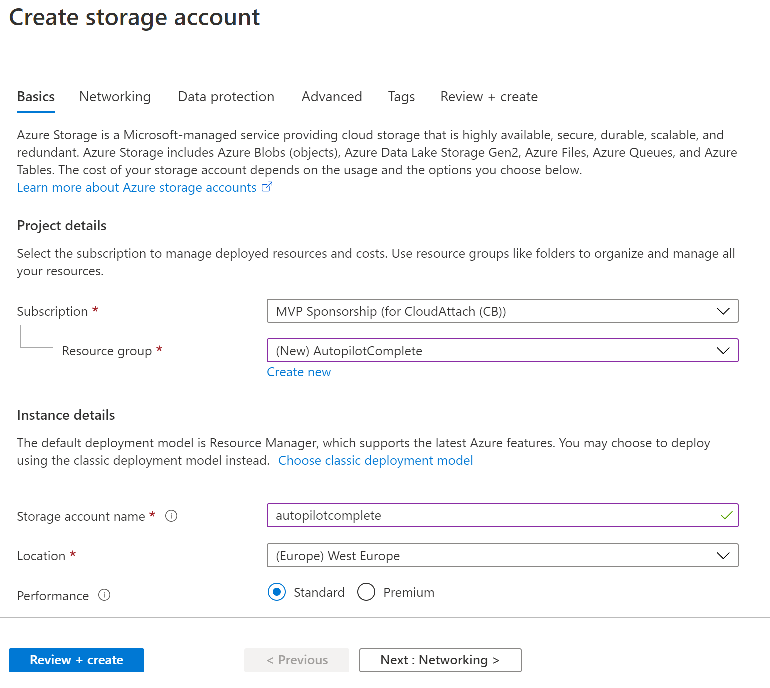
And click on Review + create and after being presented with the summary, click Create.
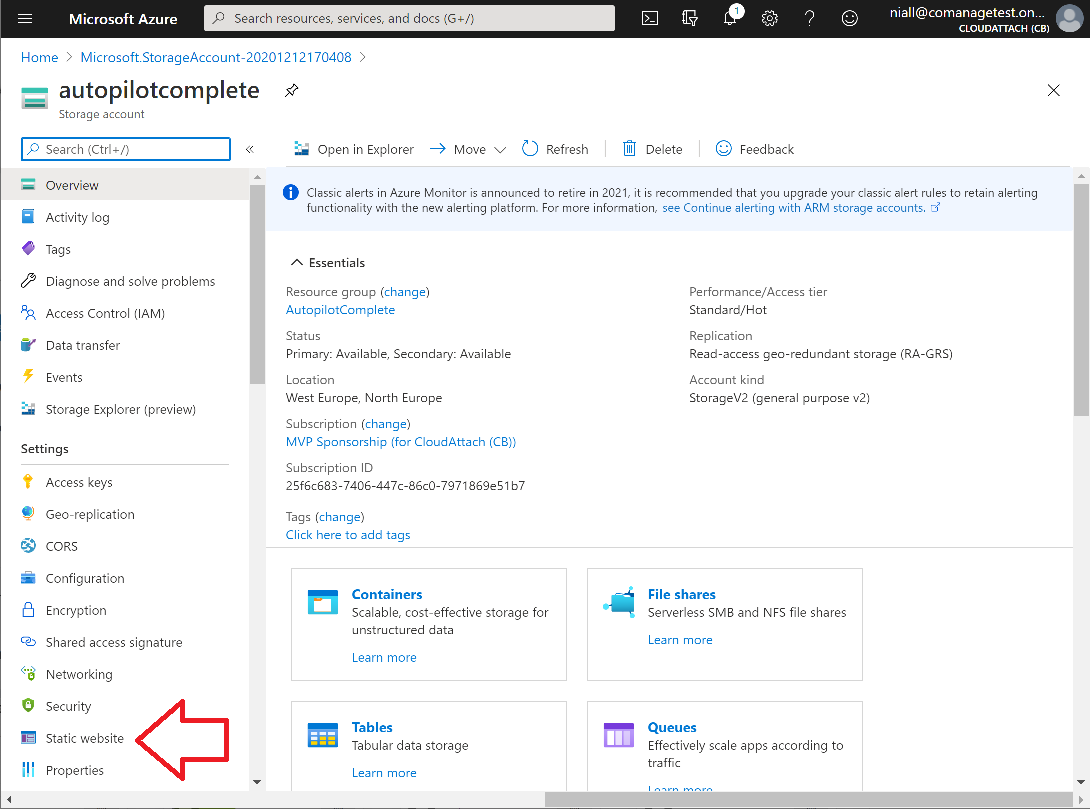
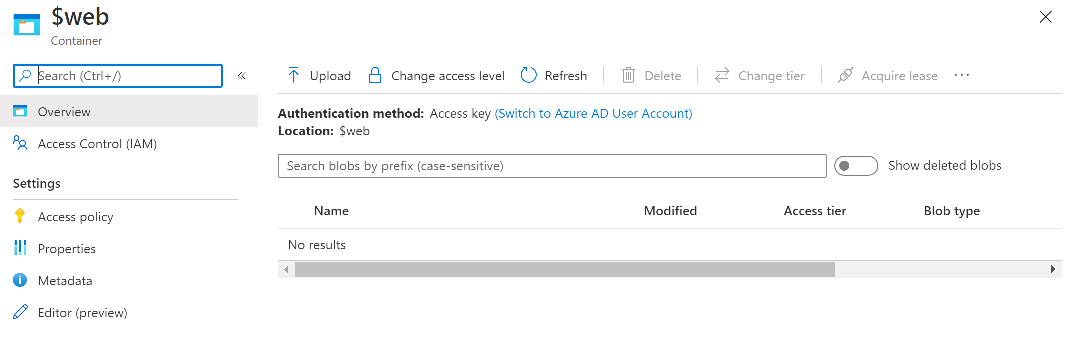
In the Storage Account, select Static Website from the options in the left pane.
Set it to Enabled and provide the following file names Welcome.html and 404.html.
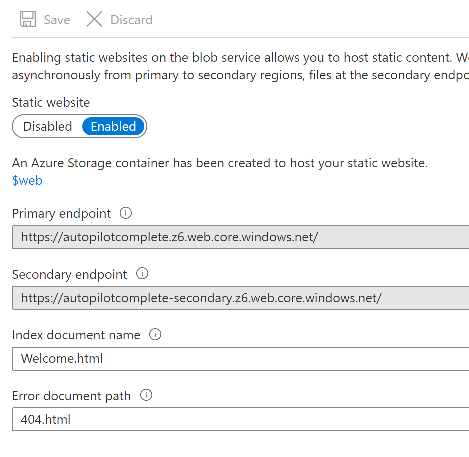
Click Save when done. Next, click on $web, you will be presented with a simple interface for uploading files to your new static website.
Step 2. Download files
Download the Welcome page html files and the LaunchEdgeWelcomePage.ps1 PowerShell script here.
Note: To download the files hosted on windows-noob.com, make sure you are logged on to the site first.
- Download the Welcome page files hereWelcomePage.zip
- Download the LaunchEdgeWelcomePage.ps1 hereLaunchEdgeWelcomePage.zip
- Download Microsoft Azure Storage Explorer
Step3. Upload files
After installing the Microsoft Azure Storage Explorer, browse to the $web folder of your storage account in the Blob Containers
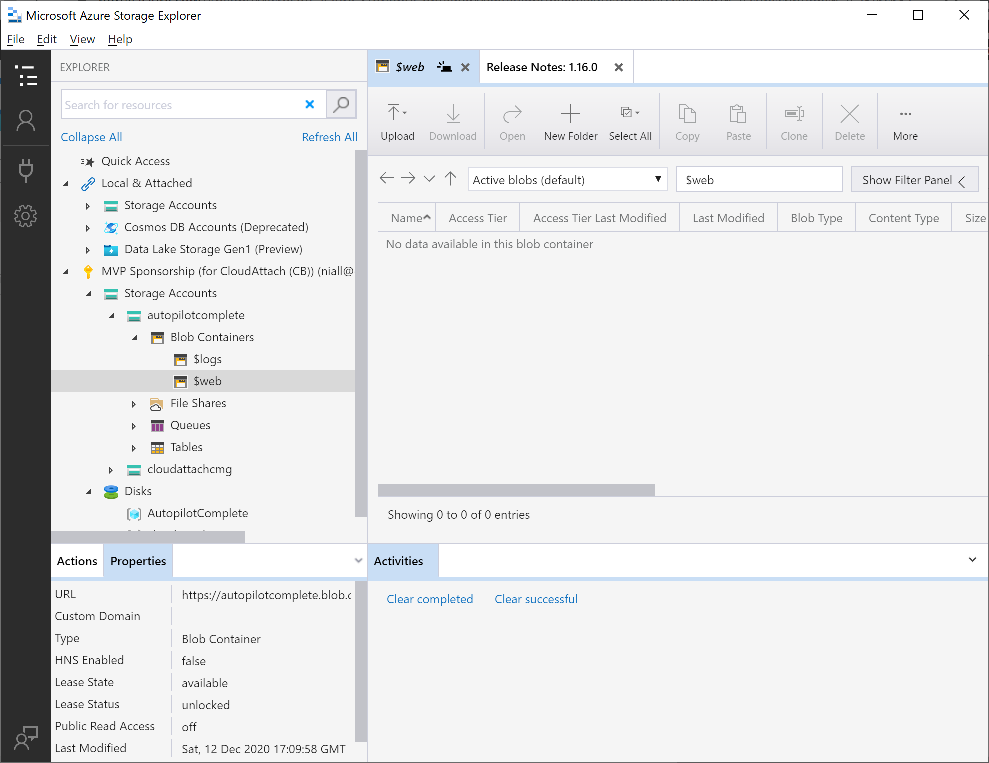
The easiest way to get the files and folders to the $web folder is to drag and drop from Windows File Explorer.
To read the rest of this blogpost on windows-noob.com click here.
