
In Part 1 of this series we got our AD and SCCM servers ready, and then we installed System Center 2012 Configuration Manager as a standalone Primary site. In Part 2 we configured the SCCM server further by adding some Windows Server roles necessary for the following Configuration Manager 2012 functionality, Software Update Point (SUP) and Operating System Deployment. In Part 3 we configured the server further by Enabling Discovery methods and creating Boundary’s and Boundary Groups. In Part 4 we configured Client Settings, Added roles and Distributed the Configmgr Client to our Computers within the LAB, then in Part 5 we enabled the Endpoint Protection Role and configured Endpoint Protection settings and targeted a collection called All Windows 7 Computers with these settings and policies.
In Part 6 we configured our SUP further to Deploy software updates to our All Windows 7 Computers and Build Windows 7 X64 collections. In Part 7 we used the Build and Capture process to create our Base Windows 7 X64 wim image. In Part 8 we created a USMT 4 package to migrate the users data using hardlinking and then we imported the captured image into ConfigMgr and created a Deploy Windows 7 X64 task sequence. We created a Deploy Windows 7 X64 Collection and set some User Device Affinity collection variables.
In Part 9 we created an Application, and created a deployment type for that application to only install if the Primary User
was True for that device (User Device Affinity), we then copied our
Task Sequence (duplicated it), deployed the new Task Sequence, added a
computer to the new collection and then PXE booted the computer to the
Deployment Menu. In Part 10
we monitored the Deployment process in a lot of detail to how UDA sent
state messages and we verified that our application installed on the
users Primary Device, in addition we modified our collection variables,
and added a prestart command to our boot image to prompt for the
SMSTSUdaUsers. In Part 11 we setup the Reporting Services Point Role and verified that reporting was working.
In Part 12 we demonstrated a new feature in ConfigMgr which allows us to Patch operating system WIM images using Offline Servicing. This means that you can apply Windows Updates by using Component-Based Servicing (CBS) to update the your previously captured WIM images. Now we will look at how Role Based Administration is used within ConfigMgr and we will create a new custom role
to allow a user (or users within a Security Group) to view Software
Update Reports. This is useful because you will probably want one team
to take care of configuring and deploying software updates, and to grant
another (Management etc) the capability of reviewing Compliance
Reports.
Note: From this point on, all parts in this series will be created using Configuration Manager 2012 Release Candidate 2 unless otherwise specified.
For more information about Role Based Administration and for best practise advice please review the following:-
Technet:-
Security: Role-Based Administration Section of Whats new in Configuration Manager 2012 here
Planning for Security in Configuration Manager 2012 – http://technet.micro…y/gg712284.aspx
Introducing Role-Based Administration in System Center 2012 Configuration Manager – http://blogs.technet…on-manager.aspx
Step 1. Understanding Role Based Administration
In Configuration Manager 2007, administrative access to site resources is controlled by using class and instance security settings
that are verified by the SMS Provider computer to allow access to site
information and configuration settings. System Center 2012 Configuration
Manager introduces role-based administration to centrally define and manage hierarchy-wide security access settings for all sites and site settings.
Instead of using individual class rights, role-based administration uses security roles to group typical administrative tasks
that are assigned to multiple administrative users. Security scopes
replace individual instance rights per object to group the permissions
that are applied to site objects. The combination of security roles, security scopes, and collections
allow you to segregate the administrative assignments that meet your
organization requirements and this combination defines what an
administrative user can view and manage in the Configuration Manager
hierarchy.
Role-based administration provides the following benefits:
- Sites are no longer administrative boundaries. They were with Configuration Manager 2007.
- You create administrative users for the hierarchy and assign security to them one time only.
- You create content for the hierarchy and assign security to that content one time only.
- All security assignments are replicated and available throughout the hierarchy.
- There are built-in security roles to assign the typical administration tasks and you can create your own custom security roles.
- Administrative users see only the objects that they have permissions to manage.
- You can audit administrative security actions
What roles are included ?
The following 14 built in security roles are included:-
- Operations Administrator
- Full Administrator
- Infrastructure Administrator
- Security Administrator
- Software Update Manager
- Read-Only Analyst
- Remote Tools Operator
- Operating System Deployment Manager
- Application Deployment Manager
- Application Author
- Application Administrator
- Asset Manager
- Endpoint Protection Manager
- Compliance Settings Manager
Step 2. Implementing a custom security role.
Perform the following on your Configuration Manager 2012 server as SMSadmin.
In the ConfigMgr console, click on Administration and expand Security, click on Security Roles. The 14 built-in roles appear.
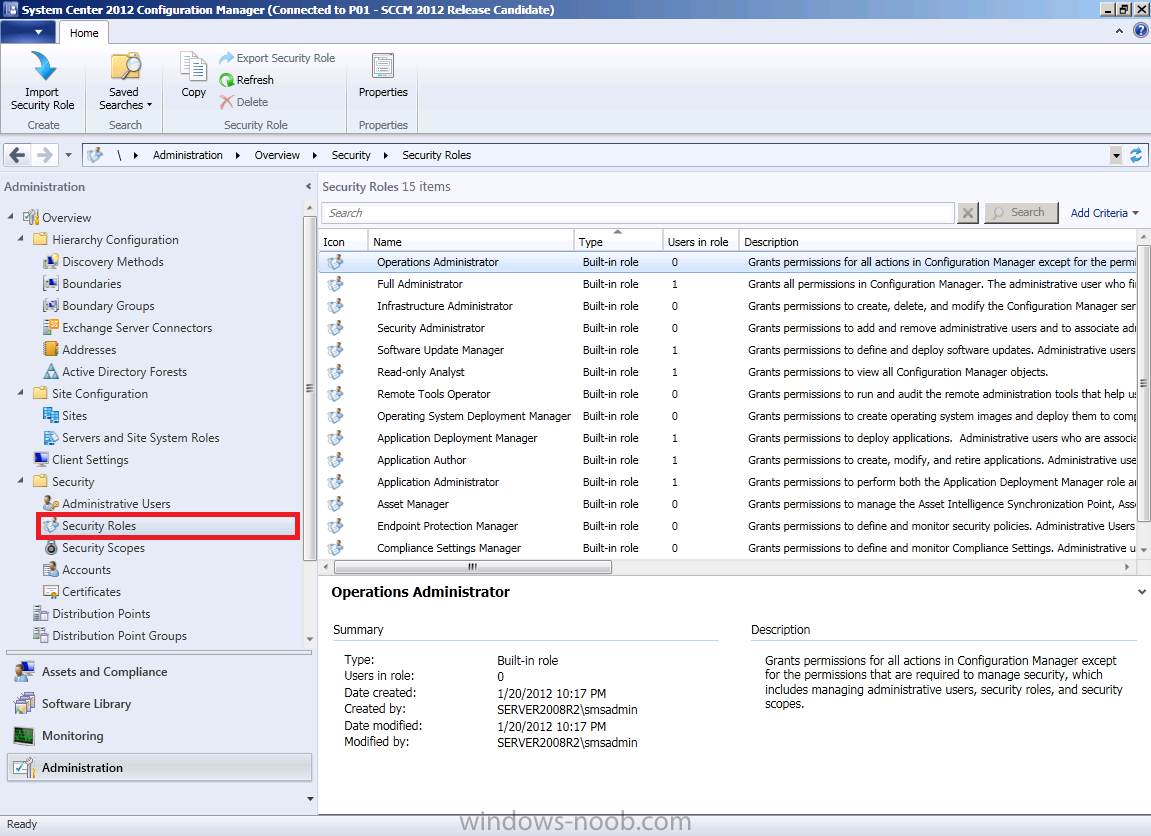
We want to create a custom security role to allow users assigned to that
role to read Software Update Reports. As there is no option to create a
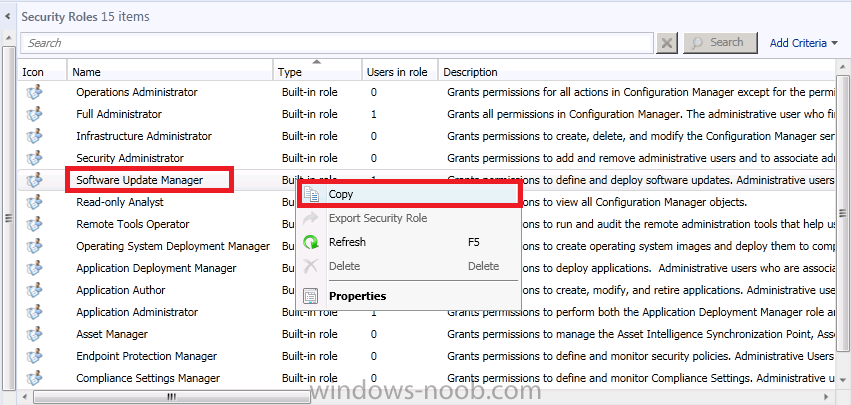
blank new role, we must use the Copy function to create our new security role. Select the built-in Software Updates Manager role, right click and choose Copy.
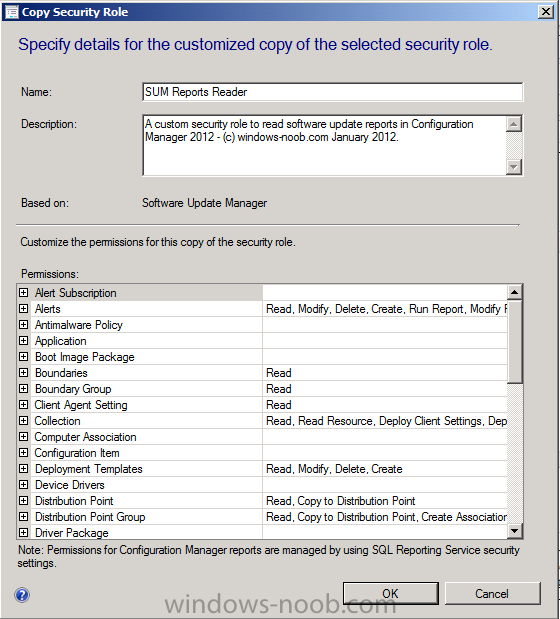
When the Copy Security Role wizard appears, give the new role a name based on the function, you can name the new role as follows:- SUM Reports Reader it’s also a good idea to fill in a Description of the role
as per the screenshot below, notice all the predefined permissions
assigned to the Software Updates Manager role appear selected in the
Permissions pane. We will edit these to only leave those permissions
that are required to run reports.
using the Customize the permissions for this copy of the security role, expand any permission not required and change it from YES to NO
(you can double click on each one to change). For example, expand the
Alerts permissions and set them all to NO as none of these permissions
is required to read reports.
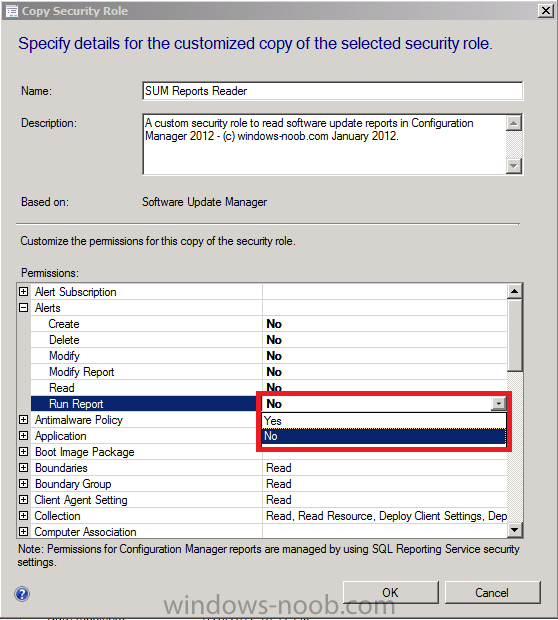
Configure the Permissions so the only the following are set to Yes
- Site: Read
- Software Updates: Read, Run Report

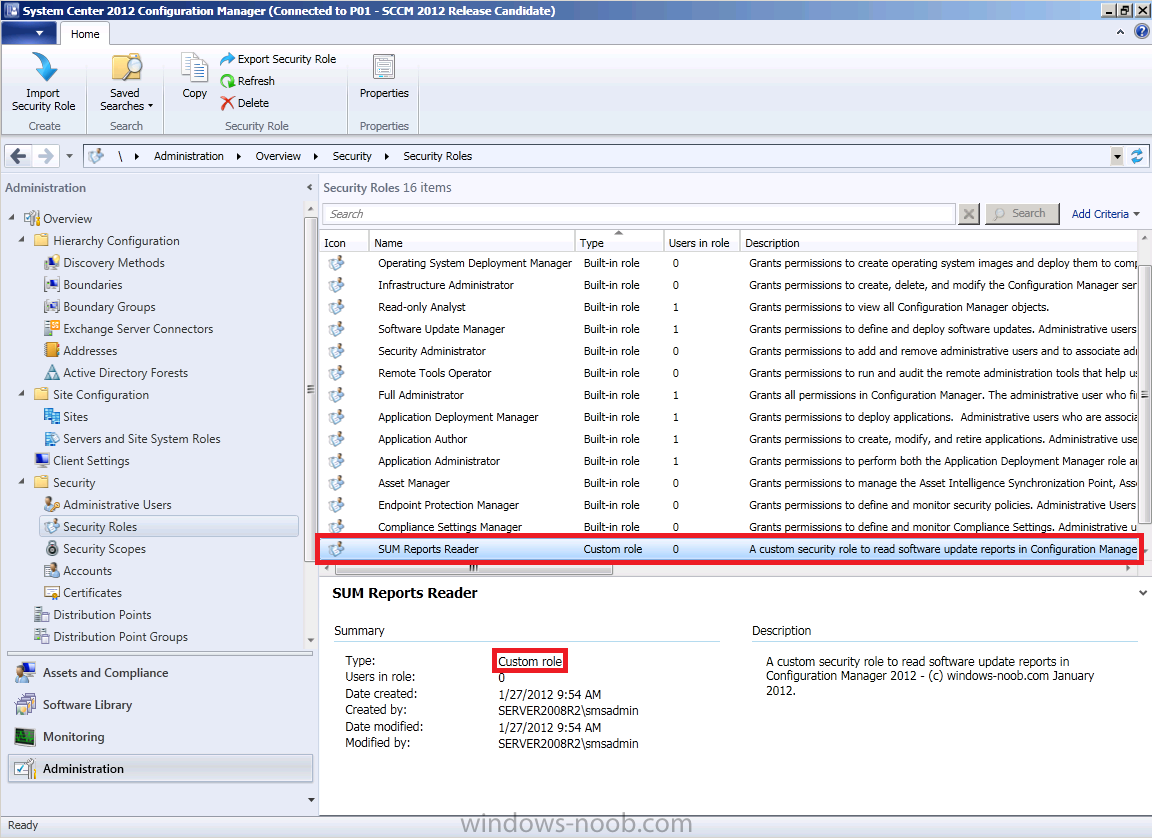
Click OK when done, the custom SUM Reports Reader role now appears in your console.
Step 3. Create a Global Security Group in Active Directory
Perform the following on your Active Directory Domain Controller server as Domain Administrator.
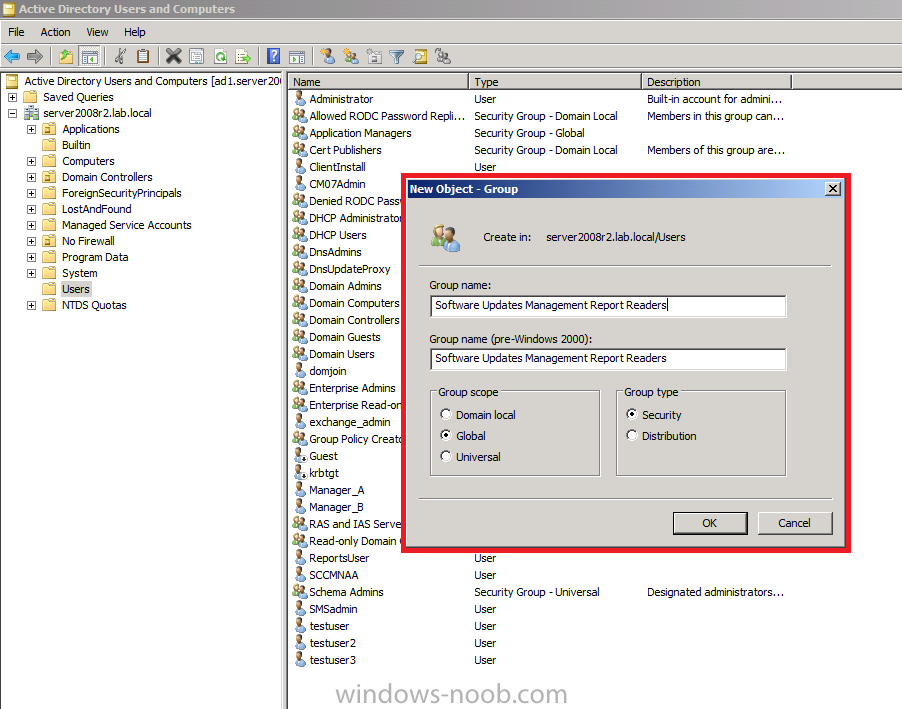
Now that we have created our custom security role, we want to assign users to that role. In Active Directory Users and Computers create a new Global Security Group called Software Updates Management Report Readers as per the screenshot below.
To create a new global security group, right click on Users, select New, Group.
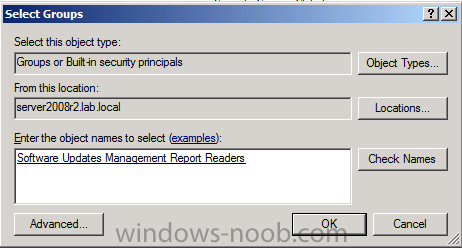
Add some users to that group by selecting those users and right-clicking, choose Add to a Group

when the Select Groups wizard appears, type in the name of our security group and click on Check Names, click ok when done.
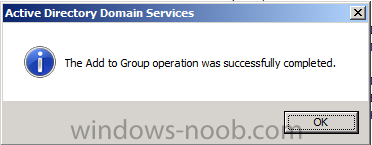
you’ve now added some users to the Active Directory security group called Software Updates Management Report Readers.
Step 4. Assign the Active Directory Security Group to our custom role
Perform the following on your Configuration Manager 2012 server as SMSadmin.
In the Administration pane, expand security and select Administrative Users.
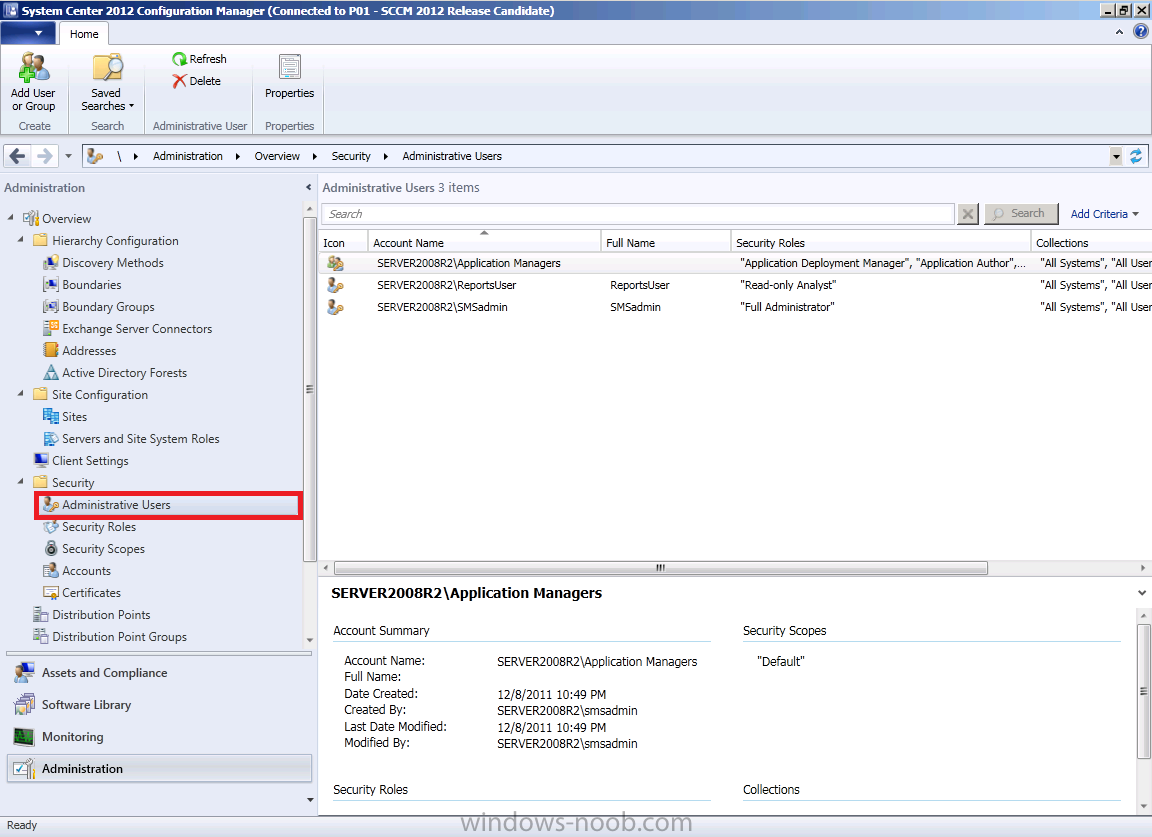
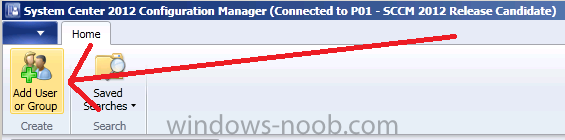
In the ribbon click on Add User or Group
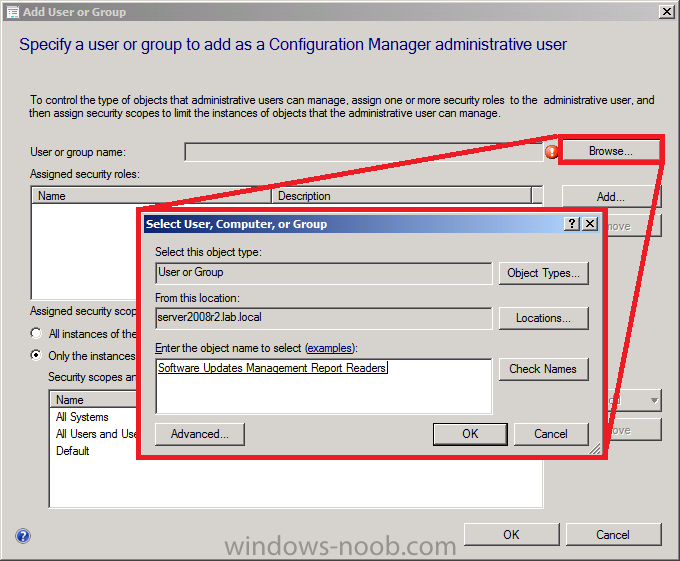
when the Add User or Group wizard appears select browse and search for our previously created Active Directory Security Group, type in Software Updates Management Report Readers and click ok
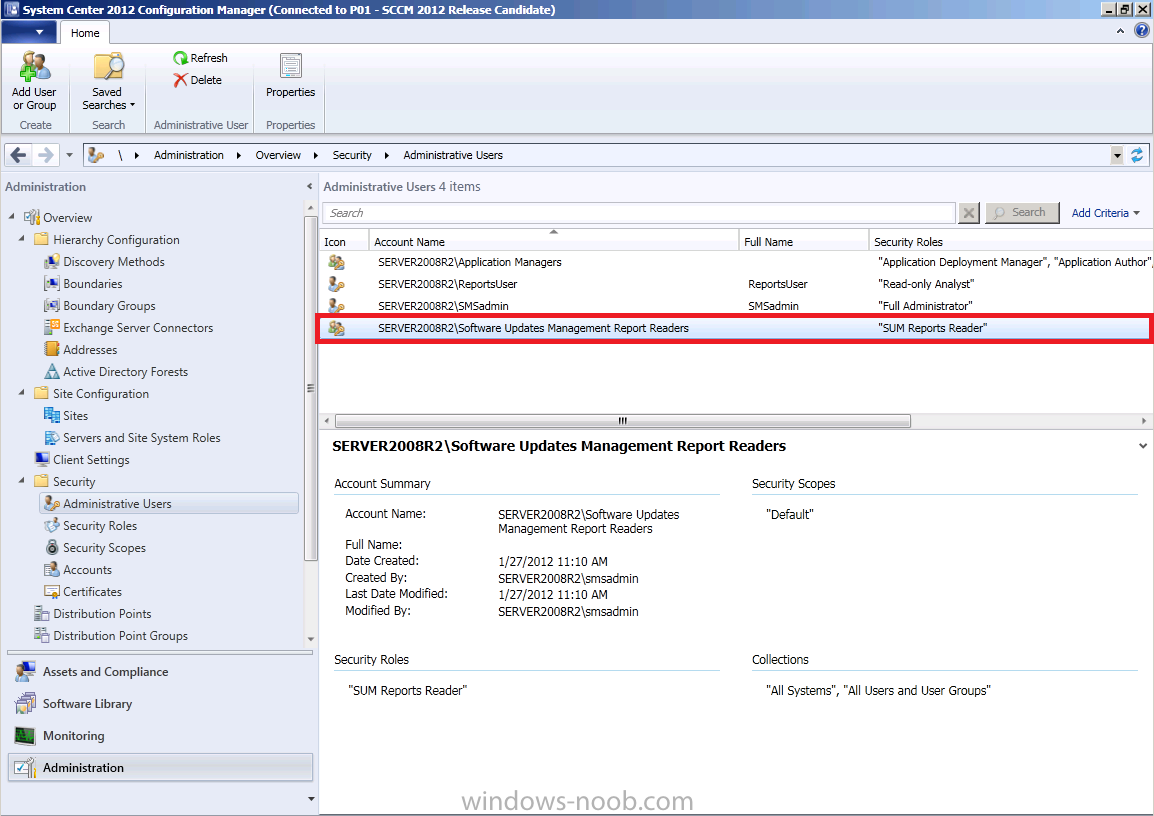
next we need to assign this group with our custom role, so select Add to add security roles, scroll through the list of roles and select our custom role: SUM Reports Reader as per the screenshot below
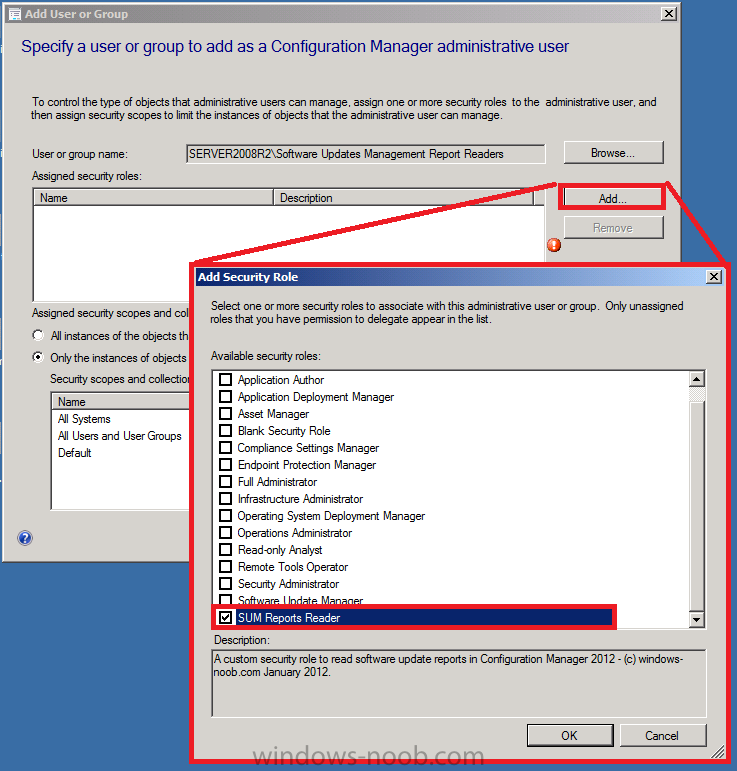
Click OK when done (leave the Assigned security scopes and collections as they are)
Our active directory security group is now assigned the custom SUM Reports Reader security role.
Step 5. Verify the custom role has the permissions we need
Perform
the following on your Configuration Manager 2012 server as a member of
the Software Updates Management Report Readers active directory security
group.
We will now test our new custom role by starting the Configuration
Manager console as a user which is a member of the previously created
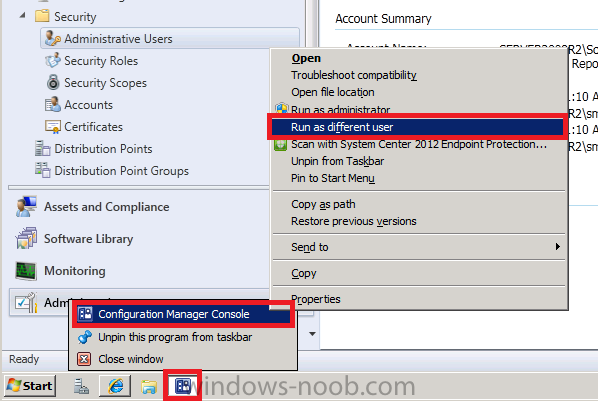
active directory security group. To do this right click on the Configuration Manager console icon in the system tray and hold down the shift key, then right click again (while holding down shift) on the new configuration manager console icon so that we can get a context based menu option called Run as Different User.
when the security credentials window appears, type in the credentials of a domain user that you have previously added to the Software Updates Management Report Readers active directory security group, click ok when done.
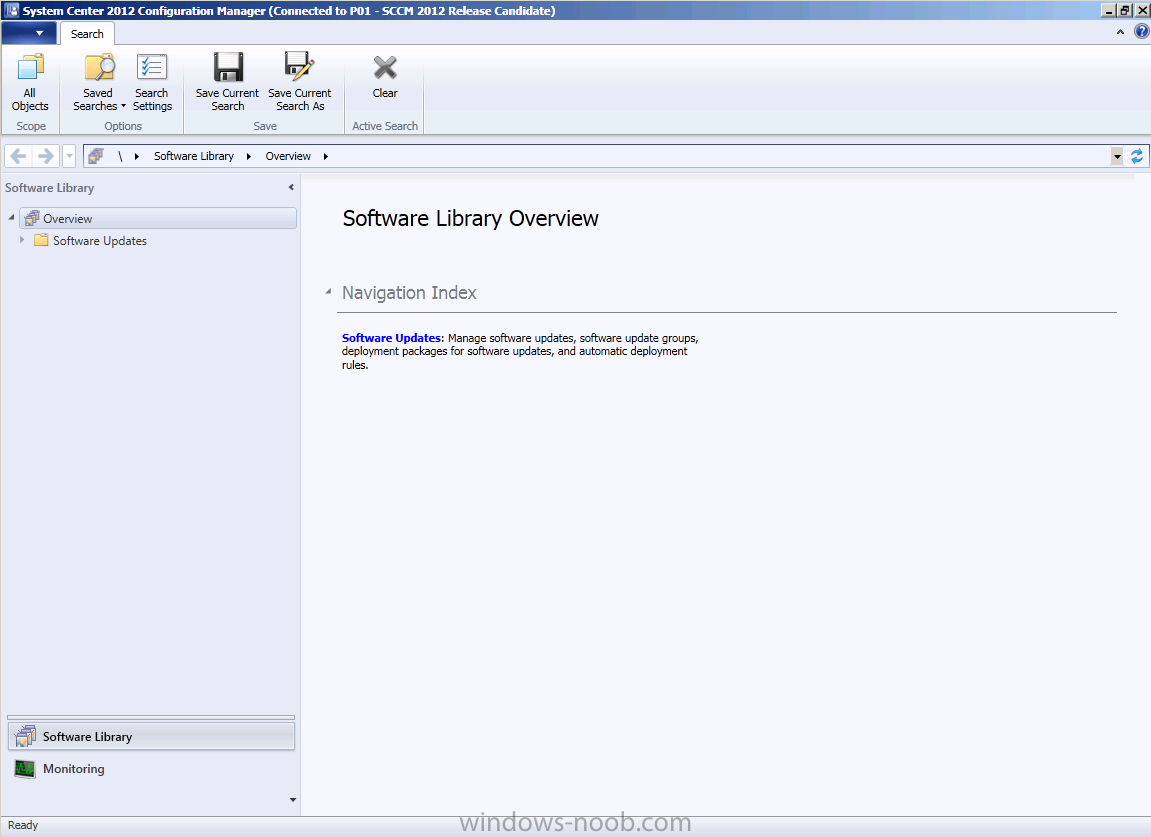
After a while, the Configuration Manager console will appear as it would
if started by that user and you can immediatly see that it looks
different, only the bits that are relevant to this user running Software
Update reports are displayed in the console.
When you add (or remove) permissions from the role, this view will
change however you should close and re-open the console to see the new
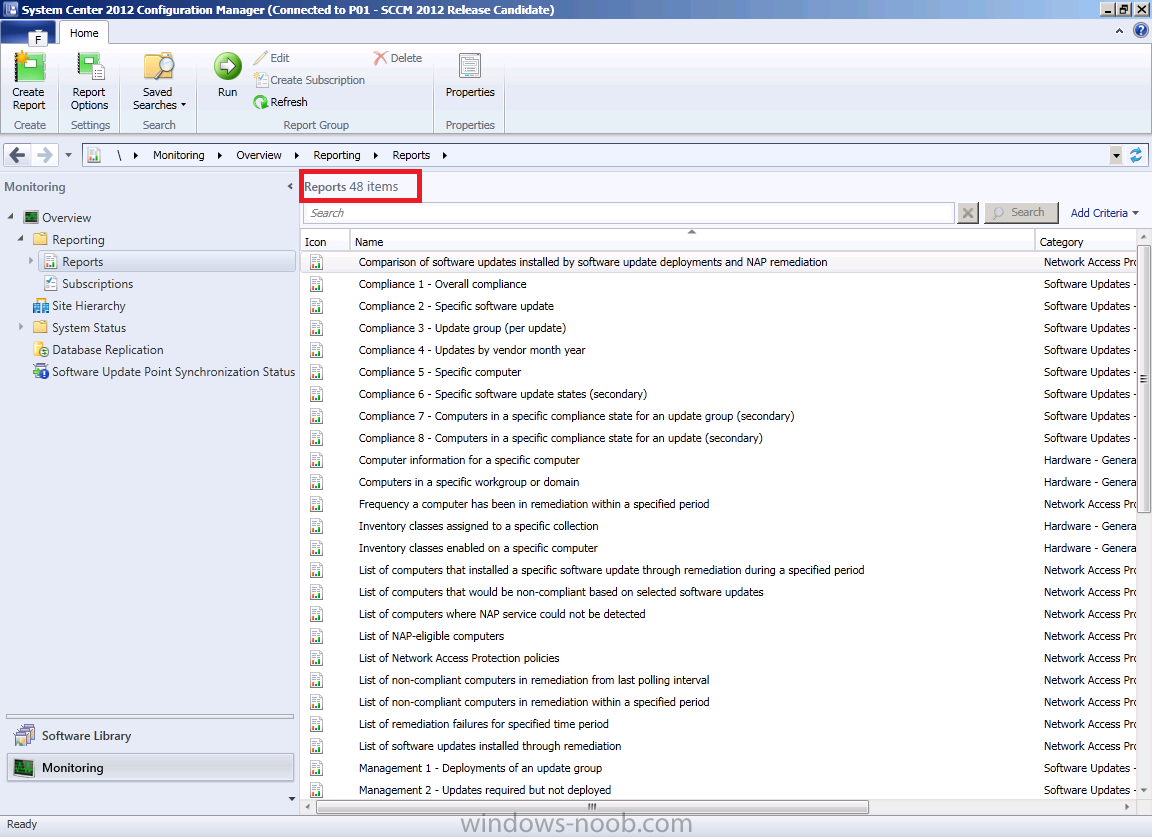
view with the credentials of your desired user. We have already defined
our permissions so lets select Monitoring and expand Reporting and then select Reports. Notice how only 48 software update related reports appear (in comparison to the 445 or so reports that a member of the Full Administrator security role would be able to view).
and below is what a Full Administrator would see in the same Reports pane
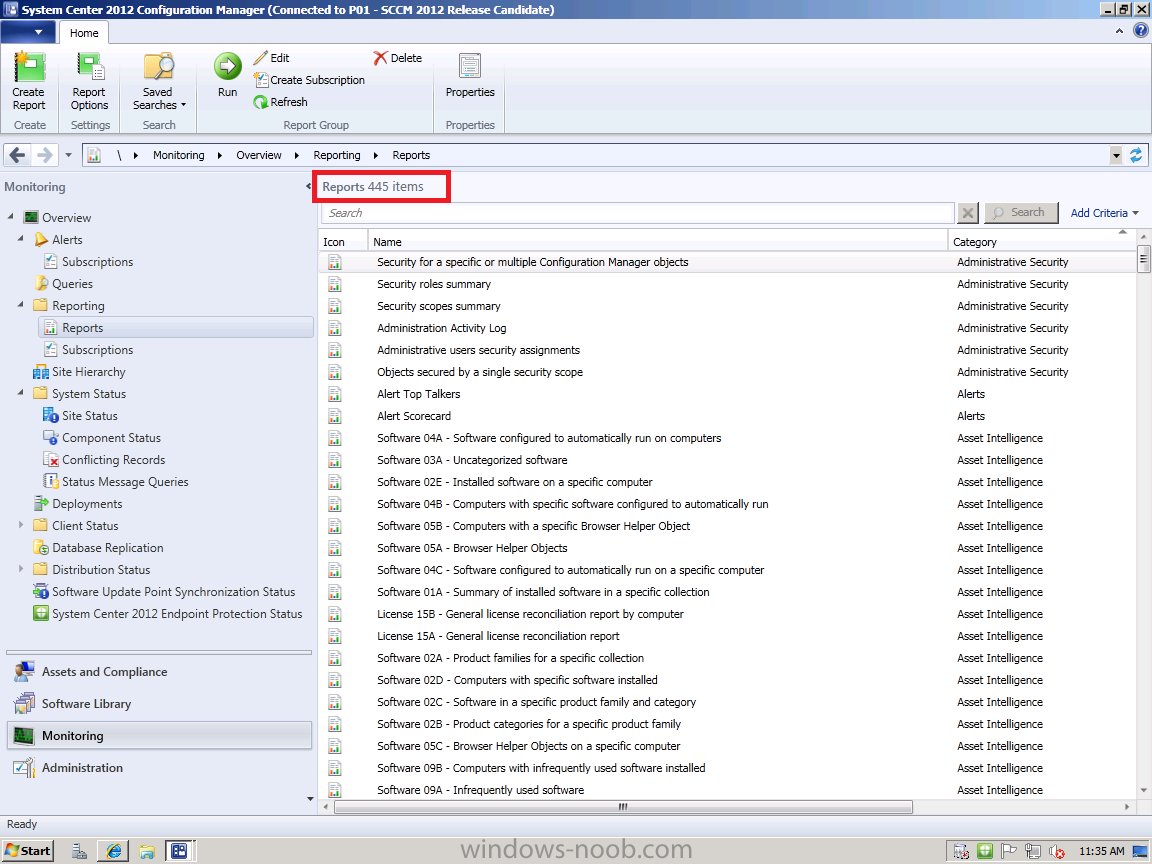
The difference in the number and type of reports available and what you
can do/see in the Configuration Manager console is governed by Role
Based Administration, cool huh ?
The original post is here on windows-noob.com
