
In Part 1 of this series we got our AD and SCCM servers ready, and then we installed System Center 2012 Configuration Manager as a standalone Primary site. In Part 2 we configured the SCCM server further by adding some Windows Server roles necessary for the following Configuration Manager 2012 functionality, Software Update Point (SUP) and Operating System Deployment. In Part 3 we configured the server further by Enabling Discovery methods and creating Boundary’s and Boundary Groups. In Part 4 we configured Client Settings, Added roles and Distributed the Configmgr Client to our Computers within the LAB, then in Part 5 we enabled the Endpoint Protection Role and configured Endpoint Protection settings and targeted a collection called All Windows 7 Computers with these settings and policies. In Part 6 we configured our SUP further to Deploy software updates to our All Windows 7 Computers and Build Windows 7 X64 collections. In Part 7 we used the Build and Capture
process to create our Base Windows 7 X64 wim image. In this part we’ll
use the captured image in our Deploy Windows 7 X64 task sequence and
we’ll set some User Device Affinity collection variables and use a USMT 4 package to migrate the users data using hardlinking.
Step 1. Create the USMT 4 package
Perform the following on your SCCM 2012 server as SMSadmin.
If you want to migrate data in a Deploy
Task Sequence you’ll need to have the USMT 4 package ready, so let’s
create it now so that we can access the necessary migration files in our
Deploy Windows 7 X64 task sequence.
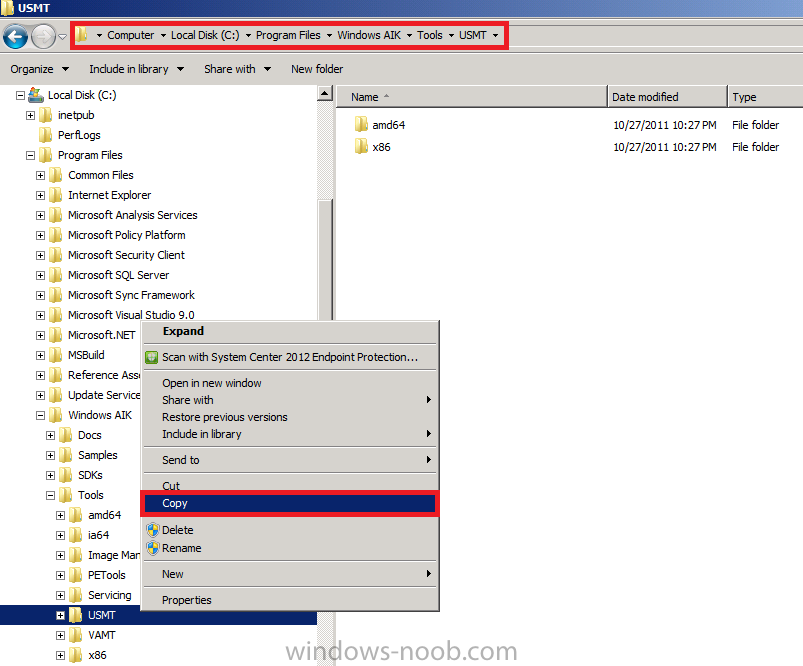
On your SCCM server in Windows Explorer, browse to C:\Program Files\Windows AIK\Tools\
Right click on the USMT folder and choose Copy,
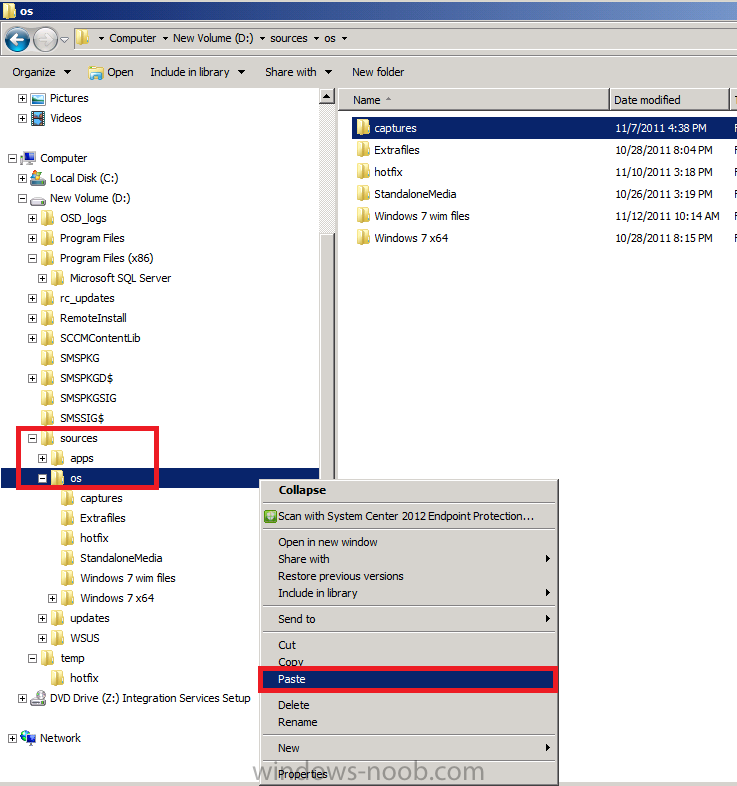
select your sources folder (mine is on D:\) and paste the USMT folder in sources\os so that it’s path is sources\os\usmt
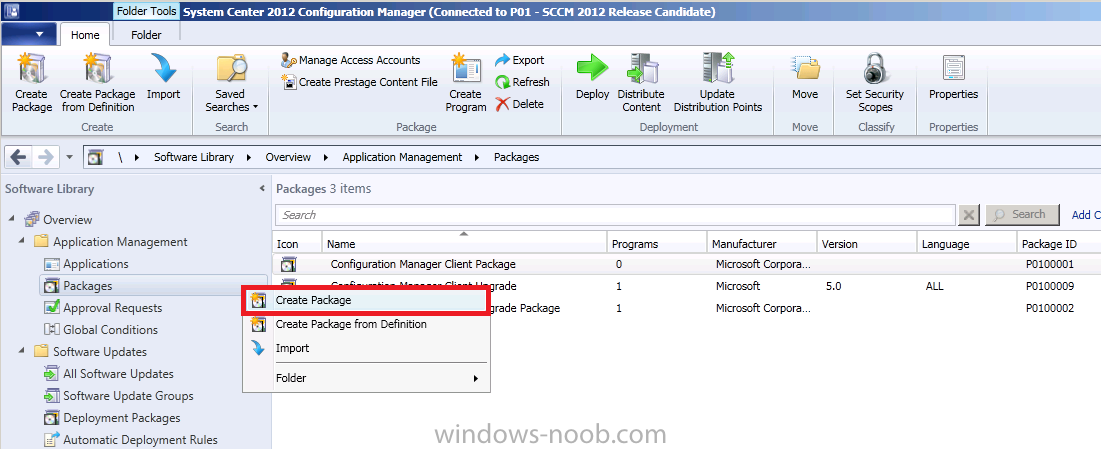
In the ConfigMgr Console, select Software Library, Application Management, Packages, right click and choose Create Package.
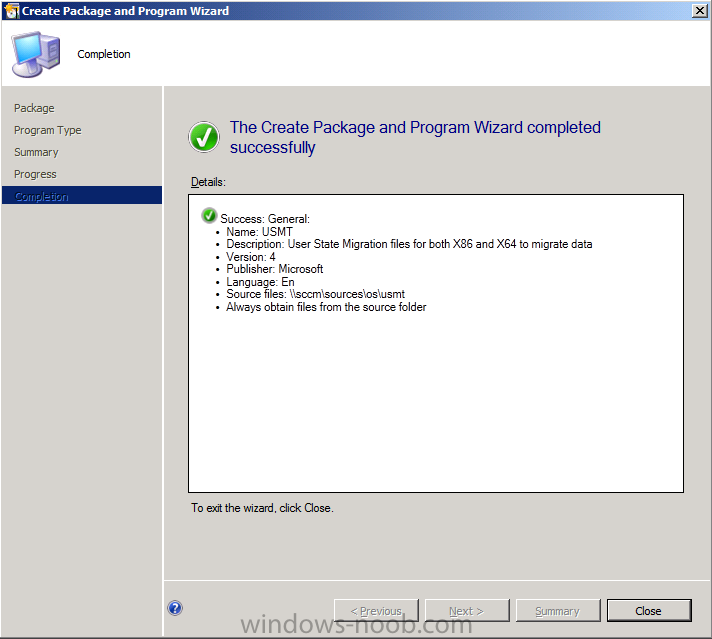
fill in the details about the package, call it USMT version 4 and point
to the UNC path of our newly copied files, \\sccm\sources\os\usmt

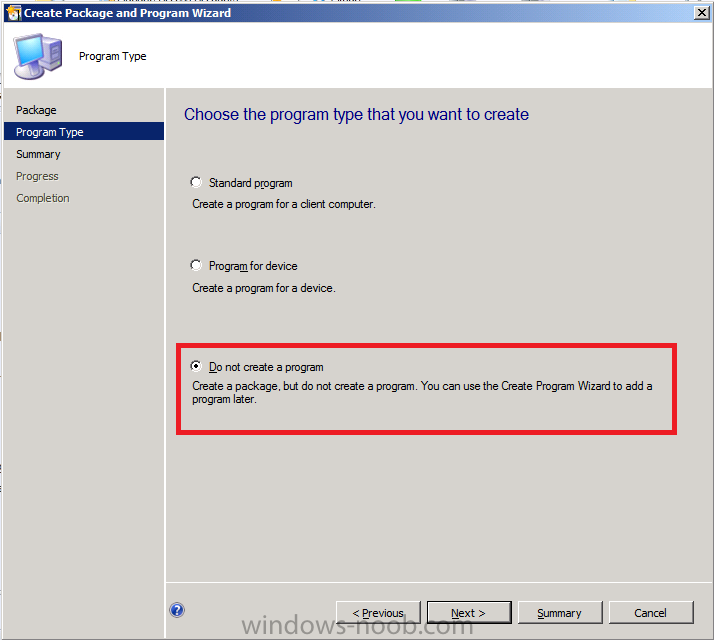
for Program Type select Do not create a program
Complete the Wizard
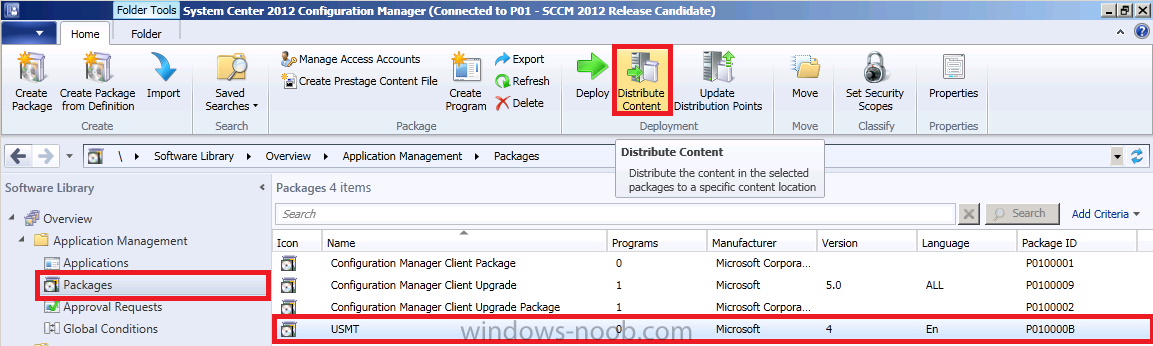
Step 2. Distribute the USMT package to our Distribution Points
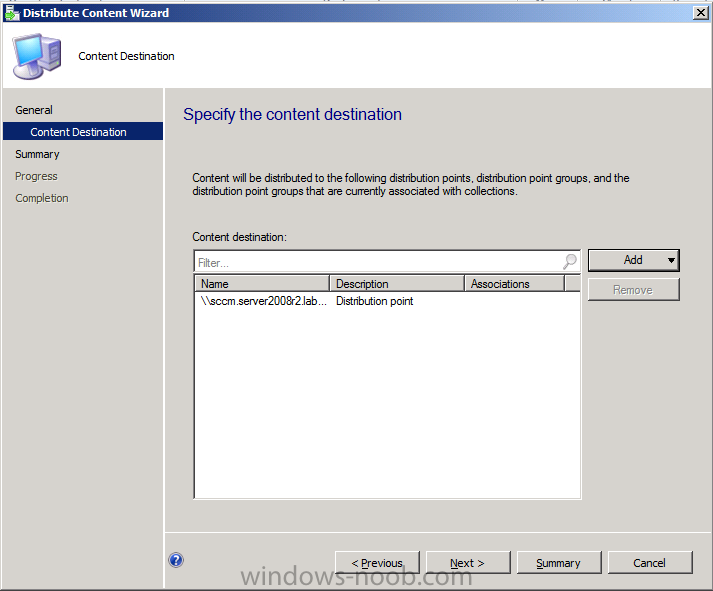
Select the USMT package and click on Distribute Content in the Ribbon
for Content Destination, click on Add, select Distribution point, select our DP,
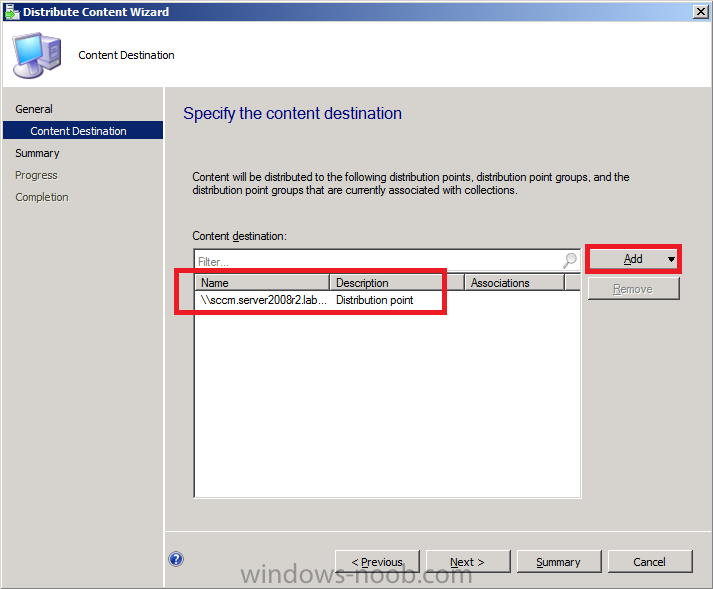
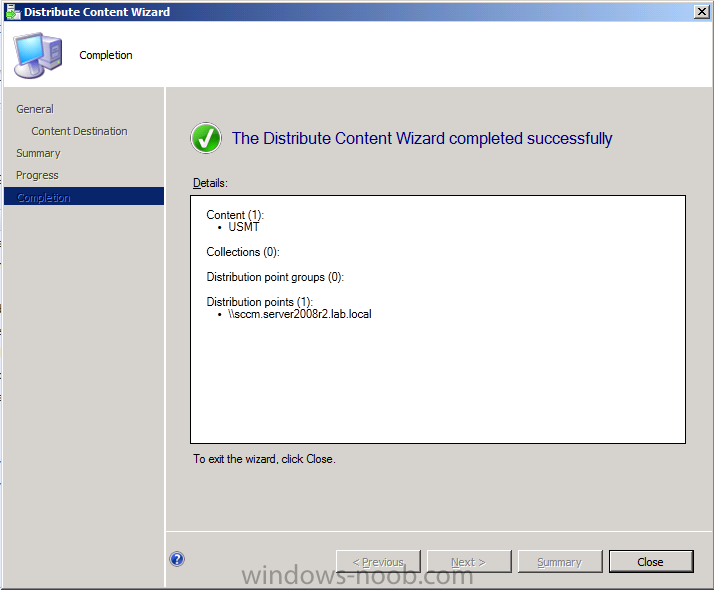
click through the rest of the wizard
Step 3. Import the captured Windows 7 X64 wim file
Perform the following on your SCCM 2012 server as SMSadmin.
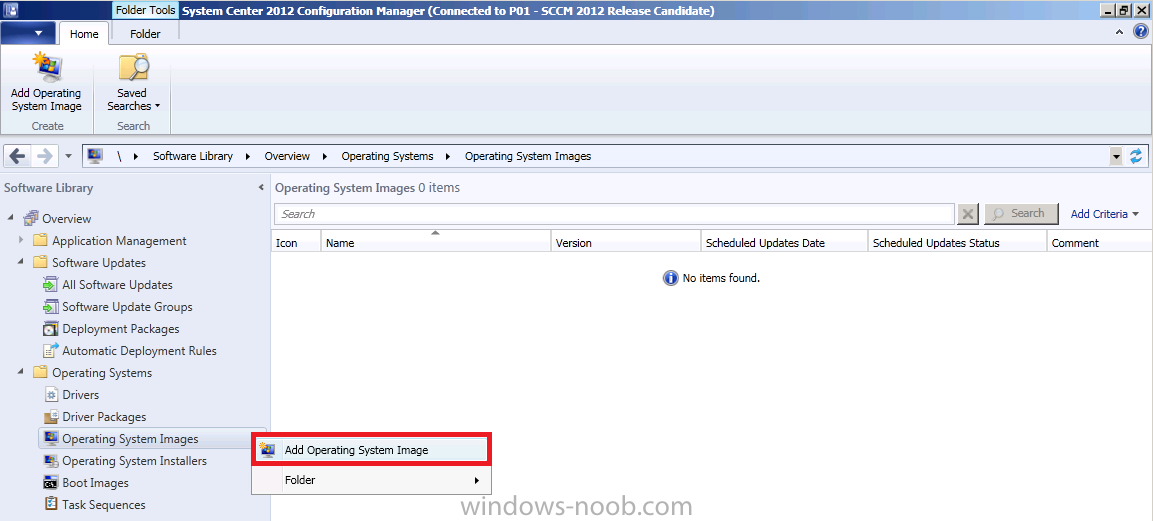
In the Software Library, Operating Systems section of the Configmgr console, click on Operating System Images, you’ll note that it is empty because we havn’t imported any images yet. Right click and choose Add Operating System Image
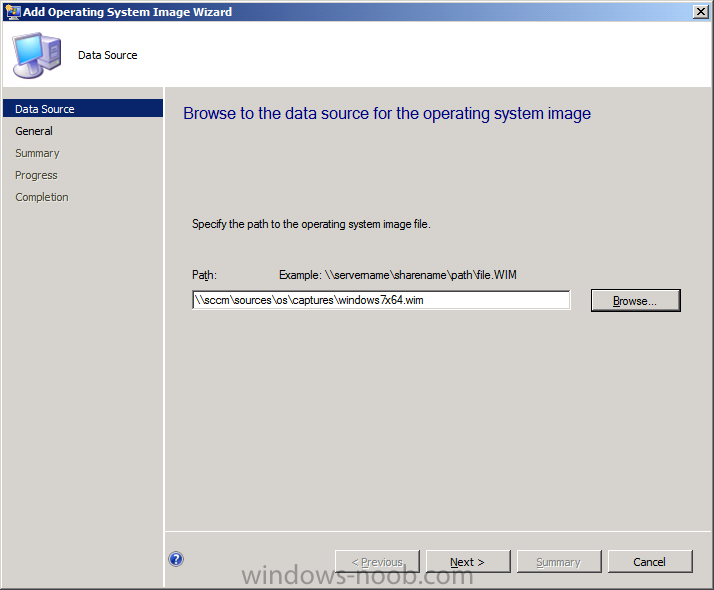
browse to the UNC of where we captured the image in Part 7 and select the captured wim file
eg: \\sccm\sources\os\captures\windows7x64.wim
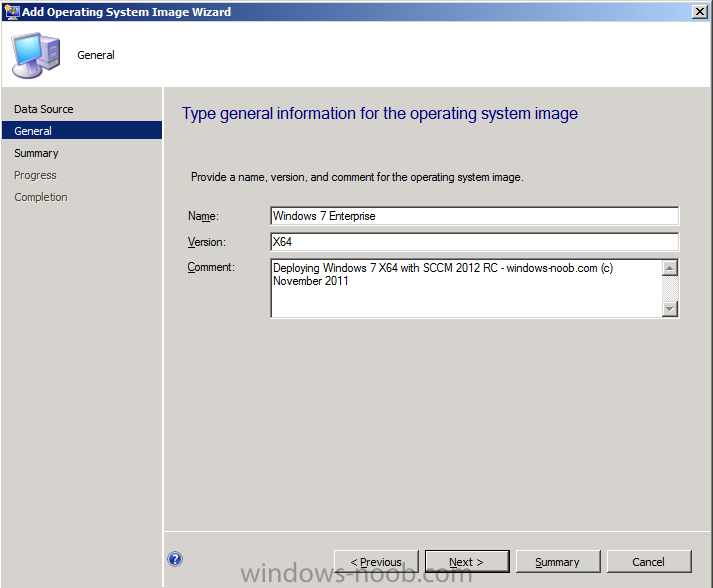
fill in some details about the image
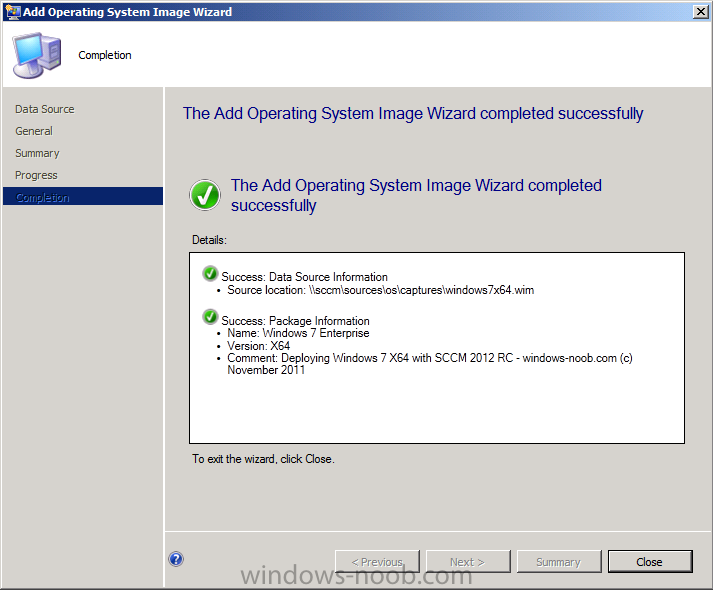
click through the summary, progress to completion
Step 4. Distribute the image to the Distribution points
Perform the following on your SCCM 2012 server as SMSadmin.
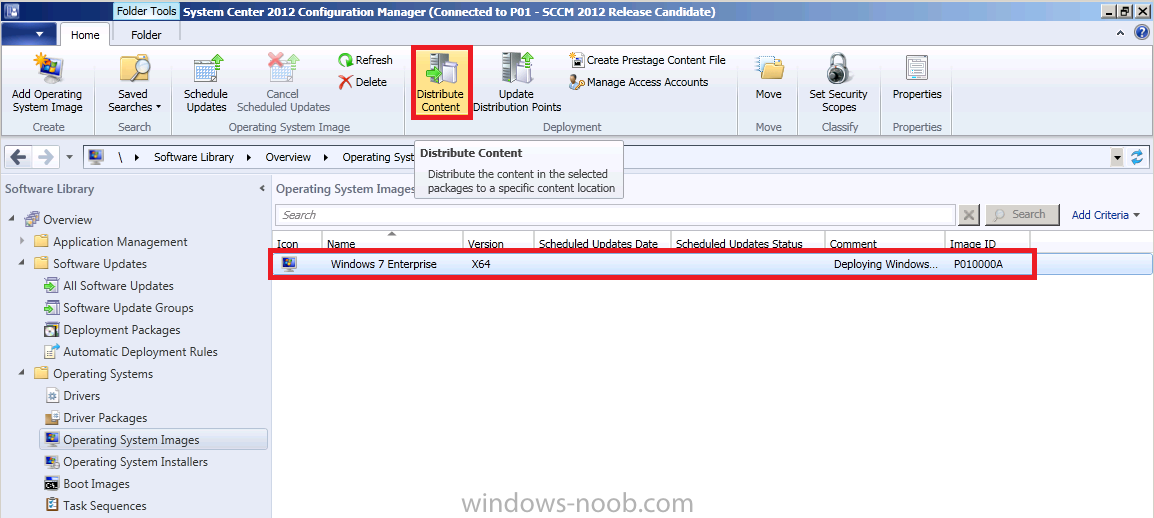
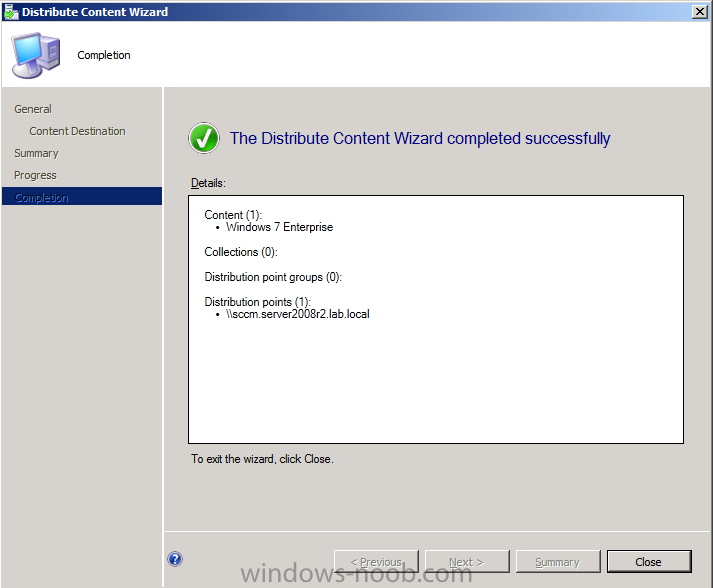
We now need to distribute our imported image to our distribution points. Select Our Windows 7 Enterprise X64 image and in the ribbon above click on Home and then Distribute Content
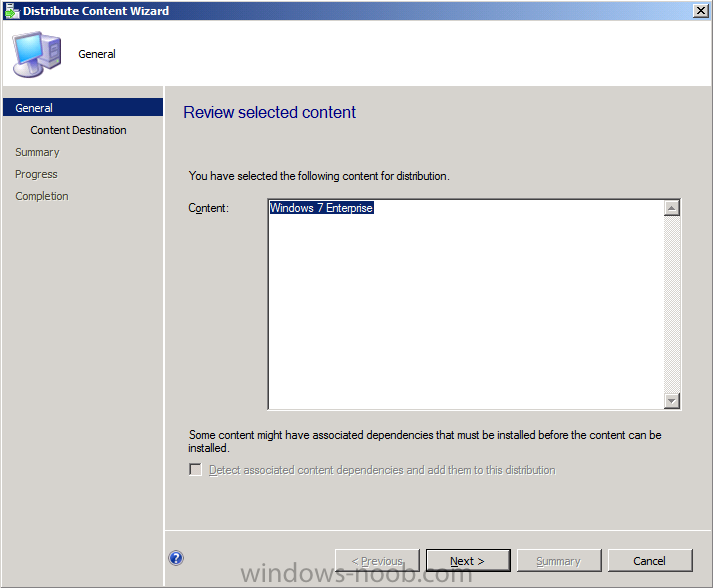
when the Distribute Content Wizard appears, click next
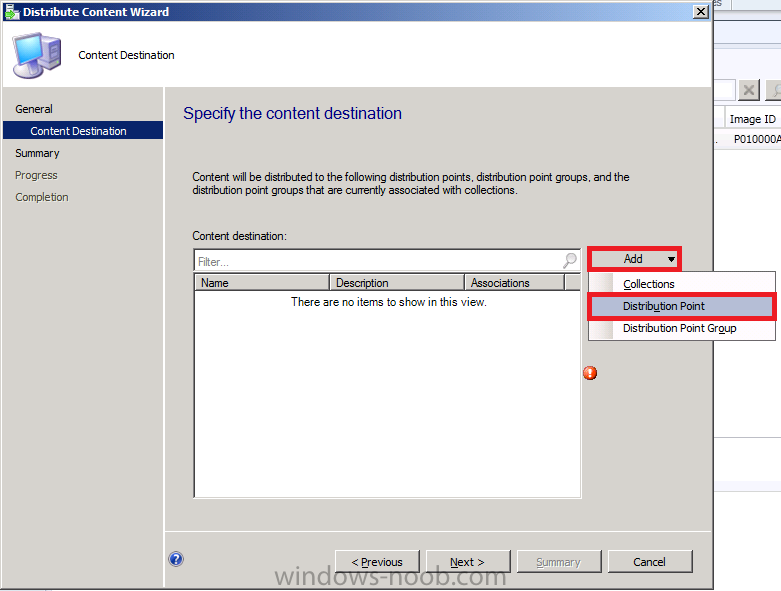
to specify the destination, click on add and select distribution point
select our Distribution Point from the list
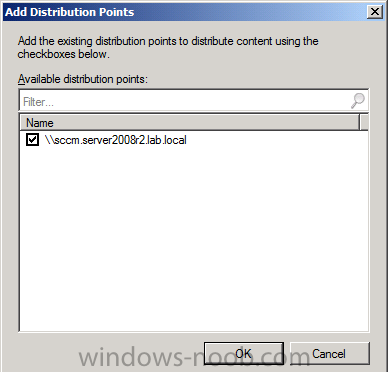
the DP appears selected
click next through summary/progress to completion
Step 5. Create the Deploy Task Sequence
Perform the following on your SCCM 2012 server as SMSadmin.
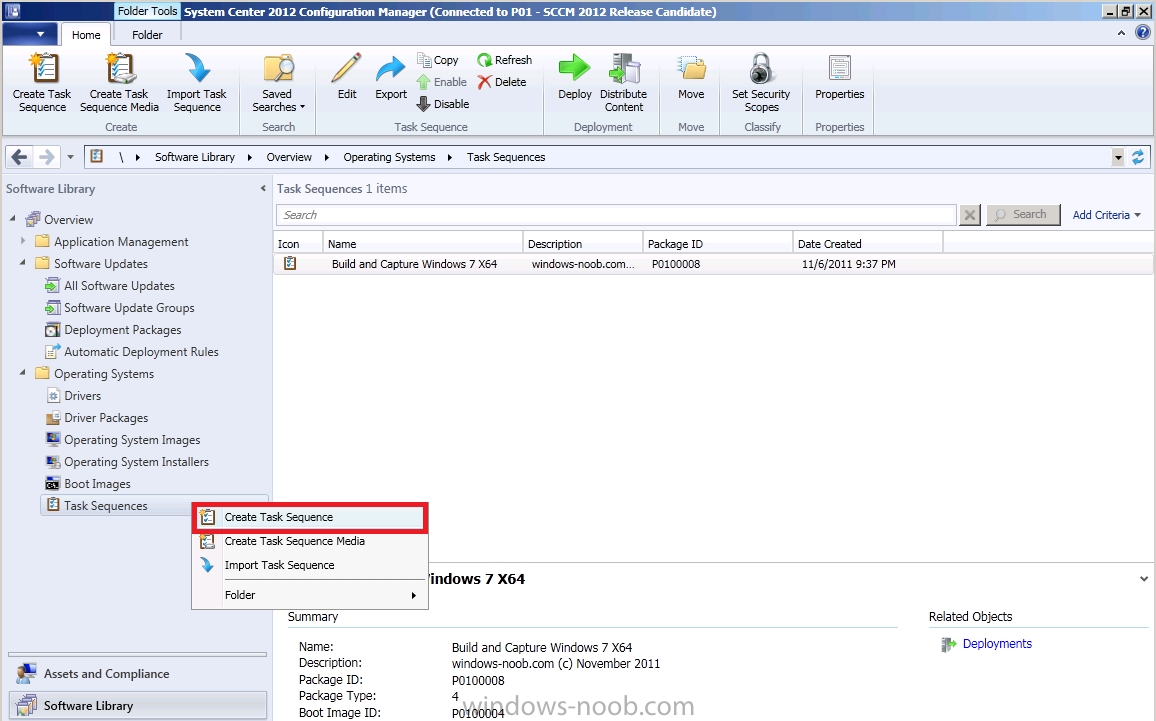
Now that we have added our captured operating system image to Configmgr, and distributed it to our dp’s we want to create a Deploy Task sequence to Deploy the image. In Task Sequences, right click and choose Create Task Sequence.
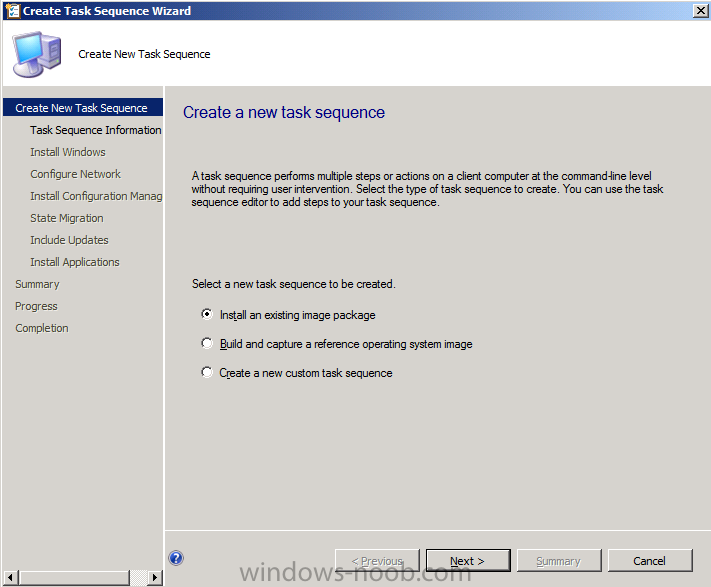
choose to Install an existing image package
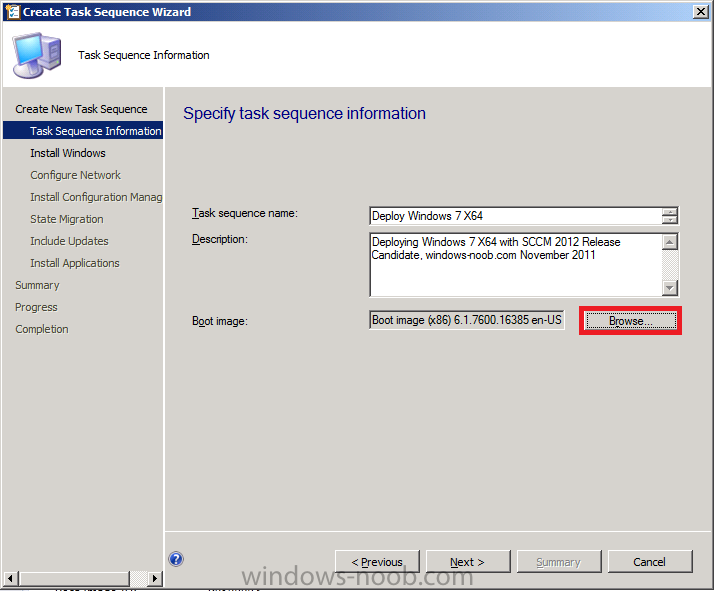
fill in some details about the image and click browse and select the X86 boot image, click next to proceed
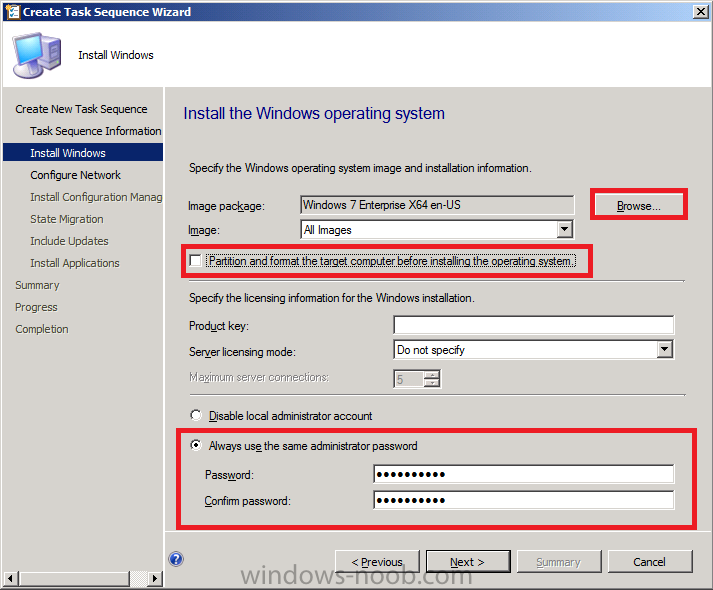
now select the Windows 7 image by clicking on browse and set an administrator password, uncheck Partition and format the target computer before installing the operating system if you want to use hardlinking for User state migration, otherwise files cannot be stored locally
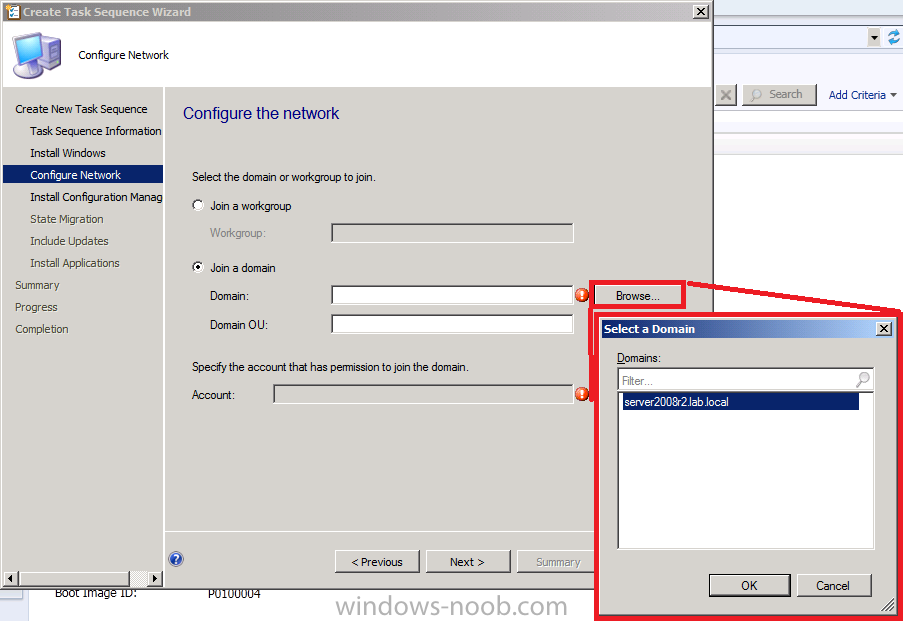
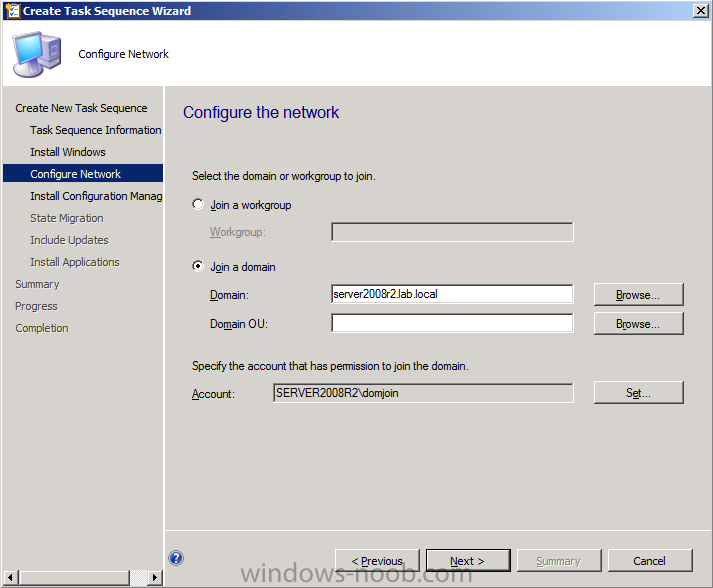
for the Configure the Network step, we want to join the domain so click on browse beside join a domain
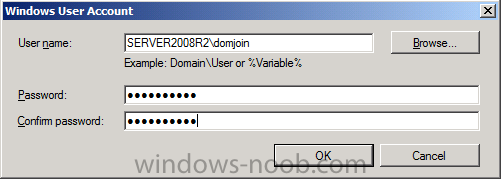
and now we need to specify the user that has permissions to join the
domain, i use the DomJoin user just or this task (create the user and
delegate them enough permissions to add computers to the domain)
I’m not specifying an OU in this step, you can, but don’t select the Computers Container if you do…
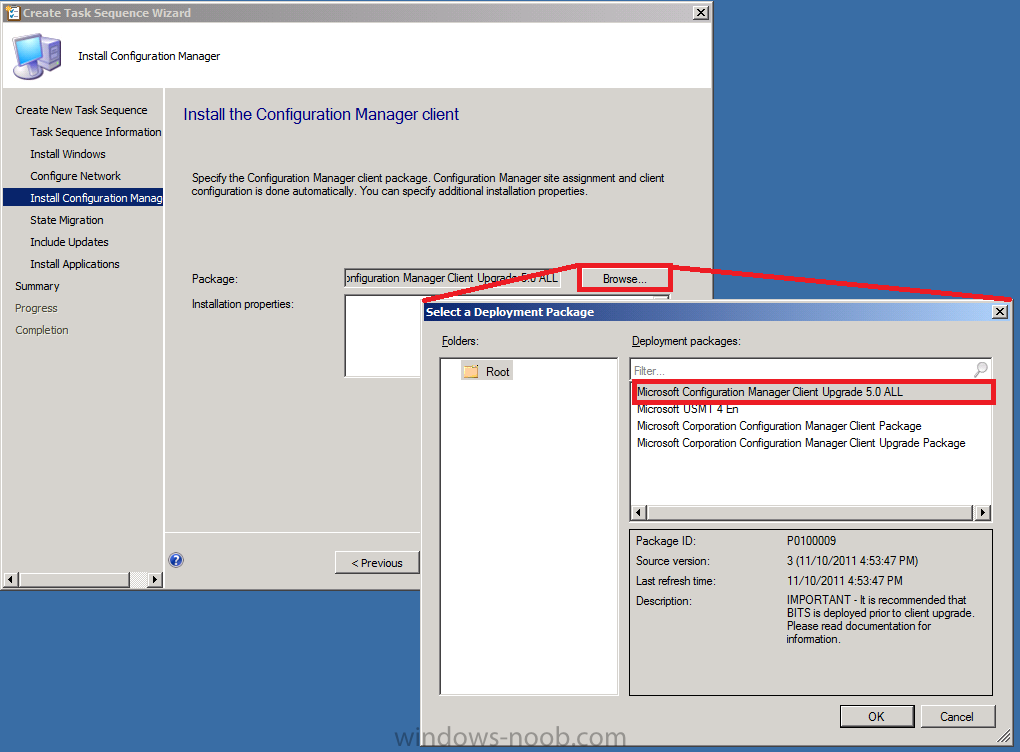
for the Install the Configuration Manager client step click on browse and select the client package from defintion we created in the last part
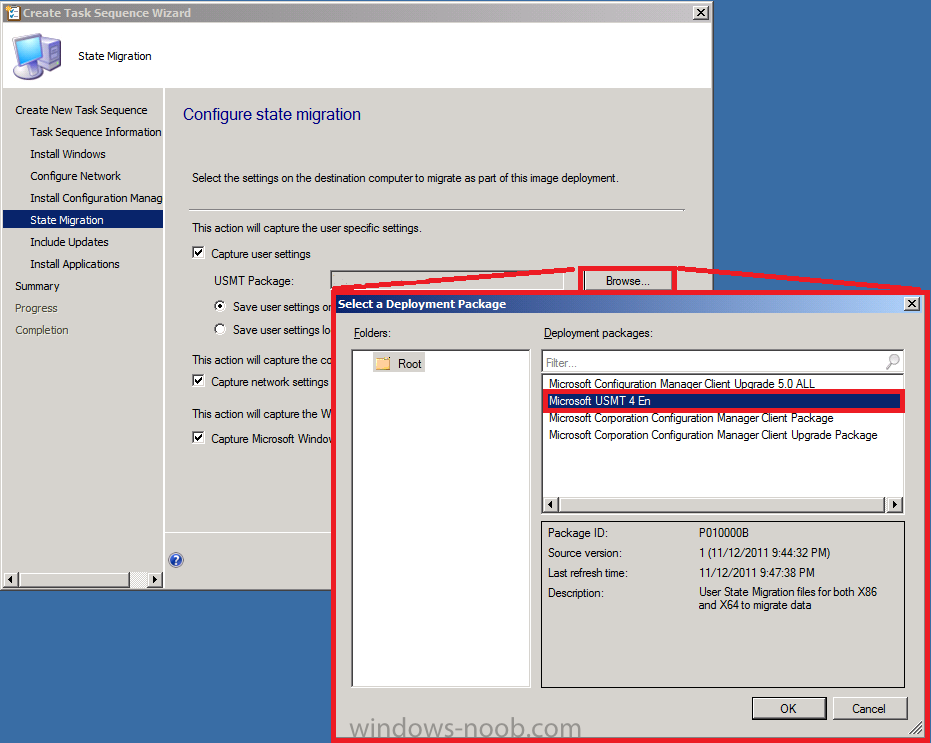
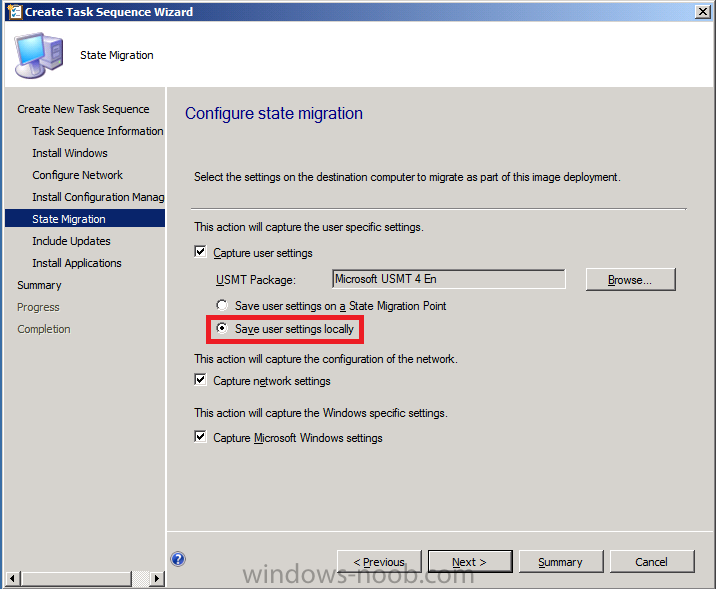
click next and for State Migration, select our USMT 4 package
change the setting to Save user settings Locally (this will mean we can use Hard Links)
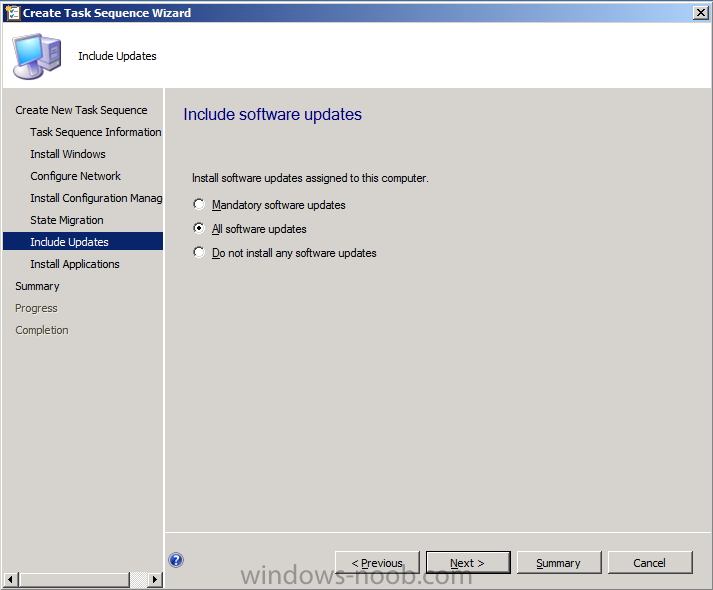
for Include Updates select All Software Updates
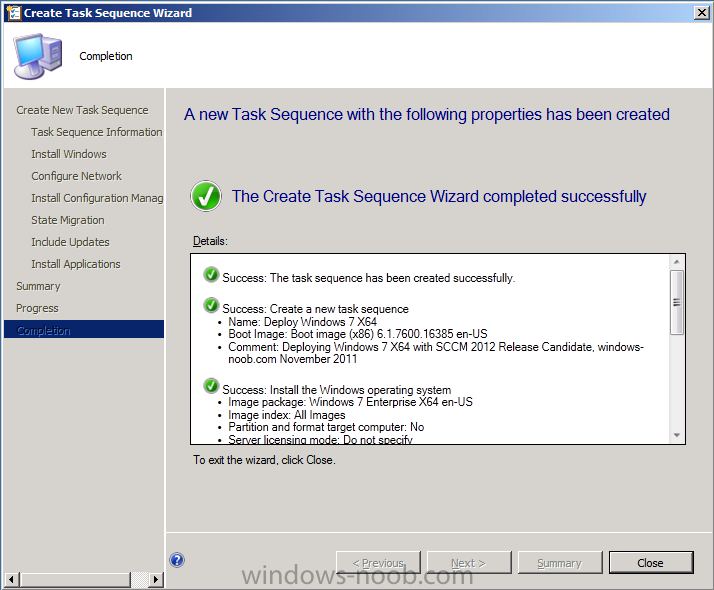
and click next through to completion (we are not installing any applications at this point).
Step 6. Create a Deploy Windows 7 X64 collection
Perform the following on your SCCM 2012 server as SMSadmin.
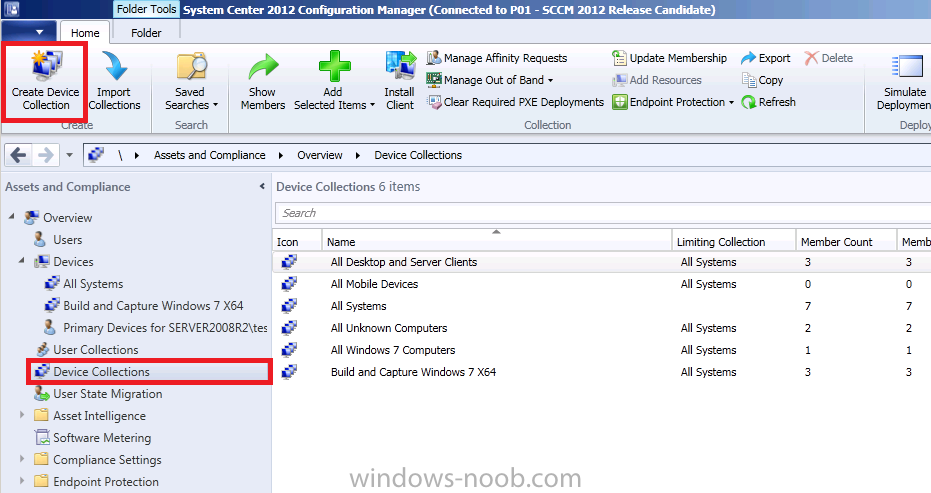
In the ConfigMgr console, click on Assets and Compliance, select Device Collections, click on Create Device Collection in the Ribbon
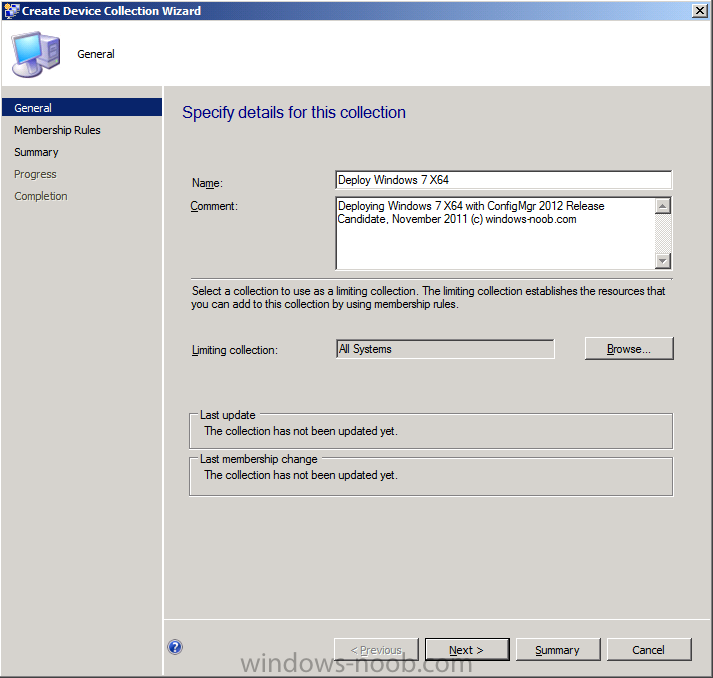
fill in the collection details, call it Deploy Windows 7 X64, limit it to All Systems
click next through the wizard, we will not add any computers to it yet, and we will not create any queries.
Step 7. Create Collection variables
Perform the following on your SCCM 2012 server as SMSadmin.
We want to set UDA variables on our
collection, so that a UDA user gets assigned as the primary user of
computers deployed in this collection. We are doing this to show you
that you can set a primary user to a device based on Collection
Variables.
We could do this in other ways, for example using task sequence steps to set the variables or prestart
commands or a frontend HTA, I will come back to this subject later, but
for now, let’s just see it in action by specifying the two variables
below.
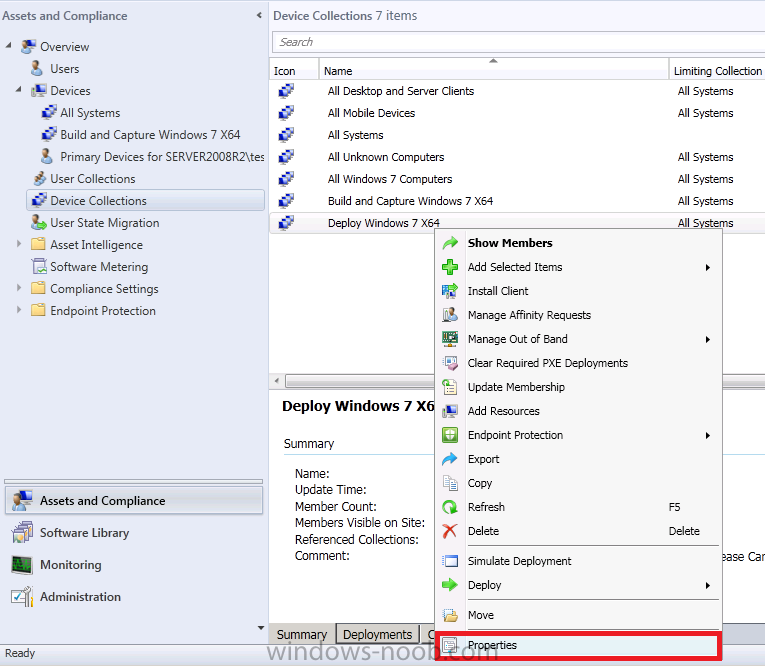
Right click on the Deploy Windows 7 X64 Collection and choose Properties
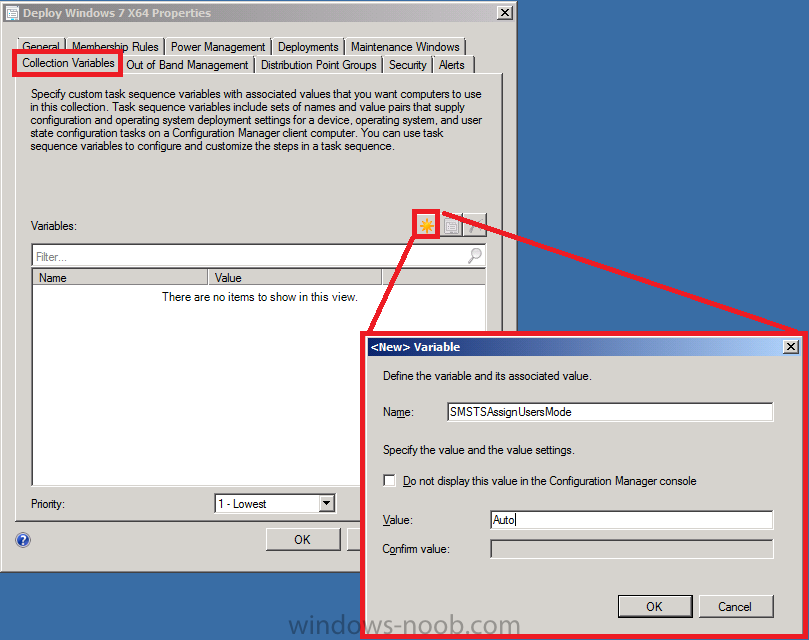
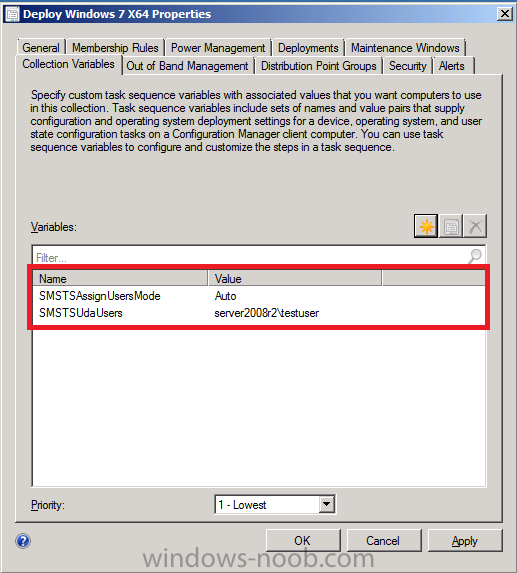
click on the Collection Variables tab, click on the yellow startburst and add a new variable called SMSTSAssignUsersMode, set the value to Auto and remove the checkmark from Do not display this value in the Configuration Manager console
do the same again for another variable called SMSTSUdaUsers, specify the user as domain\user
Step 8. Deploy our Task Sequence
Perform the following on your SCCM 2012 server as SMSadmin.
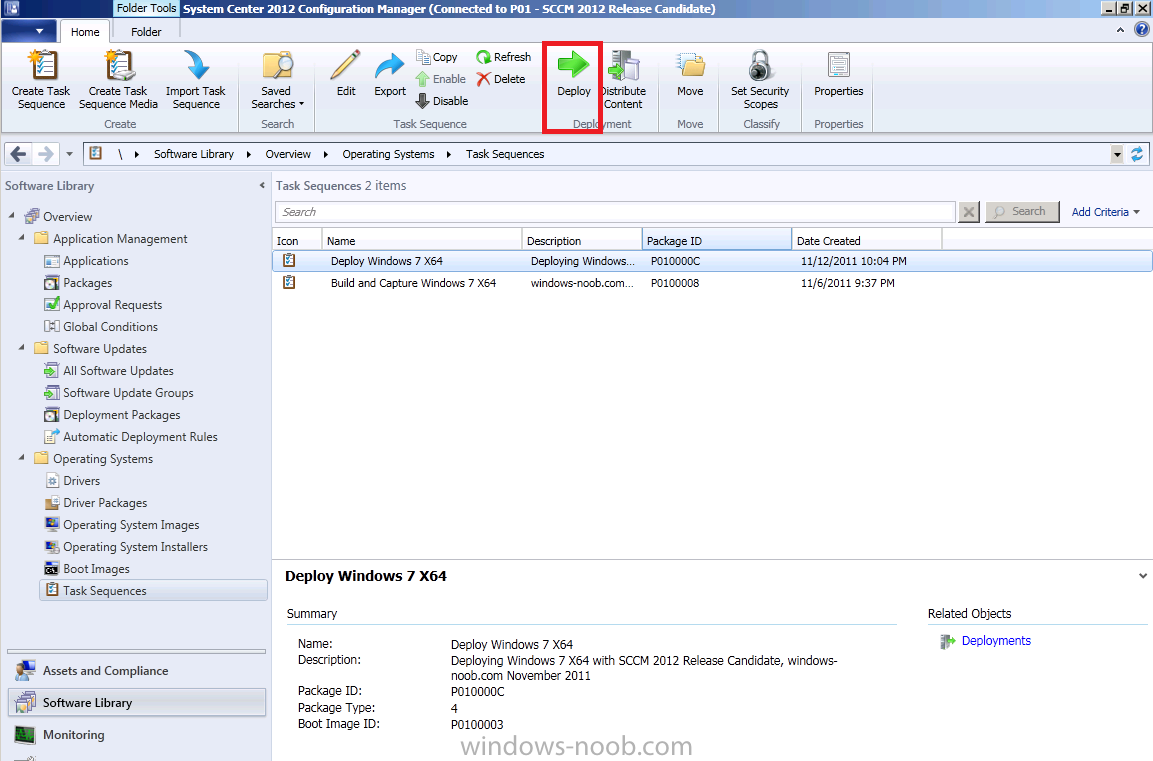
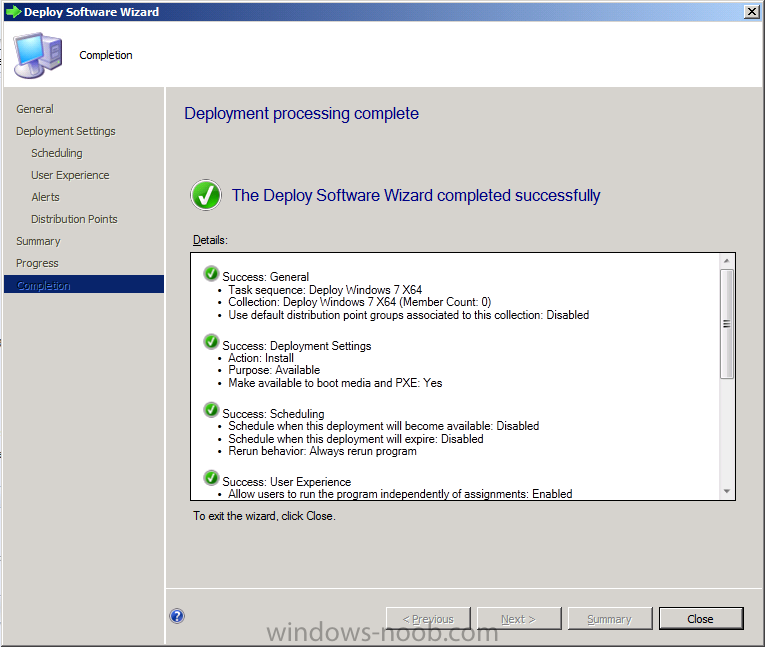
To make the task sequence available to computers we need to Deploy it. In Software Library, select our Deploy Windows 7 X64 task sequence and choose Deploy
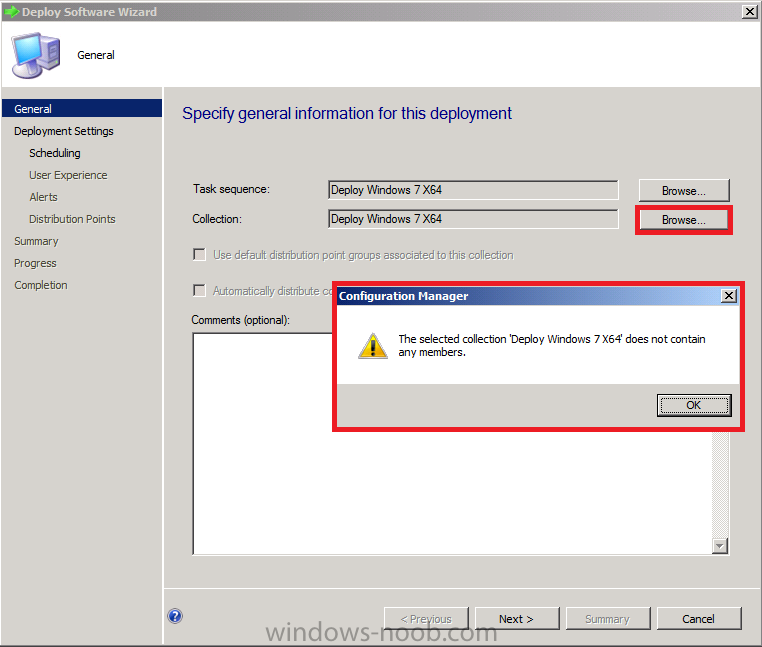
select our Deploy Windows 7 X64 collection and click ok to the warning
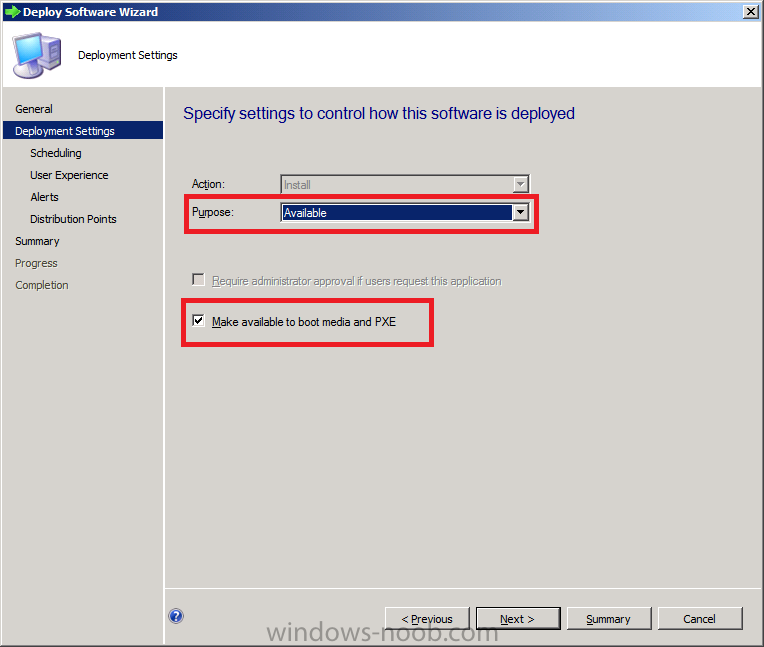
change purpose to Available (this keeps it optional, Required is Mandatory ! and dangerous as a result), place a checkmark in Make available to boot media and PXE
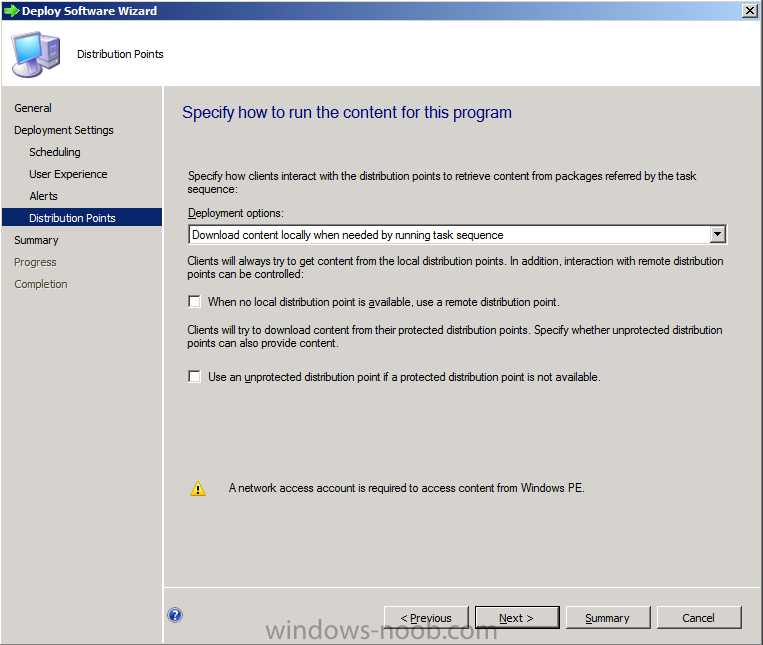
click next through the task sequence, until distribution points, by Default it will be set to Download content locally when needed by running task sequence, you can get this to change to Access content directly by editing each package referenced in the task sequence and setting the Data Access tab for each package, place a checkmark in Copy the content in this package to a package share on Distribution points
click next through the wizard to completion.
In our next part we will create an Application, and create a deployment type for that application to only install if the Primary User
is True for that device (User Device Affinity), we will then add a
computer to the new collection, PXE boot it and watch the process from
start to finish.
Original post here on windows-noob.com
