
In Part 1 of this series we got our AD and SCCM servers ready, and then we installed System Center 2012 Configuration Manager as a standalone Primary site. In Part 2 we configured the SCCM server further by adding some Windows Server roles necessary for the following Configuration Manager 2012 functionality, Software Update Point (SUP) and Operating System Deployment. In Part 3 we configured the server further by Enabling Discovery methods and creating Boundary’s and Boundary Groups. In Part 4 we configured Client Settings, Added roles and Distributed the Configmgr Client to our Computers within the LAB, then in Part 5 we enabled the Endpoint Protection Role and configured Endpoint Protection settings and targeted a collection called All Windows 7 Computers with these settings and policies.
In Part 6 we configured our SUP further to Deploy software updates to our All Windows 7 Computers and Build Windows 7 X64 collections. In Part 7 we used the Build and Capture process to create our Base Windows 7 X64 wim image. In Part 8 we created a USMT 4 package to migrate the users data using hardlinking and then we imported the captured image into ConfigMgr and created a Deploy Windows 7 X64 task sequence. We created a Deploy Windows 7 X64 Collection and set some User Device Affinity collection variables.
In this part we will create an Application, and create a deployment type for that application to only install if the Primary User
is True for that device (User Device Affinity), we will then copy our
Task Sequence (duplicate it), deploy the new Task Sequence, add a
computer to the new collection and then PXE boot the computer to the
Deployment Menu.
Applications are new in System Center 2012 Configuration Manager and have the following characteristics:
- Applications
contain the files and information necessary to deploy a software
package to a computer or a mobile device. Applications contain multiple deployment types
that contain the files and commands necessary to install the software.
For example, an application could contain deployment types for a local
installation of a software package, a virtual application package or a
version of the application for mobile devices. - Requirement rules
define conditions that specify how an application is deployed to client
devices. For example, you can specify that the application should not
be installed if the destination computer has less than 2GB RAM or you
could specify that a virtual application deployment type is installed
when the destination computer is not the primary device of the user. - Global conditions are similar to requirement rules but can be reused with any deployment type.
- User device affinity
allows you to associate a user with specified devices. This allows you
to deploy software to a user rather than a device. For example, you
could deploy an application so that it only installs on the primary device of the user.
On devices that are not the primary device of the user, you could
deploy a virtual application that is removed when the user logs out. - Deployments
are used to distribute applications. A deployment can have an action
which specifies whether to install or uninstall the application and a
purpose which specifies whether the application must be installed or
whether the user can choose to install it. - System Center 2012 Configuration Manager can use detection methods to determine if a deployment type has already been installed on a device by using product information, or a script.
- Application
management supports the new monitoring features in System Center 2012
Configuration Manager. The status of an application deployment can be
monitored directly in the Configuration Manager console. - Packages and programs
from Configuration Manager 2007 are supported in System Center 2012
Configuration Manager and can use some of the new deployment and
monitoring features. - You can now deploy a task sequence on
the Internet, as a method to deploy a script, for example, prior to
installing a package and program. It is still not supported to deploy an
operating system over the Internet. - Software Center
is a new client interface that allows users to request and install
applications, control some client functionality, and to access the Application Catalog, which contains details about all available applications.
Step 1. Create an Application
Perform the following on your SCCM 2012 server as SMSadmin.
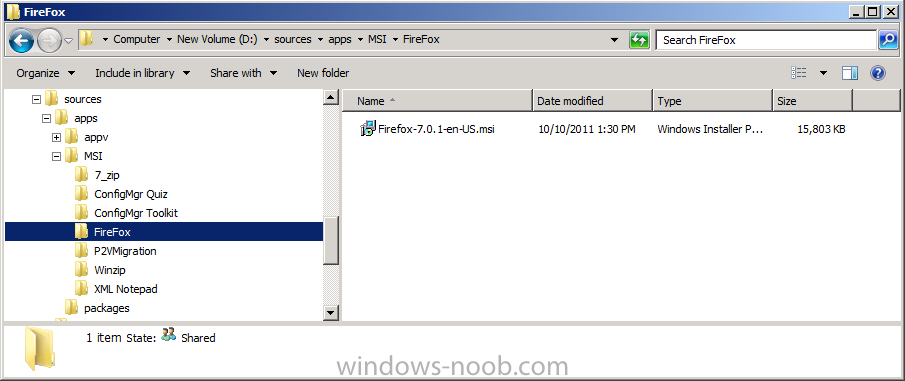
Now we will create an application in this case FireFox, you can download an MSI of it from here
(The files contained in this MSI are the official binaries with no
modifications). Save the application in your package sources share (I
have shared a root folder on D:\ called Sources with sub folders within,
one is called Apps). Copy the downloaded FireFox MSI to a subdirectory
of your sources\apps\msi share just like I have done in the screenshot below.
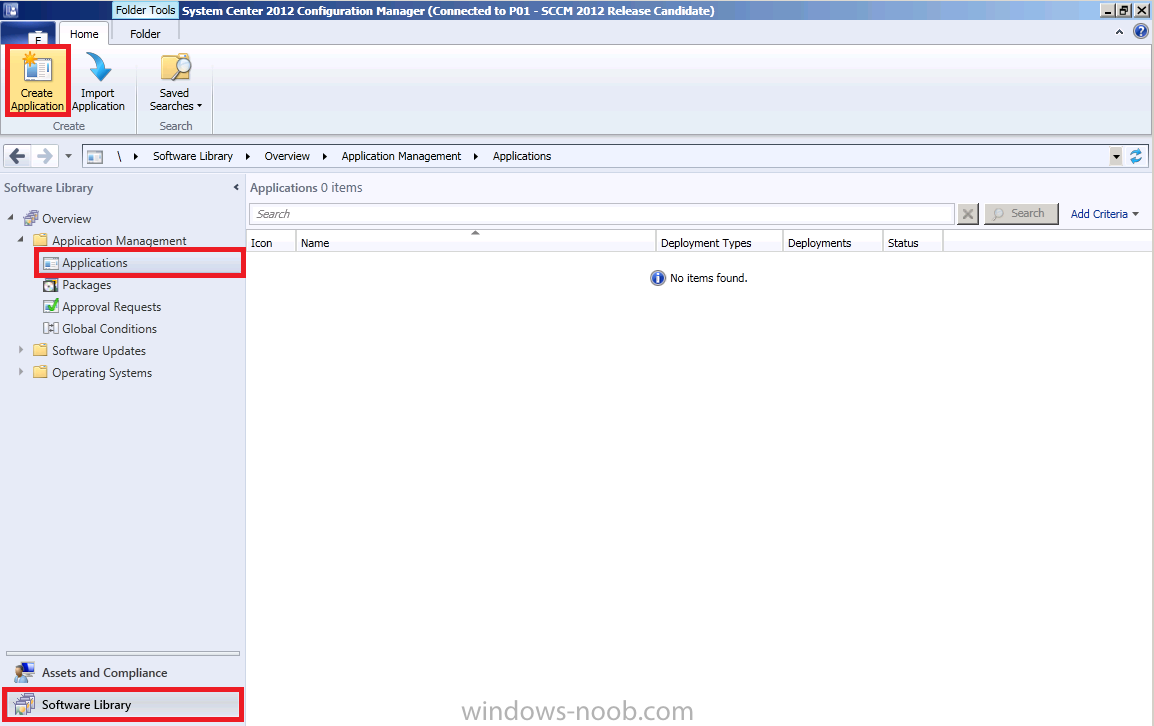
In the Configmgr Console, click on Software Library, Applications, in the ribbon click on Create Application
When the Create Application wizard appears click on browse then point it to the UNC of where the MSI is stored eg: \\sccm\sources\apps\msi\firefox\Firefox-7.0.1-en-US.msi
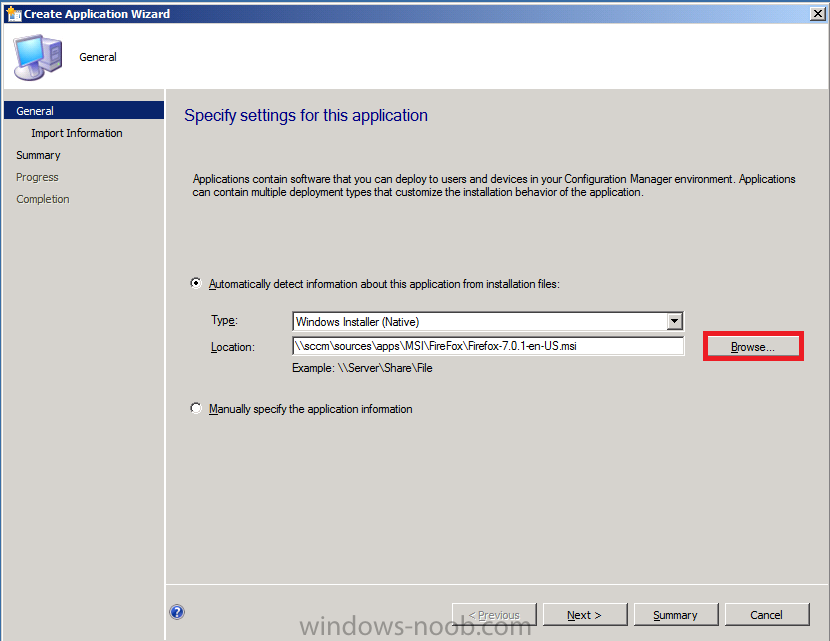
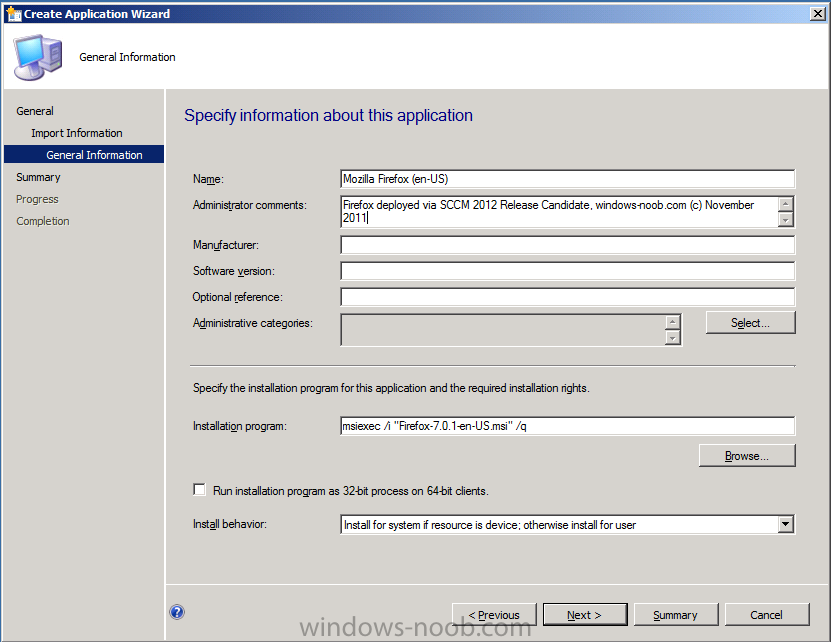
click next and you’ll get to the Imported Information screen,
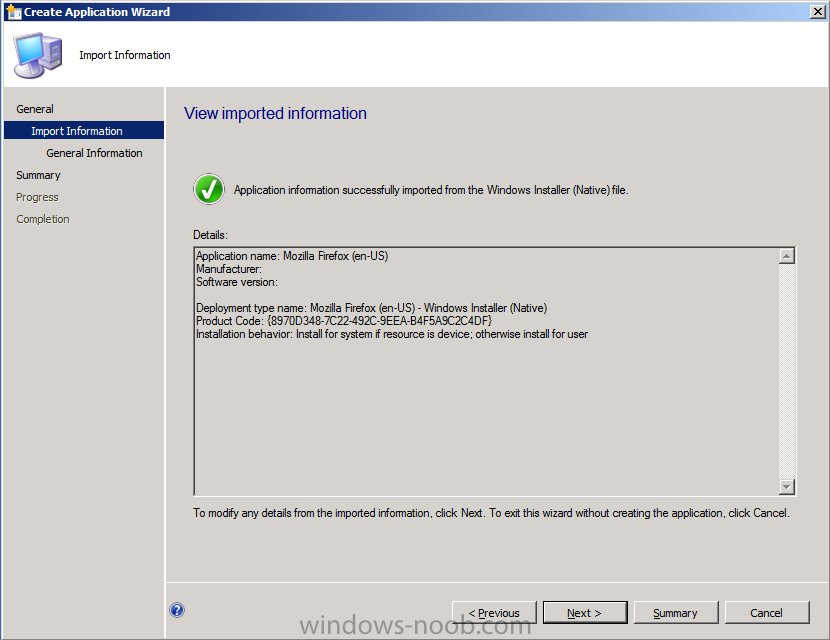
click next again to enter General Information about this application, verify that the installation switches are ok and click next
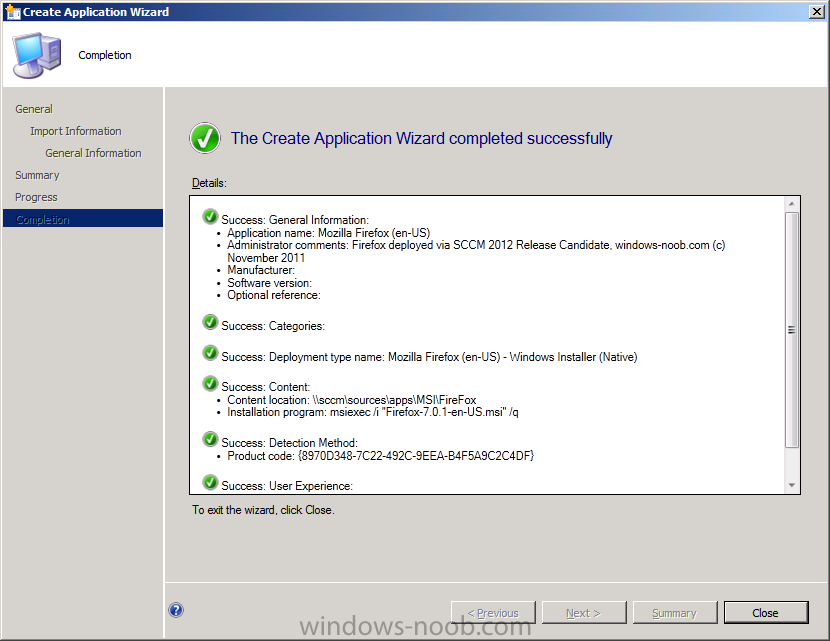
click next at the summary through to completion
Step 2. Edit the Deployment Type
Perform the following on your SCCM 2012 server as SMSadmin.
As we have selected the default values during the wizard, a Deployment Type
has already been setup but we want to edit it so that this application
only installs if a primary user has been associated with the device
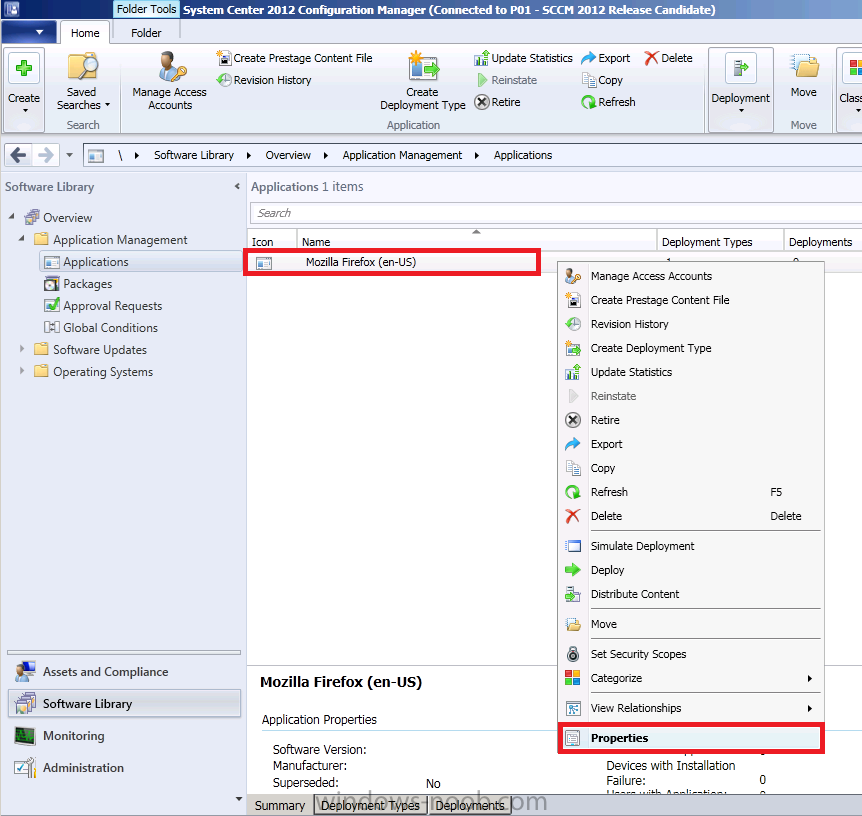
(UDA), so right click on the Application and choose Properties
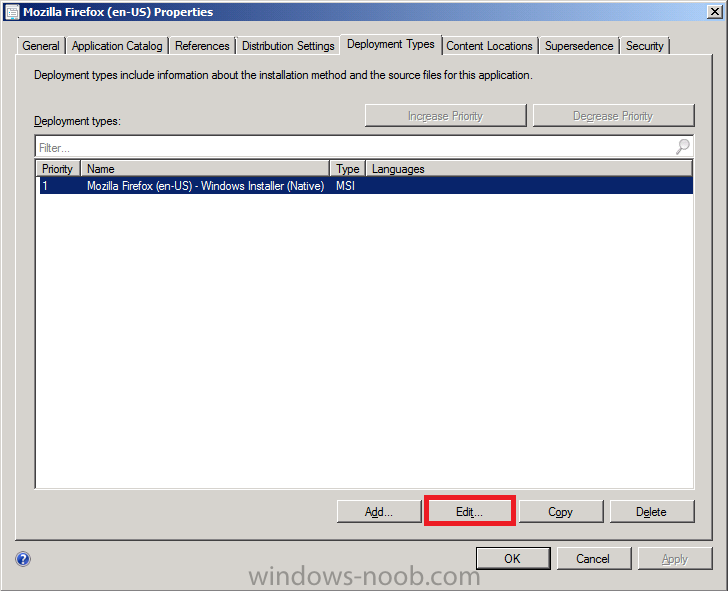
the Applications properties are revealed, click on the Deployment Types Tab
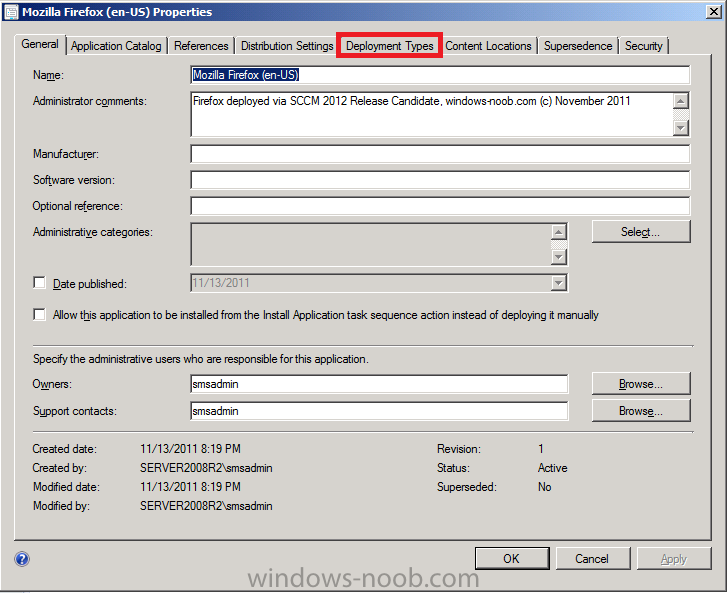
select the Deployment type and click on Edit
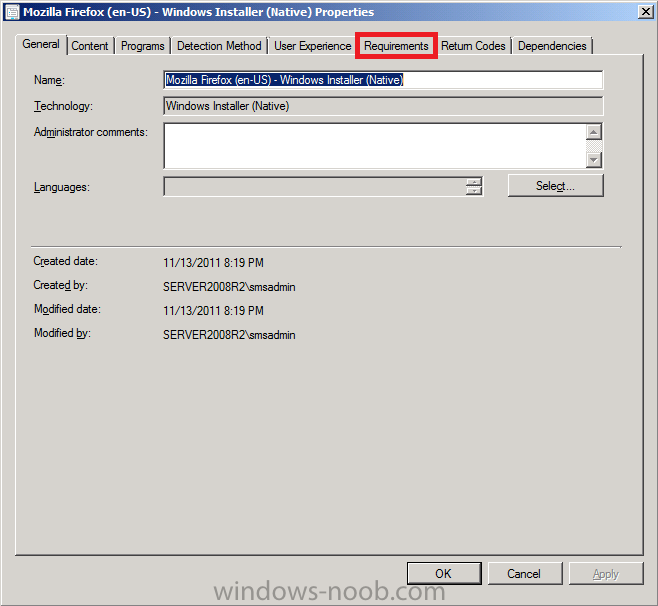
the Deployment Type properties are revealed, click on the Requirements Tab
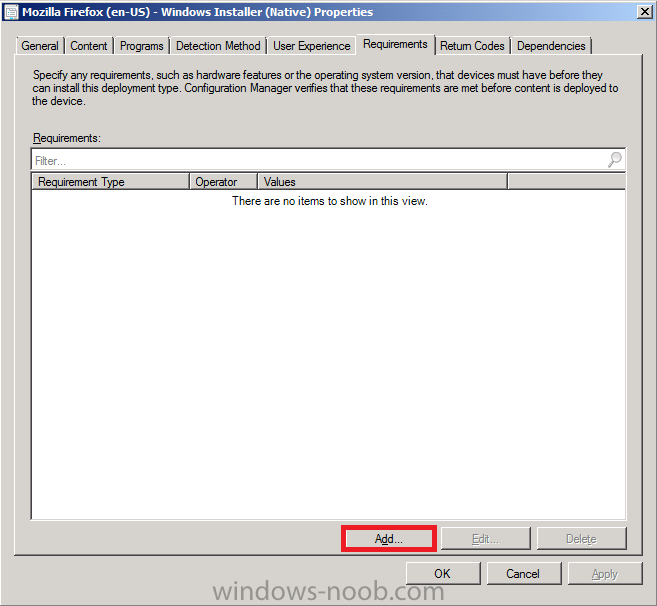
there are no requirements listed, click on Add
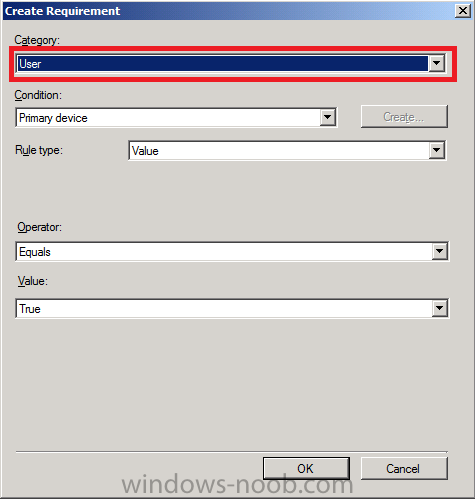
on the Create Requirement screen, select the Category drop down menu and
select User, verify that it’s set as below (primary device equals true)
click Apply
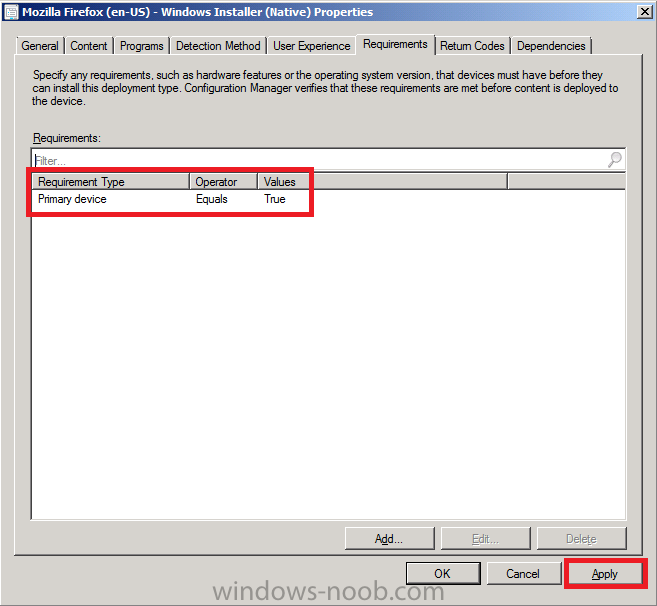
and click ok, then click apply and ok again to exit from the Deployment Type menu
Step 3. Create a Deployment for our Application
Perform the following on your SCCM 2012 server as SMSadmin.
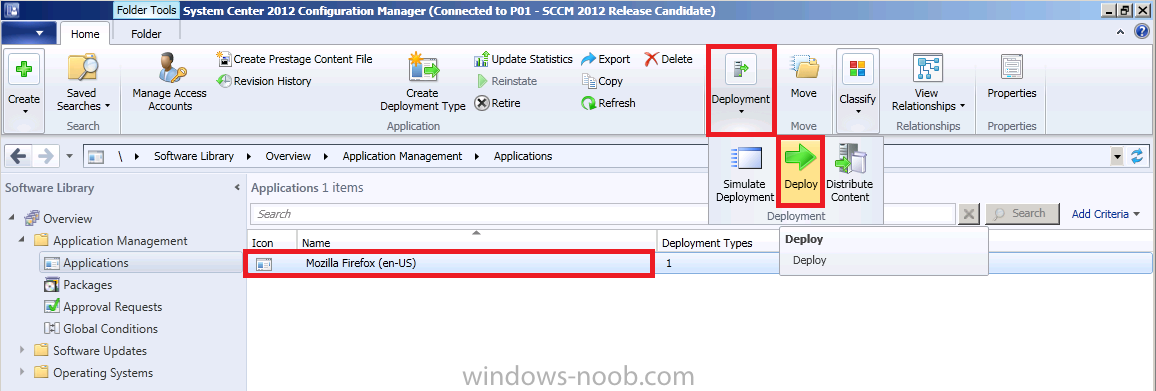
Select the Firefox application and in the ribbon click on Deployment and select Deploy from the menu
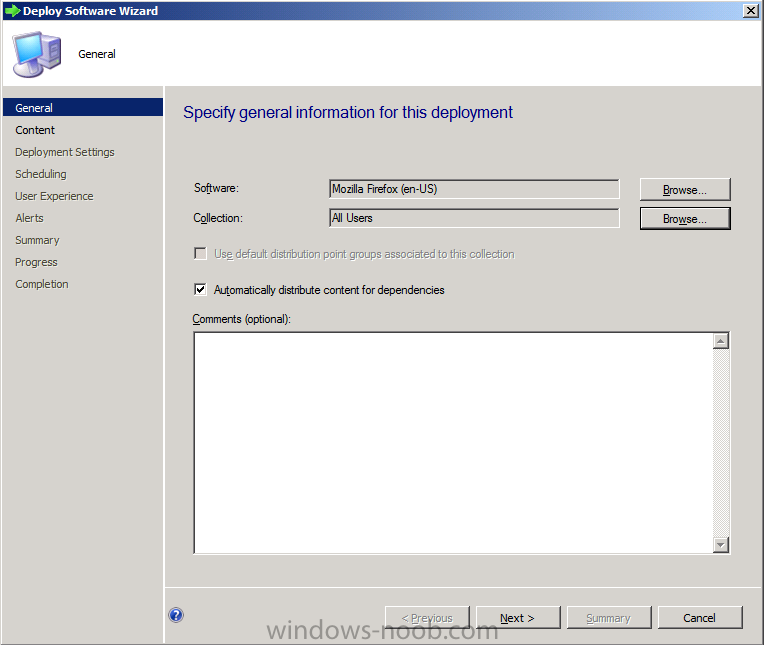
when the Deploy Software wizard appears, browse to All Users for collection
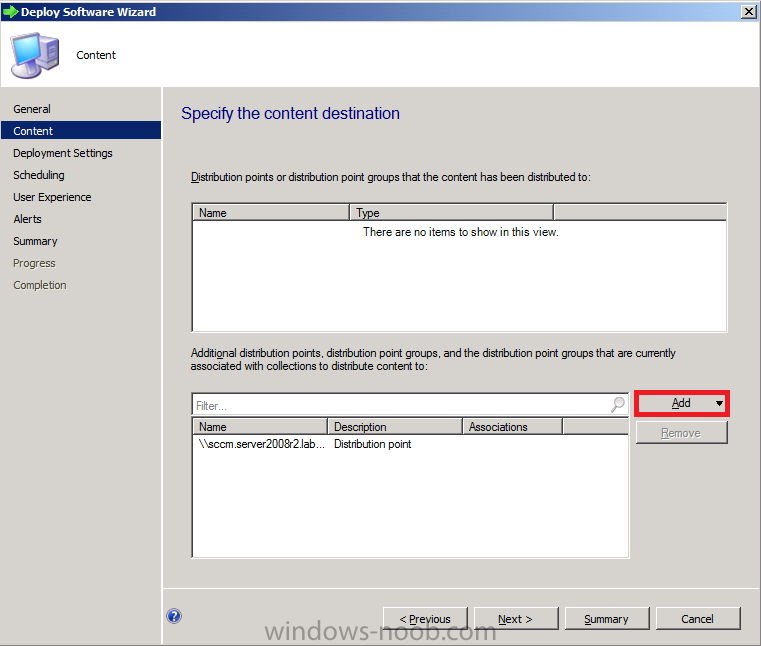
for Content, click on Add and select our Distribution Point
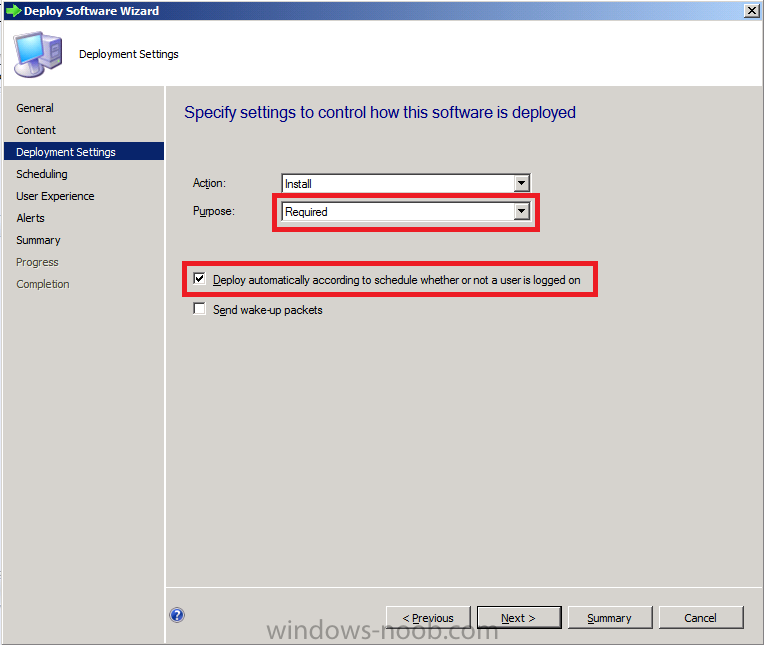
next change the Purpose from Available to Required and place a checkmark in Deploy Automatically according to schedule whether or not a user is logged on
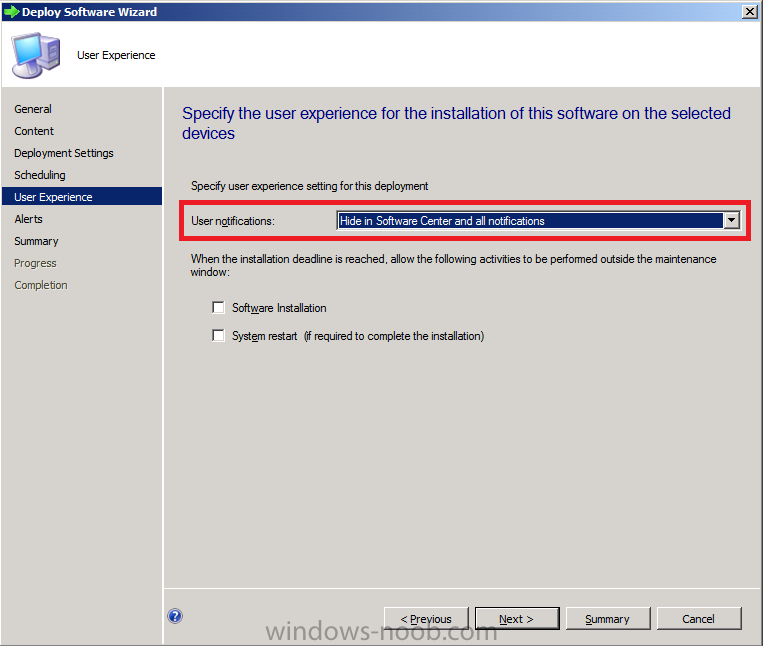
for User Experience set it to hide in software center and all notifications
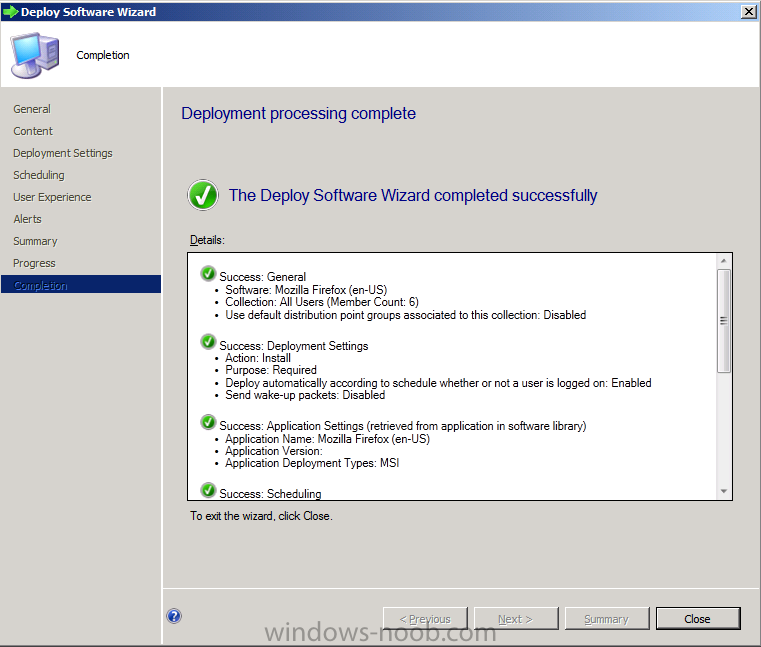
click next through the rest of the wizard to completion (no other changes)
Step 4. Copy our Task Sequence
Perform the following on your SCCM 2012 server as SMSadmin.
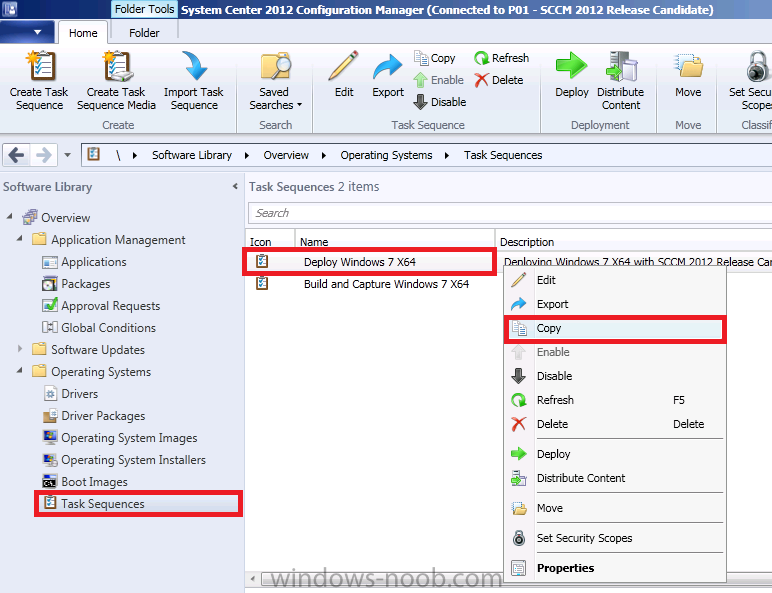
We want to be able to both Refresh our computers (reinstall and migrate data) and do a New Computer installation, to do this we need another task sequence, so lets copy (duplicate) the one we have as we’ve already created one Deploy Windows 7 X64 task sequence, so select it right click and choose Copy
you’ll be notified of the copy completion
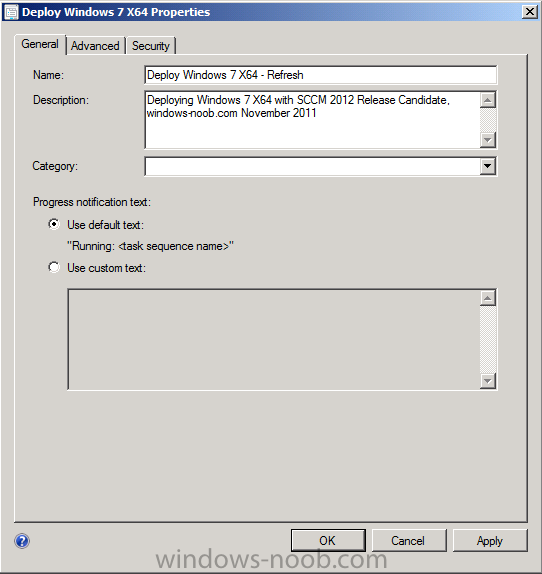
Rename the First task sequence to Deploy Window 7 X64 – Refresh by right clicking on it, properties, edit the name
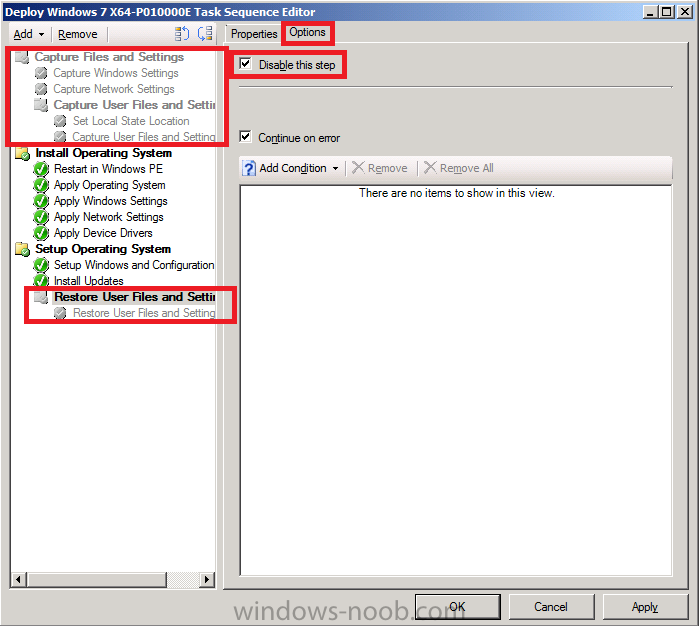
Now we need to edit the second Task sequence, right click it and choose edit
As this is a New Computer Task Sequence, we don’t need to migrate data, so Disable the Capture Files and Settings group and the Restore User files and settings Group, click on the Options tab for each group and place a checkmark in Disable, click Apply.
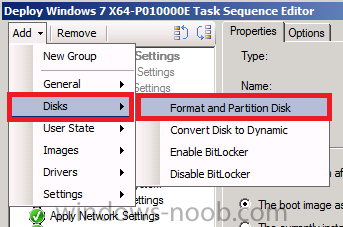
Now we need to add a new step in the Install Operating system group just after Restart in Windows PE step, so select that step and choose Add from the drop down menu
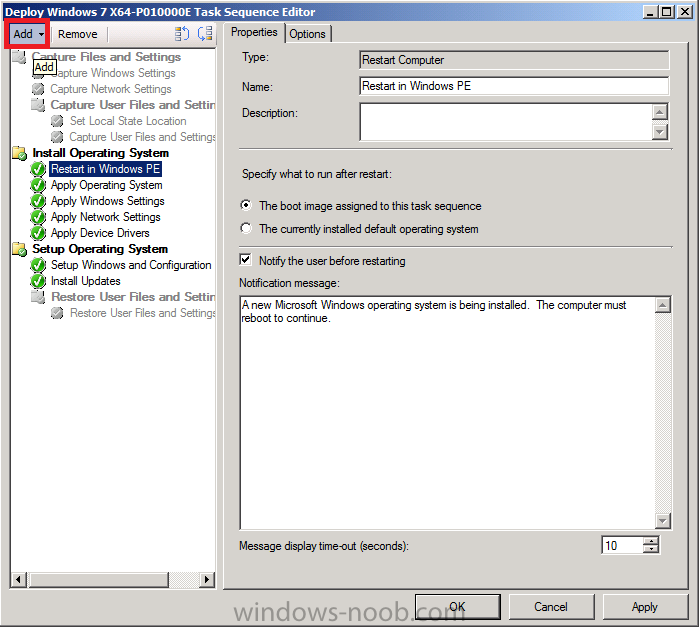
select Disks, Format and Paritition Disk
so that it looks like so
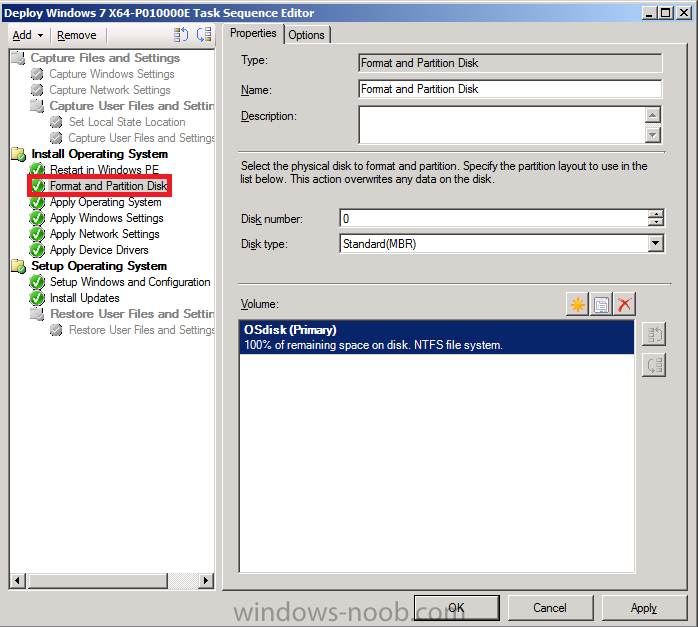
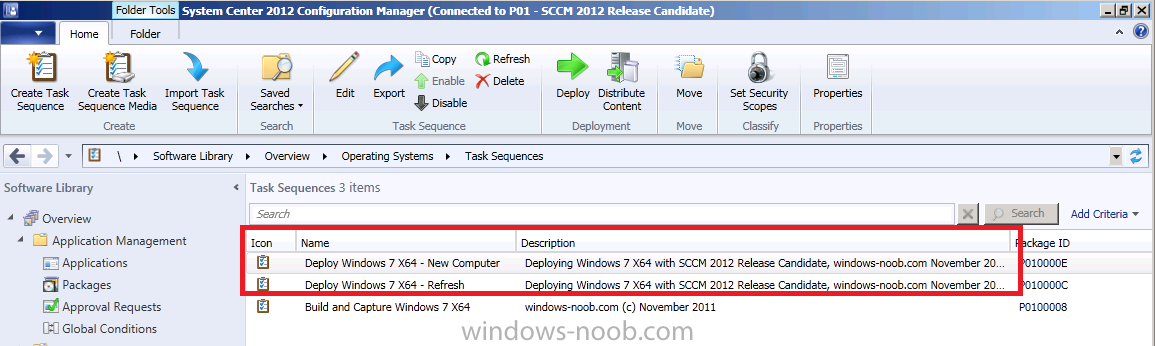
Apply the changes and rename this task sequence to Deploy Windows 7 X64 – New Computer, so now we have two Deploy Task Sequences
Step 5. Deploy our new Task Sequence to the Deploy Windows 7 X64 collection
Perform the following on your SCCM 2012 server as SMSadmin.
To make the task sequence available to computers we need to Deploy it. In Software Library, select our Deploy Windows 7 X64 – New Computer task sequence and choose Deploy, point the wizard collection to Deploy Windows 7 X64
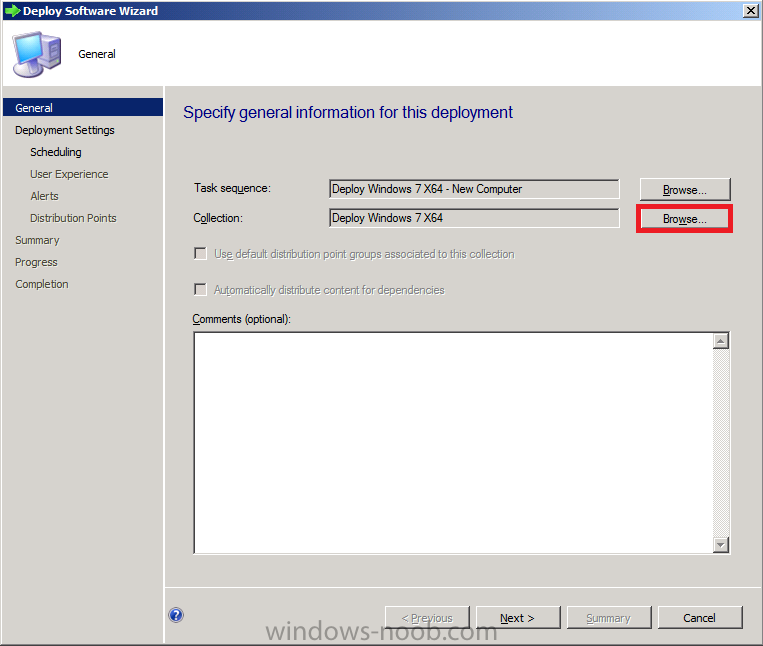
change purpose to Available, place a checkmark in Make available to boot media and PXE
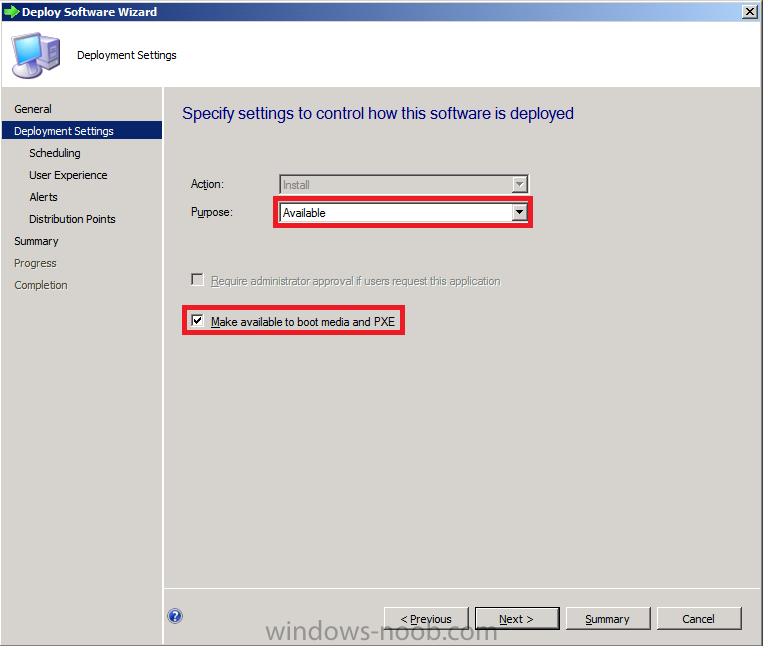
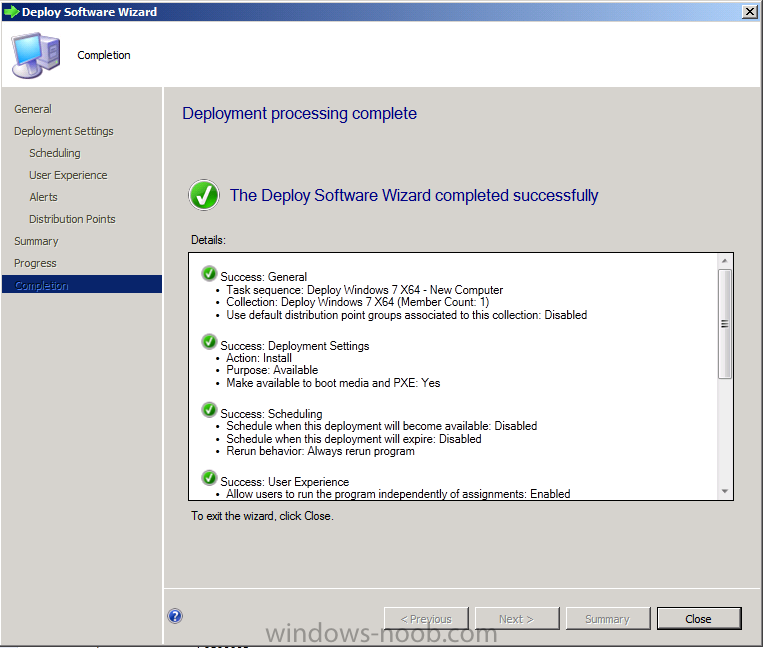
click next through to completion
Step 6. Import a computer into the Deploy Windows 7 X64 collection
Perform the following on your SCCM 2012 server as SMSadmin.
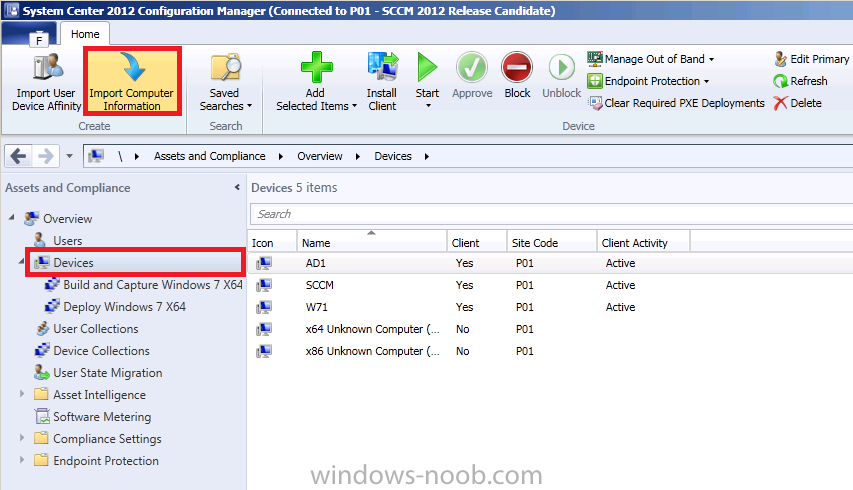
We need a new Virtual Machine to be imported into ConfigMgr’s database to add it to our Deploy Windows 7 X64 collection. In the ConfigMgr console, click on Assets and Compliance, Devices, and in the Ribbon click on Import Computer Information. If you havn’t already created a Virtual Machine do so now, we need one with 1 gig of Virtual Ram and we need to know it’s MAC address.
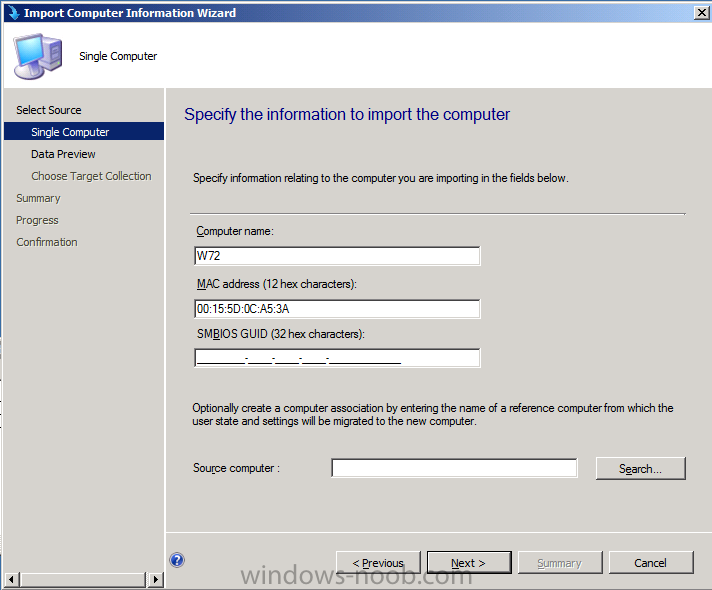
choose import single computer, filll in the computername and mac address (if you want to import multiple comptuers using a file follow this guide)
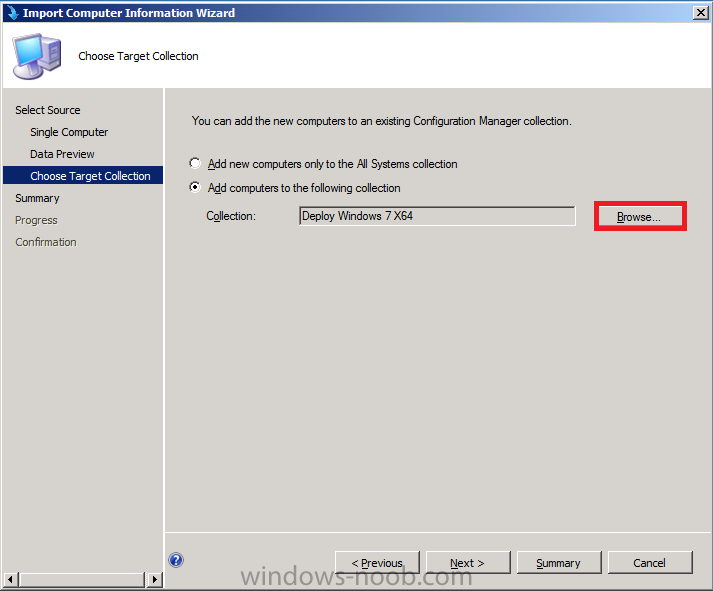
add it to our Deploy Windows 7 X64 collection
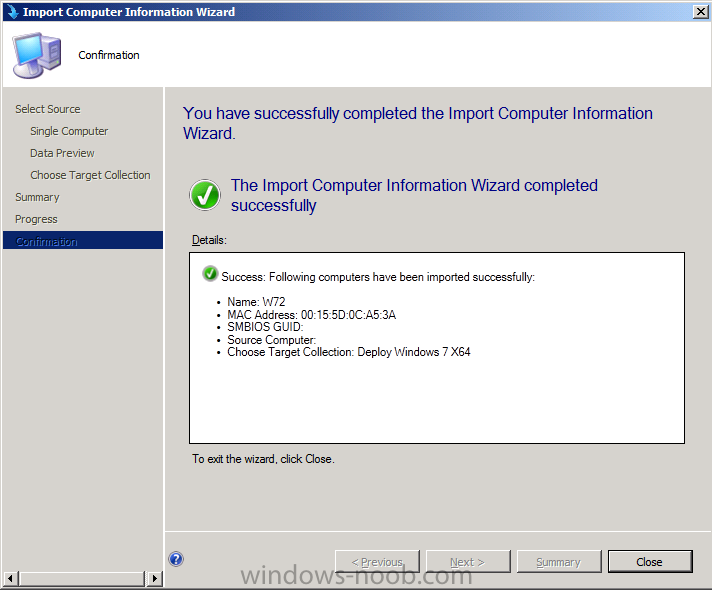
done
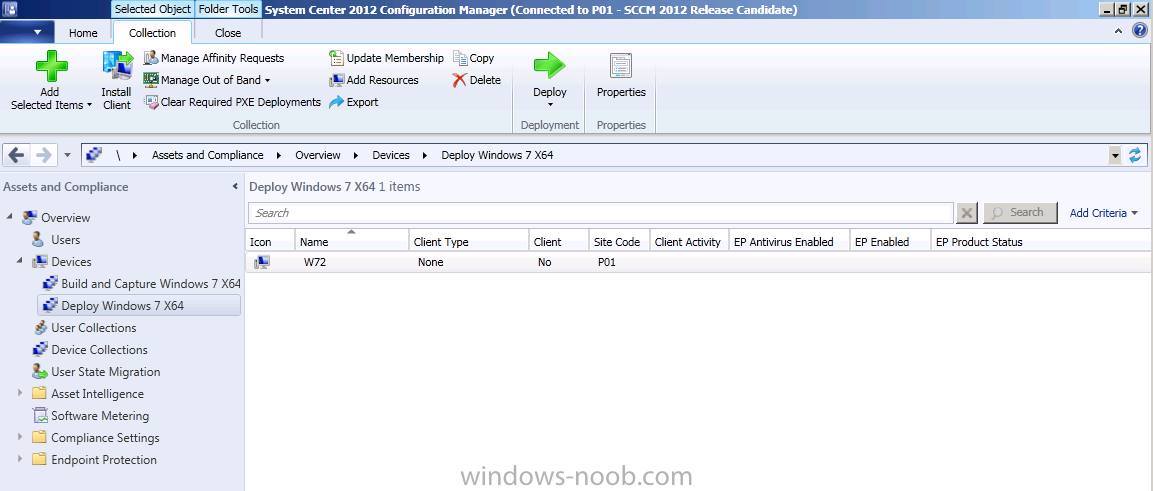
Verify it’s in the collection (right click and choose Update Membership)
and after a few minutes there it is
Step 7. PXE boot the New Computer
Perform the following on your SCCM 2012 server as SMSadmin.
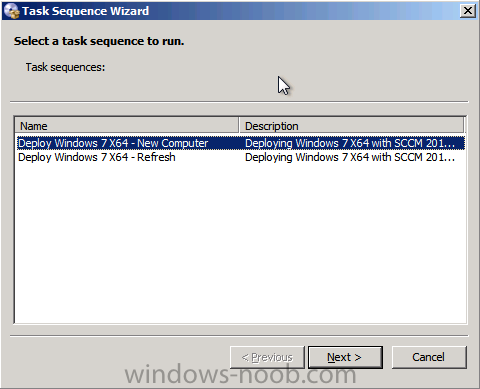
PXE boot the new Virtual Machine, and you should get to the familiar password prompt
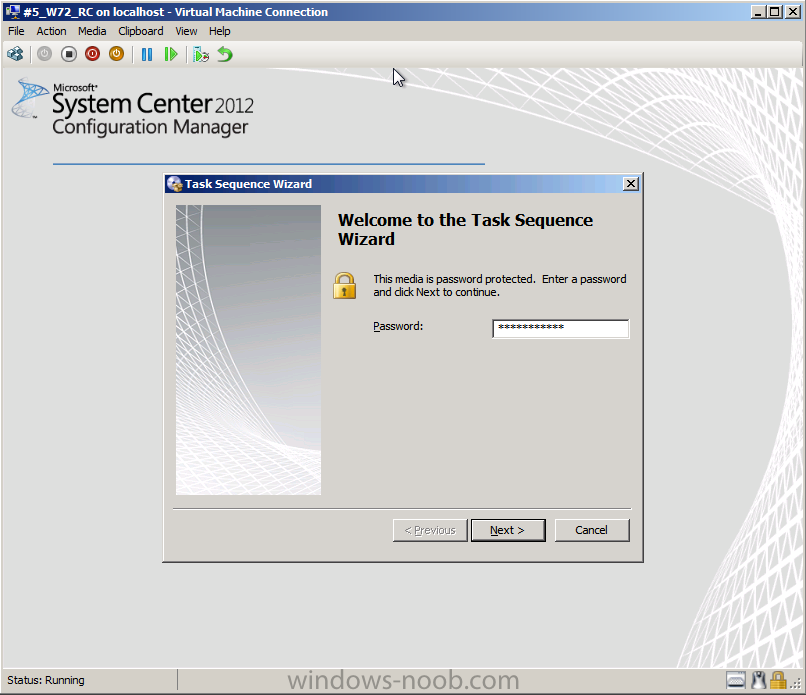
and two new task sequences are ready for us, select Deploy Windows 7 X64 – New Computer
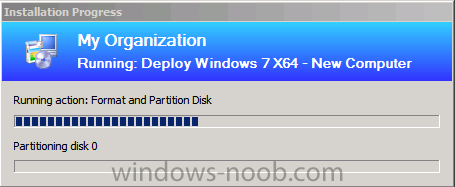
and there’s that Format and Partition disk step in action
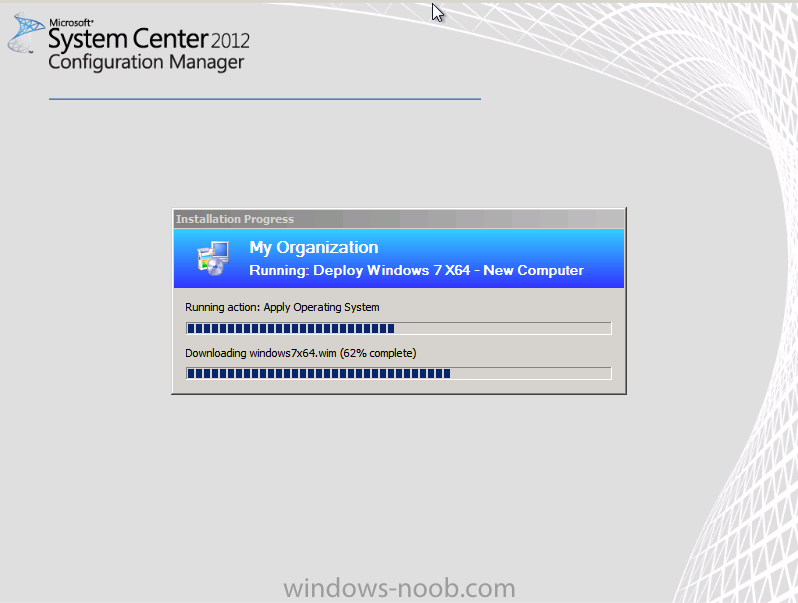
and our captured OS get’s applied
In the Next Part we will review how Firefox get’s deployed automatically to this computer based on the UDA variables we set, and we will review the logs involved and we’ll edit our boot image to support prestart and add some extrafiles,
these will be some VBS scripts to prompt for the UDA user instead of
setting the variable on the collection as we really don’t want all
computers that get deployed to have one user as the primary user.
original post here on windows-noob.com
