
In Part 1. of this series we Installed SCCM 2012, in Part 2 we started to configure it. In Part 3, we configured Beta 2 some more by enabling Active Directory discovery methods, adding some site system roles, configuring the computer client agent and client push settings and finally doing a manual client installation to verify it all worked, in Part 4 we looked at installing an application using Application Management and the Software Catalog and the Software Center features of SCCM 2012, and in Part 5, we added the FSP, SLP, SMP, SUP.
In Part 6 we got our SCCM 2012 server ready for Deploying Windows 7 Enterprise SP1 so that we could start deploying some Windows 7 clients to enhance our LAB, then in Part 7 we created a Build and Capture Task Sequence and deployed it to our Build and Capture collection.
In Part 8 we created our Network Access Account and captured our Windows 7 SP1 image (and Windows 7 RTM). We deployed that captured image to a new Virtual Machine in Part 9 by importing our captured images, creating a new Deploy Task Sequence and then Deployed Windows 7. In Part 10 we Synchronized Software Updates and verified that they were synchronising using logs.
Quote
phase is the process of deploying the software updates. Typically the
software updates are added to a software update group and then the
software update group is deployed. When the deployment is created, the
software updates policy is sent to client devices, and then the software
update content files are downloaded to and installed on the client.
Clients send state messages back to the site server that report whether
the software update installation was successful. There are two main scenarios for deploying software updates in your environment – manual deployment and automatic deployment.
Typically, you will manually deploy software updates to create a
baseline for your device clients, and then you will manage software
updates on devices using automatic deployment.
Technet Recommended Reading:
Operations and Maintenance for Software Updates in Configuration Manager – http://technet.micro….aspx#SUMDeploy
Step 1 . Specify Search Criteria for Software Updates
In the console, click Software Library, expand it and select All Software Updates then click on Add Criteria in the top right of the search field.
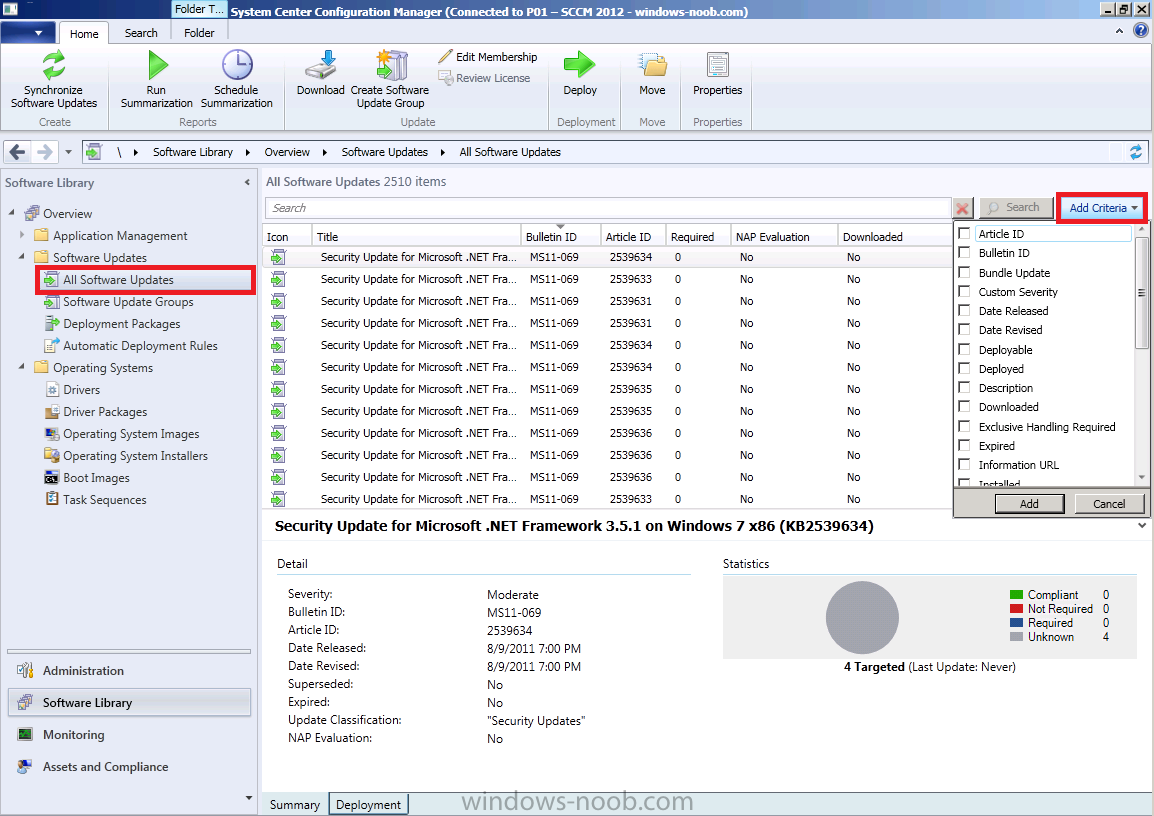
In the scrollable Add Criteria menu, select the following options
- Bulletin ID
- Expired
- Superseded
- Product
then define the criteria using the drop down menus beside each option so that they look like so

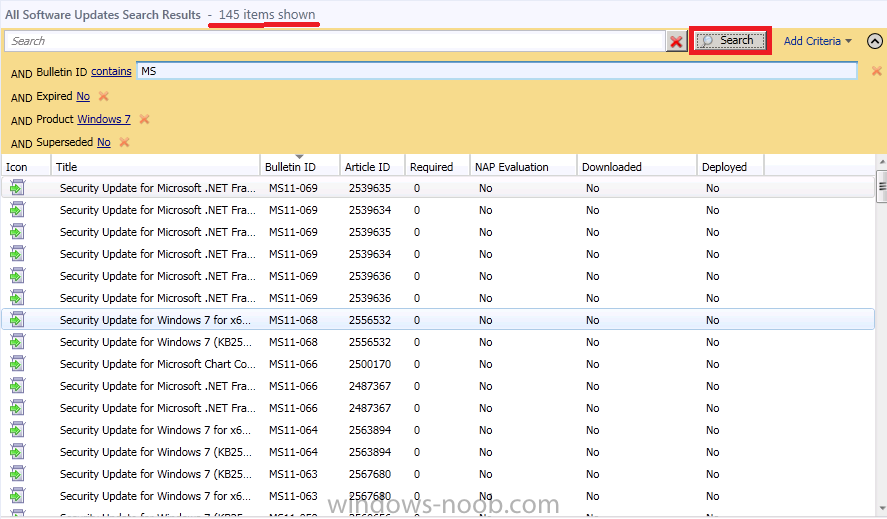
click on Search to search for updates that
match your specified criteria, It will filter down your results like so
(previously there were over 25000 items now we are down to 145 items)
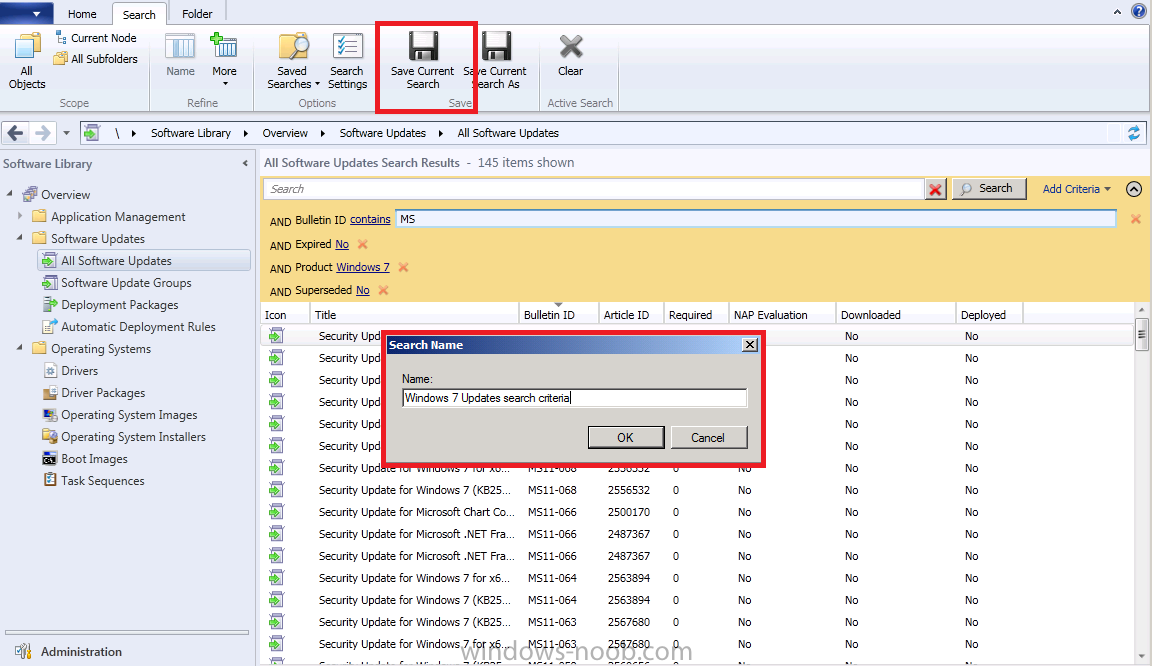
let’s save our Search criteria and call it Windows 7 Updates search criteria, you can return to this search later by clicking on saved searches and selecting your search from the list.
Step 2. Create a Software Update Group that Contains the Software Updates
Note:
Normally you’d want to look through all these updates and filter out
(delete) the ones that are not applicable to you, such as Beta or
Service Packs, Delete these from your list before continuing.
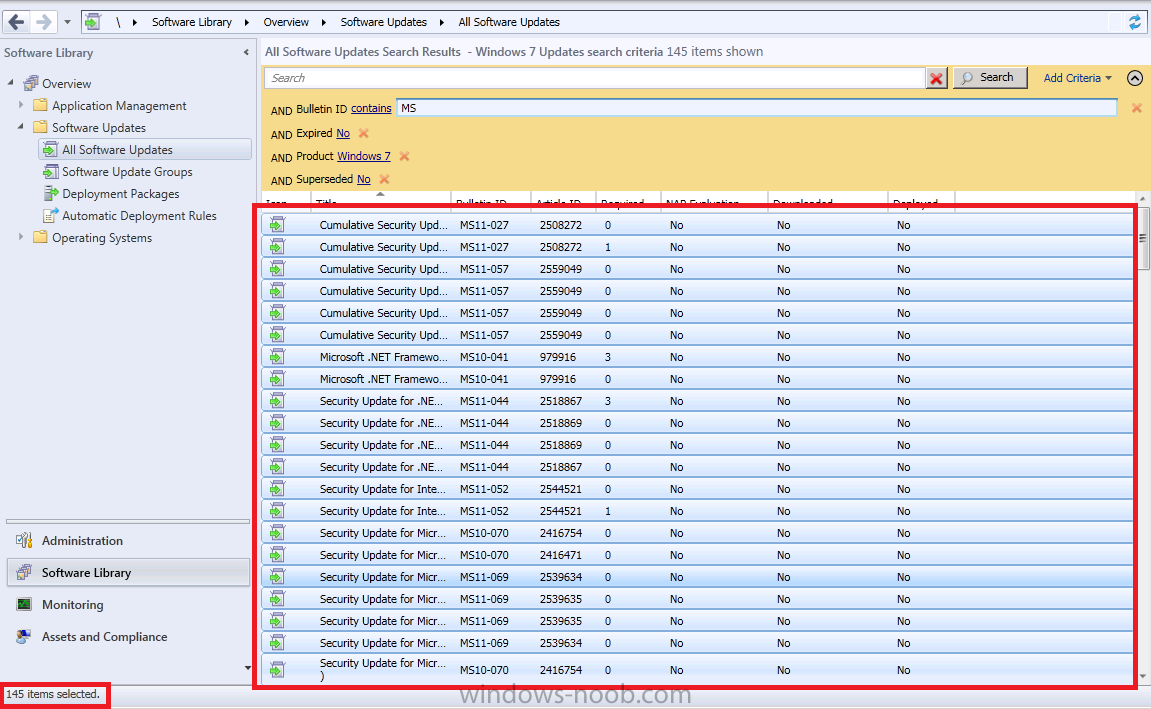
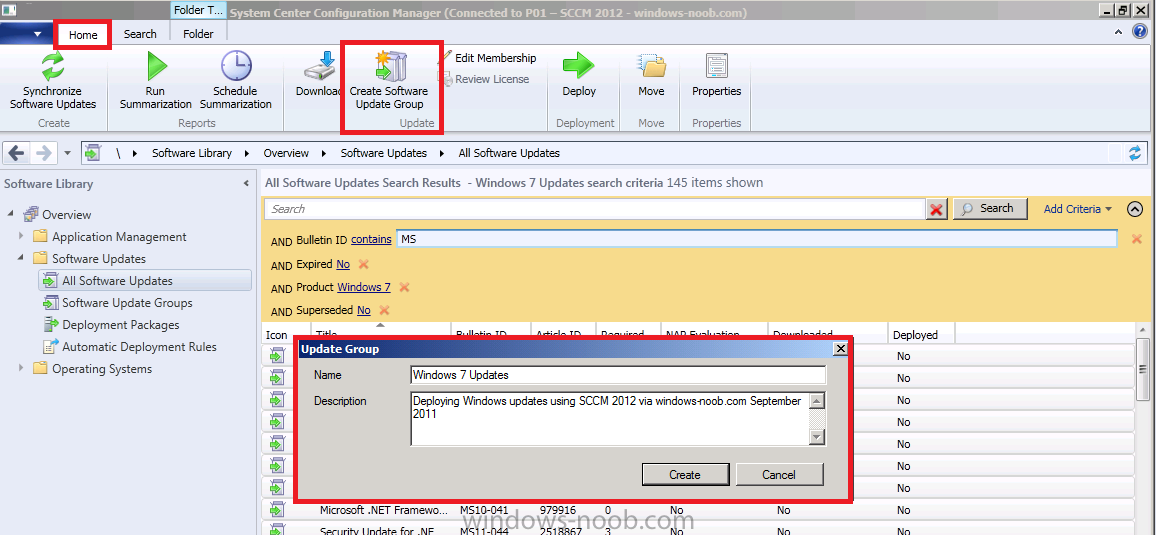
Now that we’ve trimmed down out updates we’ll select the remaining updates by selecting all the updates found in our search criteria above by clicking on one update and then pressing CTRL + A, it should say 145 items selected in the bottom left corner
In the ribbon, click on Home and then in the Update group click on Create Software Update Group, call it Windows 7 Updates and click on Create
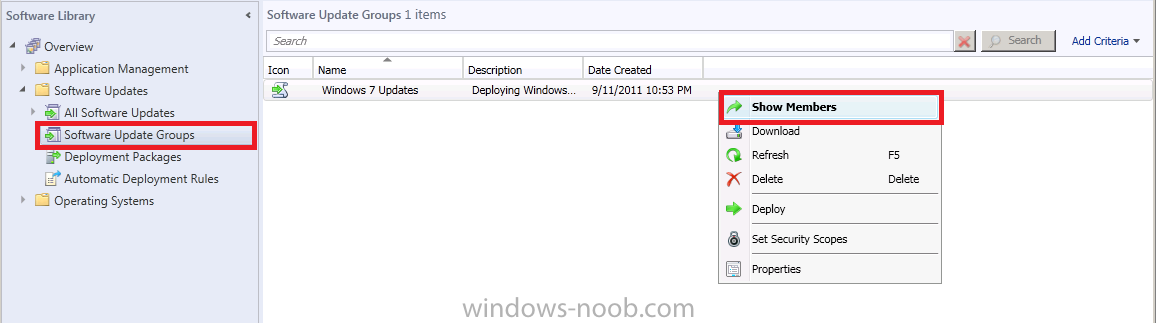
Now you can click on Software Update Groups in the console and you’ll see your newly created Software Update Group, right click on it and choose Show Members to see the updates in this group.
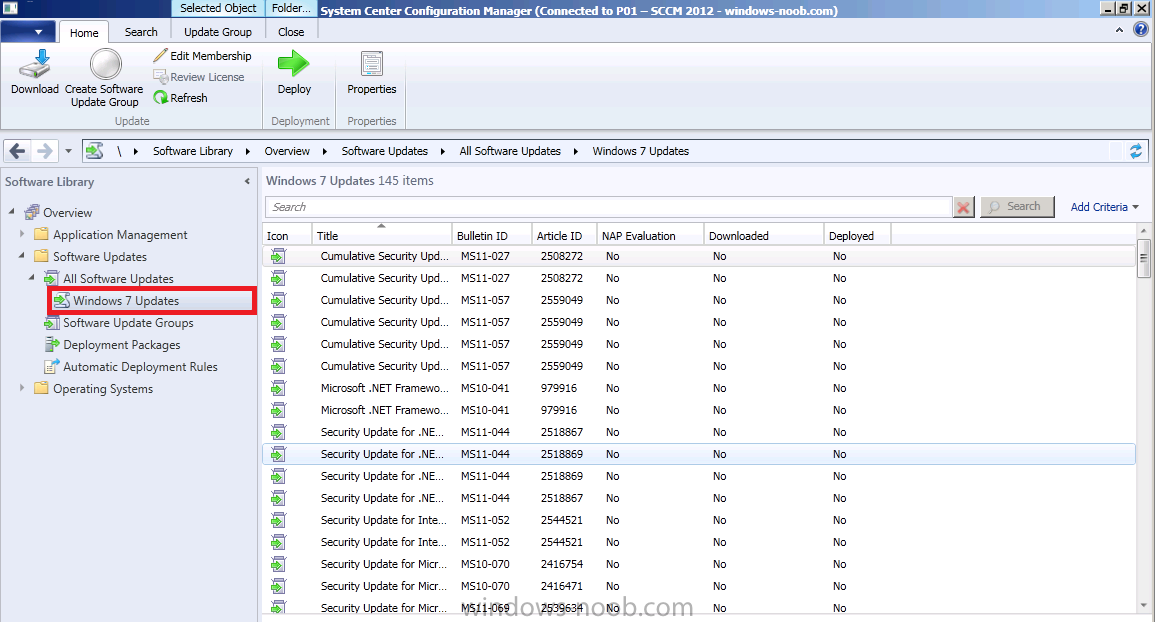
Our updates contained in the Software Update Group are listed
Step 3. Deploy the Software Update Group
We could  download the Content for the Software Update Group to verify that it’s available before distributing it to our Distribution Points, but we’ll skip that step and go ahead and deploy our Updates.
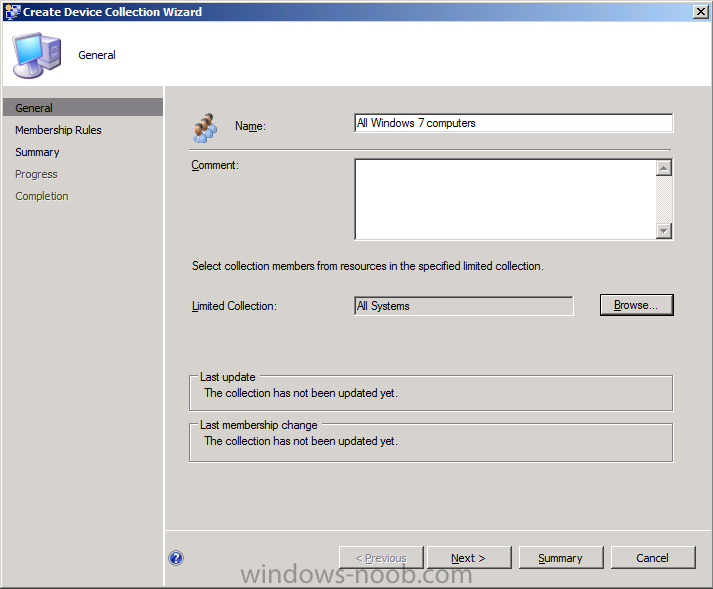
Before Doing so let’s create a new Collection, so click on Assets and Complicance in the console,click on Device Collections and in the ribbon click on Create Device Collection.
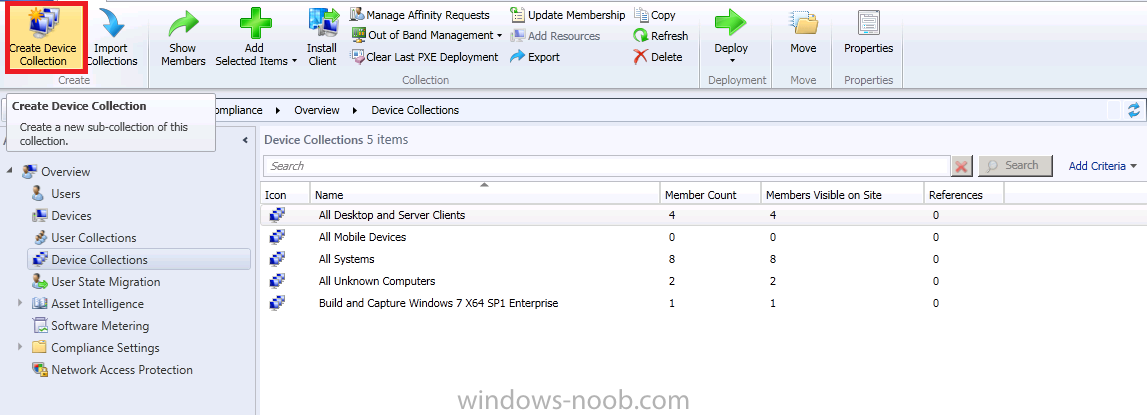
Call the collection All Windows 7 computers and limit it to All Systems
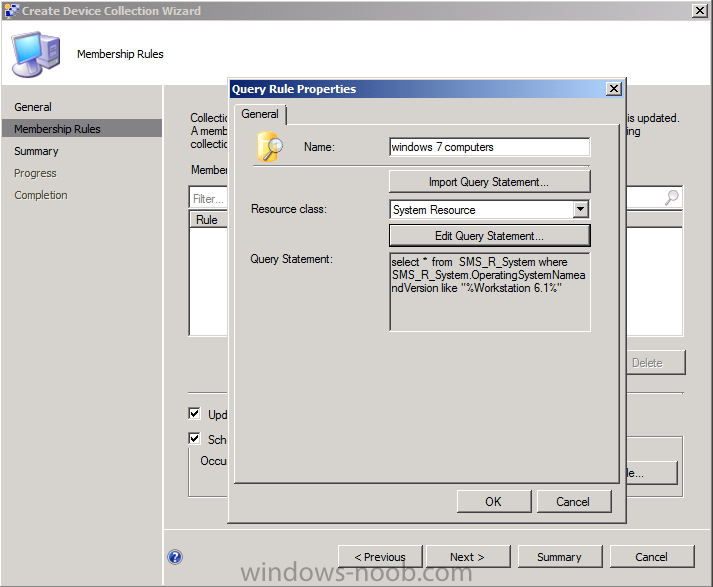
click next, choose Query Rule from the drop down menu and fill in a Query like so (edit query statement, criteria, show query language and replace the code with the below)
select * from SMS_R_System where SMS_R_System.OperatingSystemNameandVersion like "%Workstation 6.1%"
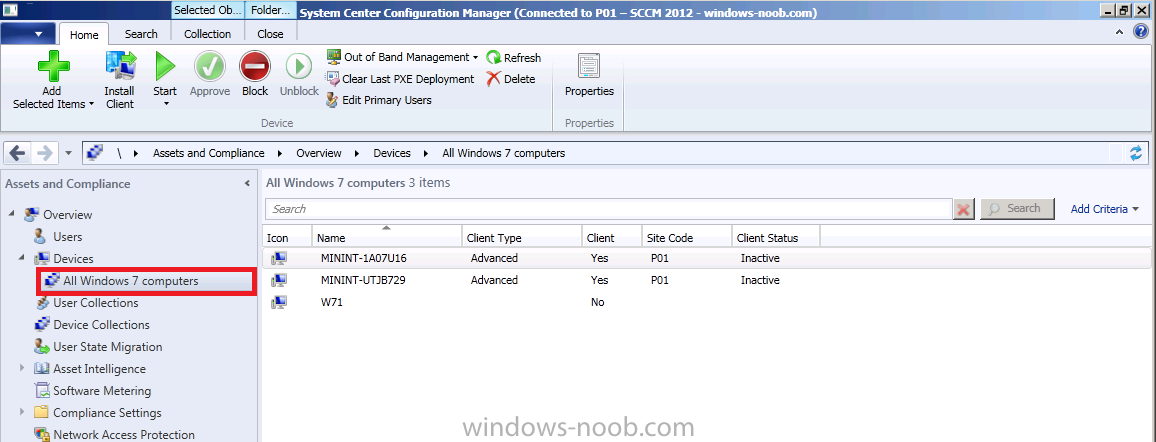
click next, next, close. You can click on that collection now and look at it’s members.
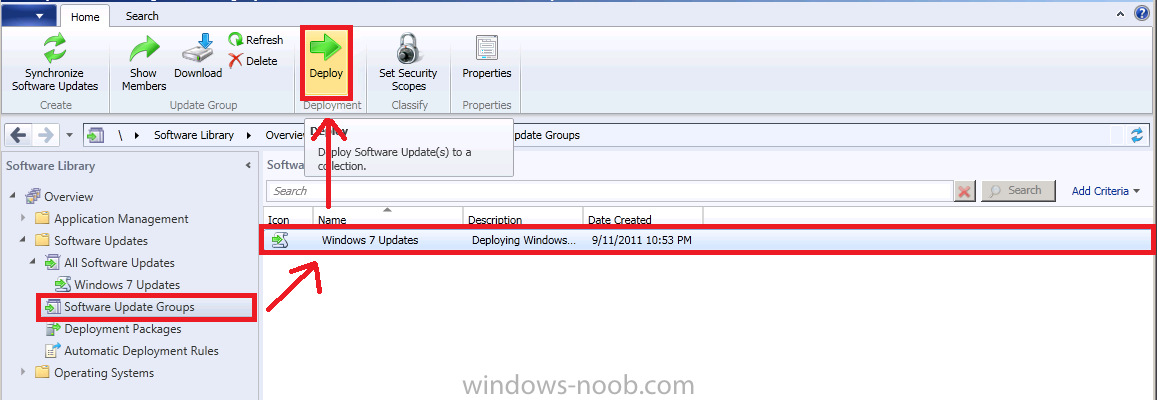
In the console select Software Library and then Software Update Groups. We’ve already created our Software Update Group above so let’s deploy it, select the Software Update Group and in the Ribbon click on Deploy.
give the Deployment a name and suitable description, click on Browse beside collection and choose our newly created Windows 7 Computers collection
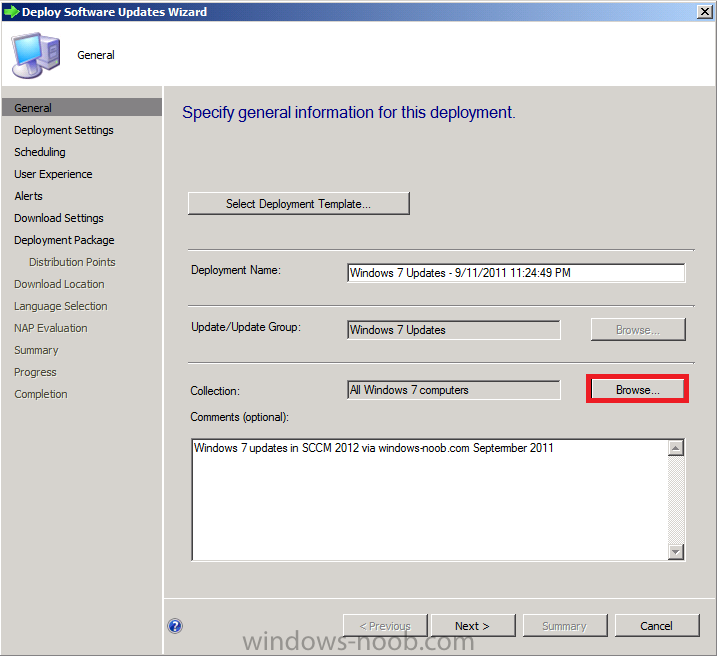
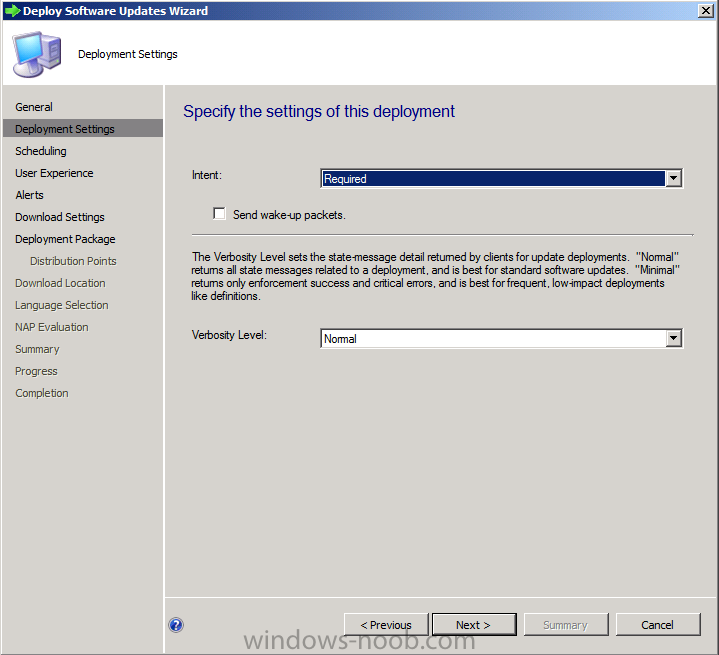
We want the updates to be mandatory so select Required
click next through the wizard until you get to Deployment Package, create a new deployment package,
Note: Make sure that \\vnext\sources\updates\windows7
(or whatever path you choose) exists otherwise the wizard will fail
below when it tries to Download as the Network Path won’t exist

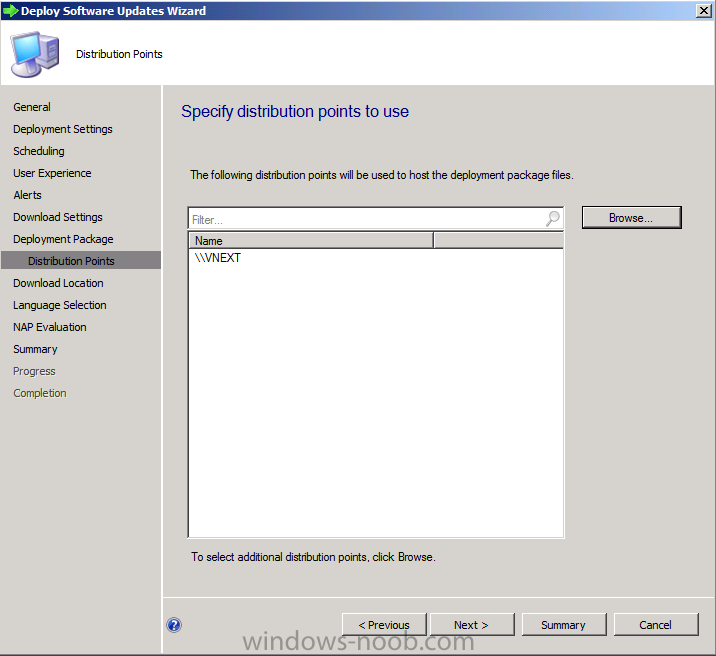
select our distribution points (vnext)
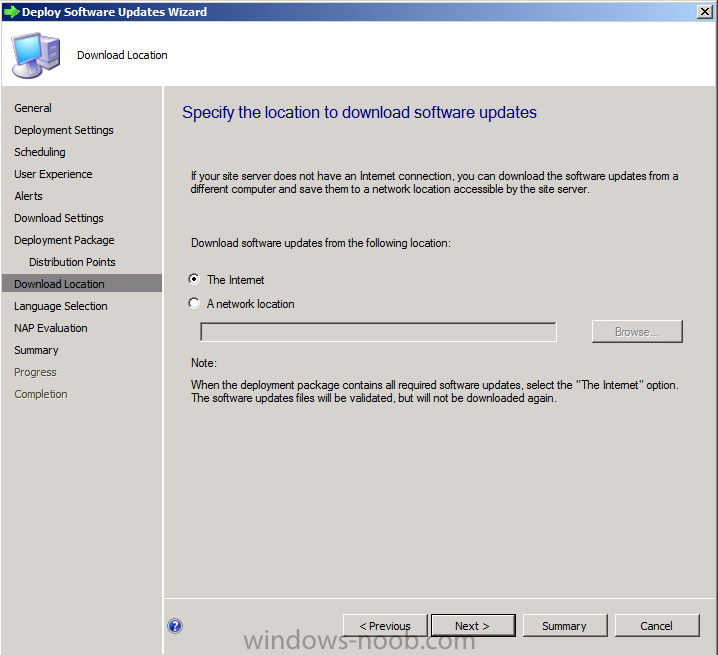
select The Internet as our download location
click next until you get to the Summary, and on the summary screen if
you want to save this template (and you do for later use) click on Save Template, call it Windows 7 updates Template
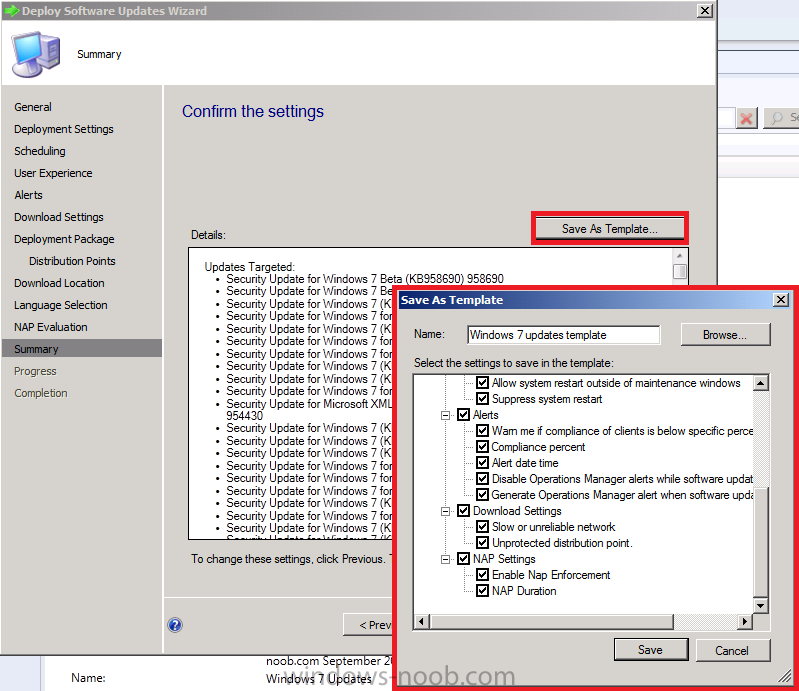
click save, next and now the downloading starts…(time for coffee anyone ?)
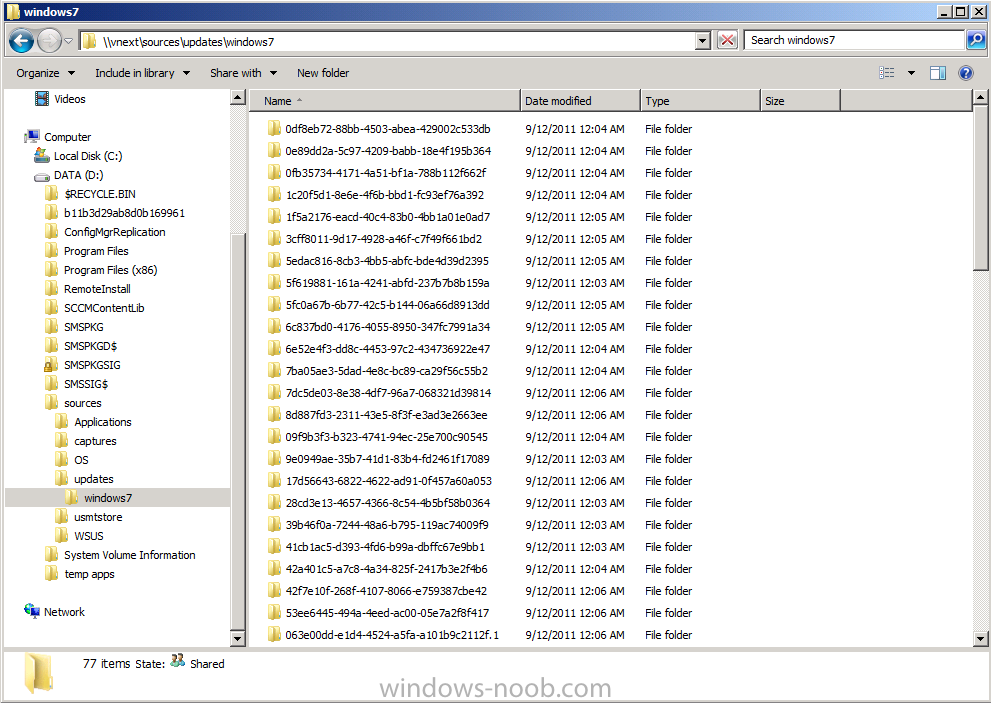
TIP:
To review the progress of this task, while you are waiting for the
wizard to complete you can browse the UNC on your server of your
Deployment Package to see that it’s actually filling up with updates,
you should see something like this
And that’s it !, after you complete the wizard the software updates in the software update group are deployed to clients in the target collection.
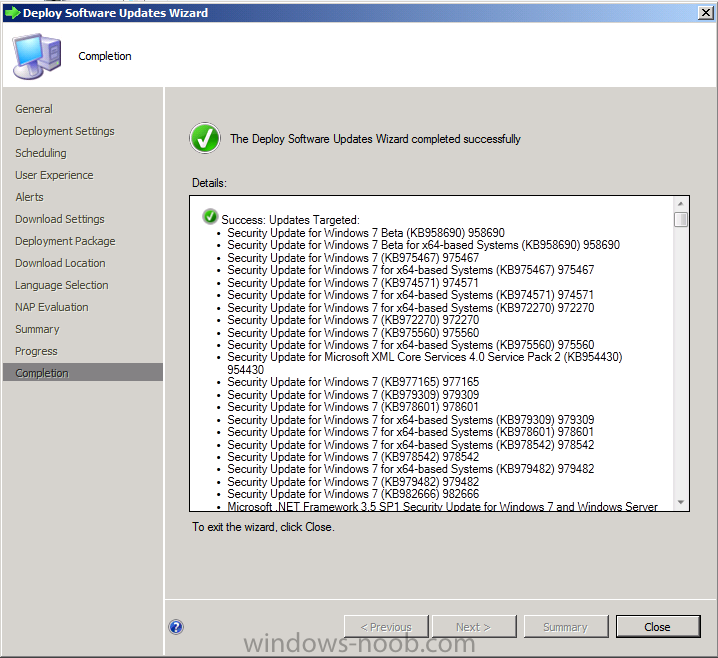
In the next part we’ll verify that the clients are indeed getting the updates.
Note: The original post is here
cheers
niall
