
Side Note: This is a break from the normal LAB we’ve been doing. As the Build version of Windows 8 Developer Preview was released yesteday I wanted to test Deploying it, I will use the same Build and Capture Method as we used below in Parts 6-9 but not go into the same detail, in addition, we will disable the capture part as it just doesn’t work…. right now. If I can workaround the issues then i’ll post it.
Remember: This is a Developer Preview OS being installed using a beta product so results may vary and of course it’s not supported by Microsoft.
In Part 1. of this series we Installed SCCM 2012, in Part 2 we started to configure it. In Part 3, we configured Beta 2 some more by enabling Active Directory discovery methods, adding some site system roles, configuring the computer client agent and client push settings and finally doing a manual client installation to verify it all worked, in Part 4 we looked at installing an application using Application Management and the Software Catalog and the Software Center features of SCCM 2012, and in Part 5, we added the FSP, SLP, SMP, SUP.
In Part 6 we got our SCCM 2012 server ready for Deploying Windows 7 Enterprise SP1 so that we could start deploying some Windows 7 clients to enhance our LAB, then in Part 7 we created a Build and Capture Task Sequence and deployed it to our Build and Capture collection.
In Part 8 we created our Network Access Account and captured our Windows 7 SP1 image (and Windows 7 RTM). We deployed that captured image to a new Virtual Machine in Part 9 by importing our captured images, creating a new Deploy Task Sequence and then Deployed Windows 7. In Part 10 we Synchronized Software Updates and verified that they were synchronising using logs, then in Part 11 we Deployed those Software Updates to our Windows 7 Computers.
Step 1. Get the ISO and Extract the contents on your SCCM 2012 server
Download Windows 8 Developer Preview from here, I used the WindowsDeveloperPreview-64bit-English.iso for my Guide.
I then Mounted that ISO in my SCCM 2012 beta 2 Hyperv virtual Machine and extracted the contents to \\vnext\sources\os\Windows 7 Developer PreviewX64

Step 2. Add the Operating System Installer Image and Distribute Content
In the Configmgr Console, expand Software Library, Operating Systems, Operating System Installers, right click and choose Add Operating System Installer

browse to the path where we extracted it in Step 1

done
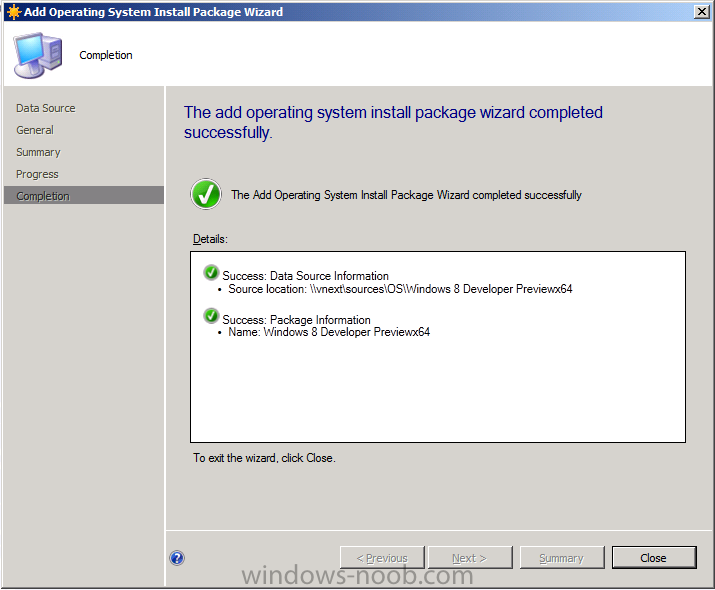
Once added, distribute the content to your DP’s by right clicking the image and choose Distribute Content.
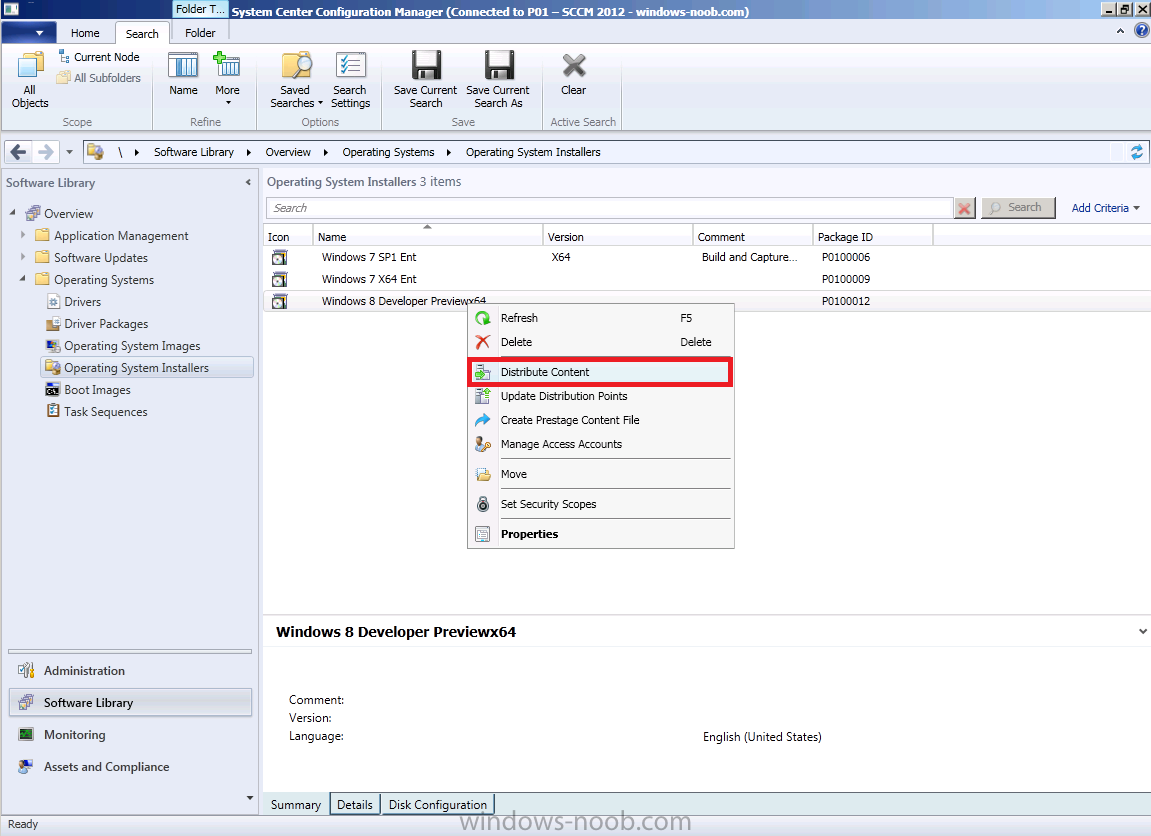
and continue through the wizard just like you’ve done before with Windows 7’s installer image.
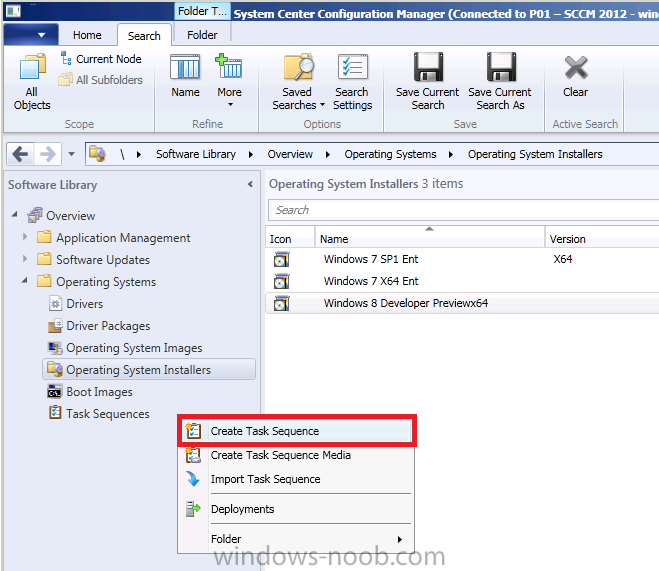
Step 3. Create the Build and Capture Task Sequence
In task sequences,right click and choose Create Task Sequence
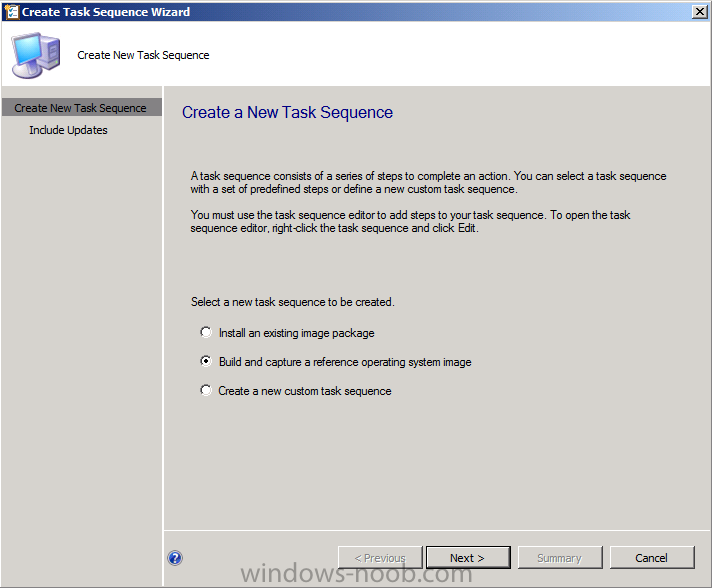
Choose the Build and Capture a reference operating system image option
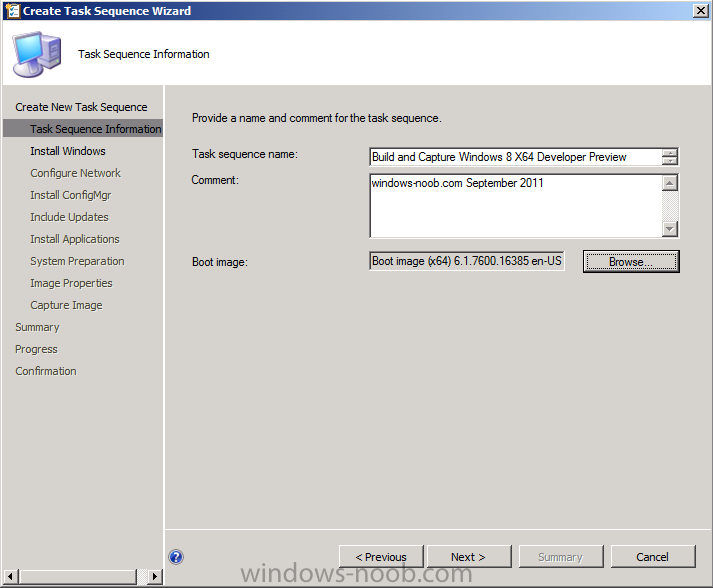
fill in the details and choose a X64 boot image as we are Build and Capturing the X64 Windows 8 image…
for the Install Windows step, select the following options
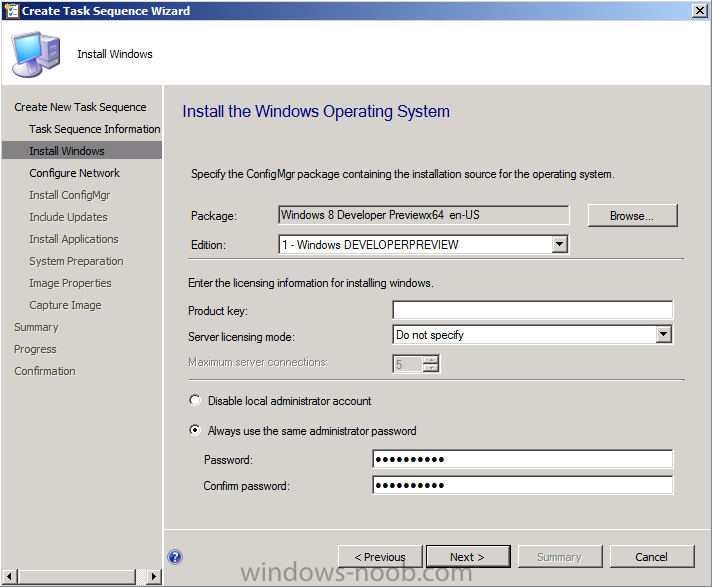
for Product key, use the key stored in PID.TXT from the sources folder on the ISO you downloaded otherwise the Setup Windows and Configmgr step will fail (error 31) later on in the process.
select your Configmgr Client in the next step then next your way through on to the Capture image step
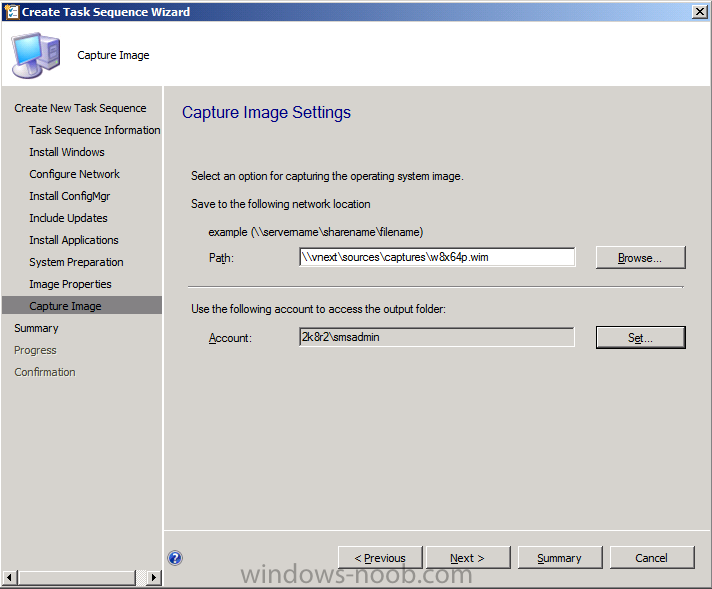
fill in your capture details
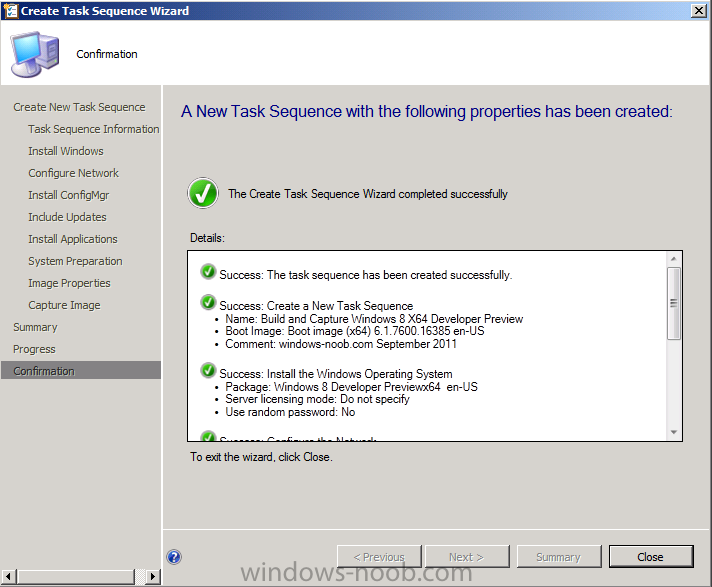
done..
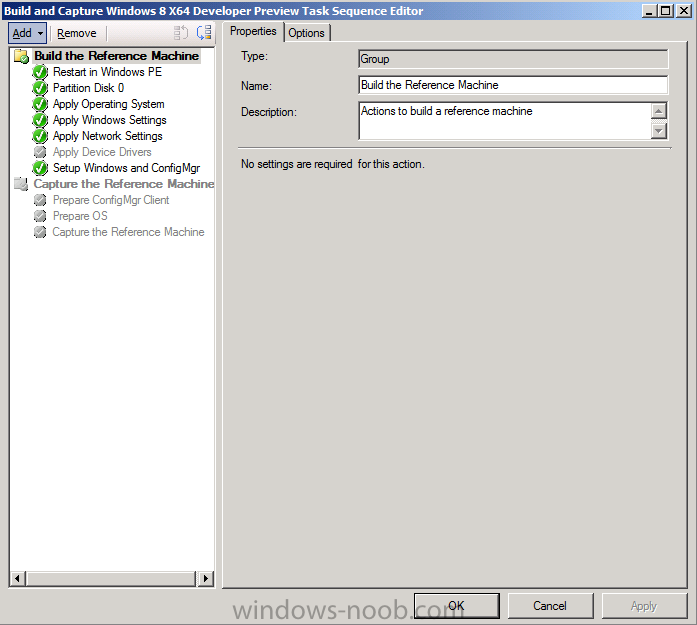
Now right click the task sequence and choose Edit,
Disable the Entire Capture Group (for now) and also disable the apply device drivers step.
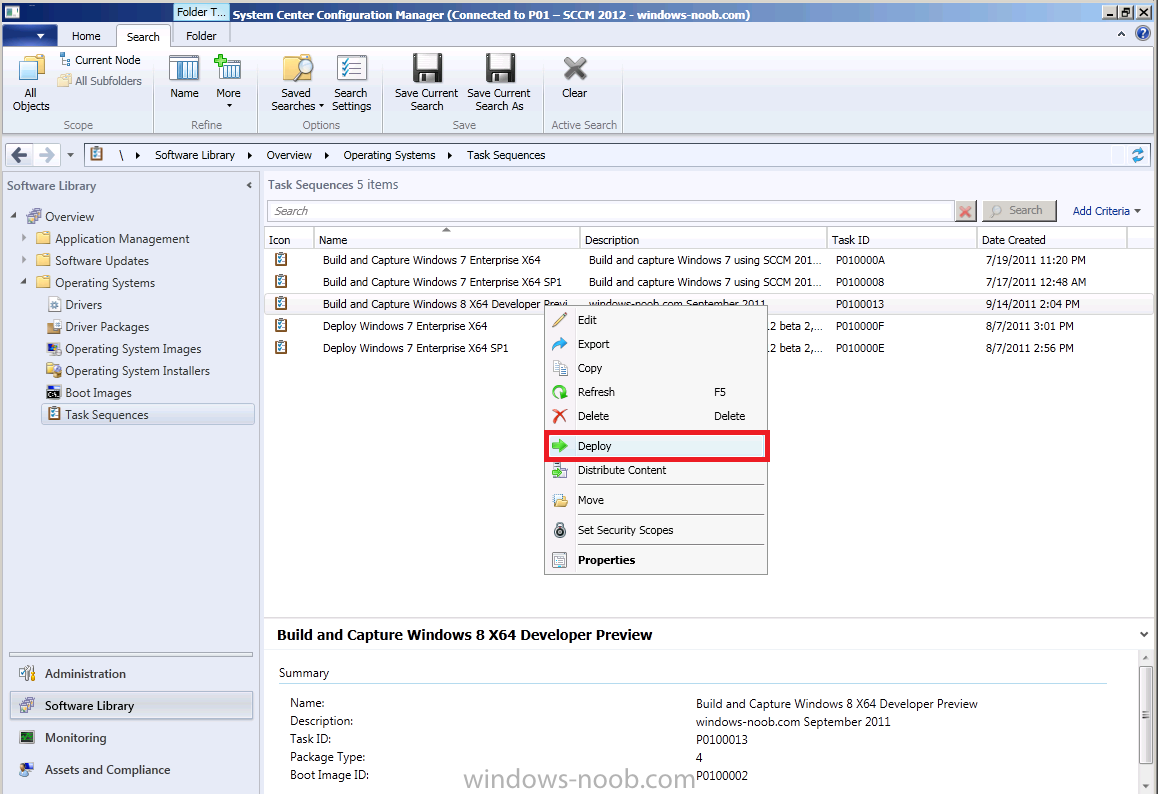
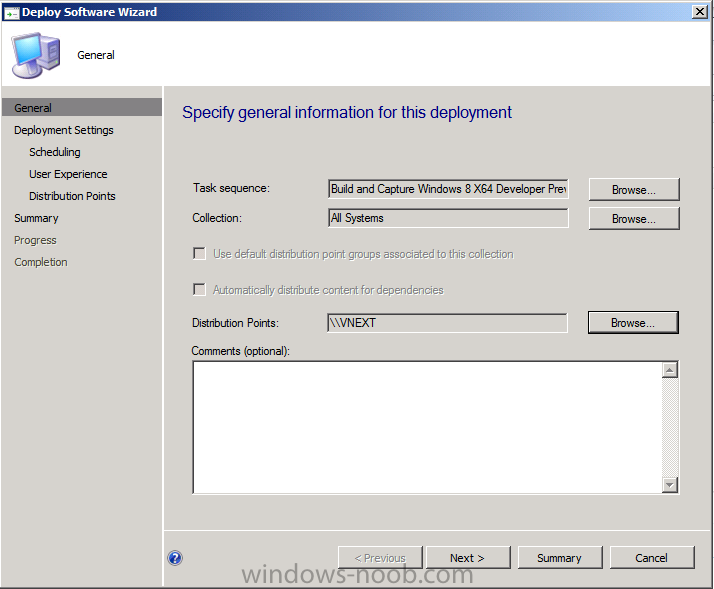
Step 4. Deploy the Build and Capture Task Sequence
Right click on the task sequence and choose Deploy,
point it to the All Systems and/or Unknown Computers Collection
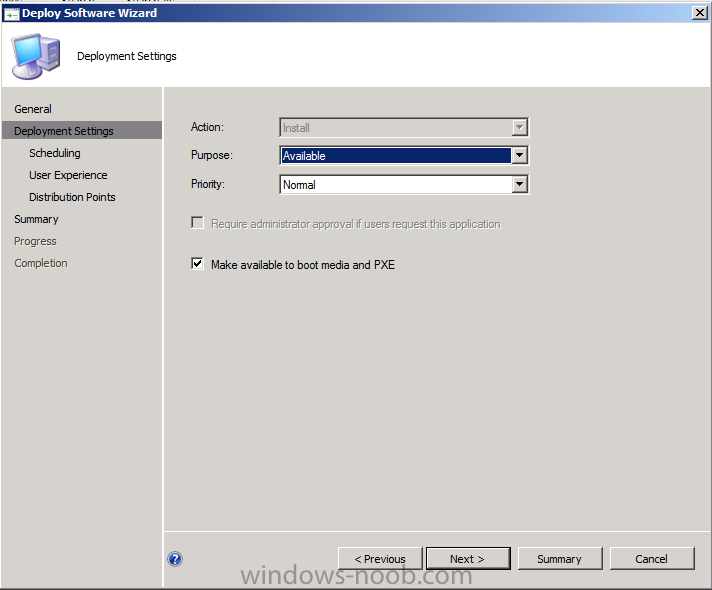
make it available to PXE
Step 5. PXE boot a new virtual machine and start the process
PXE boot your Virtual Machine (create a new one in hyperV)
then you’ll see the now familiar and very nice SCCM 2012 splash screen, enter your PXE password
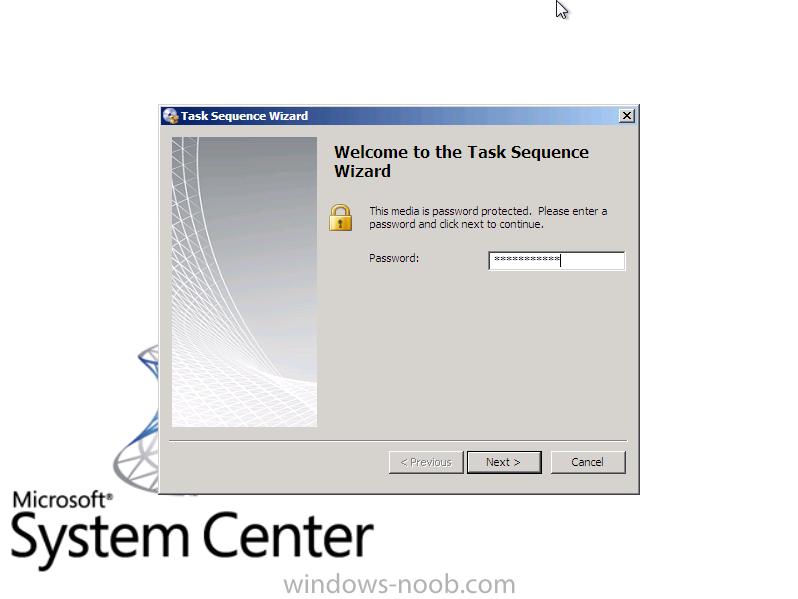
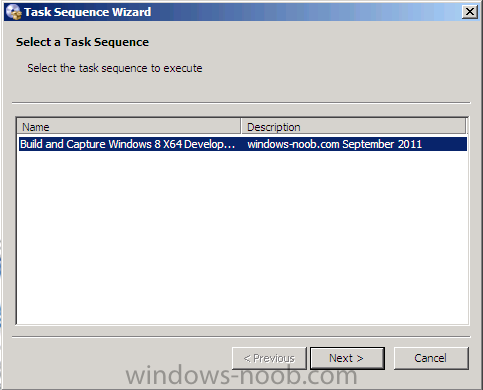
Select the Build and Capture Windows 8 X64 Developer … task sequence
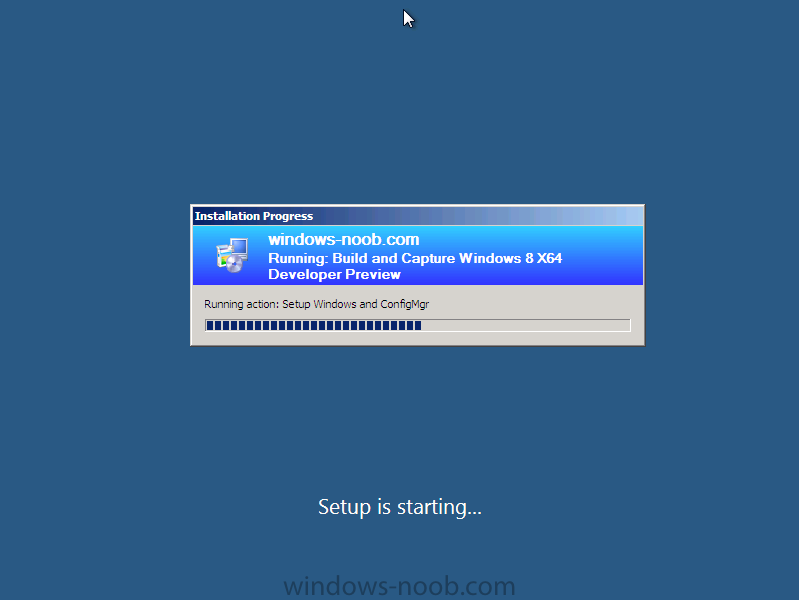
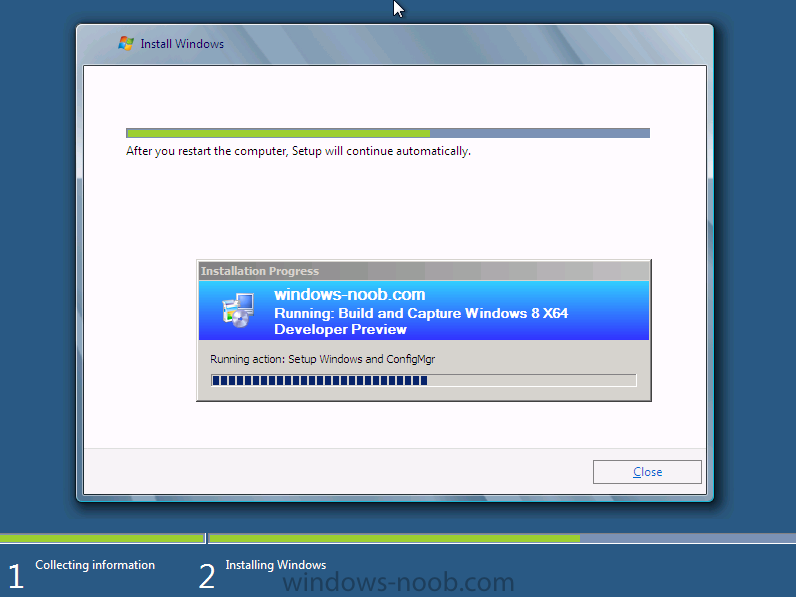
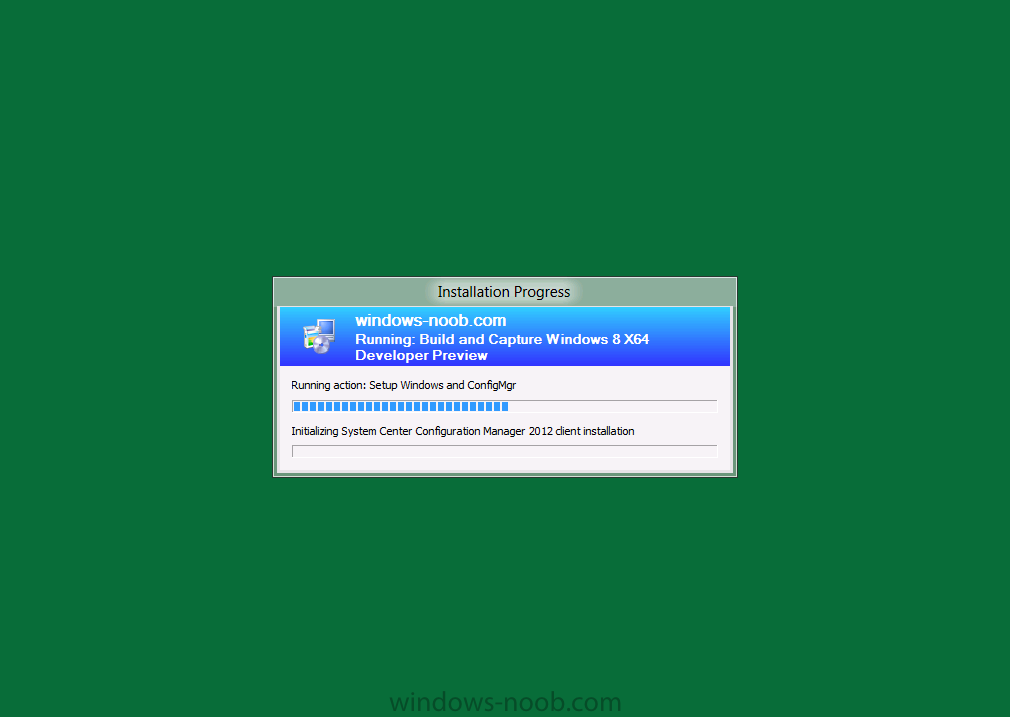
the installation starts

and finally Setup Windows and configmgr…
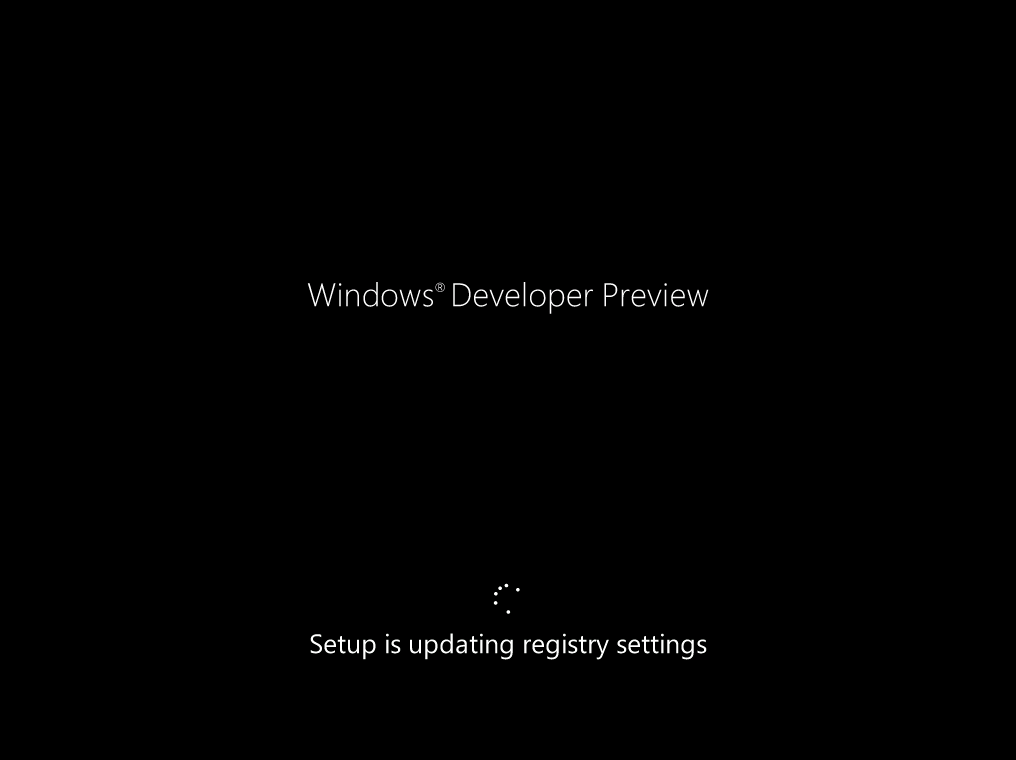
and Windows setup starts
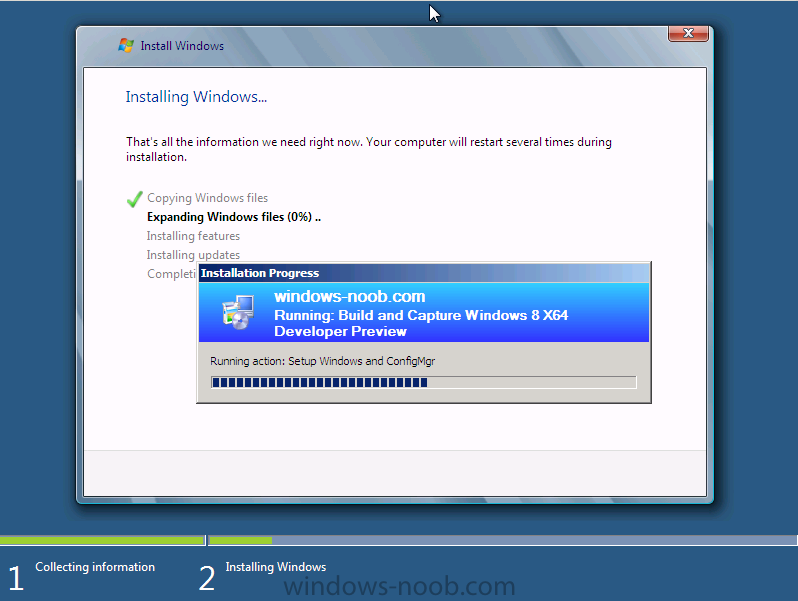
oooh the excitement !!
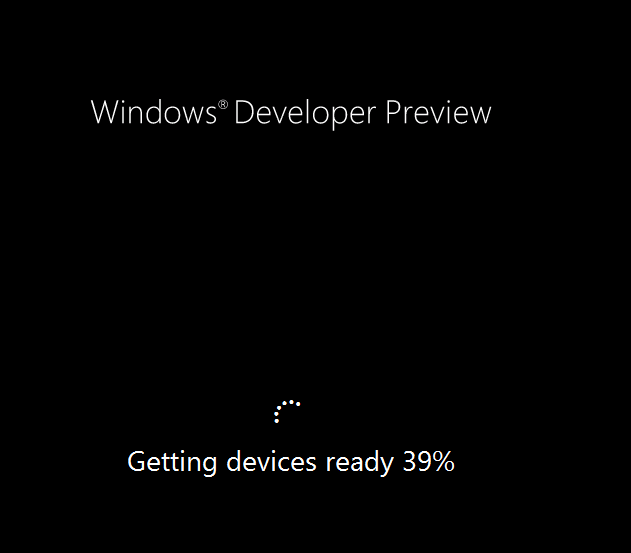
after a reboot we get our first look at Windows 8 setting up !!
doesn’t it look cool 
after another reboot…
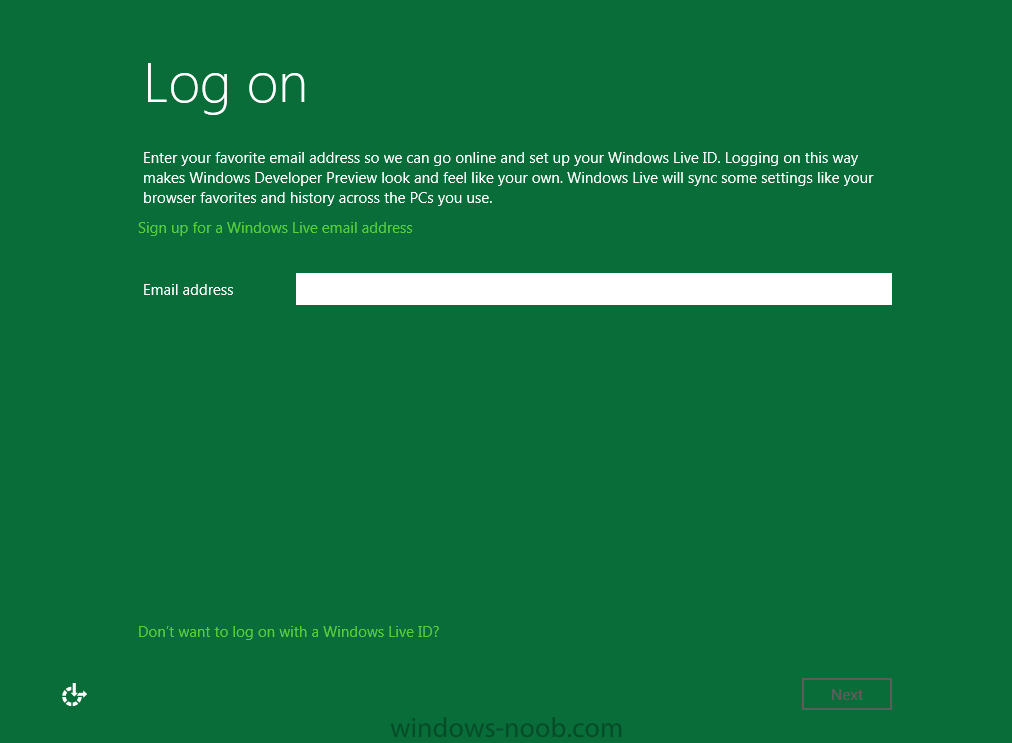
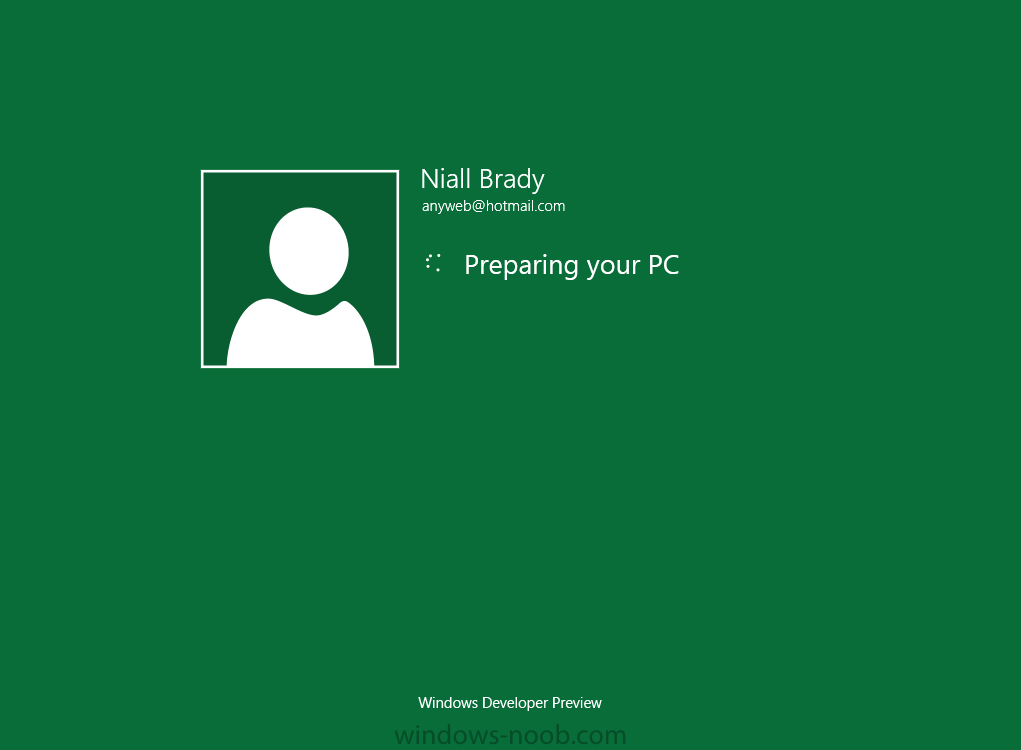
and it seems that obviously things are different in Windows 8, we see a
few screens prompting for email address and password, but that’s ok, as
this is all beta and fun !!!
enter your password…
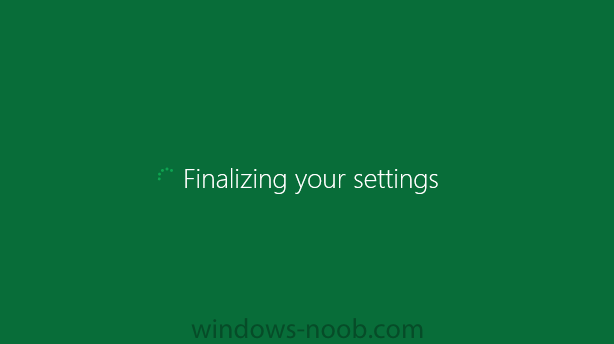
and then it returns to our Build and Capture process 🙂
and finalizing your settings
which will then reboot the computer again into Windows to finish up our process..
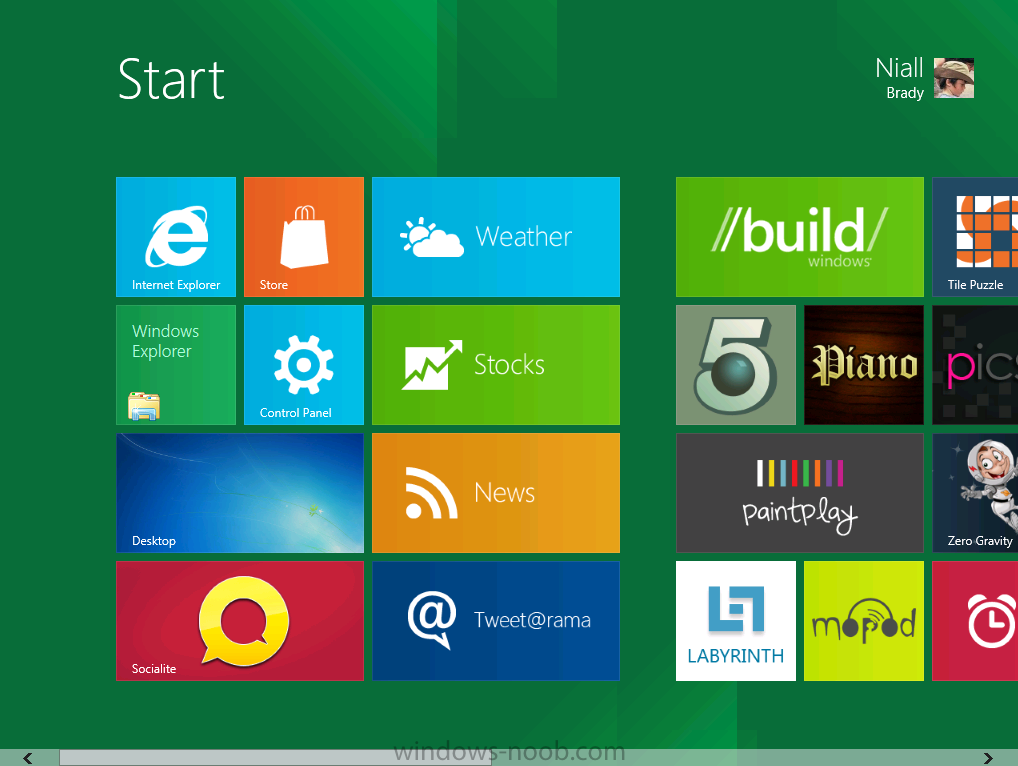
finally, Windows 8 !
In later releases of SCCM 2012 I hope to document this process more
thoroughly and using best practise of course, however this post, is just
for fun !
original post > here
