
In Part 1. of this series we Installed vNext.
In Part 2., we then Configured vNext to use the New AD Site as a boundary and Configured Discovery Methods in vNext.
In Part 3, we installed the Reporting Point Role along with some additional roles and configured them.
In Part 4 we configured the client Agents and deployed the vNext Client.
In Part 5 we deployed an Application to All Users.
In Part 6
we added Windows Deployment Services, added the PSP role, added the
Windows 7 Enterprise image, and updated our boot image for Deploying
Windows 7.
In Part 7
we created our Build and Capture Task Sequence, enabled the Network
Access Account, Advertised (Deployed) the Task Sequence, and created a
new hyper-v virtual machine for capturing the wim on.
Step 1. Add the WSUS role to our vNext server.
On our vNext server startup Server Manager. Click on Roles and click on Add Roles.

click on Next at the wizard welcome page, and select Windows Server Update Services (WSUS) from the list, answer yes to the required role services
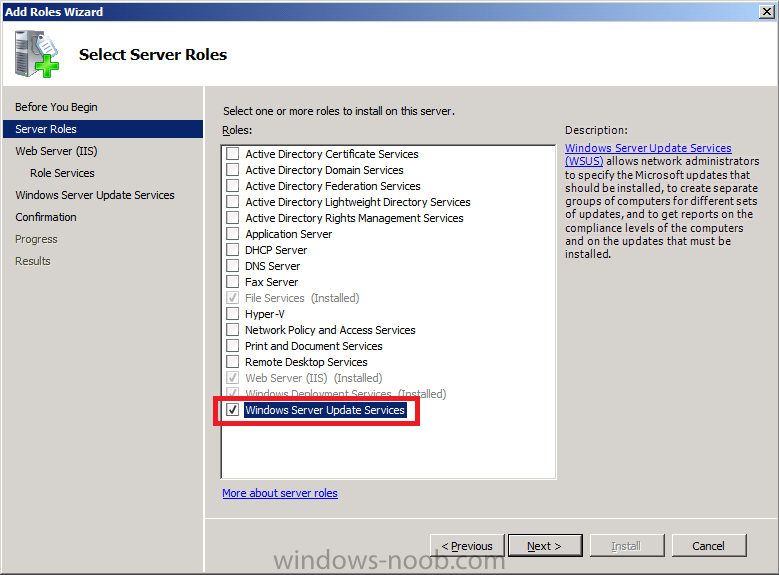
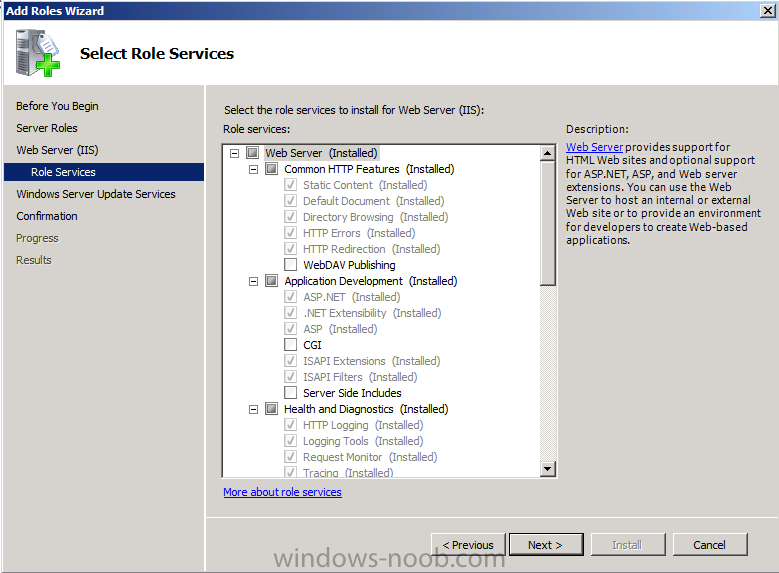
you’ll get a note about Web Server IIS, click next and next again
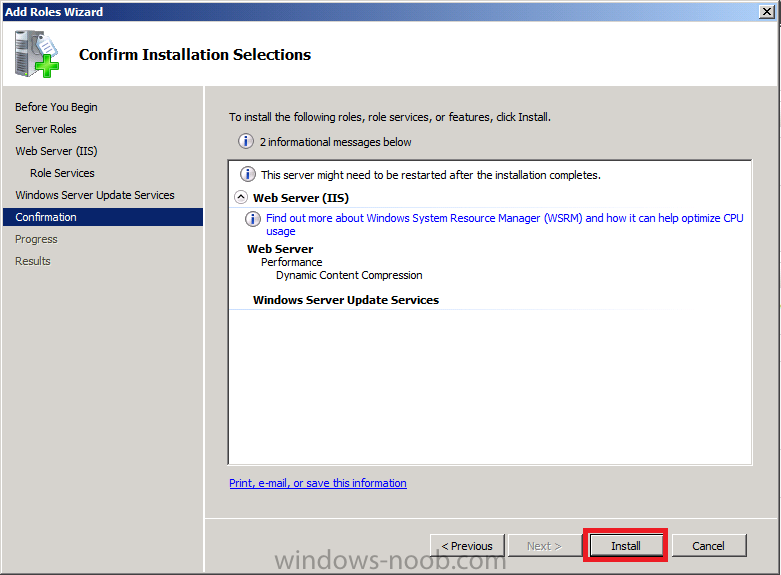
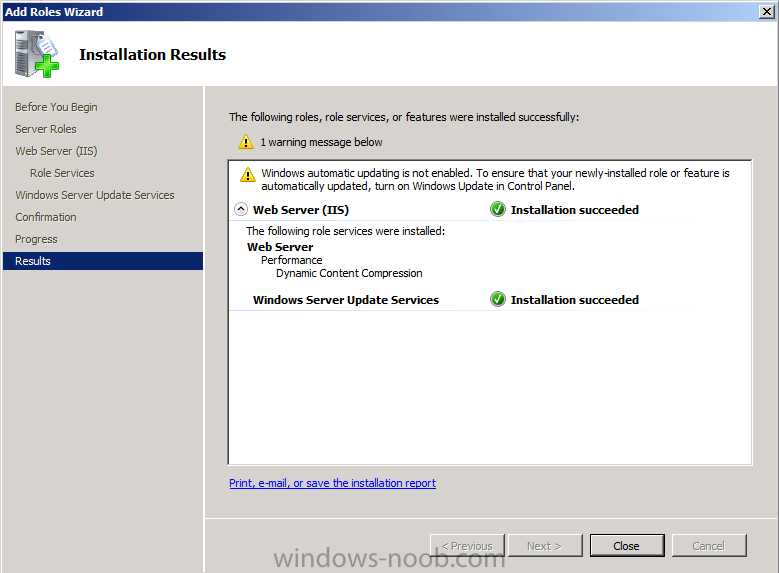
Click Install when prompted and review your results when done.
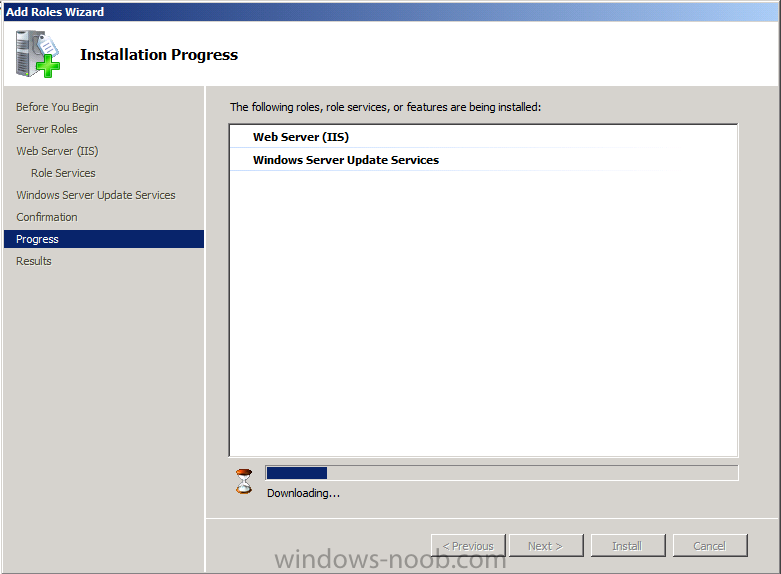
At this point the WSUS role will be downloaded and then installed.
Depending on your internet connection this could take some time.
after a while it will say Configuring and (hidden from view) will be the WSUS wizard, so click on the wizard to bring it forward

you’ll now see the Welcome to the WSUS 3.0 SP2 wizard
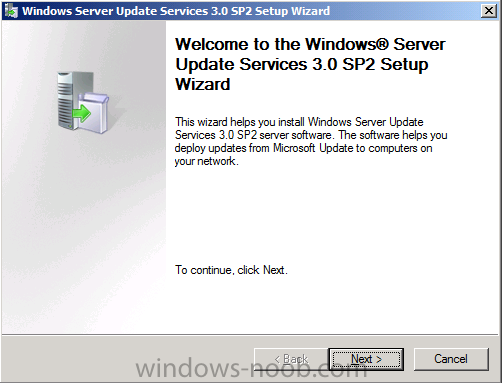
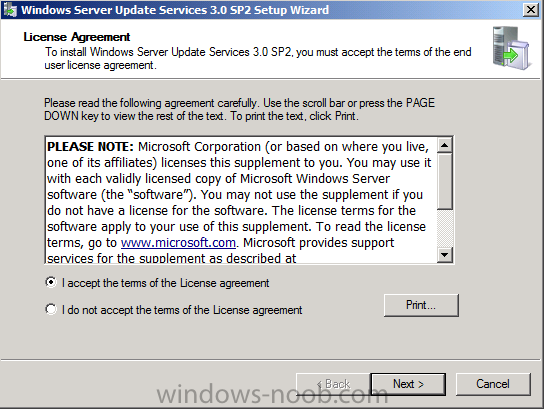
click next to continue and accept the EULA
accept the local download defaults (store updates locally)

choose Use an Existing Database on this server

and it should say successfully connected to SQL Server Instance

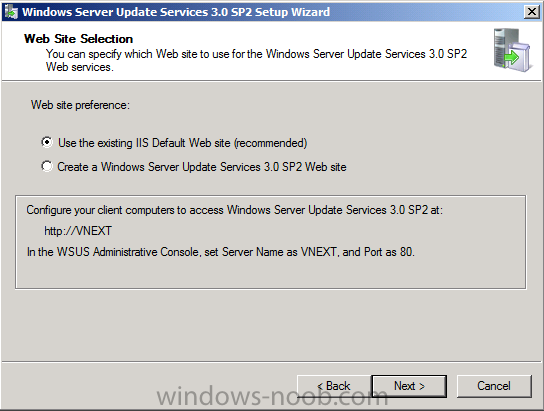
accept the Use an existing Default website
click next at the summary, click Finish
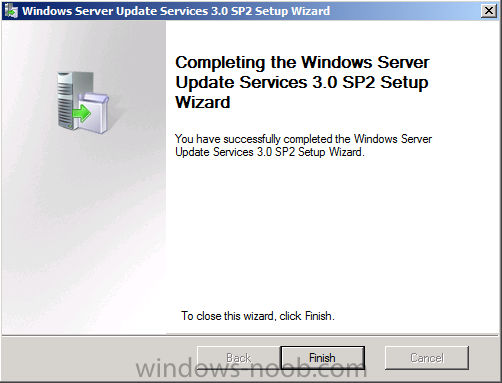
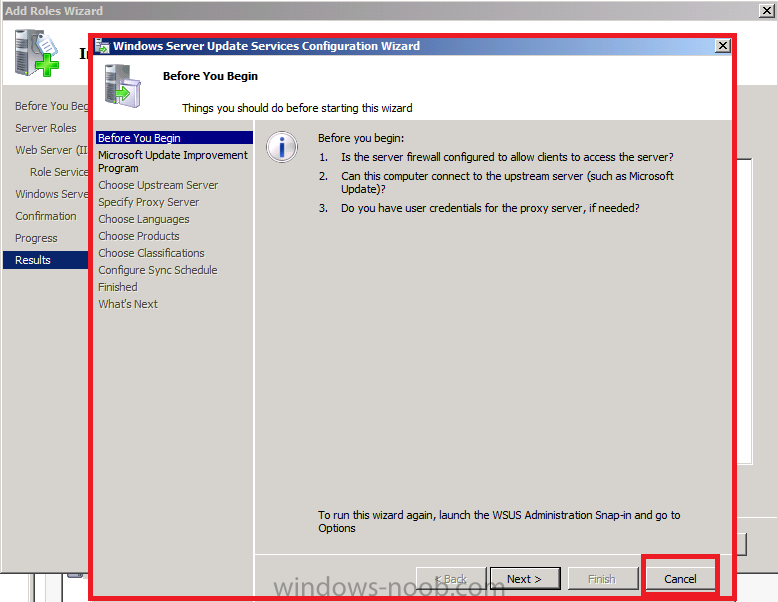
followed by Cancel *you must cancel the Windows Server Update Services Configuration Wizard*
finally click on Close
for the rest of this post (plus screenshots) click here
