
In Part 1. of this series we Installed vNext.
In Part 2., we then Configured vNext to use the New AD Site as a boundary and Configured Discovery Methods in vNext.
In Part 3, we installed the Reporting Point Role along with some additional roles and configured them.
In Part 4 we configured the client Agents and deployed the vNext Client.
In Part 5 we deployed an Application to All Users.
In Part 6
we added Windows Deployment Services, added the PSP role, added the
Windows 7 Enterprise image, and updated our boot image for Deploying
Windows 7.
Next we will continue with this process, and as part of that we need to utilise the built in Build and Capture Task Sequence.
Step 1. Create Build and Capture Task Sequence
Perform the following on the vNext server as SMSadmin
In the Software Library, Right-Click on Task Sequences and choose Create Task Sequence
from the wizard that appears, choose Build and Capture a reference operating system image
Fill in details about the image and select the X86 boot image we udpated previously
when the Install Windows Operating System window appears click on browse
and select our Windows 7 X64 Enterprise image
select Always use the same administrator password and type in an admin password
as this is Build and Capture, it’s recommended best practise to be a member of a workgroup (don’t join the domain)
for the Install Configmgr Client step, click on browse
and select our ConfigMgr Client Upgrade Package (if you don’t have this package see here for details of how to create it)
we have not enabled the SUP yet, so do not install software updates
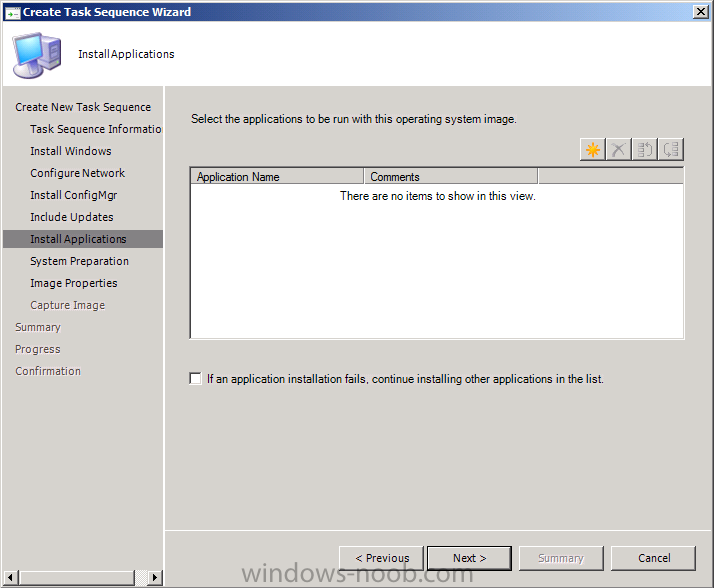
leave applications blank
as this is Windows 7, no system preparation package needed (it’s included with the OS), so just click next
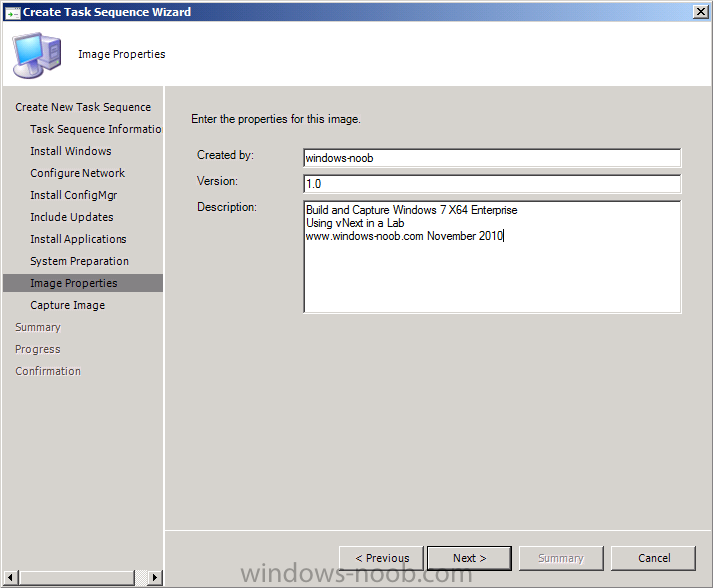
fill in some details about the image
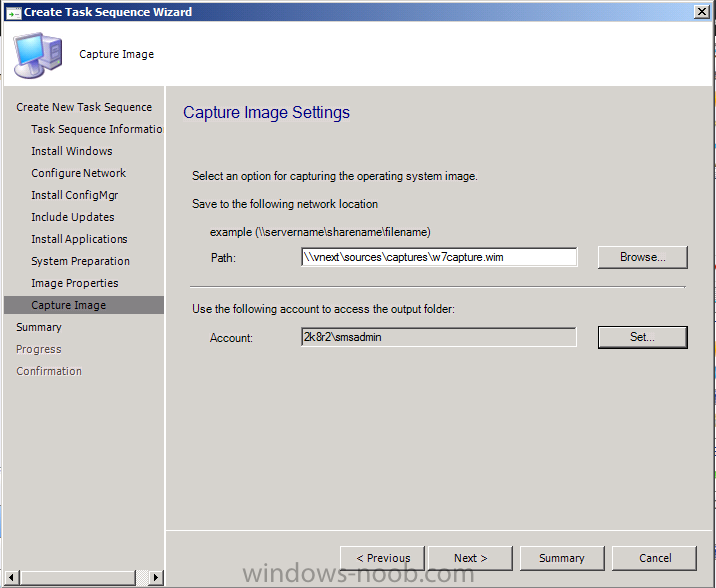
enter the capture wim file name (path) and user details to save the capture with
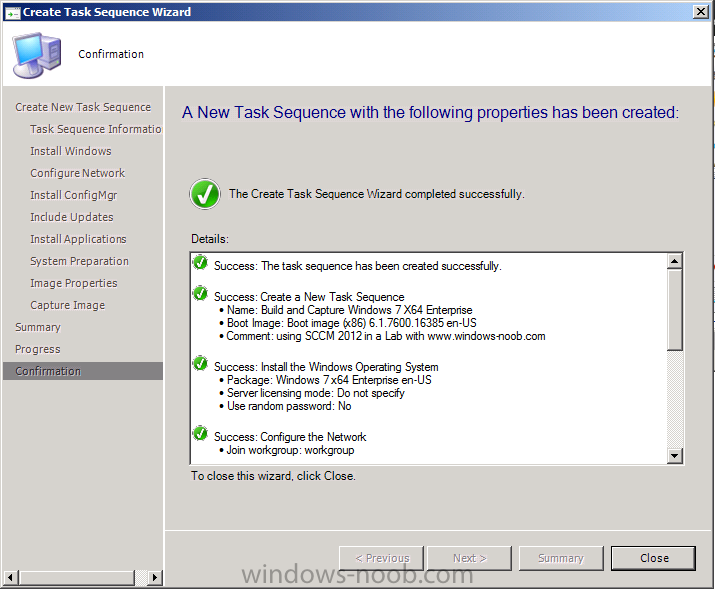
Click Next, Next and review the confirmation.
Step 2. Enable the Network Access Account
We need our Network Access Account set in order to copy packages in
WinPE. We have already created the user in Active Directory (NAAUser),
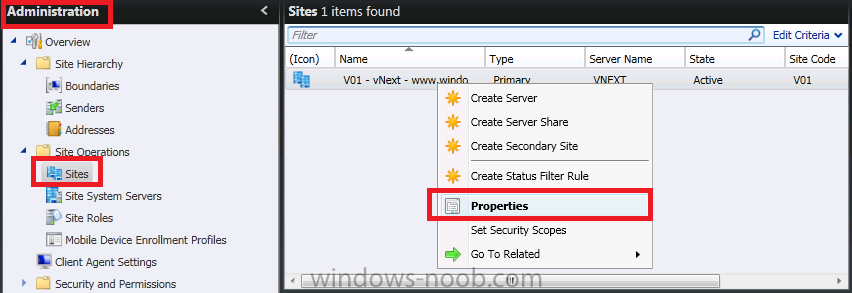
now lets add it to vNext. In Administration, click on sites, then select
your site and right click, choose properties.
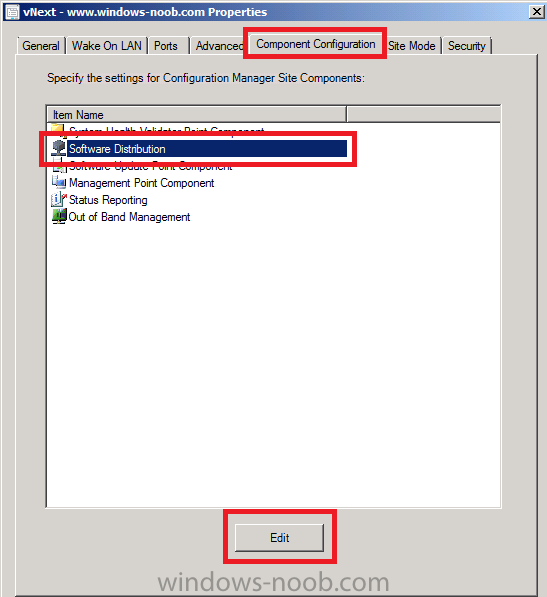
Click on the Component Configuration tab, software distribution, edit
enter the network access account details (click on the network access account tab), and click ok, ok
