I wanted to install Windows 8 RTM as I downloaded the ISO from Technet yesterday, and the purpose of this post is to help you do semi-automatic data migrations from Windows 8 Release Preview (or Windows 7) to Windows 8 RTM (I have not tested this with XP or Windows 7 as the source but it should work, if using XP or the 32 bit version of Windows 8 or Windows 7, then adjust the USMT path in the migrate.bat file to point to X86).
I will cover how to do automatic migrations using Configuration Manager 2012 in the not-to-distant future.
If you run Windows 8 Setup while windows is already running, you’ll get the options of Upgrading or running Custom setup.
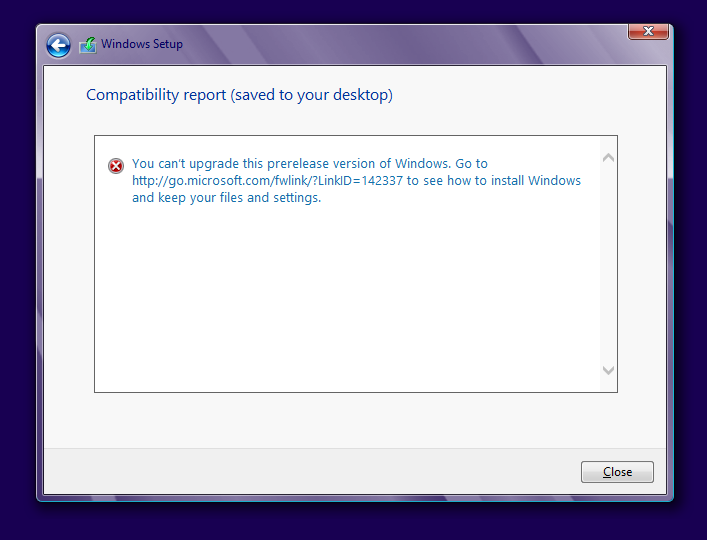
If like me you attempt an upgrade from Windows 8 Release Preview you’ll get an error informing you to go to http://go.microsoft.com/fwlink/?LinkID=142337 for more information.
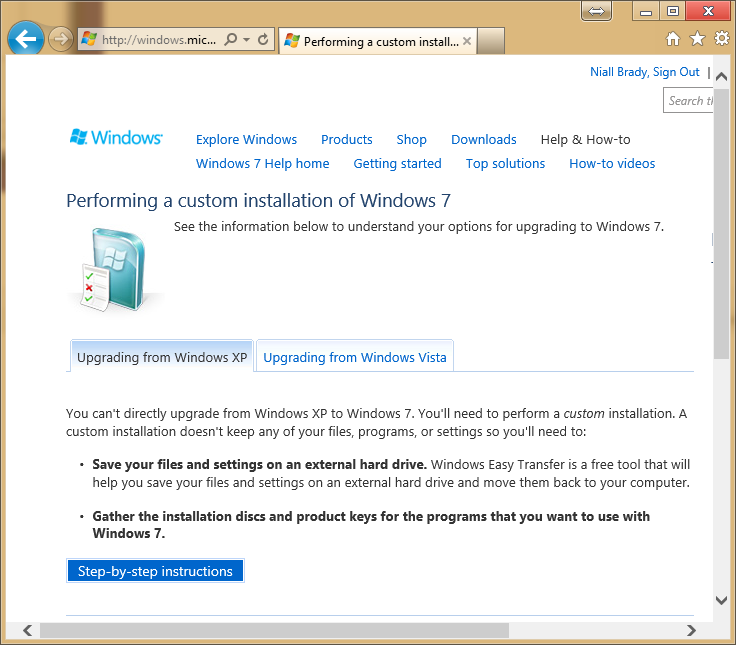
Unfortunately that link is pretty much for Windows 7 upgrades (XP to 7) but it does inform you that you need to do a custom installation of Windows.
A custom installation doesn’t keep any of your files, programs, or settings so you’ll need:
- An external hard disk. You’ll need to move your files off of your PC before you install Windows 8.
- The original installation discs or setup files for the programs that you want to use with Windows 8. You’ll need to reinstall your programs by hand after installing Windows 8.
Well, we could copy our data manually to an external hard disc and start fresh or we could script it using USMT 5.0 for Windows 8 available from the Windows Assessment and Deployment Kit here.
So I chose to create a wee script as I needed to migrate my kids computers too and i’m sure a few neighbors will also want help sooner or later so having this script in my bag of tricks will be useful.
If you’d also like to try this then this is all you have to do:-
Step 1. Install the ADK
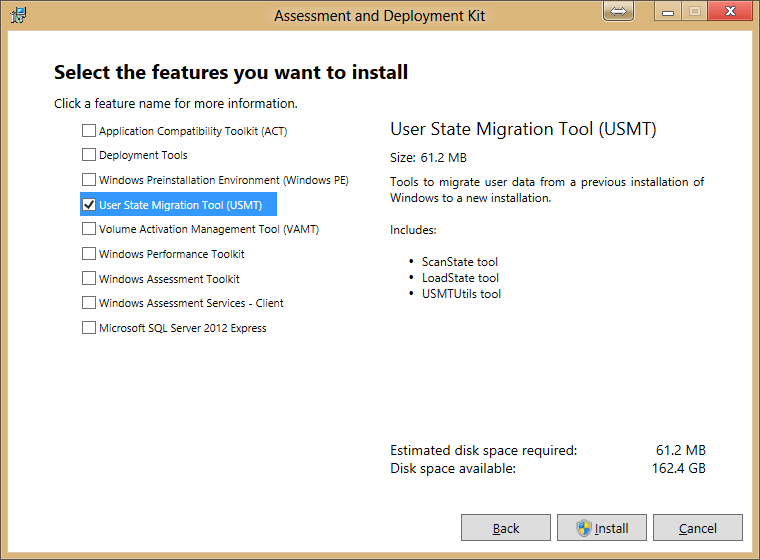
Install the ADK to C:\Program Files (x86)\Windows Kits\8.0\Assessment and Deployment Kit but when prompted what features to install only choose the USMT option.
the USMT files should now be found in the following folder: C:\Program Files (x86)\Windows Kits\8.0\Assessment and Deployment Kit\User State Migration Tool
Step 2. Copy USMT files to an external hard disc.
Copy the User State Migration Tool folder (and all subfolders/files) to the root of a USB harddisc.
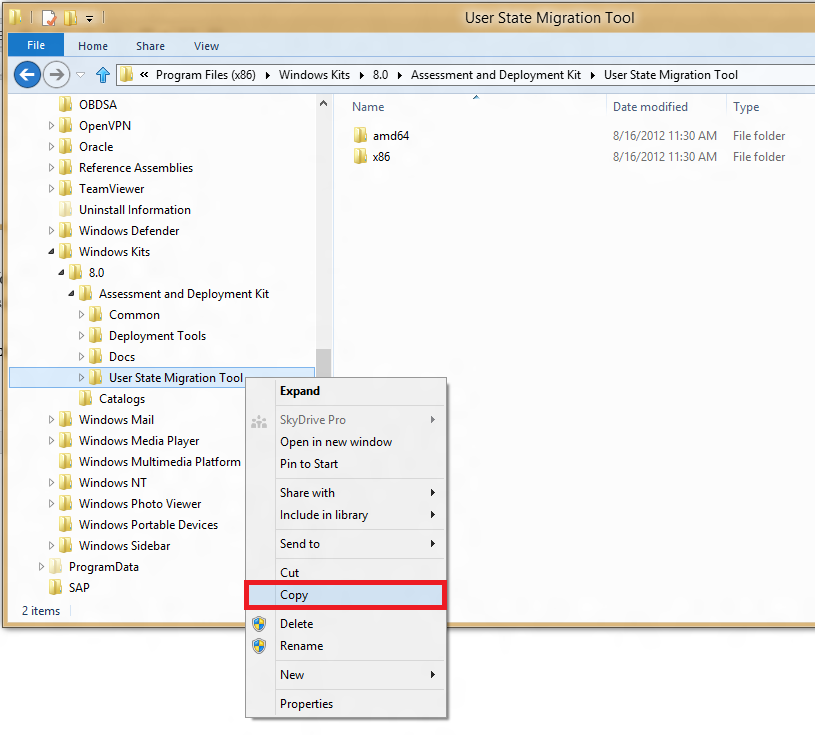 Step 3. copy Custom.XML and Migrate.BAT to the root of your hard disc
Download this ZIPfile, extract the files and copy them to the root of the external hard disc
Step 4. Run migrate.bat
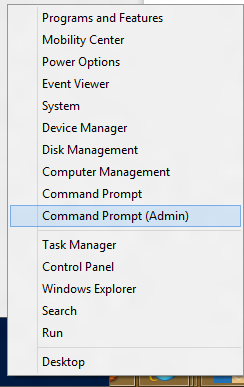
Once done, insert the hard disc into your source computer (can be Windows XP, Windows 7, Windows 8) , close all open applications, and start an administrative command prompt. In the screenshot below i’m starting an administrative command prompt in Windows 8 Release Preview (build 8400).
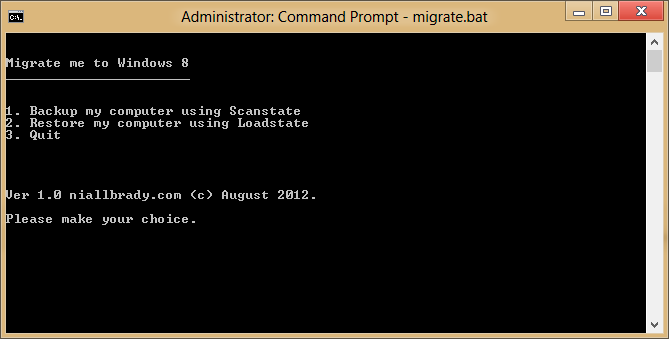
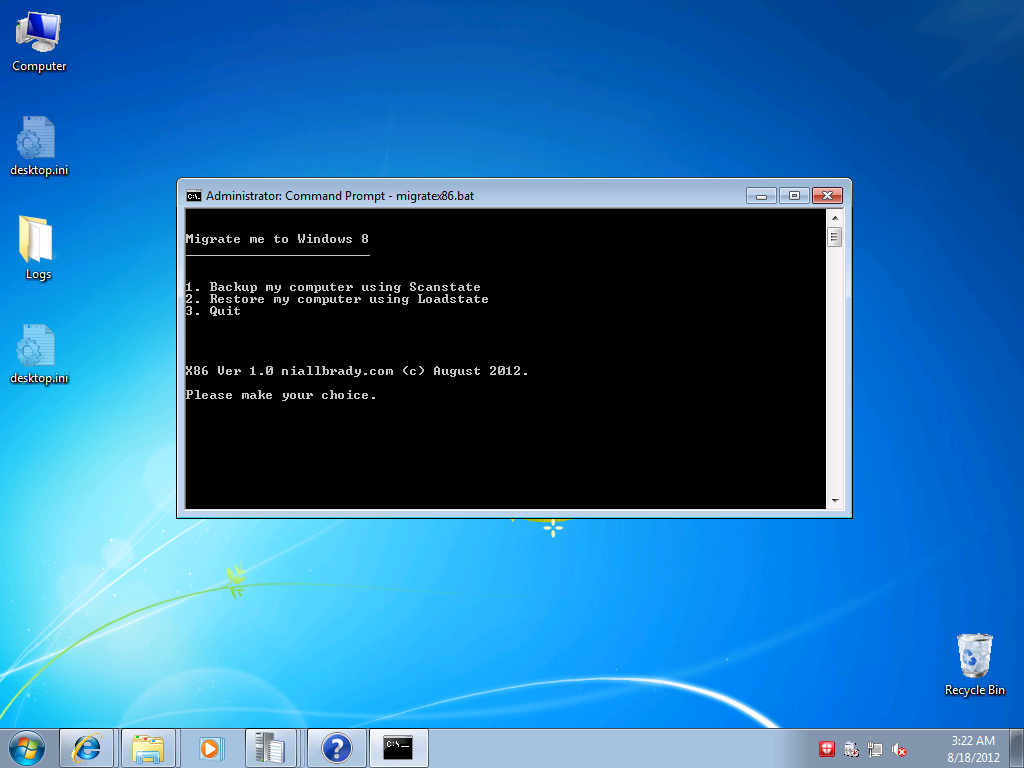
at the command prompt, change to the Drive letter that corresponds to your external USB disc, and type migrate.bat (or migrateX86.bat if using a X86 OS) and press enter, you’ll get a menu like the one below. Cool huh ?
select your choice, if you want to backup your data make sure to close any open applications before the migration begins, from the menu select 1. from the list to start a backup (scanstate). If you get an error about no disc in drive (CD/DVD then just click Continue).
The script will automatically copy your data to \store\ComputerName where ComputerName is the name of your computer (hostname).
once done you can review the C:\Windows\Temp\Scanstate.log in CMTrace to see what errors there were (if any reported).
Step 5. Install Windows 8 RTM
Well i’ll leave it up to you how to accomplish that. Once done login to your new desktop.
Step 6. Restore your data by running Migrate.Bat again
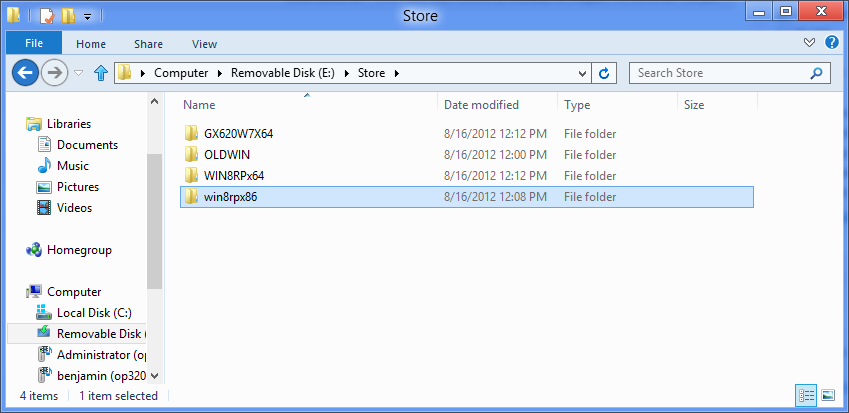
Now that you have installed Windows 8 you want your docs and data back, so insert the external disc again and run migrate.bat, choose option 2 and you’ll get to select the migration store
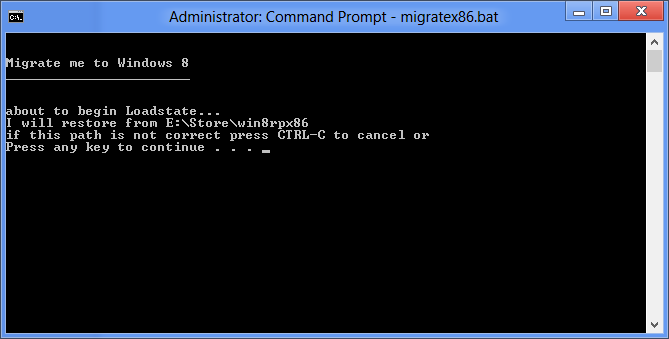
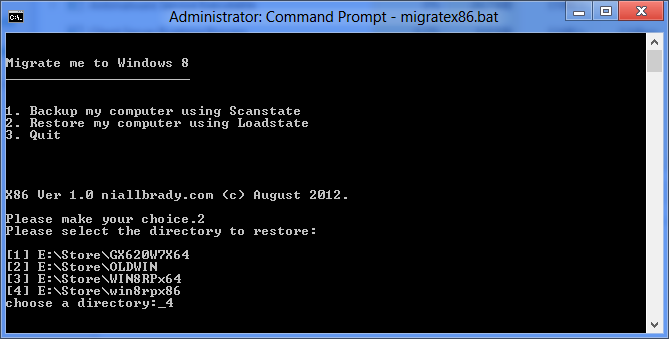 you’ll be asked to confirm the store
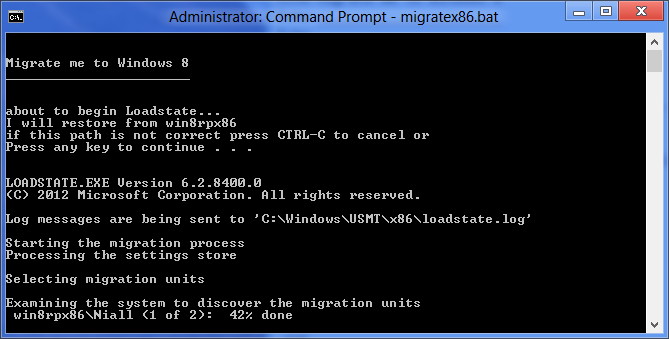
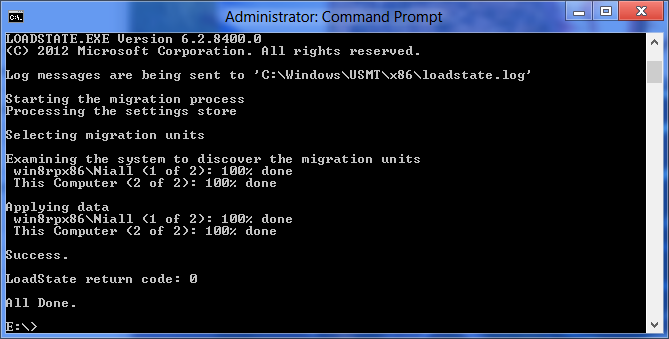
before Loadstate does it’s job and restores your data.
well that’s it, please test it out and give me your feedback,
Can I do this using a network share instead ?
If you don’t have access to a USB key or external hard disc you can use a network share instead, it will be slower to complete and it will increase traffic on the network. To MAP a network drive do as follows:-
Open an administrative command prompt on the SOURCE computer and use the following command
net use Z: \\server\h$
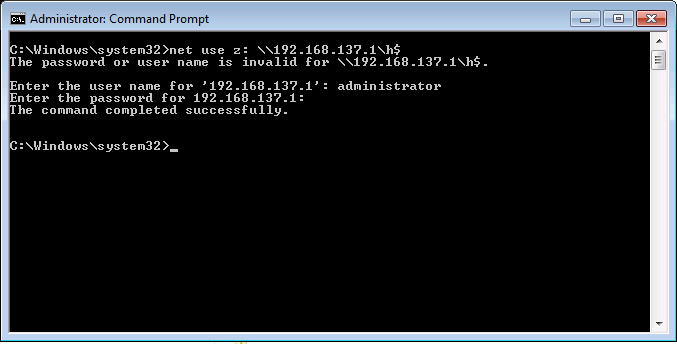 replace SERVER with the IP Address of your network server and h$ with the share where you copied the migrate batch files and custom.xml and the USMT files from the ADK.
Finally, change to the newly mapped drive letter (Z:) and do a DIR, you’ll see your migration files
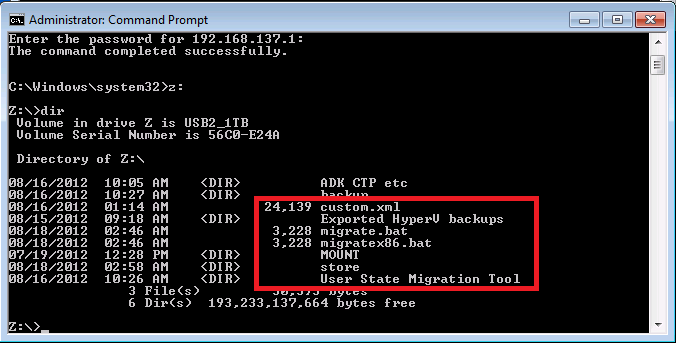 and can begin by running the one that suits your computers architecture, for example for a 32bit OS run migratex86.bat. (screenshot below from a Windows 7 virtual machine)
niall
Disclaimer: use at your own risk, test it first, don’t forget to customize your custom.xml file to migrate the data you care about.




Pingback: migrating data to Windows 8 RTM ? make sure you are using the latest version of the ADK | just another windows noob
Hi , have you covered the automatic migrations using Configuration Manager 2012 , i’m actually looking to do this but with SCCM. Any help will be appreciated
start here
https://www.windows-noob.com/forums/topic/13288-step-by-step-guides-system-center-configuration-manager-current-branch-and-technical-preview/
cheers
niall
I had seen some of them but i’ll take a deep look at each of them.
Thanks
Kuma