
Introduction
By now we should all be familiar with Windows Autopilot and how it is used to provision new computers, as explained below in Microsoft’s diagram.
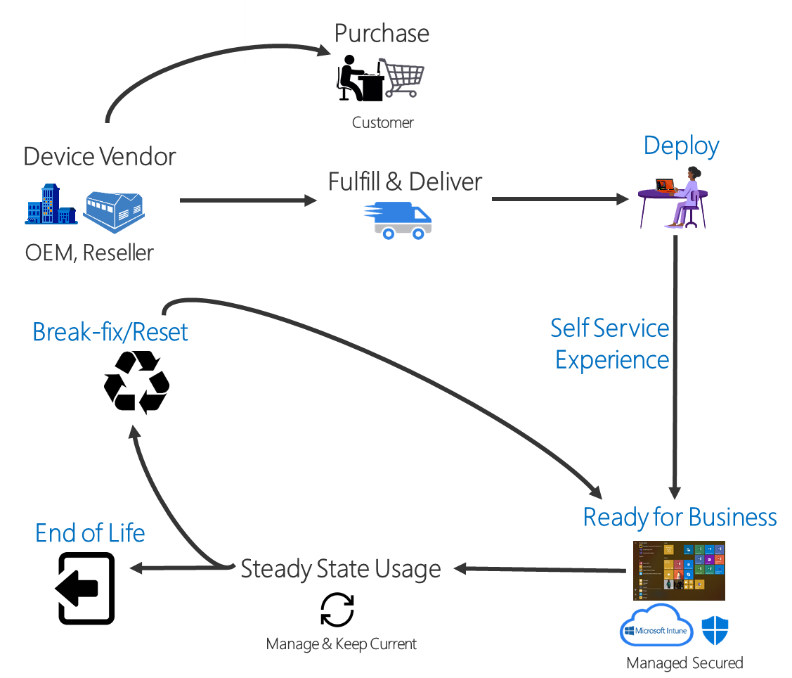
For every new computer delivered via the Windows Autopilot process there’s usually an old or obsolete computer waiting to be retired or re-sold. Those old computers still have life left in them and are frequently sold back to the vendor who sold them as new 3 years previously, either to be re-used or re-sold around the world. However those old devices may still contain sensitive company data on them and you want to protect that from prying eyes.
Today your company may have an existing process where on site support staff clear the BitLocker protectors from the TPM chip to make extraction of that data as difficult as possible. The Retire My PC app aims to provide self-service ability to the end-user to retire their old PC quickly, easily and with minimum fuss and of course, to do so in a secure manner thereby protecting your companies data.
In this blog post I’ll guide you through setting it up in your own environment.

The Retire My PC app.
This app has the following features:
- stops the ConfigMgr client agent service
- stops the MBAM agent service
- rotates the BitLocker key (optional)
- WIPEs the BCD registry entries (optional)
- joins a workgroup
- clears the TPM protectors
- adds a record of all this to Azure Tables
- emails the log to a support inbox
Requirements: Before you get started please ensure that you’ve already setup a Sendgrid account (for sending emails) as I’ve explained in Step 4 of this blog post.
In this blog post you’ll do the following actions:
- Create an Azure Resource Group
- Create a storage account
- Copy access key connection string
- Create an Azure table
- Create a function app]
- Configure the function app settings
- Create some httptriggers
- deploy the app via ConfigMgr
- test and verify on a computer
Step 1. Create a Resource Group
login to https://portal.azure.com and click on Create a resource,
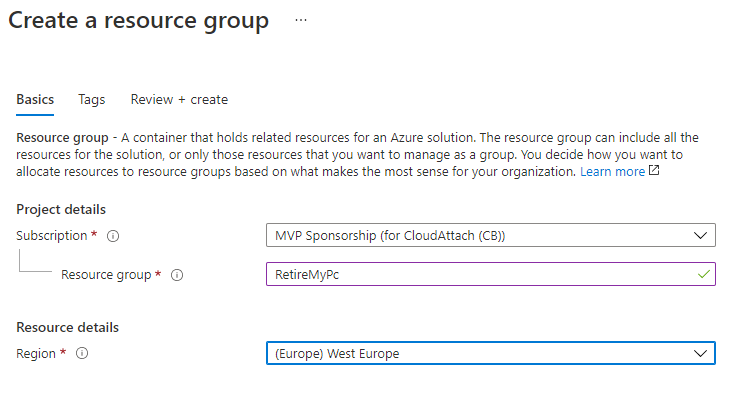
in the search field type in Resource group and select Create Resource Group.

Give it a suitable name like RetireMyPc and select a suitable region.
Step 2. Create a storage account
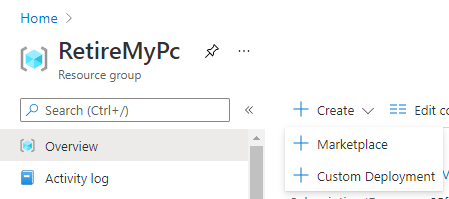
In the newly created resource group, click on the Create button, select Marketplace and search for Storage Account using the text field provided.
when you find Storage account, select it and then click Create.
In the Create a storage account wizard, give it a unique name, select the resource group you previously created and finally, select your applicable region as shown below (highlighted in yellow). When done, click on Review + create followed by Create.

To read the rest of this blog post please click here.
