
Introduction
I’ve touched on this subject before where I used http triggers to add devices or users to an Azure AD group after Windows Autopilot was completed, however that solution did not check the compliance of the device prior to adding it to that Azure AD group, and you may have assigned profiles to that Azure AD group which depend on a compliant state. After Windows Autopilot is complete the compliance state of a device a can vary between any of the following states depending on various factors (usually time, and the number of compliance policies deployed and how they are configured).
- Compliant
- Not Compliant
- In grace period
- See ConfigMgr
- Not Evaluated
The initial compliace state can eventually change to a state of compliant can take from a couple of minutes to some hours depending on what compliance policies you have configured. Refer to this docs post for more information about device compliance. Let’s imagine you’ve configured a few compliance policies that check for the status of BitLocker Encryption of a device and Windows Defender anti malware definition updates. If the detected state of those polices don’t match the configured policy then the device will be in a state of non compliance or even in something called in grace period.
This post should help you solve the problem of adding devices (or users) to an Azure AD group after Windows Autopilot is complete, but only when they are in a state of Compliance that you want, in this case, Compliant. However it is complex, so before you start, please familiarize yourself with the following 2 posts, in fact I’d suggest you get the below working before proceeding as it will prepare you for this solution nicely.
- Adding devices to an Azure AD group after Windows Autopilot is complete – part 1
- Adding devices to an Azure AD group after Windows Autopilot is complete – part 2
Understanding the solution
So how does this all work ? The solution is actually made up of several scripts (and a trigger) listed below.
CheckCompliance_CreateScheduledTask.ps1
The CheckCompliance_CreateScheduledTask.ps1 script will exit without doing anything if it detects that Autopilot was completed more than 48 hours ago. This script creates a scheduled task called CheckCompliance to run every 15 minutes. The scheduled task runs a CheckCompliance.vbs script which in turn runs a CheckCompliance.ps1 powershell script.
Note: Both the CheckCompliance.vbs and CheckCompliance.ps1 scripts are embedded (base64 encoded) within the CheckCompliance_CreateScheduledTask.ps1 script.
CheckCompliance.vbs
This script is used to launch CheckCompliance.ps1 in hidden mode.
CheckCompliance.ps1
This script does the actual call to the http trigger and provides the following data dynamically to the trigger:
- deviceName
- userName
If the device is determined to be compliant it will then extract two more embedded scripts, then it runs AddDeviceToAzureAdGroup.vbs before finally deleting the scheduled task.
Note: Both the AddDeviceToAzureAdGroup.vbs and AddDeviceToAzureAdGroup.ps1 scripts are embedded (base64 encoded) within the CheckCompliance.ps1 script.
AddDeviceToAzureAdGroup.vbs
This script simply runs the AddDeviceToAzureAdGroup.ps1 script in hidden mode.
AddDeviceToAzureAdGroup.ps1
This script gathers the deviceId and userName and adds both items to an Azure AD Group. This uses the methodology of this blog post.
httptrigger
The http trigger itself uses the data delivered to it via the URL to determine compliance based on the data in managed Devices in Intune.
How is compliance determined ?
On a high level, compliance state is determined via queries in Microsoft Graph which you can test using Microsoft Graph Explorer. You can experiment yourself using a query such as the following.
https://graph.microsoft.com/v1.0/users/USERID/managedDevices?$filter=deviceName eq 'ComputerName'
Note: To manually test this you’ll need to find valid UserID and ComputerName valuesfrom Intune and the results of this query would look something like below. Keep in mind that the UserID is reported as the id in Intune. The Scripted solution does the hard work for you, using Graph Explorer is where you start to test queries before creating the http trigger or back end scripts.
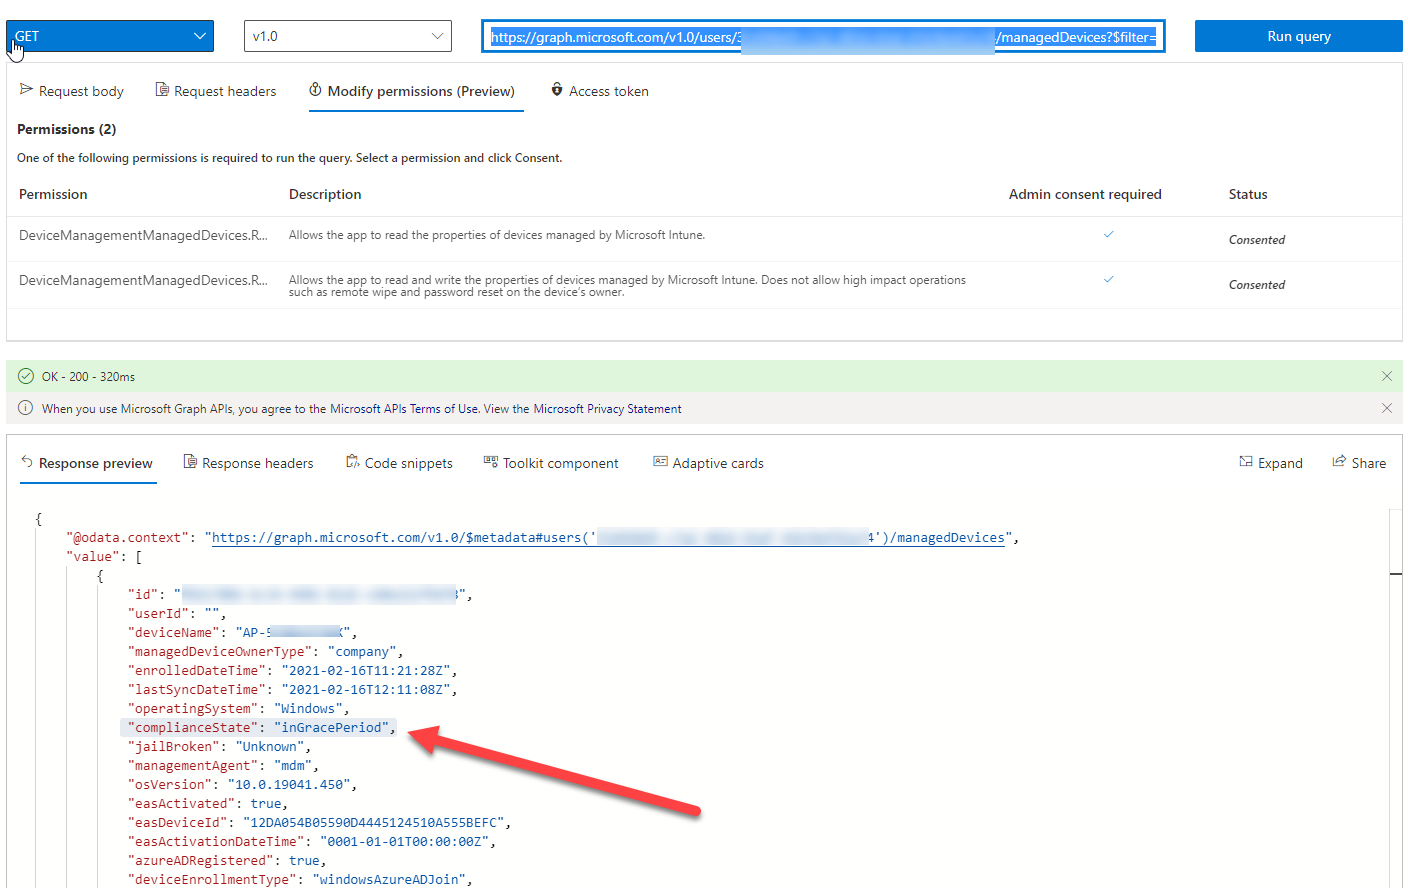
Note that you’ll need the following permissions granted in Graph Explorer to read this data (in addition to those listed in the previous blog post).

Encoding/Decoding base64 scripts
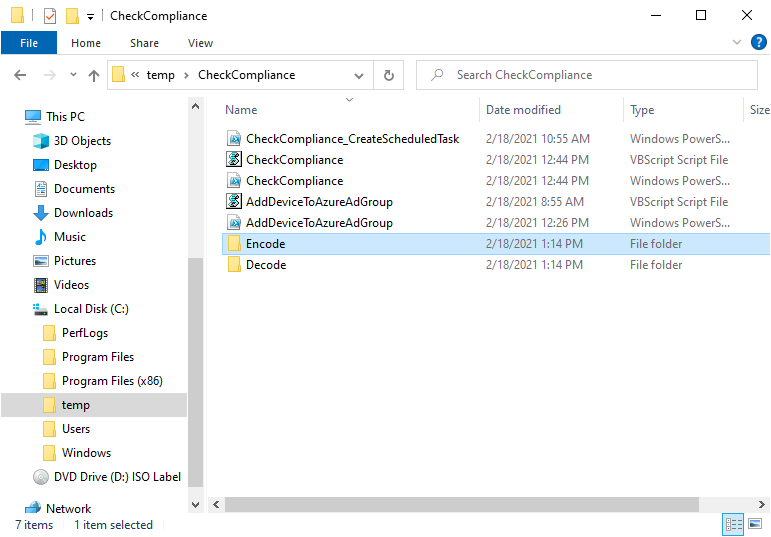
Included in the download are PowerShell scripts to encode/decode scripts. You can then edit them to your needs before re-encoding and adding the new base64 string to the appropriate variables. to set everything up please download the following scripts and extract to C:\Temp
Make modifications as necessary to the CheckCompliance.ps1 and AddDeviceToAzureAdGroup.ps1 scripts before re-encoding. Save edited scripts to C:\Temp\CheckCompliance.
To encode scripts simply run the relevant script shown below. There are two scripts, one for generating the base64 encoded scripts for the AddDeviceToAzureAdGroup and the other for the CheckCompliance scripts.
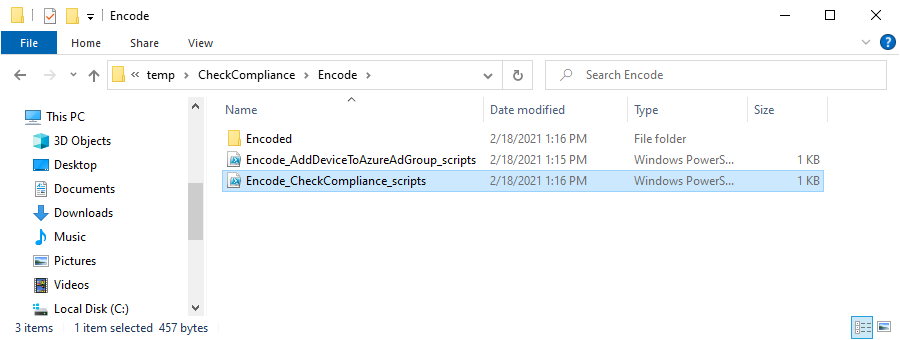
The newly encoded scripts will be in the Encoded folder.
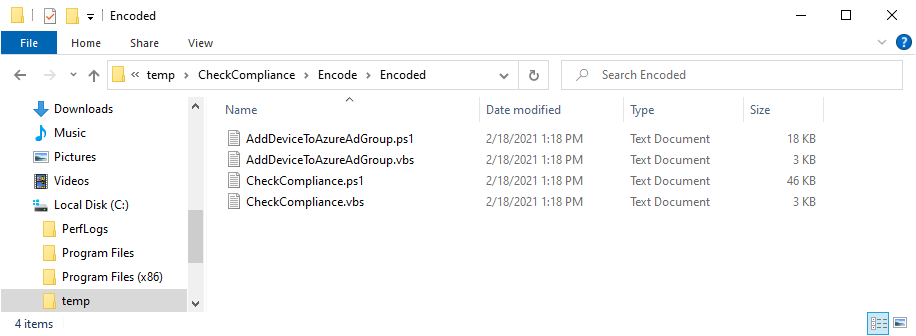
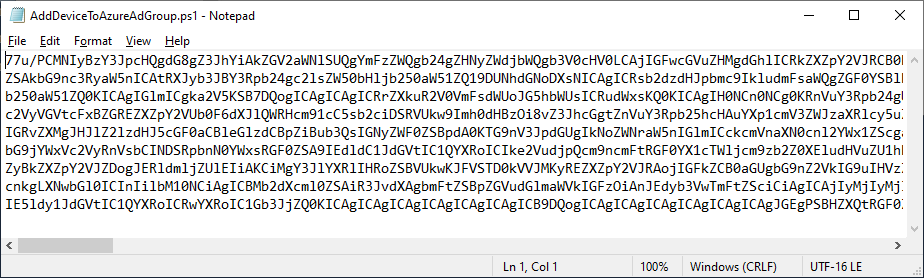
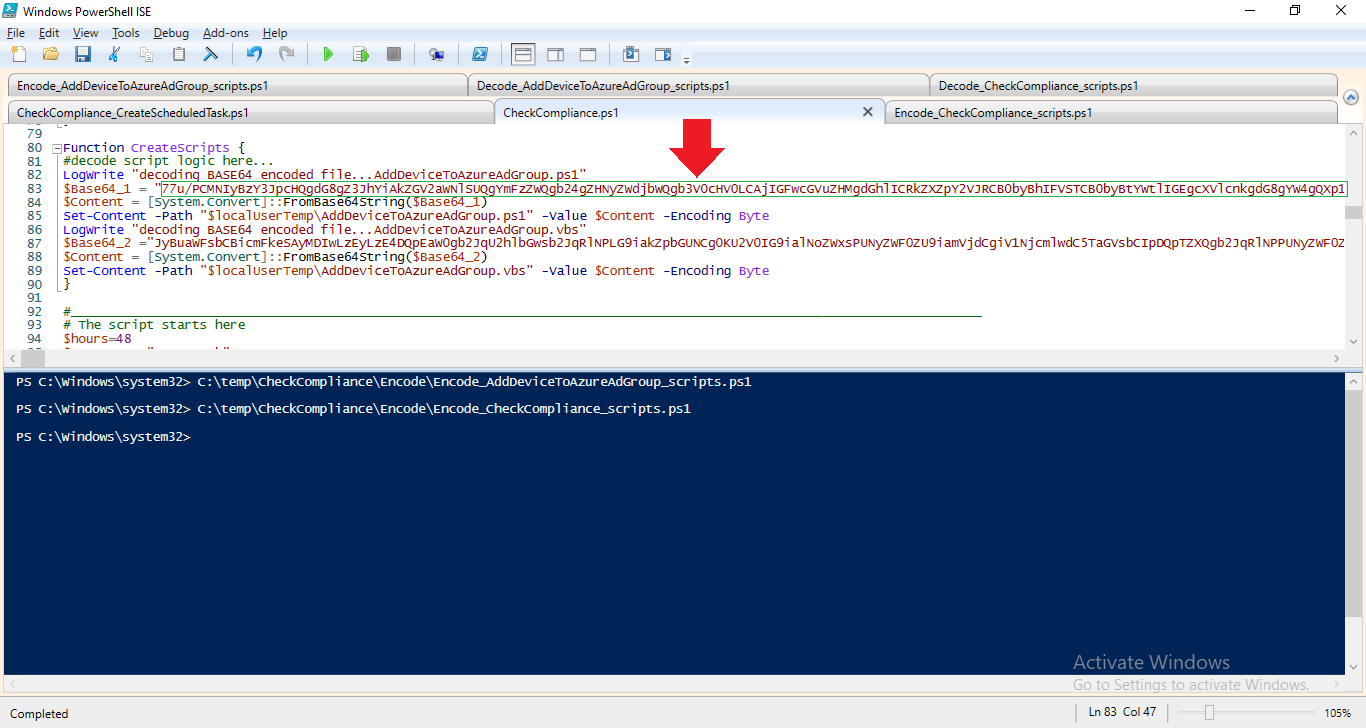
Opening any of those 4 scripts will reveal the Base64 encoding data. Mark it all (Ctrl+a) and Copy it (Ctrl+c).
Paste the Base 64 into the corresponding variable in the selected script. So to make changes to the AddDeviceToAzureAdGroup.ps1 script, simply edit the original Powershell script, then encode it, then copy the Base64 code into the corresponding section of the CheckCompliance.ps1 powershell script as shown below. Note that this is only an example, there are 4 embedded scripts in total, you’ll get the hang of it soon enough.
Decoding is the reverse process, and there are scripts available for you to do that also.
Ok by now you should have all the above understood and working, time to deal with the solution.
To read the rest of this blog post see here.
