
Introduction
This is part 3 in a series of guides about cloud attach in Microsoft Endpoint Manager, with the aim of getting you up and running with all things cloud attach. This part will focus on creating a Cloud Management Gateway (CMG). This series is co-written by Niall & Paul, both of whom are Enterprise Mobility MVP’s with broad experience in the area of modern management. Paul is 4 times Enterprise Mobility MVP based in the UK and Niall is 10 times Enterprise Mobility MVP based in Sweden.
- Cloud attach – Endpoint Managers silver lining – part 1 Configuring Azure AD connect
- Cloud attach – Endpoint Managers silver lining – part 2 Prepare for a Cloud Management Gateway
- Cloud attach – Endpoint Managers silver lining – part 3 Creating a Cloud Management Gateway
In part 1 we configured Azure AD connect to sync accounts from the on premise infrastructure to the cloud. In part 2, we prepared Azure resources for the Cloud Management Gateway, in this part we’ll create the cloud management gateway and verify everything is running smoothly. A Cloud Management Gateway gives you a whole bunch of new abilities for managing, imaging computers, escrowing BitLocker keys and delivering software, updates and policy to remote based internet enabled clients.
Step 1. Create Cloud Management Gateway
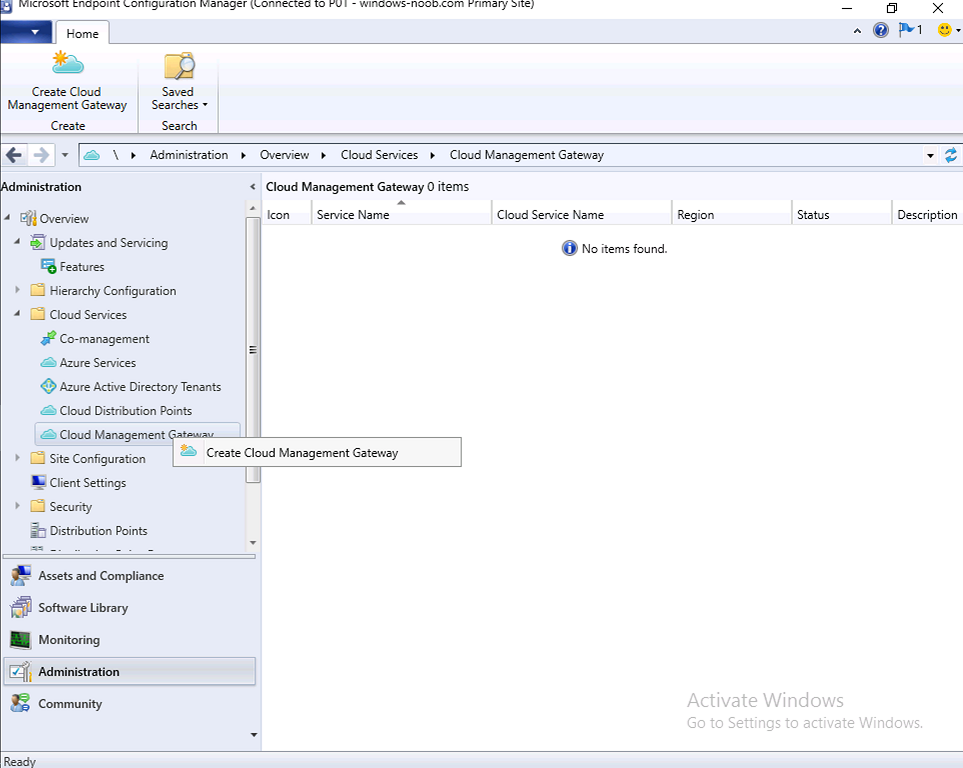
In the Configuration Manager console, go to the Administration workspace, expand Cloud Services, and select Cloud Management Gateway. Right click and choose Create Cloud Management Gateway.
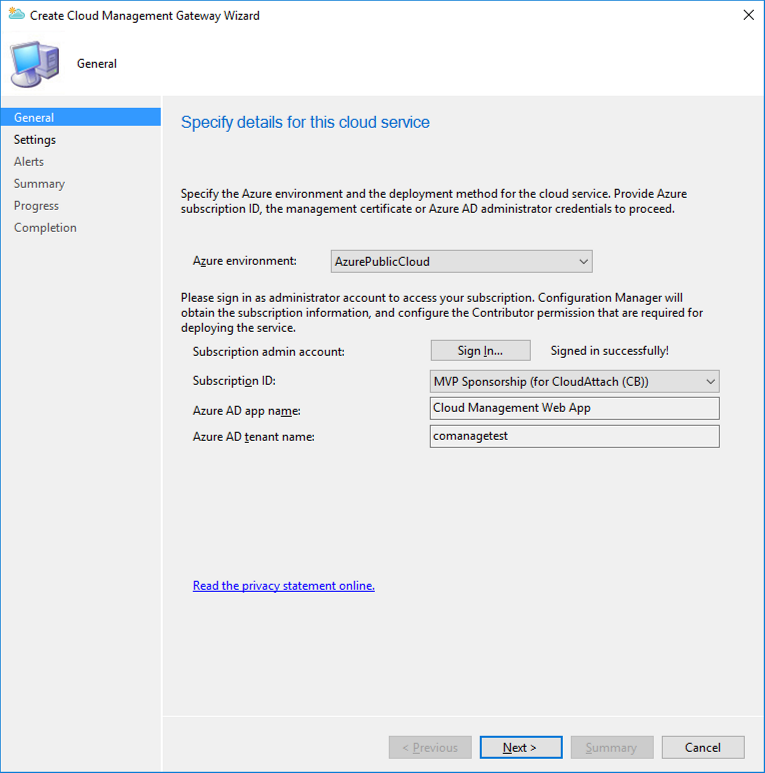
Click on Sign in and when prompted, use the credentials of an Azure subscription administrator account. The wizard will auto-populate the remaining fields from the information stored during the Azure AD integration prerequisite. If you own more than one subscription, select the Subscription ID of the desired subscription using the drop down menu.
Specify the Azure environment for this CMG. The options in the drop-down list may vary depending upon the deployment method.
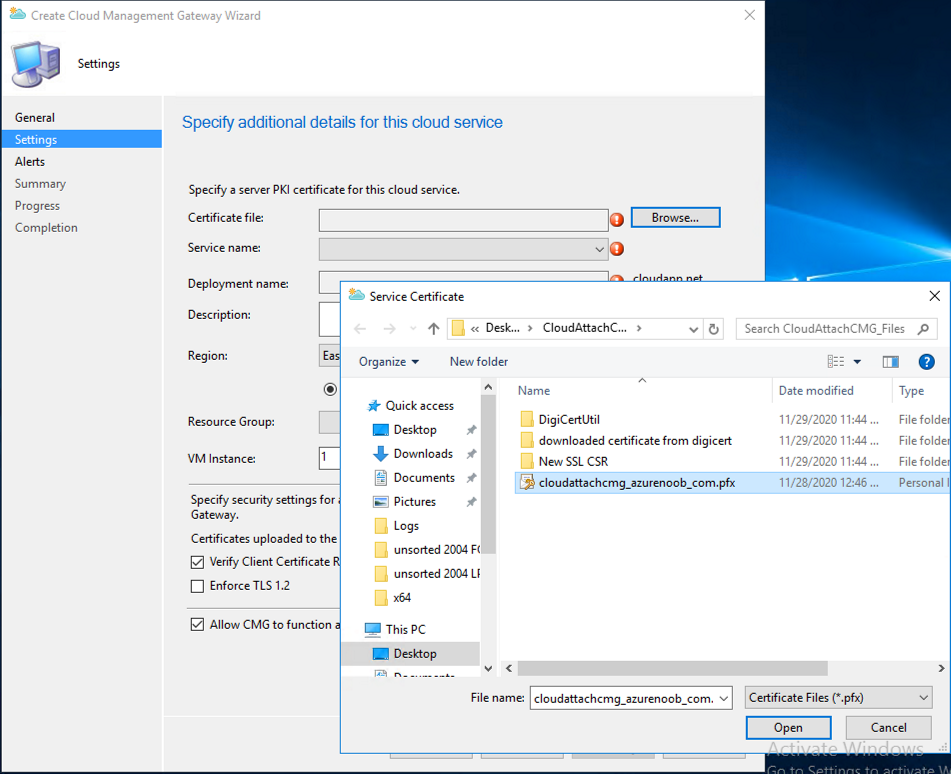
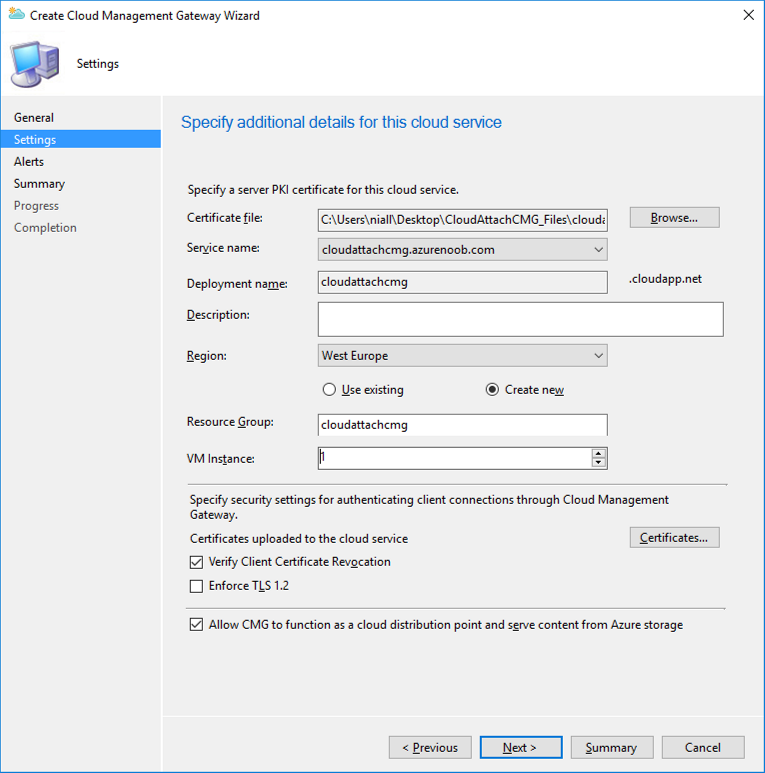
On the Settings page of the wizard, click Browse and choose the .pfx file you created in step 5 of this blog post for the Cloud Management Gateway server authentication certificate. The name from this certificate populates the required Service FQDN and Service name fields.
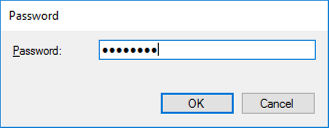
Enter the password when prompted
Next, click the Region drop-down menu to choose the Azure region for your Cloud Management Gateway.
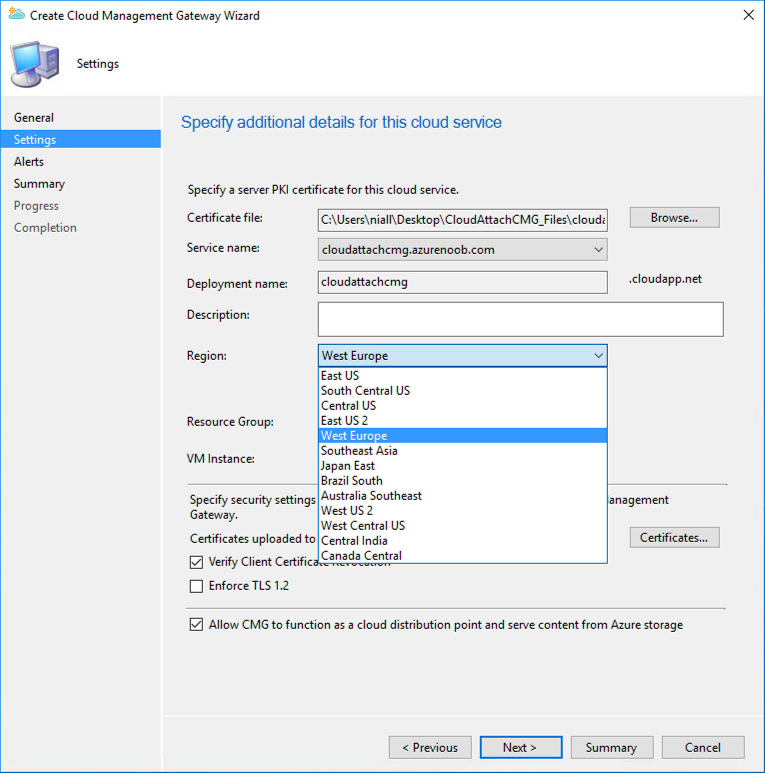
For the Resource Group, if you choose Use existing, then select an existing resource group from the drop-down list. The selected resource group must already exist in the region you selected above. If you choose Create new, then enter the new resource group name. In the VM Instance field, enter the number of VMs for this service. The default is one, but you can scale up to 16 VMs per CMG.
Note: If you select an existing resource group and it is in a different region than the previously selected region, the Cloud Management Gateway will fail to provision.
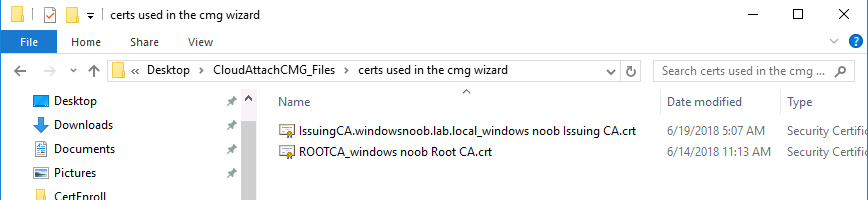
Click on Certificates to add client trusted root certificates. Add all of the certificates in the trust chain, so for example if you have certificates from an Issuing CA (Intermediate CA) and Offline Root CA (Trusted Root CA) then include both certificates. An example of that PKI setup is here. Here were the certificates we used (Trusted Root and Issuing). Start with the Trusted Root first.
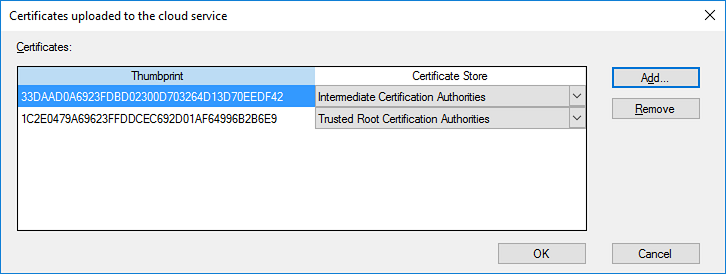
If you need to use an Intermediate certificate from an Issuing CA then you will get a popup stating that it’s not a valid root, it is safe to ignore that popup as long as you do include the trusted root. Here are our certs listed after adding them, you may have more (or less) depending on your PKI setup.
Note: By default, the wizard enables the option to Verify Client Certificate Revocation. A certificate revocation list (CRL) must be publicly published for this verification to work. That would be handled by the webserver in my PKI guide.
Configure your desired Alerts

Review the summary and if you need to make changes click Previous, otherwise it’s time to start monitoring logs.

Complete the wizard, close it and you should see the CMG is in a state of Provisioning.

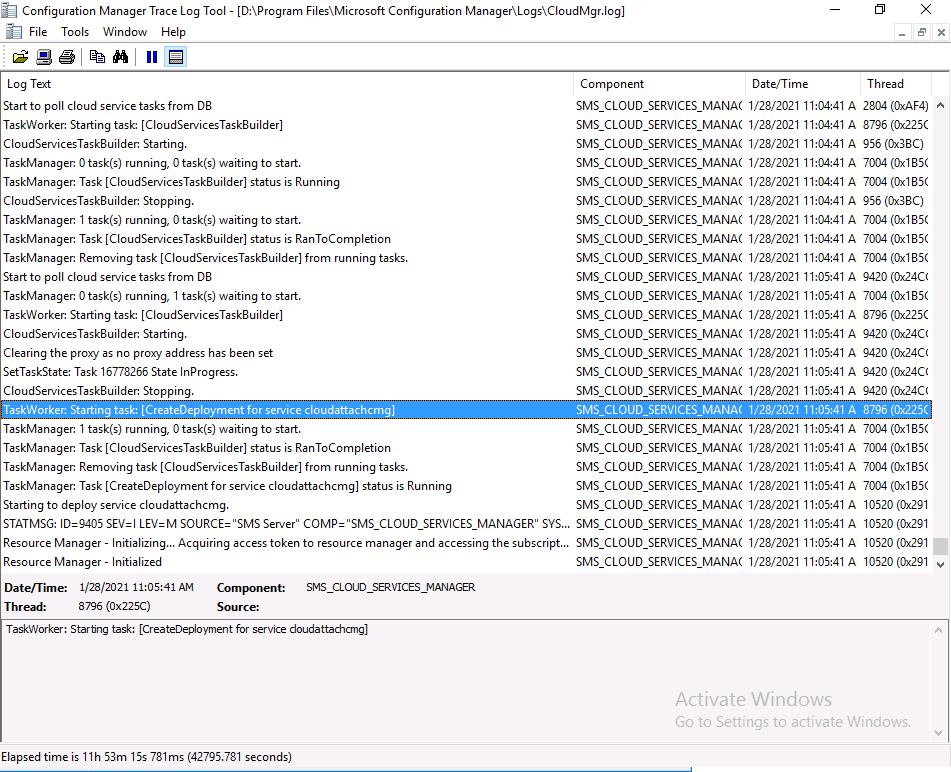
And open the CloudMgr.log, below you can see it’s starting the task of creating the CMG.
After a while the status changes to Upgrading (click Refresh to see the change).

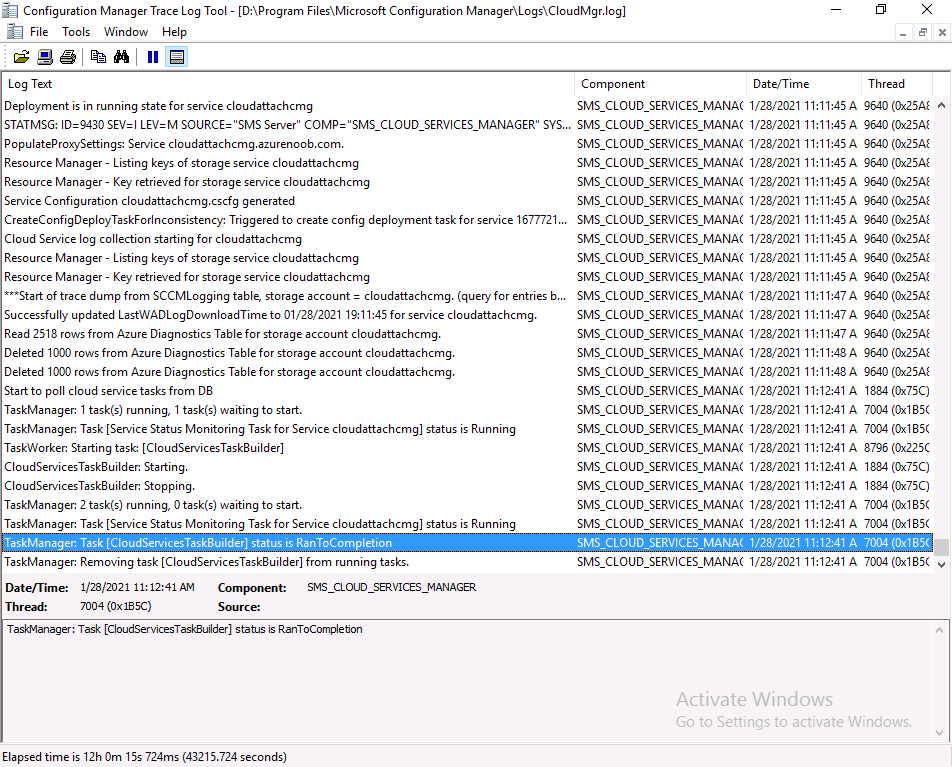
And when the log file reads RanToCompletion, you can assume it’s ready.
As reflected in the console.

To read the rest of this blog post please click here.
