
Introduction
Lock down due to Covid19 is a reality now for so many people, however it’s also reminded us of keeping ourselves entertained during our free time while at home.
 I’m well used to keeping myself busy with work and MVP activities, but I decided to try my hand again at playing games during the weekend (it’s been years since I did), but to do so on a budget.
The total cost of this build was less than 2/3rds the price of an equivalent ‘new’ gaming PC and the whole process was fun researching and putting everything together. It certainly took my mind off the doom and gloom we see in the news every day. You could easily reduce the overall price by getting a cheaper gaming card such as the RTX 1660 series with equivalent gaming results and by leaving the built-in PSU in place.
I watched a bunch of videos on youtube and many vloggers recommended purchasing a Dell Optiplex 9020 MT (mini-tower) or similar and modding it to add new life. This particular vlogger stood out and I’d highly recommend you check out his videos on the subject.
Here are the details of what I did in case any one is interested in doing something similar.
The computer
I purchased a 2014 (six year old pc !) Dell Optiplex 9020 from ebay, and the specs are below. It wasn’t the fastest i7 available on ebay, but the price was reasonable and it would ship from within Europe. The packaging and quality of this PC was amazing, it looks like it’s new.
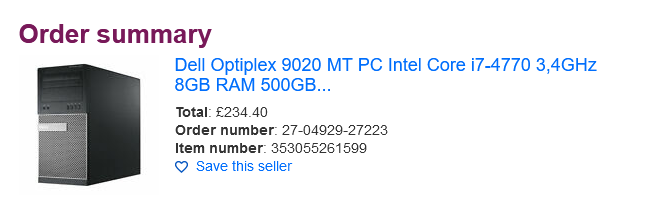
- Dell Optiplex 9020 MT PC
Intel Core i7-4770 3,4GHz
8GB RAM
500GB HDD
256GB SSD
When it arrived I removed the included 256GB SSD (no-name cheap brand) and replaced it with a 500GB Samsung SSD 840 series I had from an older pc. I also added some more ram (4GB) to bring it up to an amazing 12GB ram. The ram on these older Optiplex’s is not cheap, but it is readily available on Ebay. I was lucky to have a 4GB ram stick available.
Cost: 234GBP approx 280USD
This Optiplex can run with an over clock able i7-4790K model and you can find them on Ebay also. I have not purchased one yet, that’ll come later if I feel it’s necessary.
The PSU
I ordered a 650 Watt Corsair CV650 power supply unit (PSU), and it fits in perfectly into the Dell and adds needed power connectors for powerful graphics cards.
 Cost: 699 SEK (approx 70USD)
The video card
Deciding on which video card to get was based on cost and size, I saw many videos about increasing the room in the mini-tower by drilling out the HDD bays, but I wanted to do minimal changes to the computer (for now). So I purchased a fairly powerful ASUS Geforce RTX 2060 Dual EVO 6GB. Based on the photos, I assumed that it would fit without modification in my Optiplex (yes I know, that’s a dangerous assumption, but read on for details about how I solved it below).
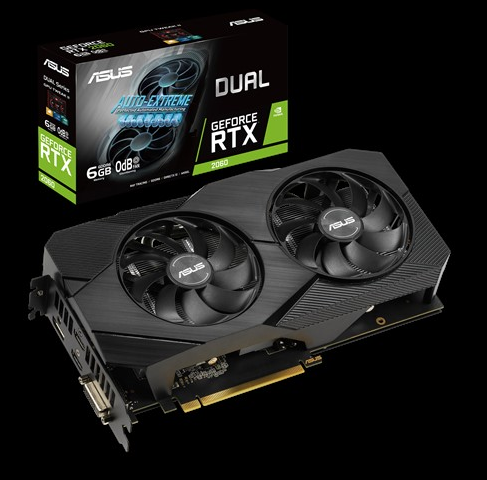
Cost: 4199SEK (approx 425 USD)
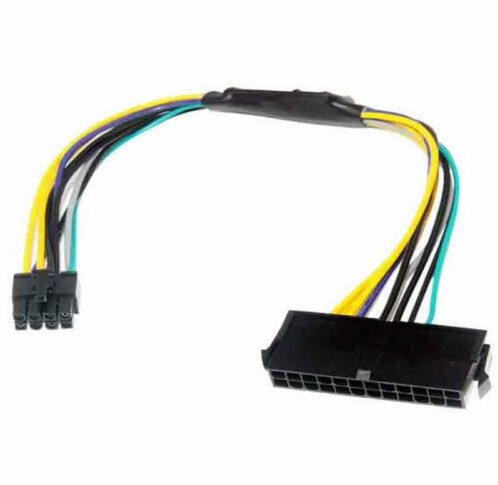
The adapter
In order to connect the new PSU to the Dell motherboard, you’ll need an adapter cable (24 pin FEMALE to 8 pin MALE.
 Cost: 101SEK (approx 10USD)
It looks something like this.
The build
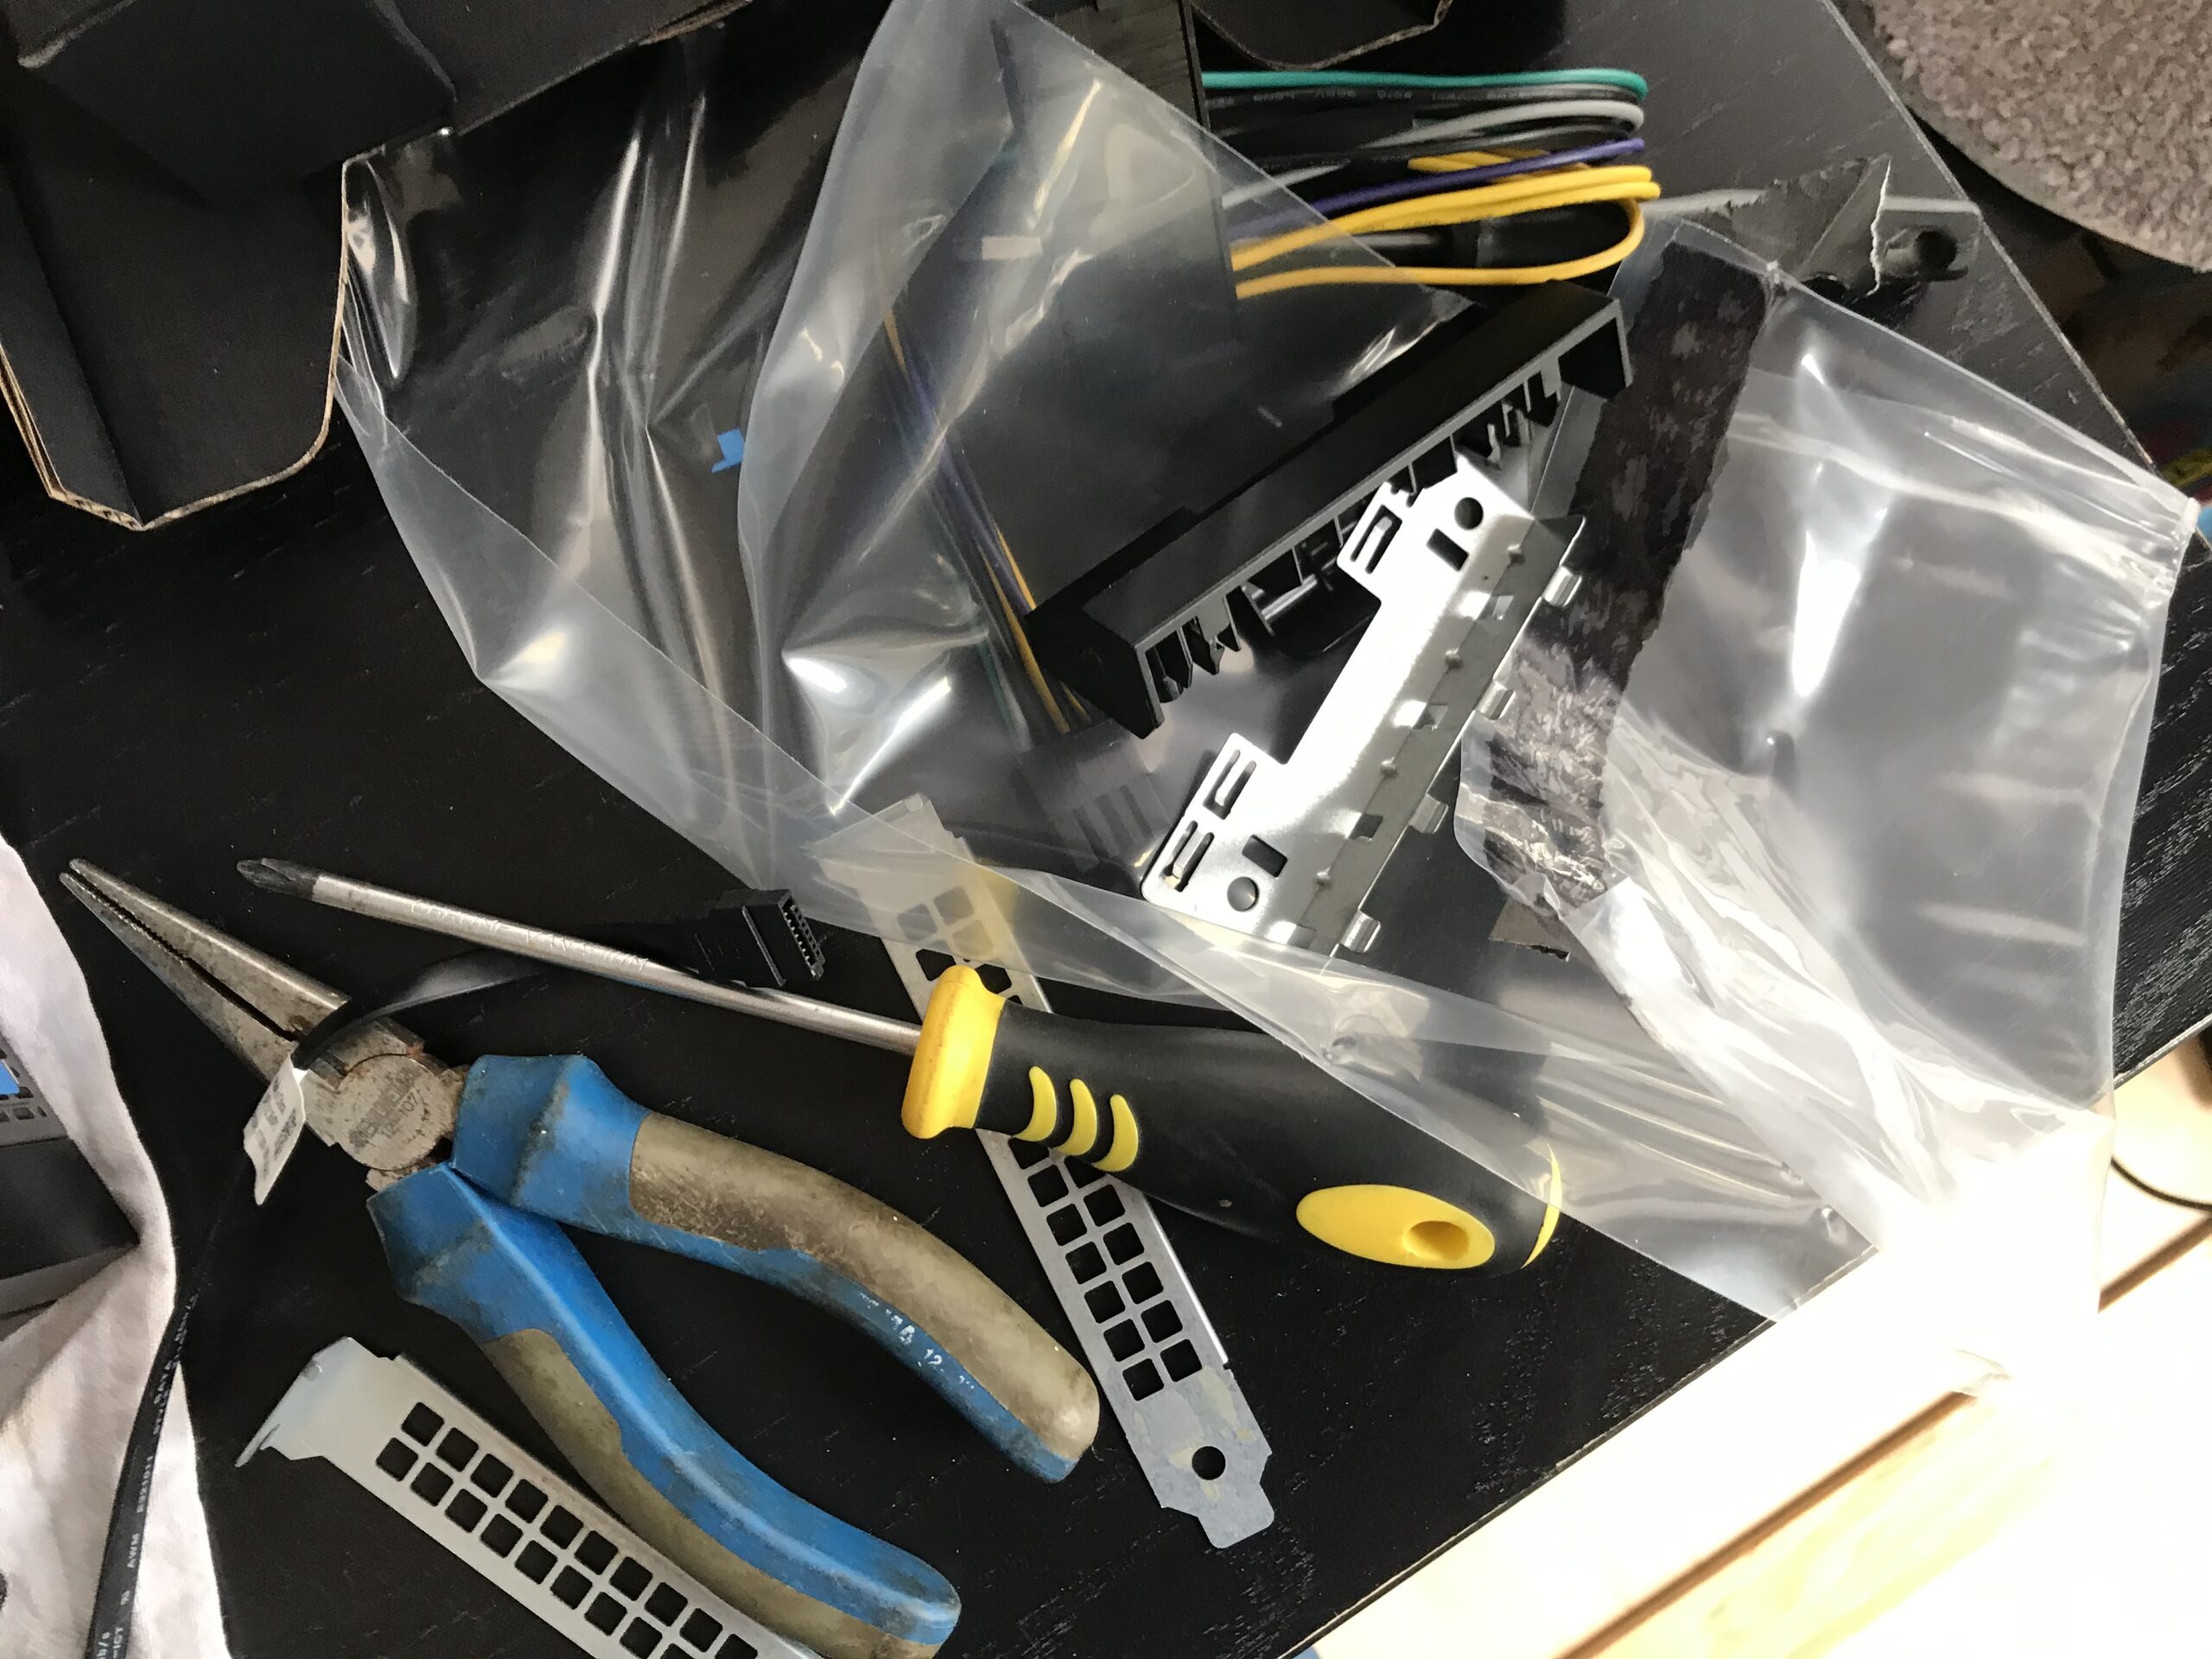 Once I had everything together, I placed the Dell on a suitable surface, and opened it up.
My first goal was to see if the rather large RTX 2060 card would even fit in the case, and initially it didn’t, it was just too tight and would not sit flush in the PCI slot (number 5 in the pic below). It couldn’t sit flush because something in the area of the RAM slots was stopping it from going in the whole way, so I removed it again.
I didn’t give up. Close examination of the cables involved revealed that I could compromise. I removed the front panel USB connector cable (number 17 in the graphic below).
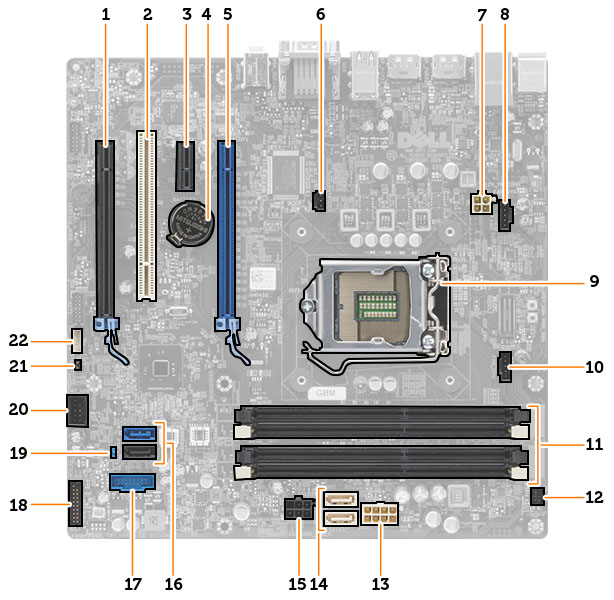
Next, I replaced the standard SATA cable coming from the motherboard (number 16 in the pic above) with a left angle SATA cable (shown below) which I already had in my box of cables as it was also stopping the graphics card from fully engaging in the PCI slot.
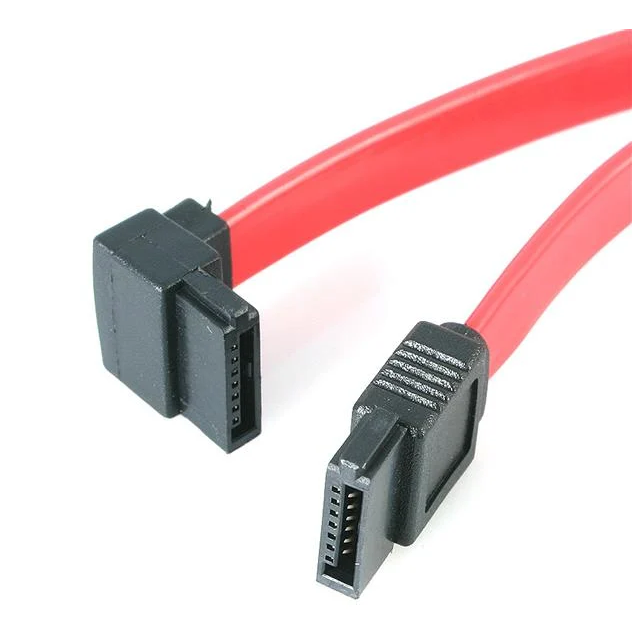 Cost 50 SEK (approx 5 USD).
Next, I removed two unnecessary cables, namely number 6 (intrusion detection) and number 22 (speaker) in the pic. Both were stored away safely in case I sell this on later.
Finally, I had to remove the Dell ‘easy open’ adapter to hold PCI cards in place, and instead, used proper computer screws to secure the video card and the 2 remaining slot covers.

With the minor modifications above, the graphics card fits without a problem, albeit tightly, but keep in mind that you should add any additional ram first as the graphics card tight fit won’t allow you to add/remove ram once installed (you’ll need to remove it to replace RAM).
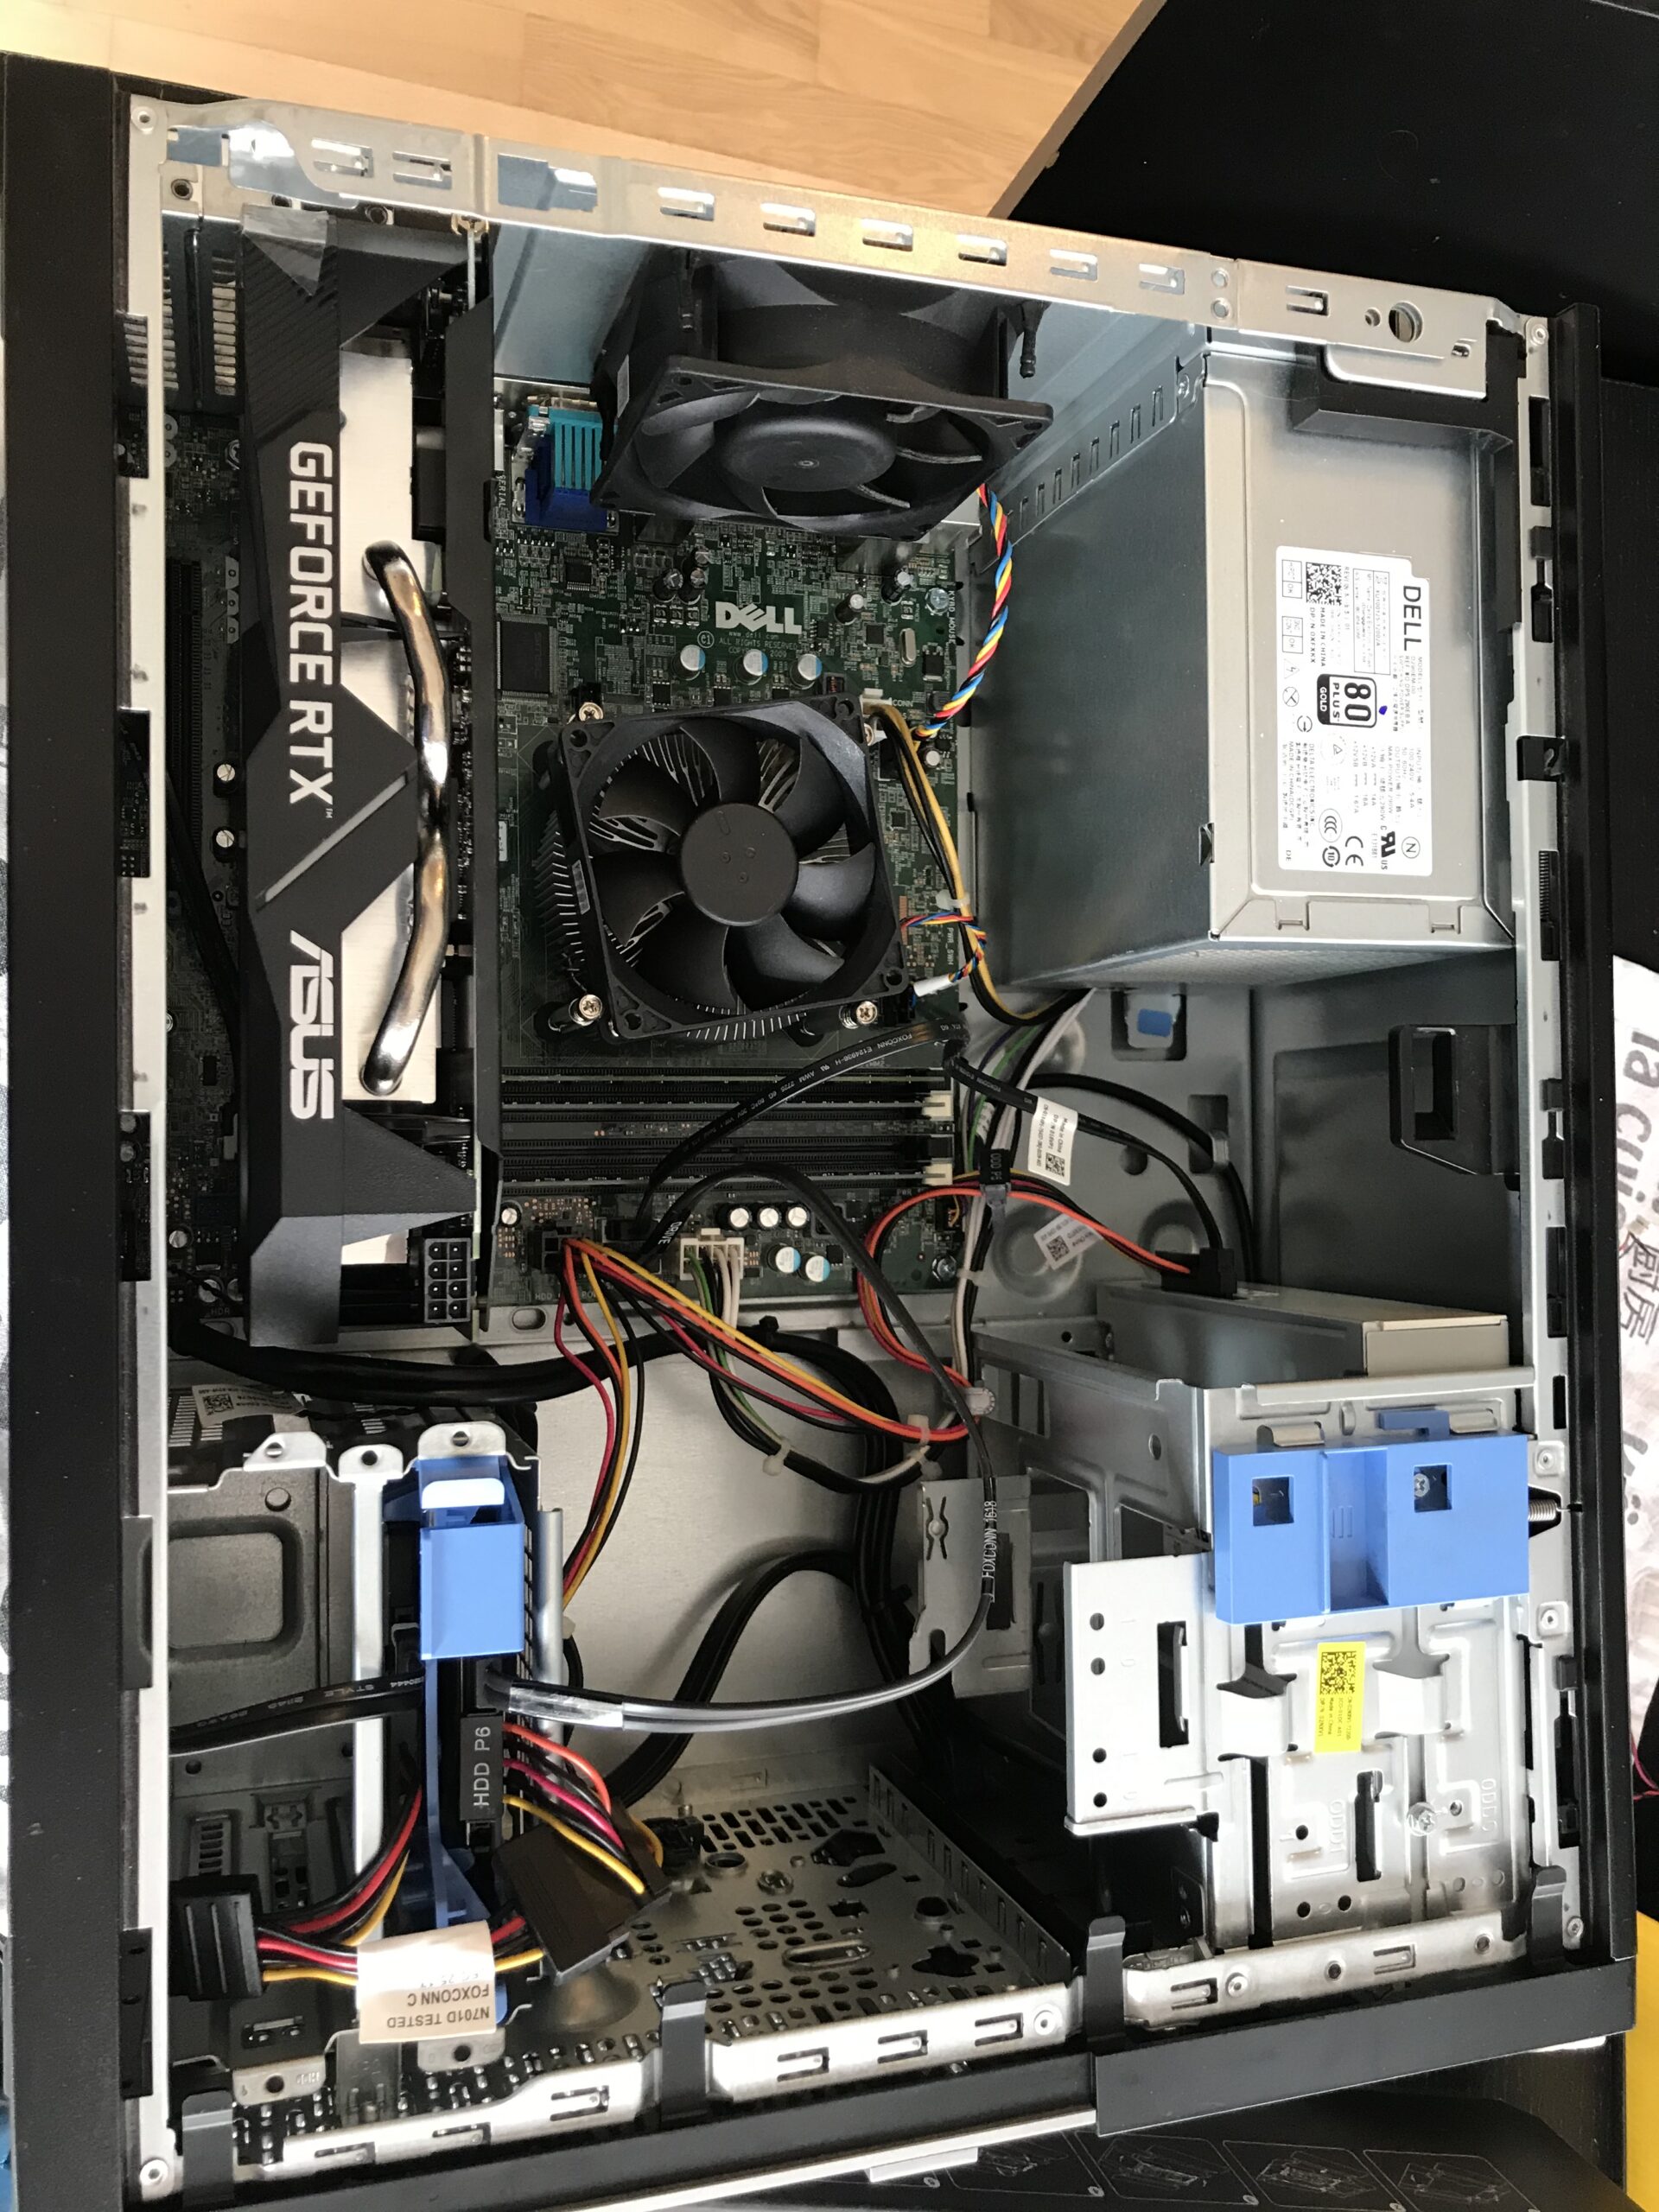
There are two hard drives in this pc, one HDD and one SSD, I flipped the SSD upside down in order for the SATA cables to connect both drives easily.
The Monitors
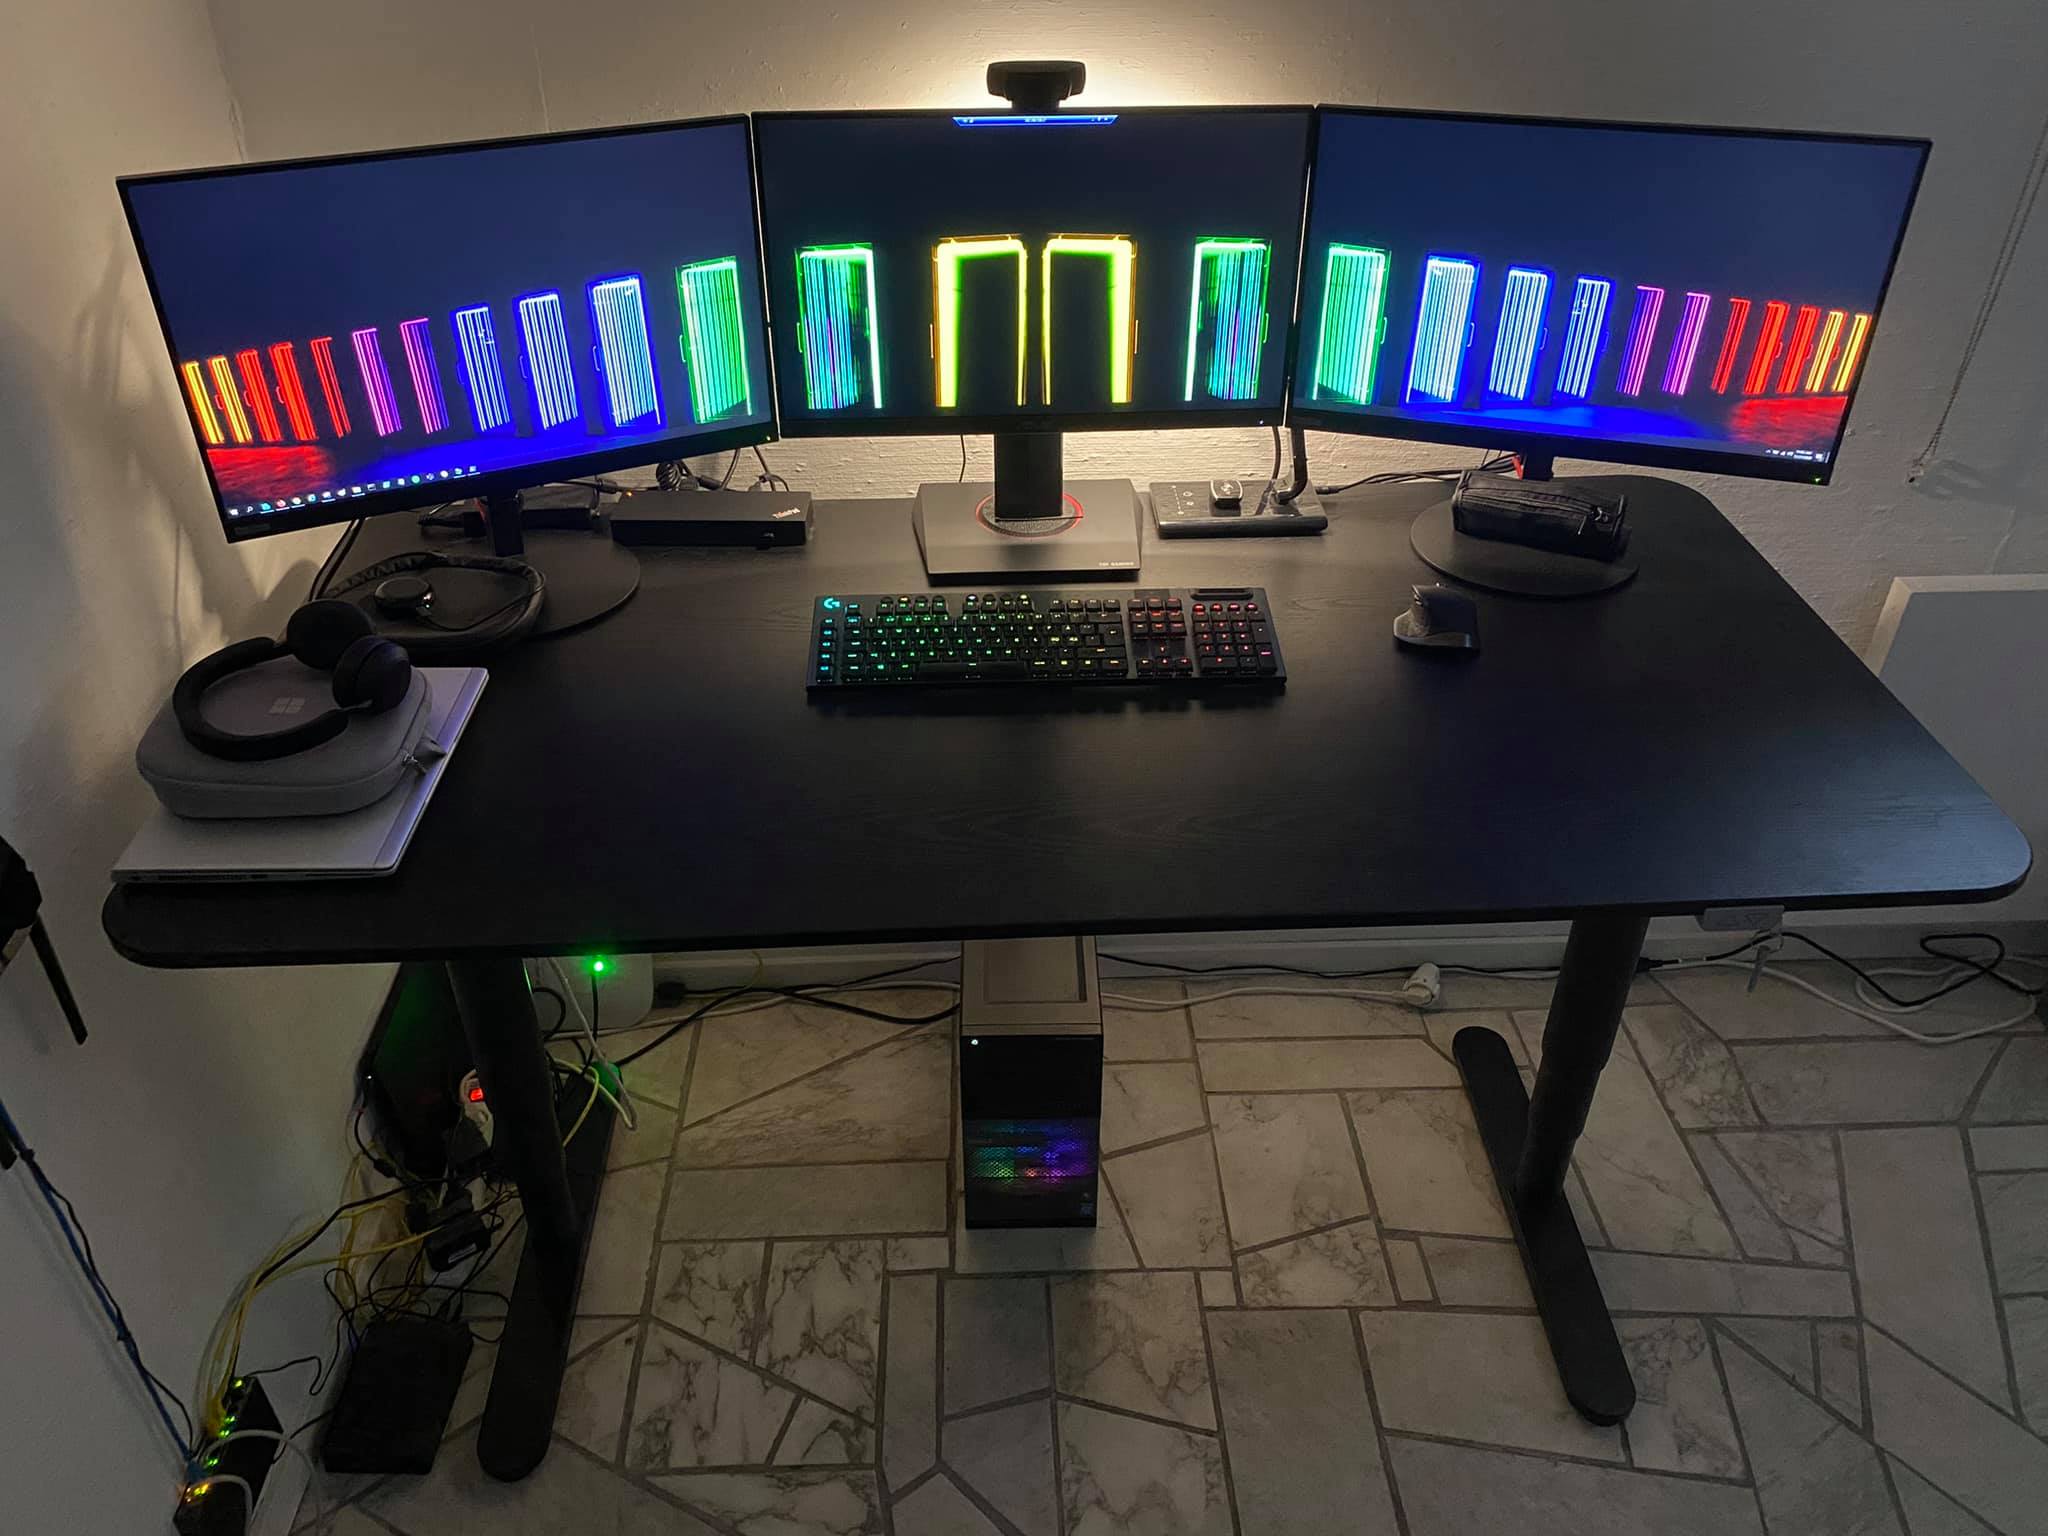
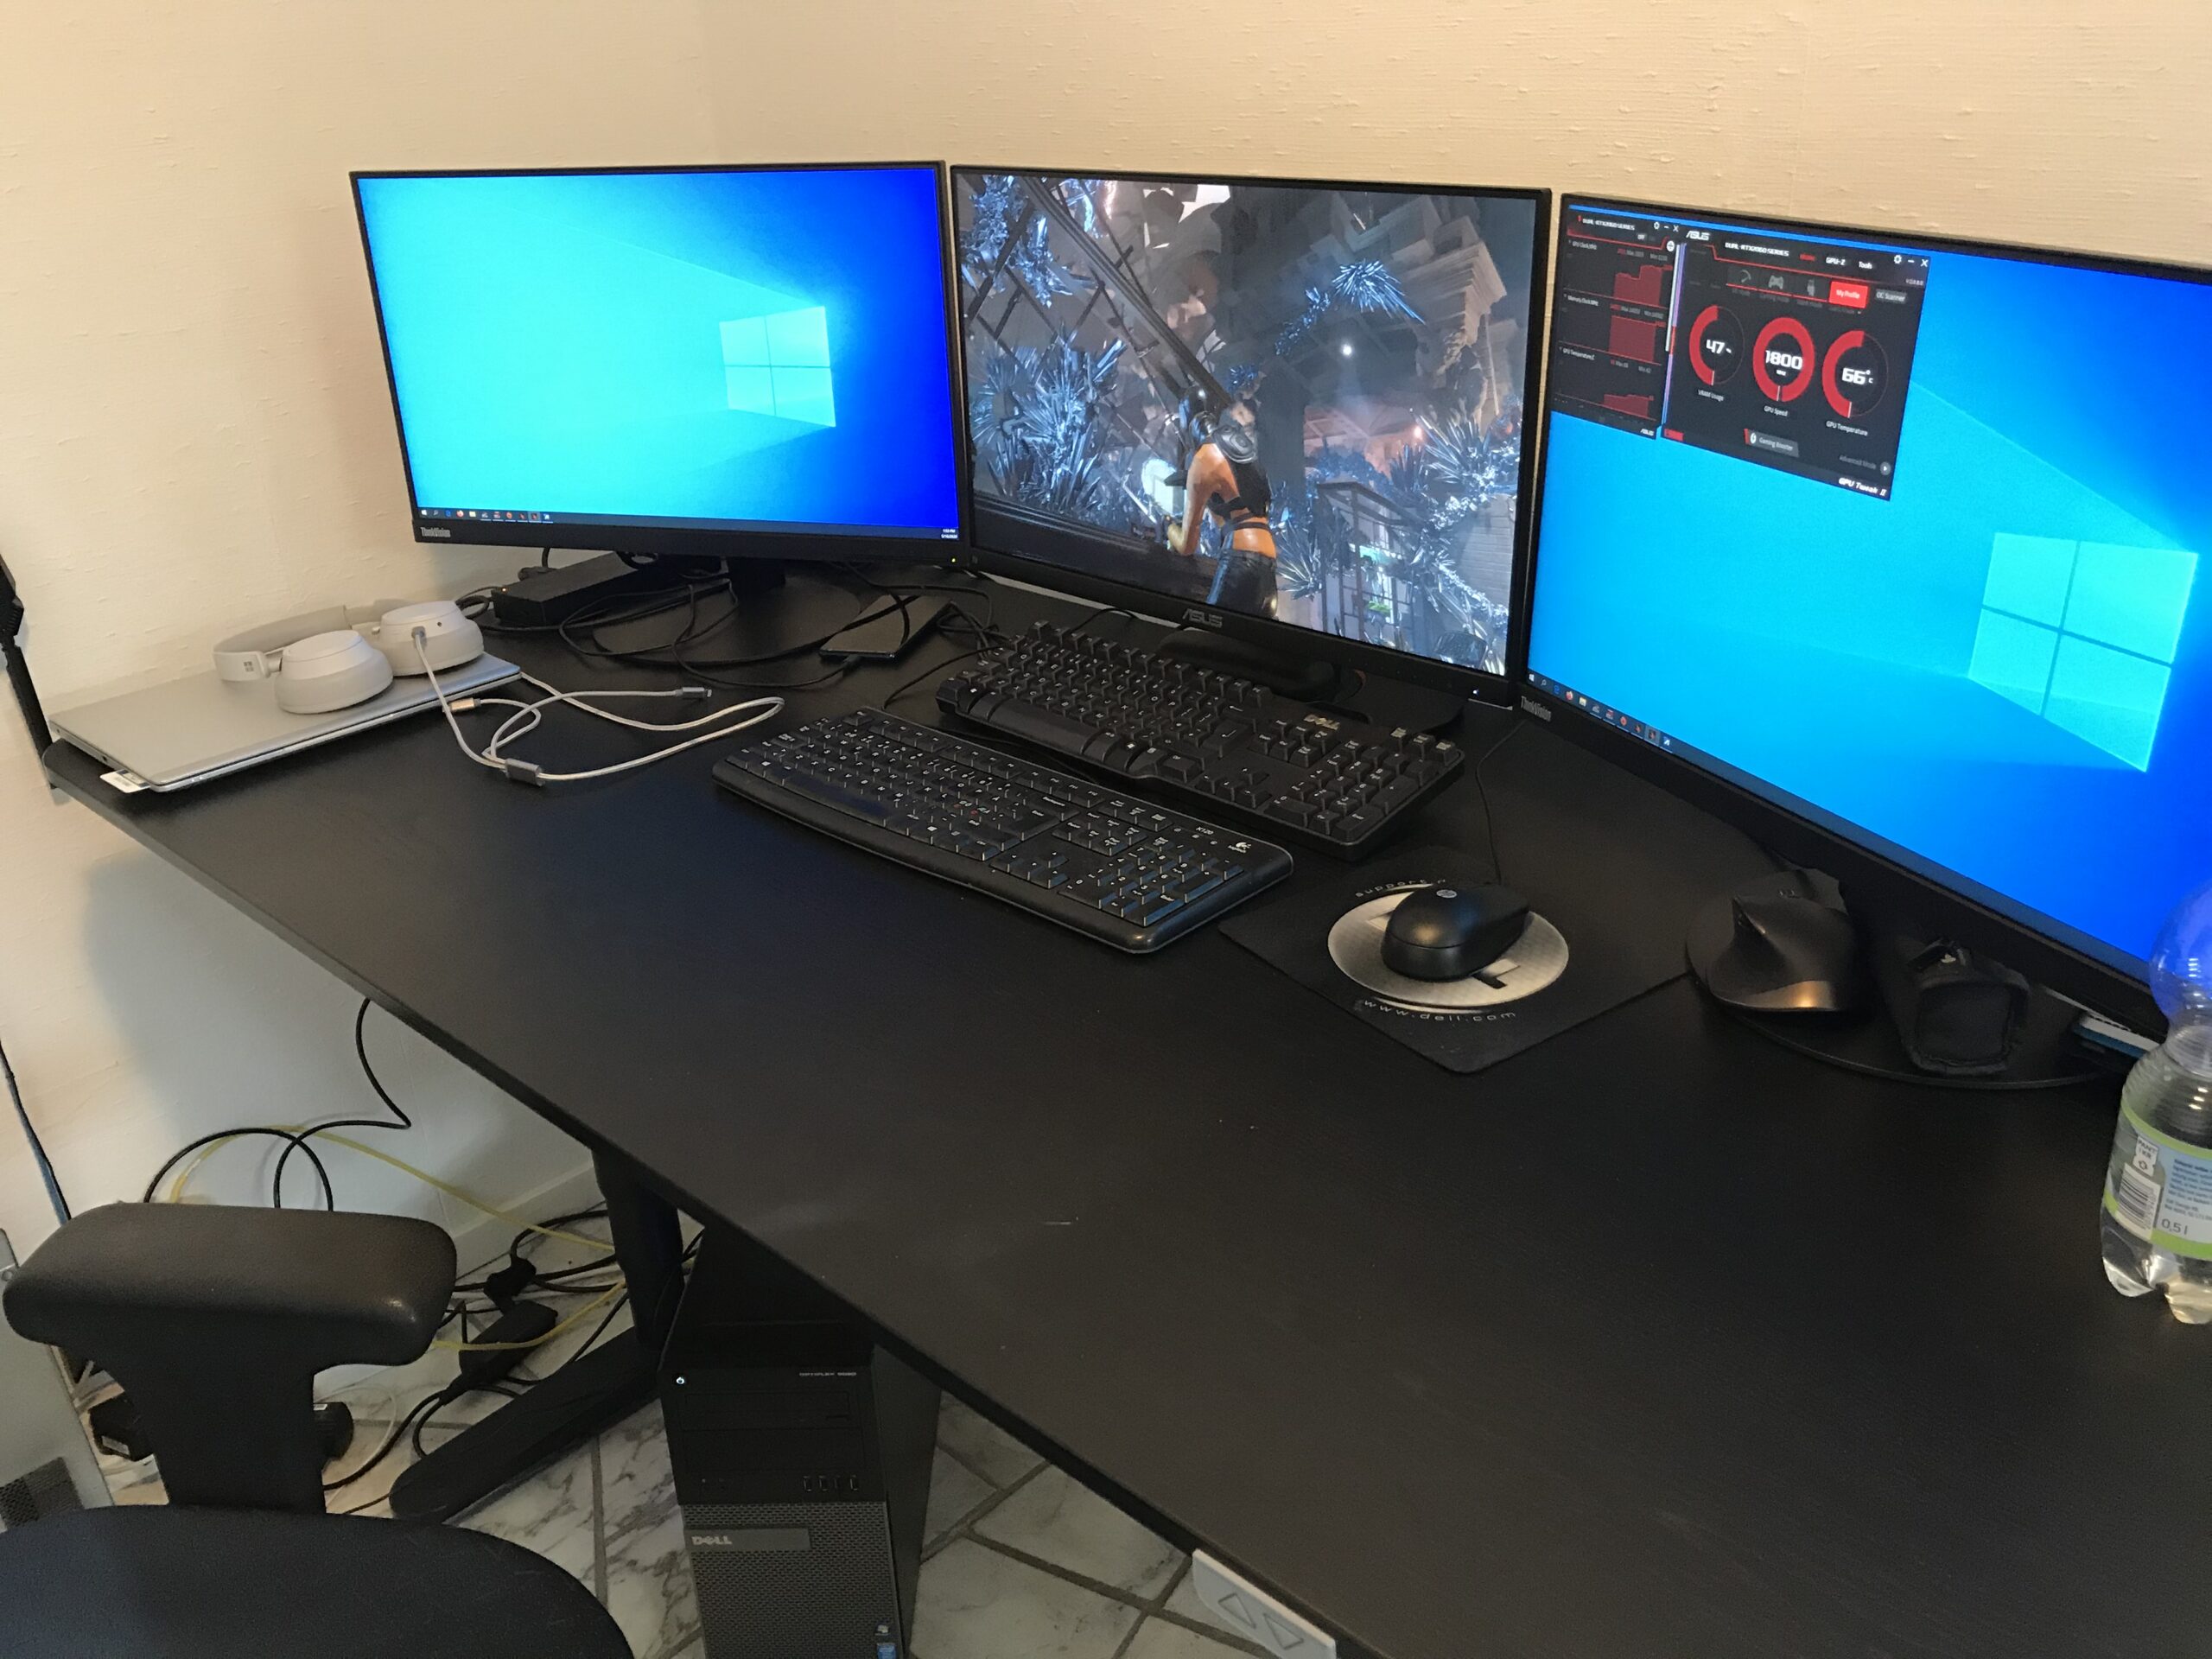
The monitor in the center of the screen is an Asus VG249Q 23.8″TUF gaming monitor capable of 144hz, it’s connected to the Optiplex using the DisplayPort cable and connected to the Lenovo docking station using a HDMI cable.
The other two monitors on the left and right side of the center screen are Lenovo Thinkvision 24″ as described here.
The result
After connecting everything together I was pleasantly surprised to see it spring to life ! Look at that bling :-).
 Not only that, but 2 (right side) of the 4 USB connectors on the front panel of the Dell were still operational with the USB connector removed, so the minor mods above didn’t impact the functionality of the Dell negatively. Plus this setup easily powers three monitors (2 x QHD and one 144hz FD monitor).
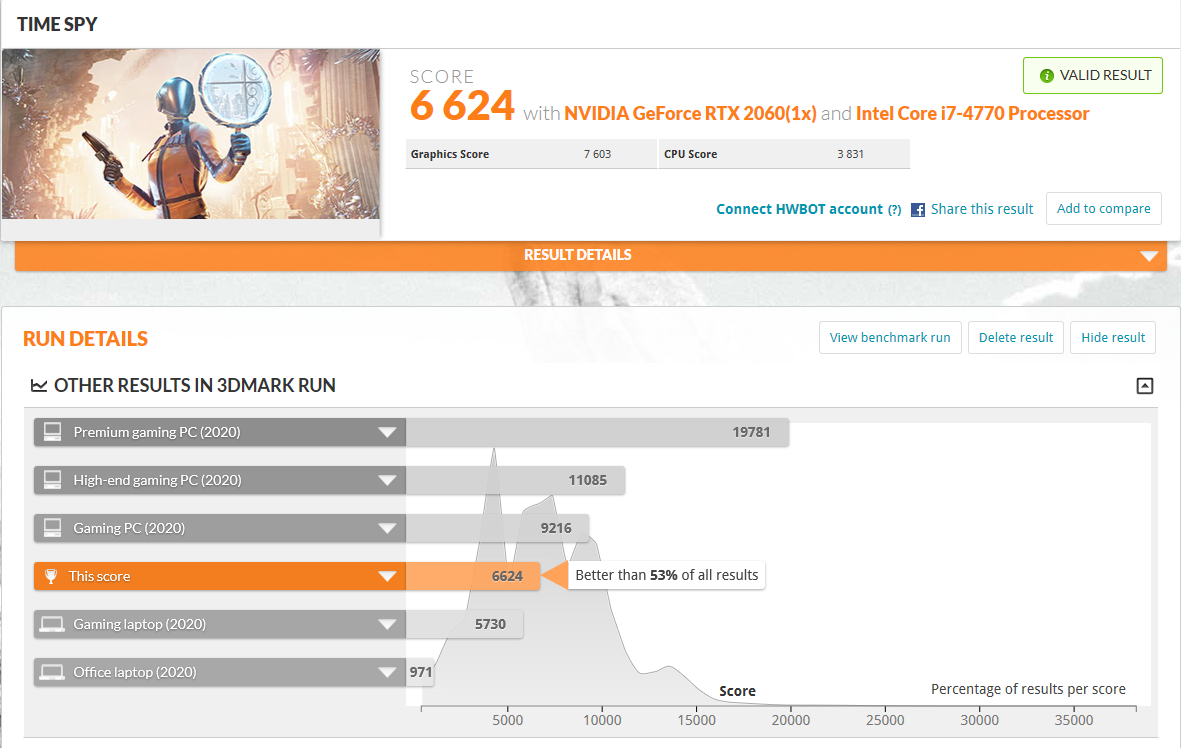
The video card itself is awesome and performs admirably in Time Spy tests. Yes it’s not as good as a gaming PC from 2020 but that’s to be expected on a six years old computer, and I wasn’t even over clocking. Notice how it easily beats gaming laptops from 2020, that’s pretty awesome !
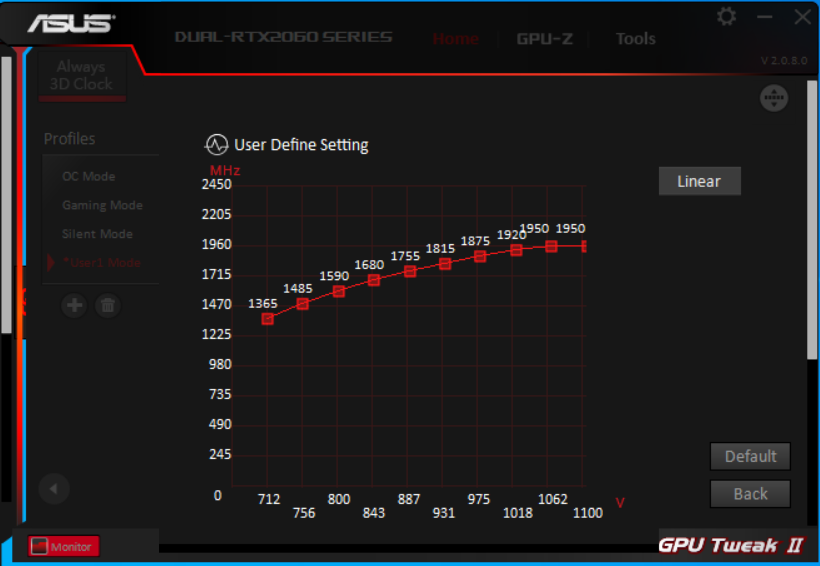
 The supplied drivers and software comes with GPU-Z to allow you to over clock the video card and play with it’s features,
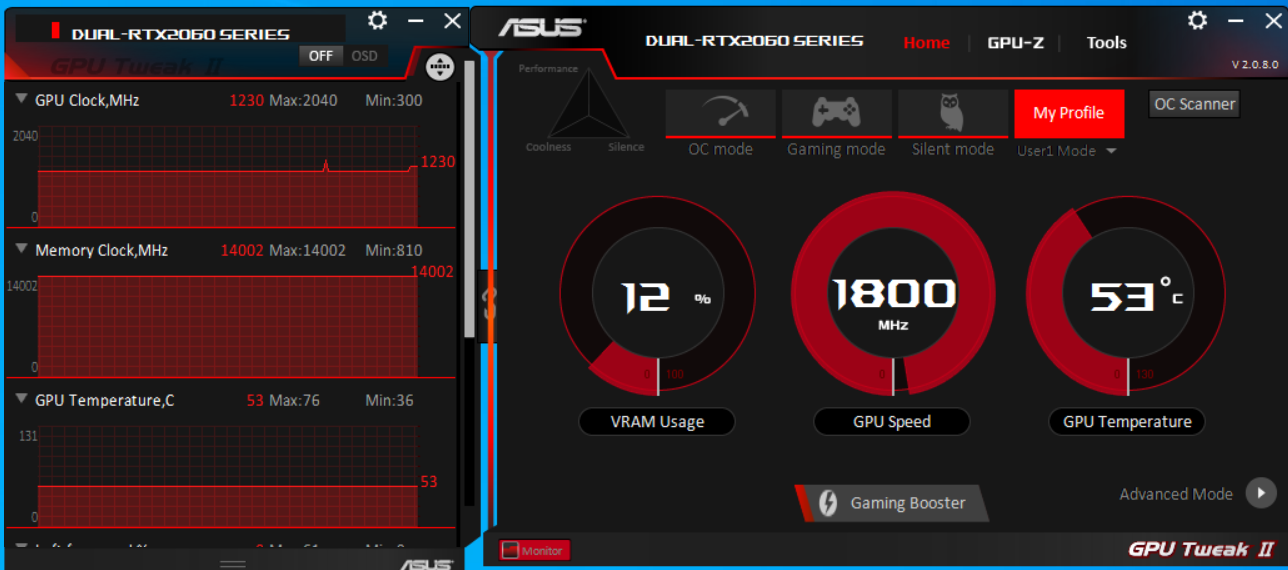 this card can go up to 2450 Mhz with this tool but I don’t know if I’ll push it that far.
Gaming
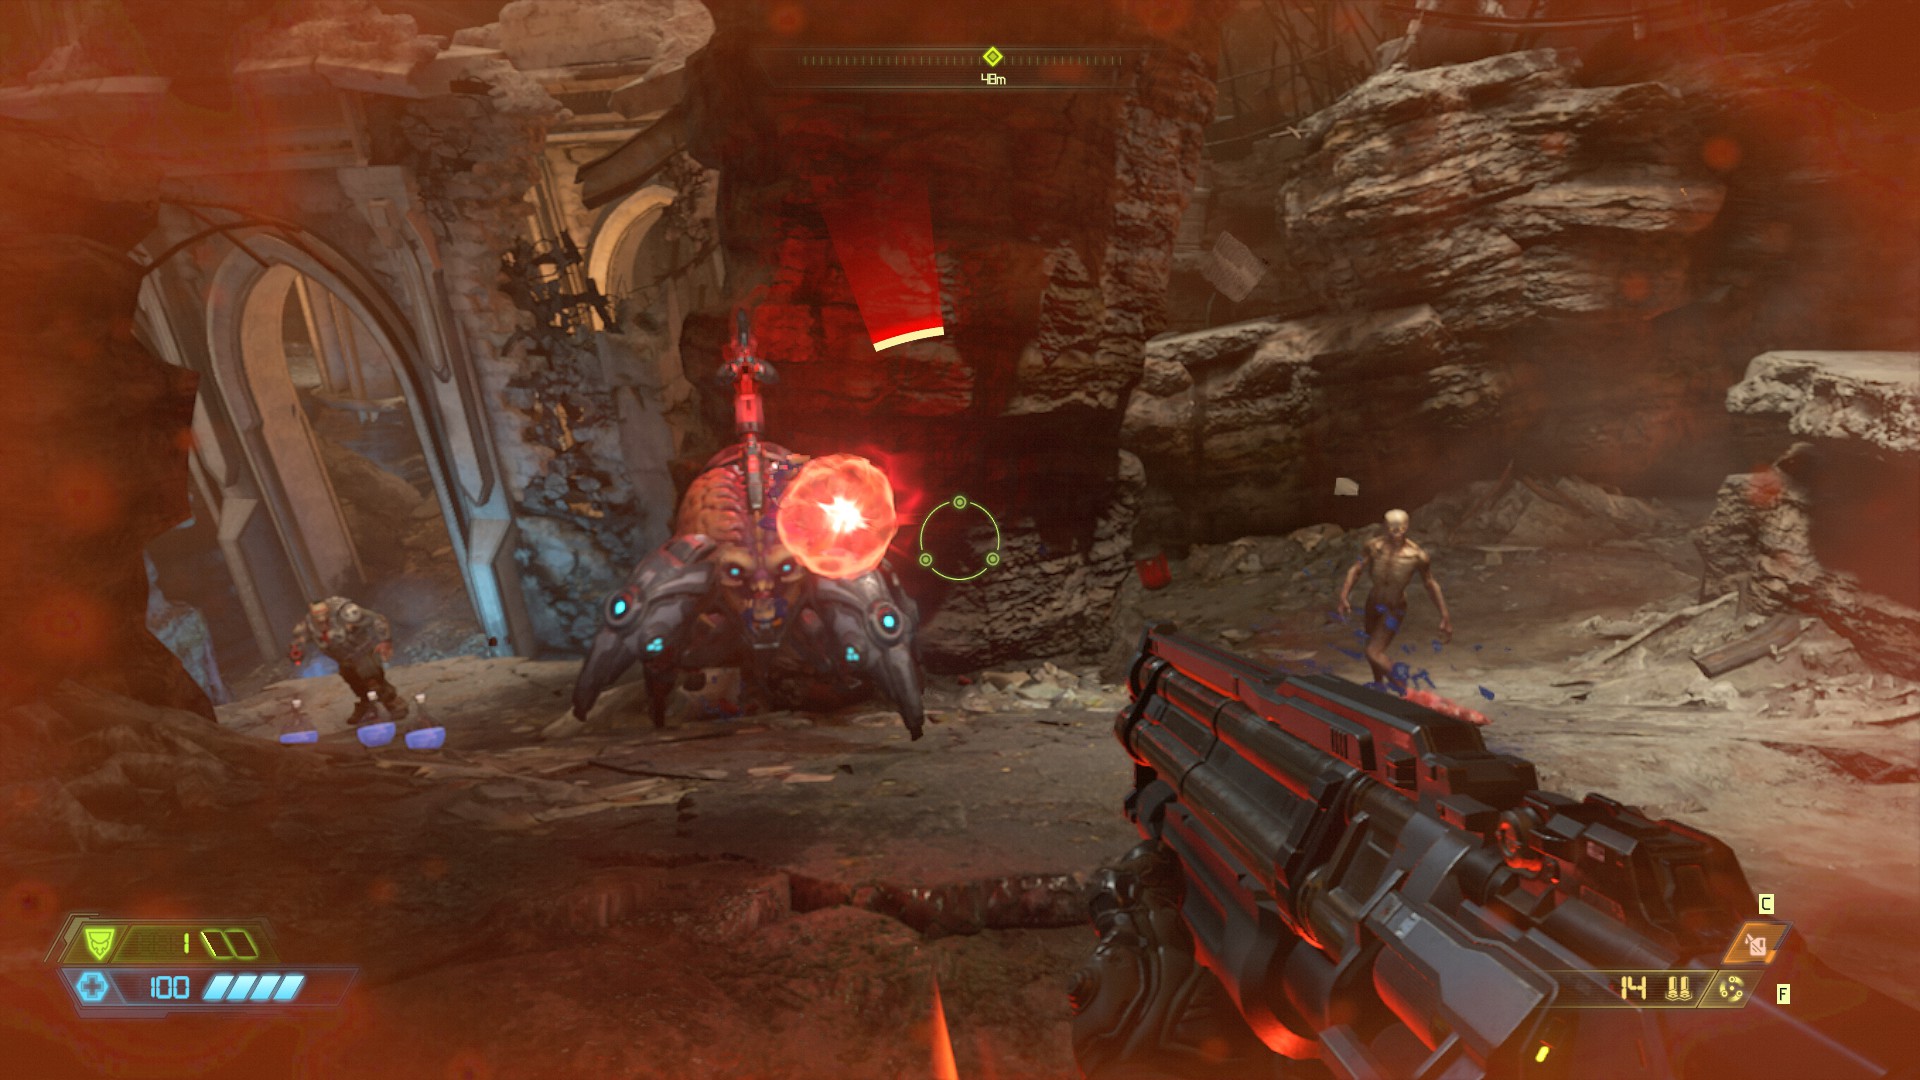
I fired up Doom Eternal in ULTRA mode for everything @ 144 HZ and it happily played on 1920×1080@144hz with 144fps.
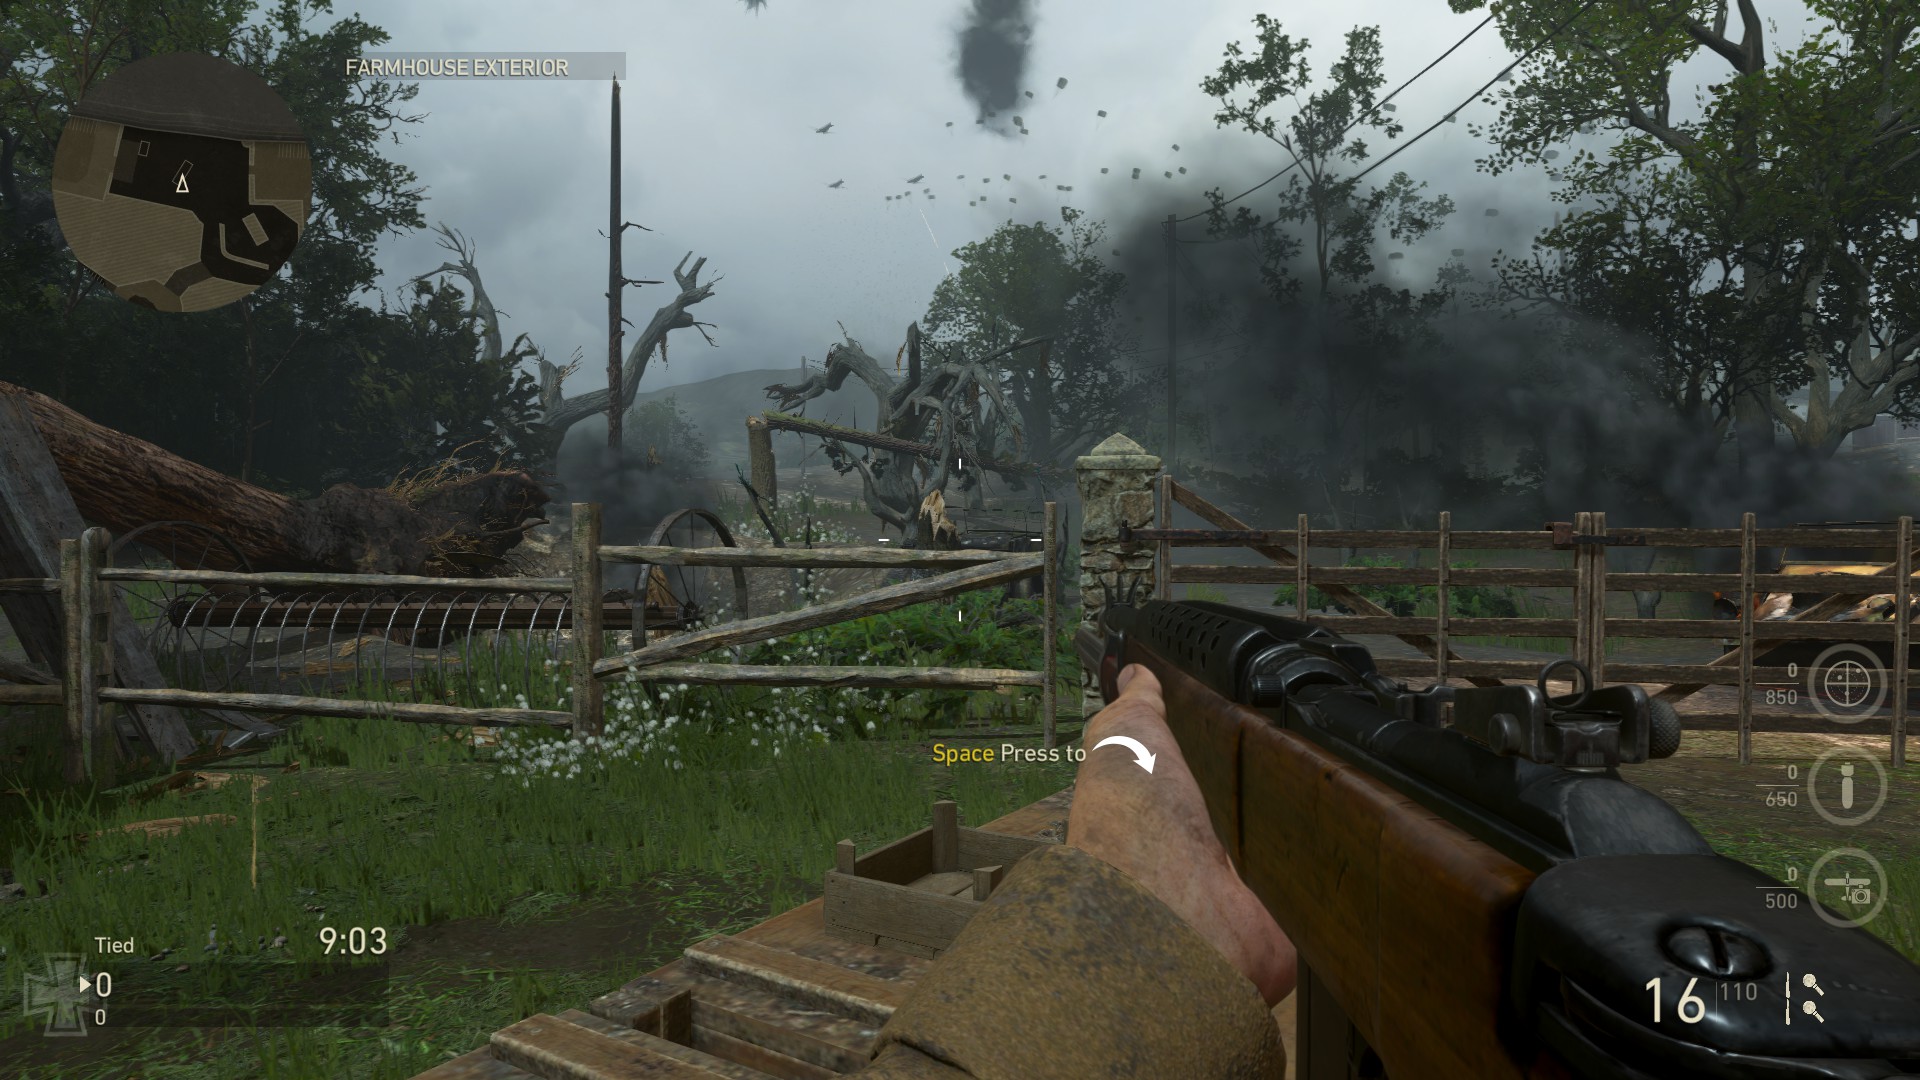
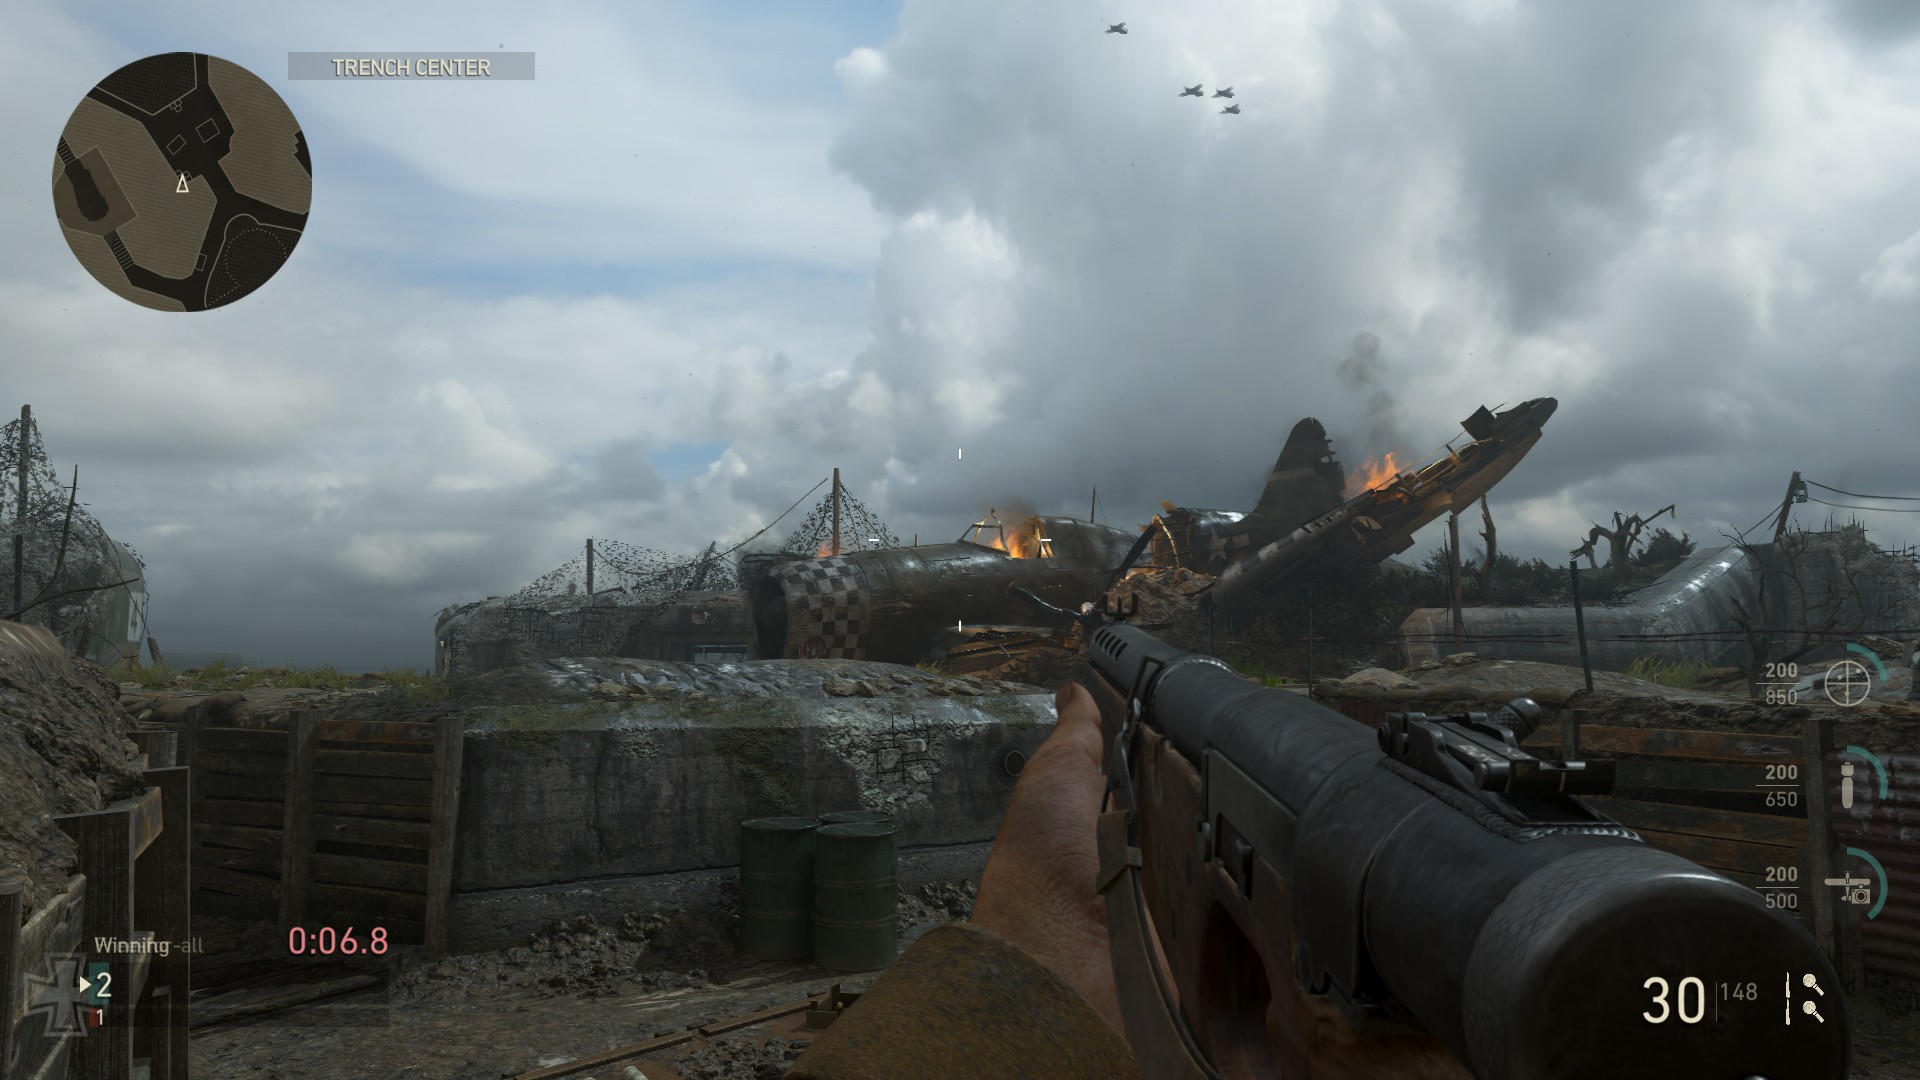
 And Call of Duty world war II is equally responsive !


 Impressive !
Links
- Optiplex buyers guide – https://www.youtube.com/watch?v=QQZj5NdRlbk
- Dell Optiplex 9020 MT – https://www.ebay.co.uk/sch/i.html?_nkw=dell+optiplex+9020+mt+i7&_sop=12
- i7-4790K – https://www.ebay.co.uk/sch/i.html?_from=R40&_trksid=m570.l1313&_nkw=Intel+Core+i7-4790K&_sacat=0
- Dell Optiplex 9020 MT motherboard diagram – https://www.dell.com/support/manuals/us/en/04/optiplex-9020-desktop/opt9020mtom-v2/system-board-components?guid=guid-907a87ff-7a2a-41c7-ae26-89f61ae94d02&lang=en-us
- ASUS RTX 2060 video card – https://www.asus.com/Graphics-Cards/DUAL-RTX2060-6G-EVO/
- 24 pin to 8 pin adapter cable – https://www.ebay.co.uk/itm/24-Pin-Female-to-DELL-Optiplex-Server-Motherboard-8-Pin-Male-Adapter-PowerC-9K/223999321959?hash=item3427666767:g:dFgAAOSwRaFcky~Z
- Left angle sata cable – https://www.startech.com/se/en/Cables/Drive/SATA/12in-SATA-to-Left-Angle-SATA-Serial-ATA-Cable~SATA12LA1
- Recommended temps for GPUs – https://www.reddit.com/r/buildapc/comments/9lljy9/what_are_ideal_dangerous_temps_for_you_cpu_and_gpu/
- 140MM multi-coloured fan – https://www.netonnet.se/art/datorkomponenter/kylning/chassiflakt/corsair-icue-ql140-rgb-140mm-pwm-single-fan/1011310.9163/
Next steps ?
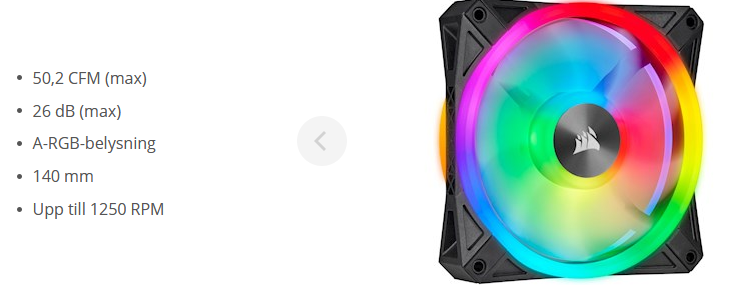
Next up I’ll probably add a 140MM fan like this, and mod the front of the case to allow for better airflow as described here.
 And if I’m still modding, how about cutting up the chassis case, adding clear plastic to show the lovely interior bits as described in this video.
Please let me know your thoughts on this, and happy gaming !
cheers !
niall
