
Microsoft has released their second Technical Preview in one month, this one dubbed Technical Preview 1810.2
This release is also a new baseline release for Technical Preview installs.
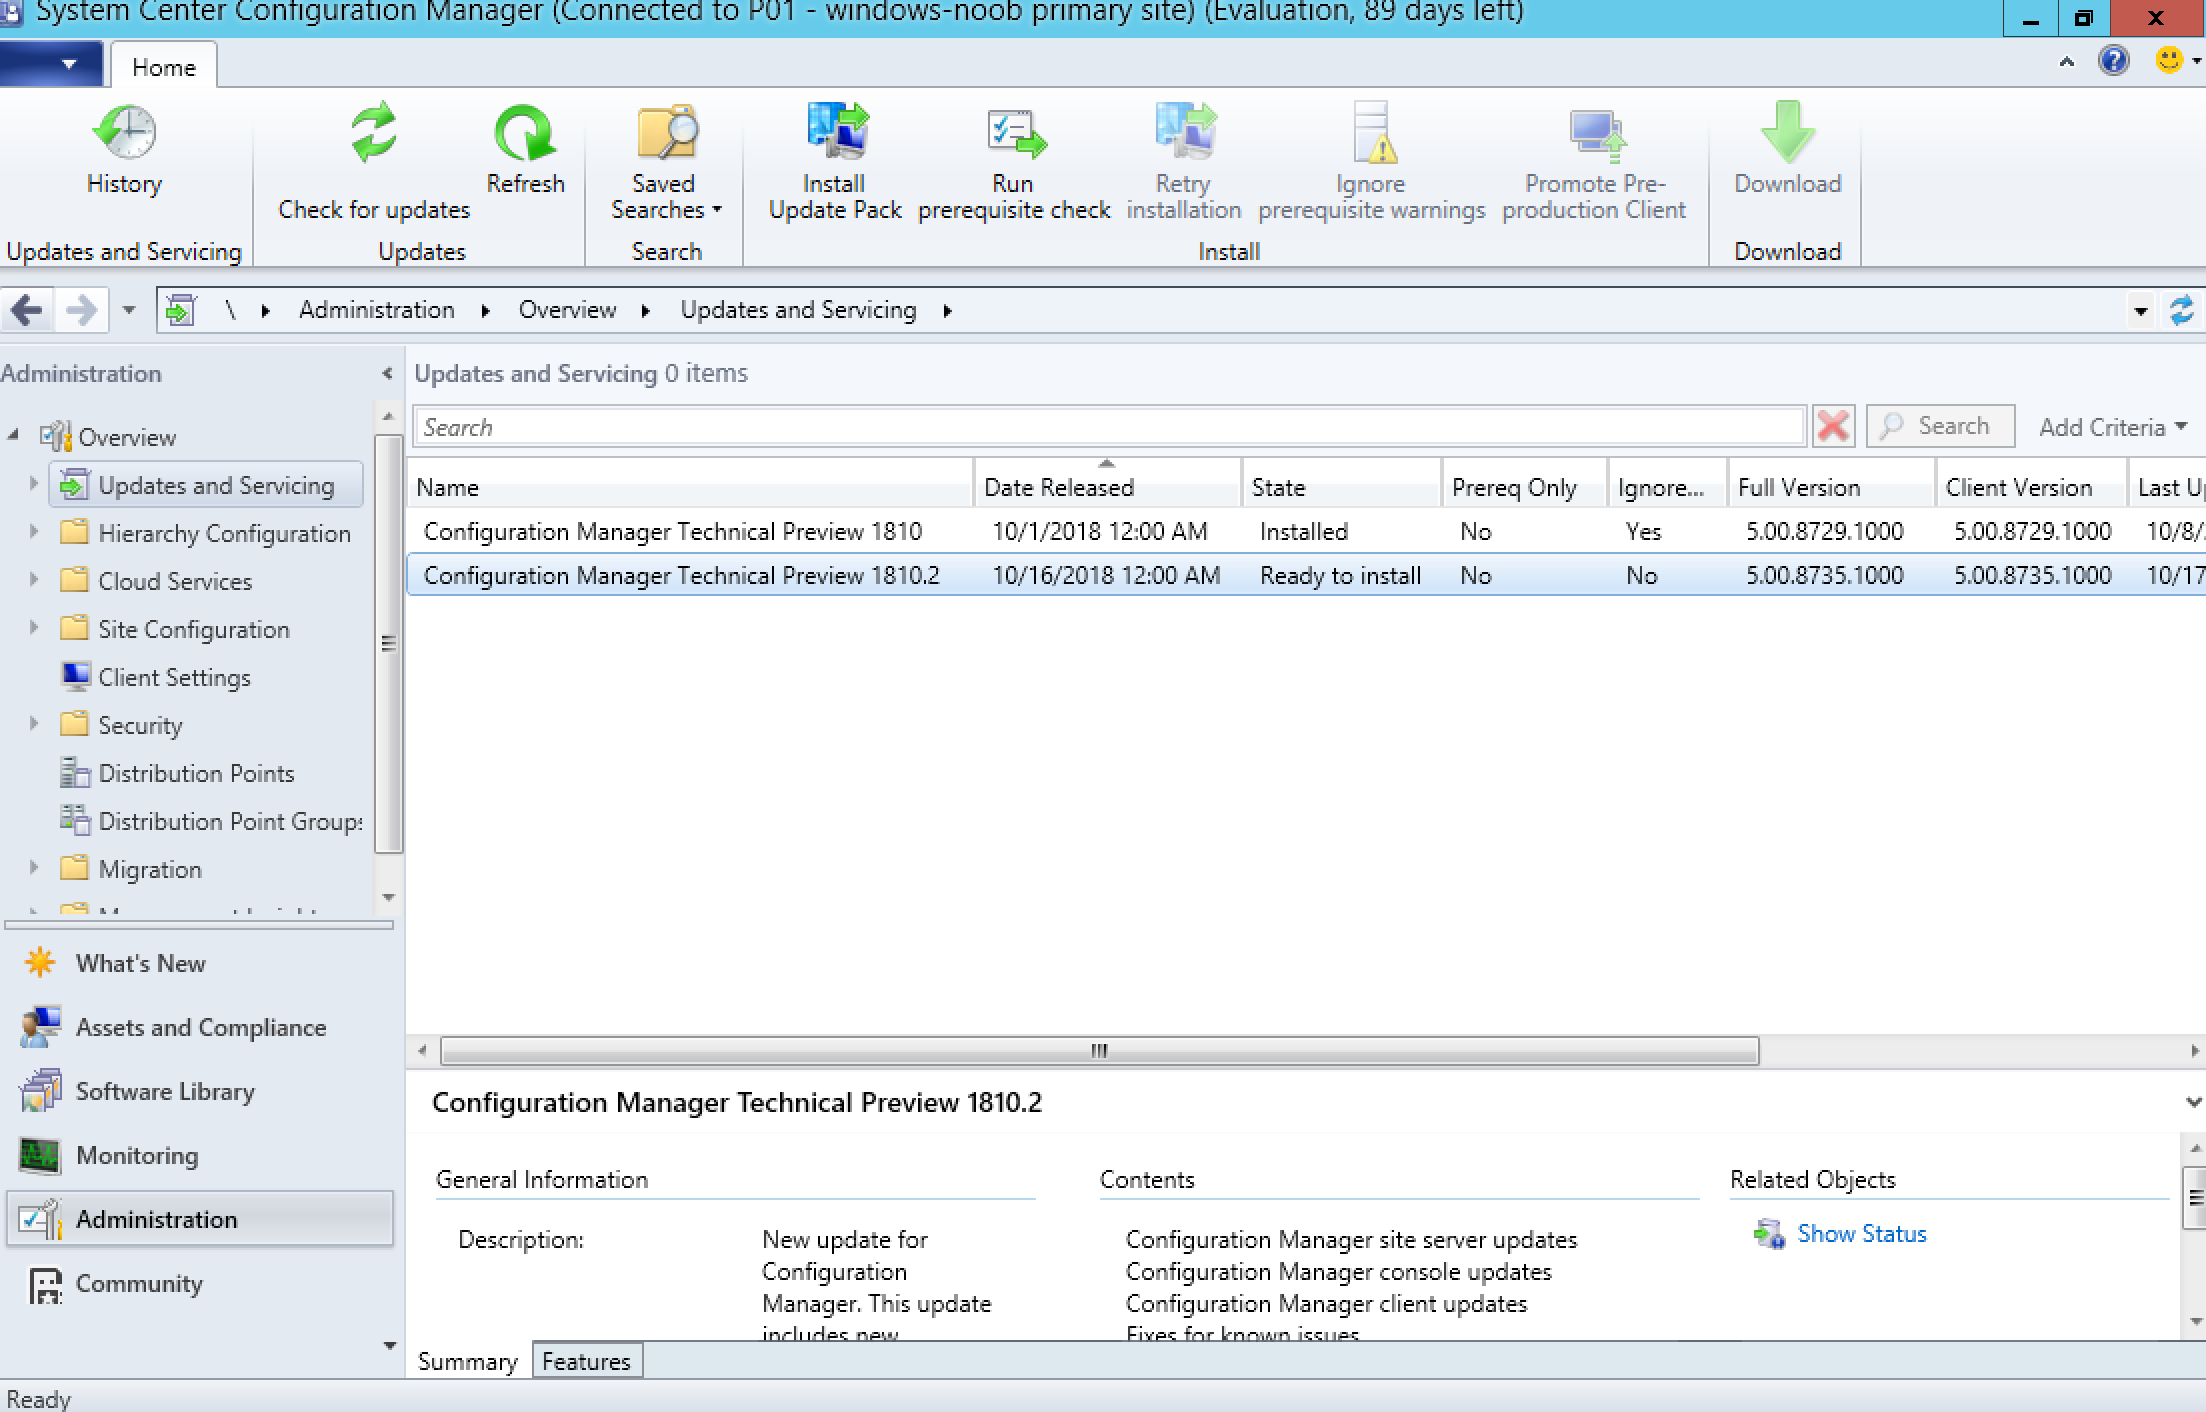
Technical preview version 1810.2: The Configuration Manager technical preview version 1810.2 is available as both an in-console update and as a new baseline version. Download baseline versions from the TechNet Evaluation Center.
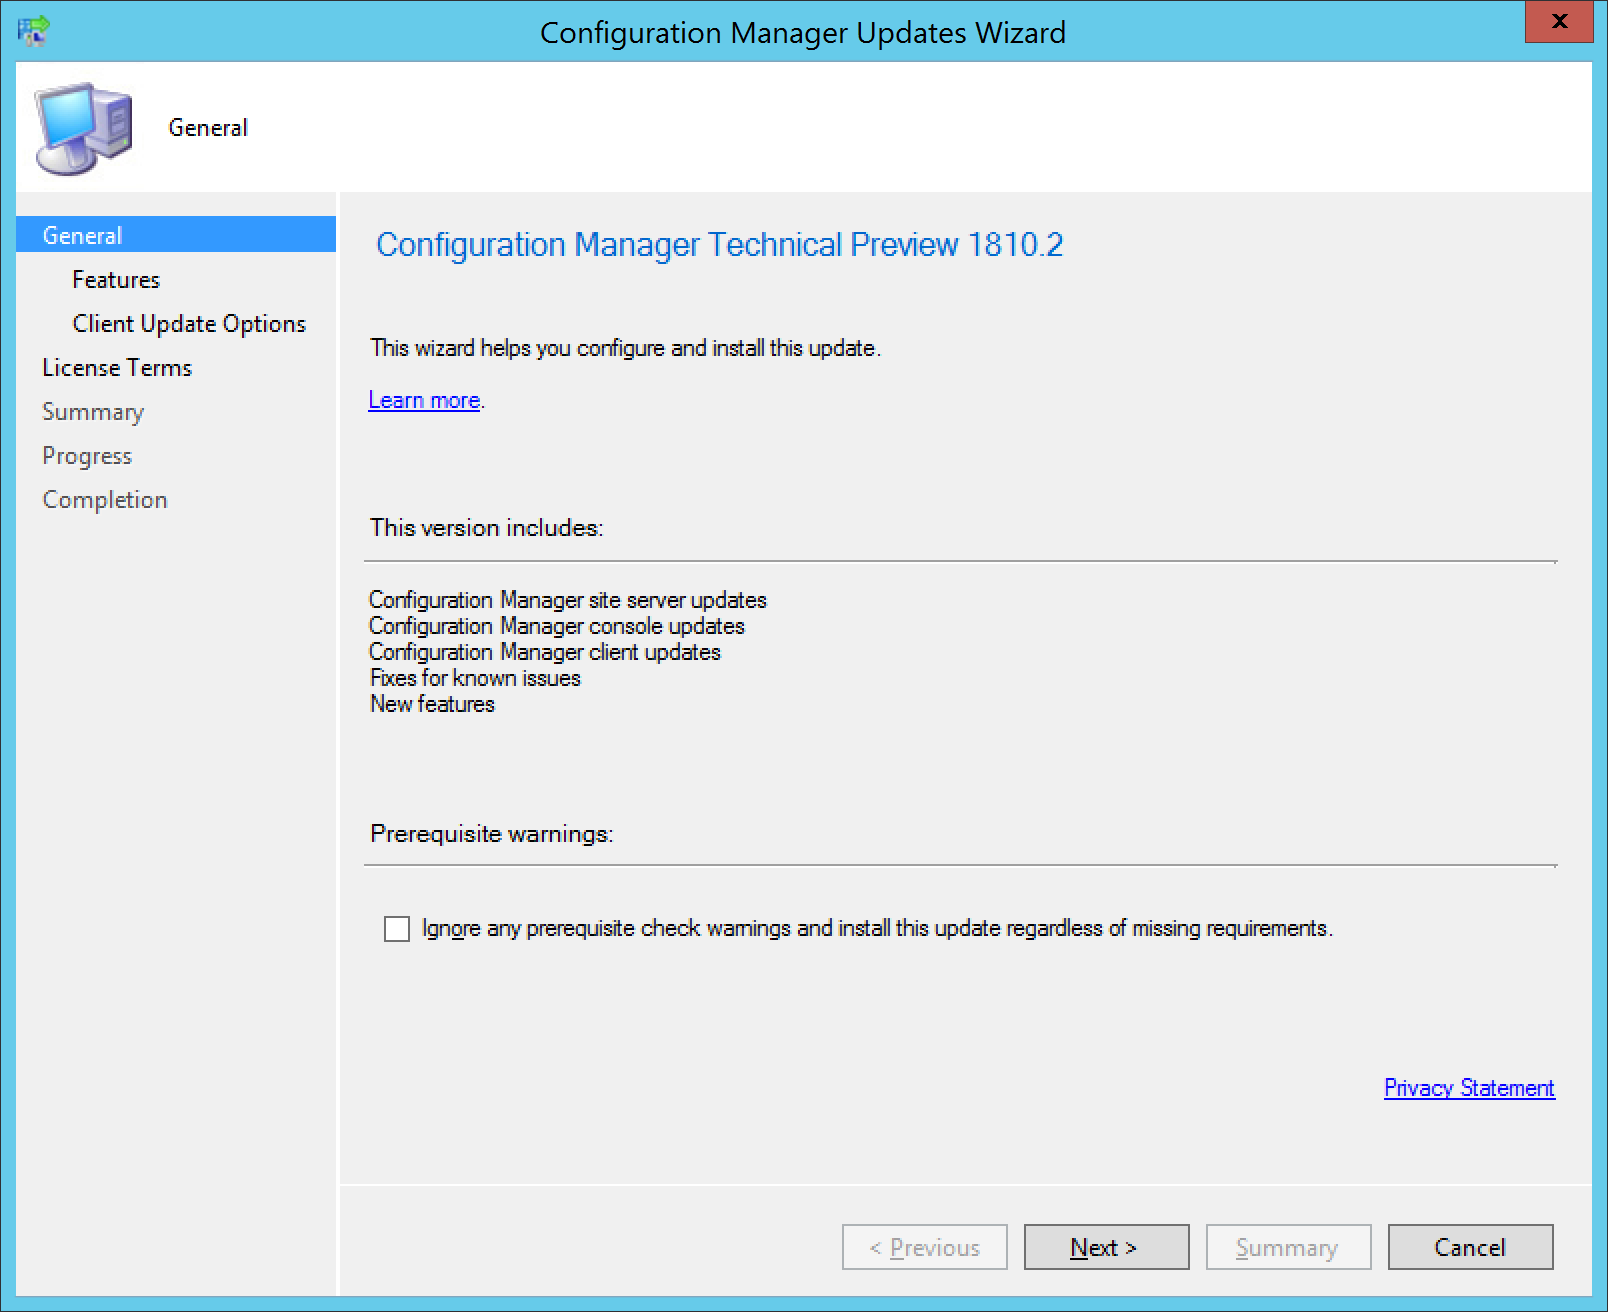
As always, you can monitor the download of the update using the dmpdownloader.log. To install it just right click the downloaded update and choose Install Update Pack,and then work your way through the simple wizard.
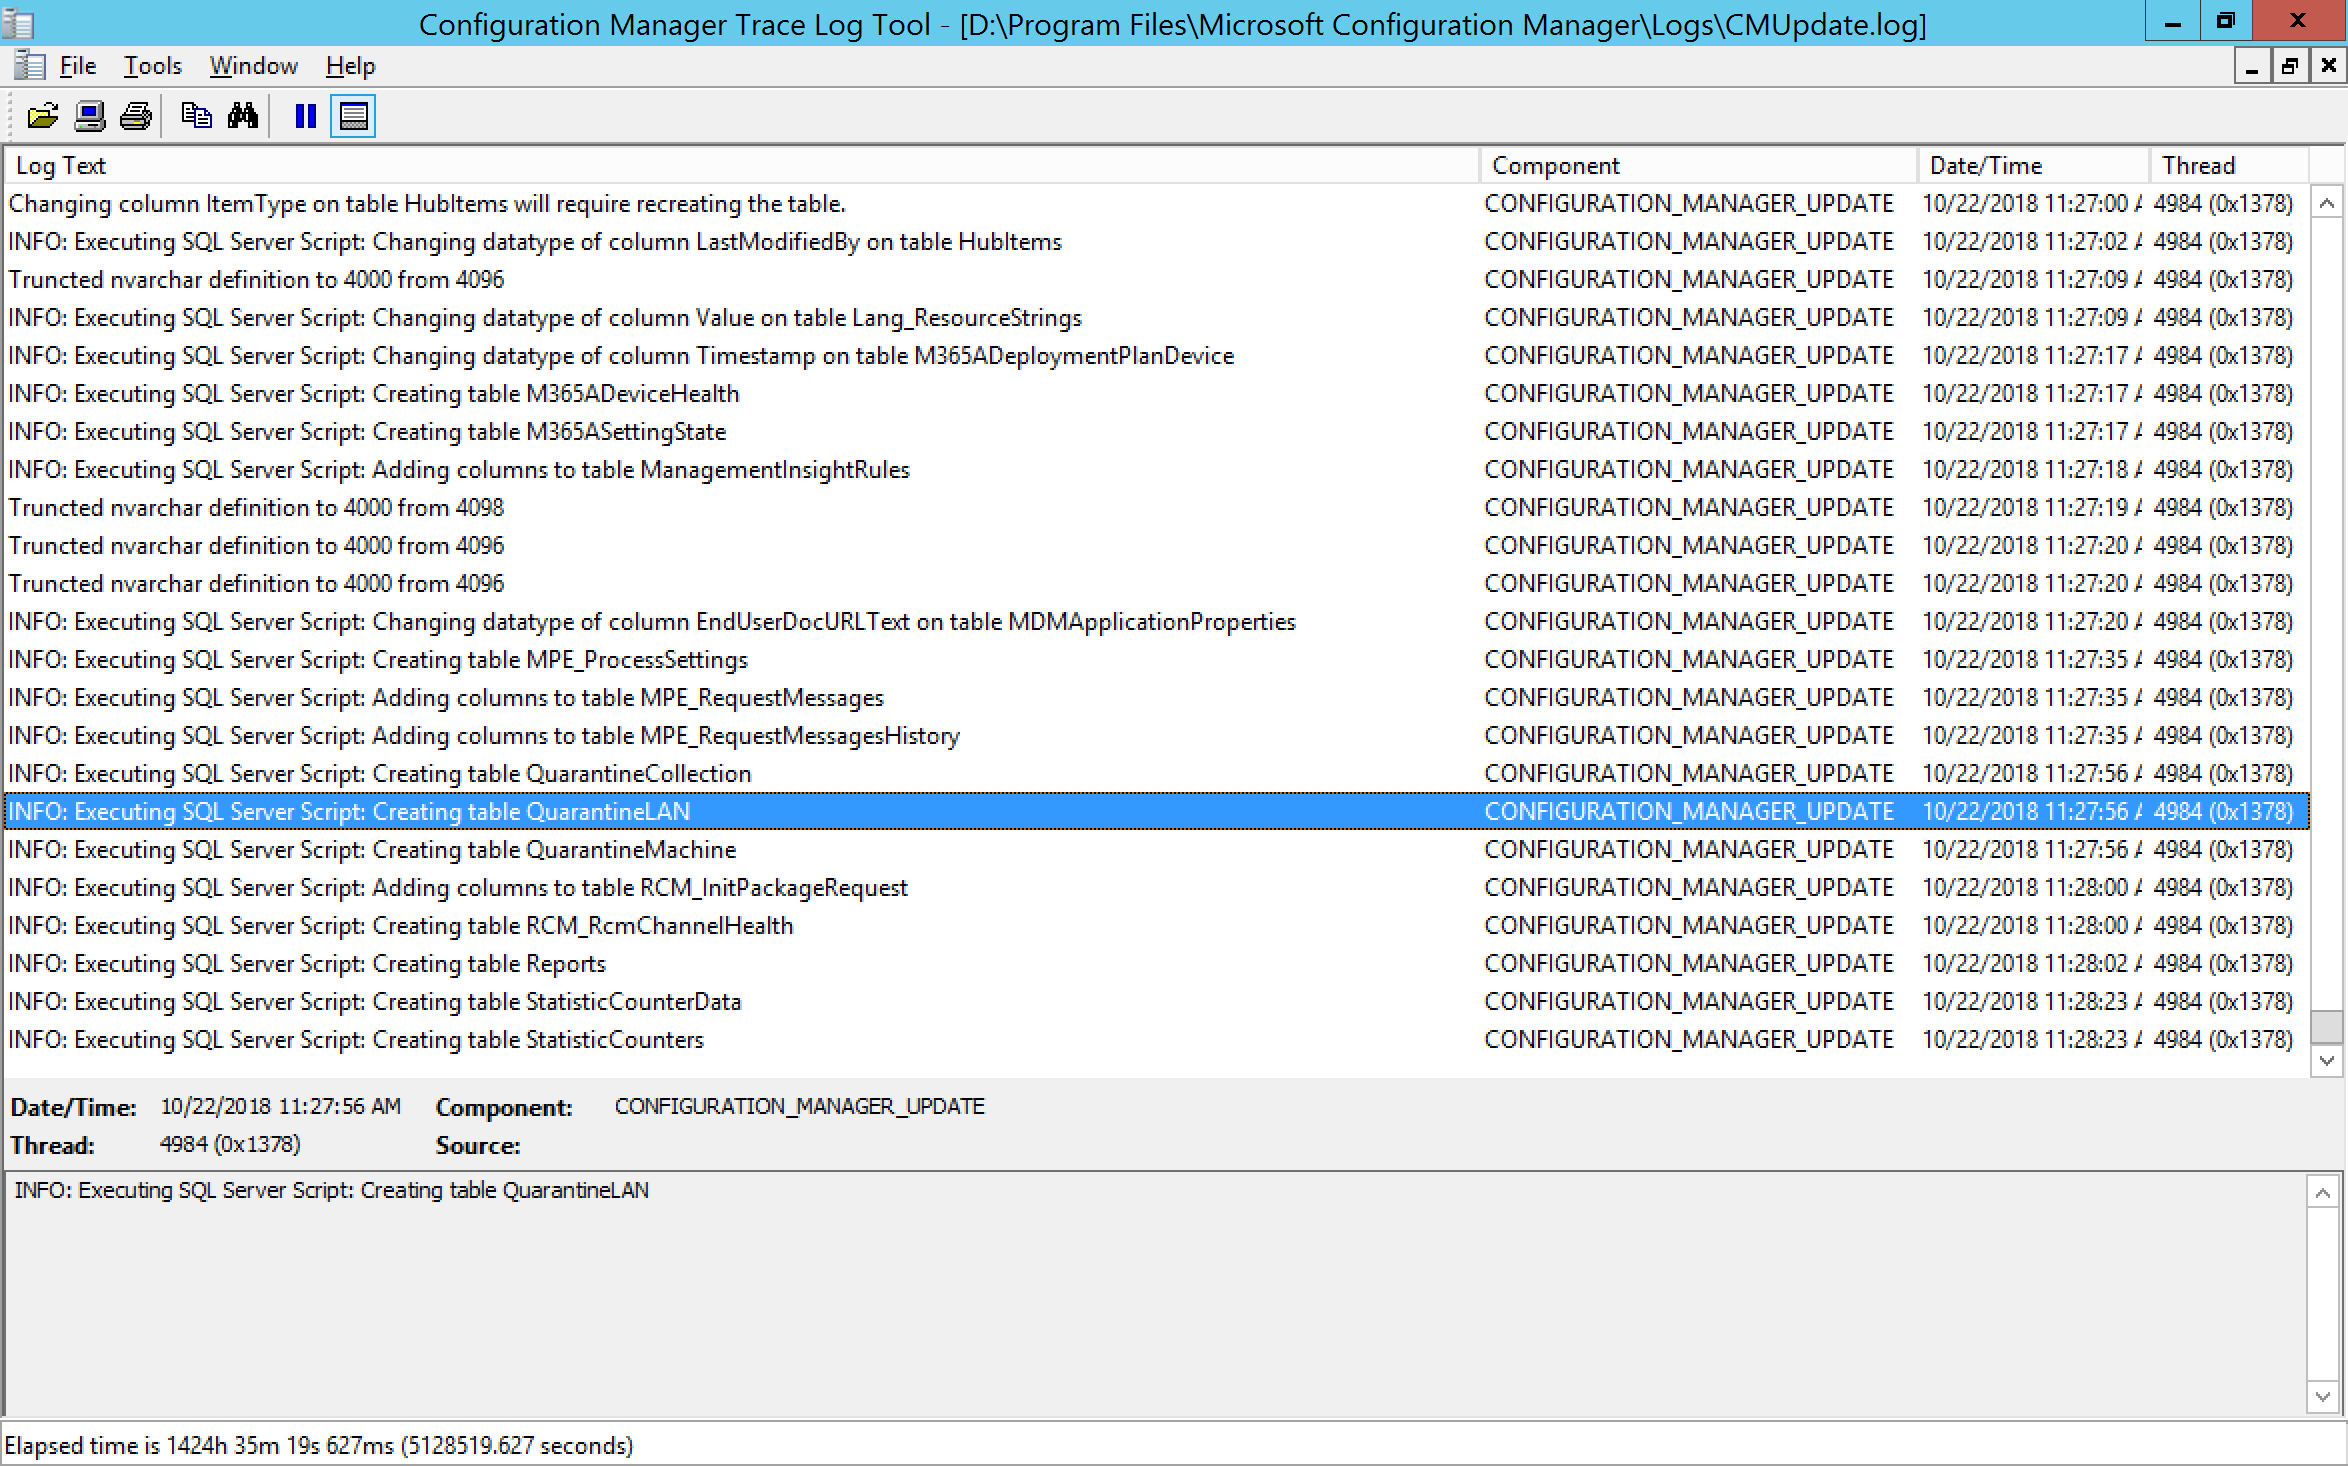
you can monitor the installation using CMUpdate.log in CMTrace.
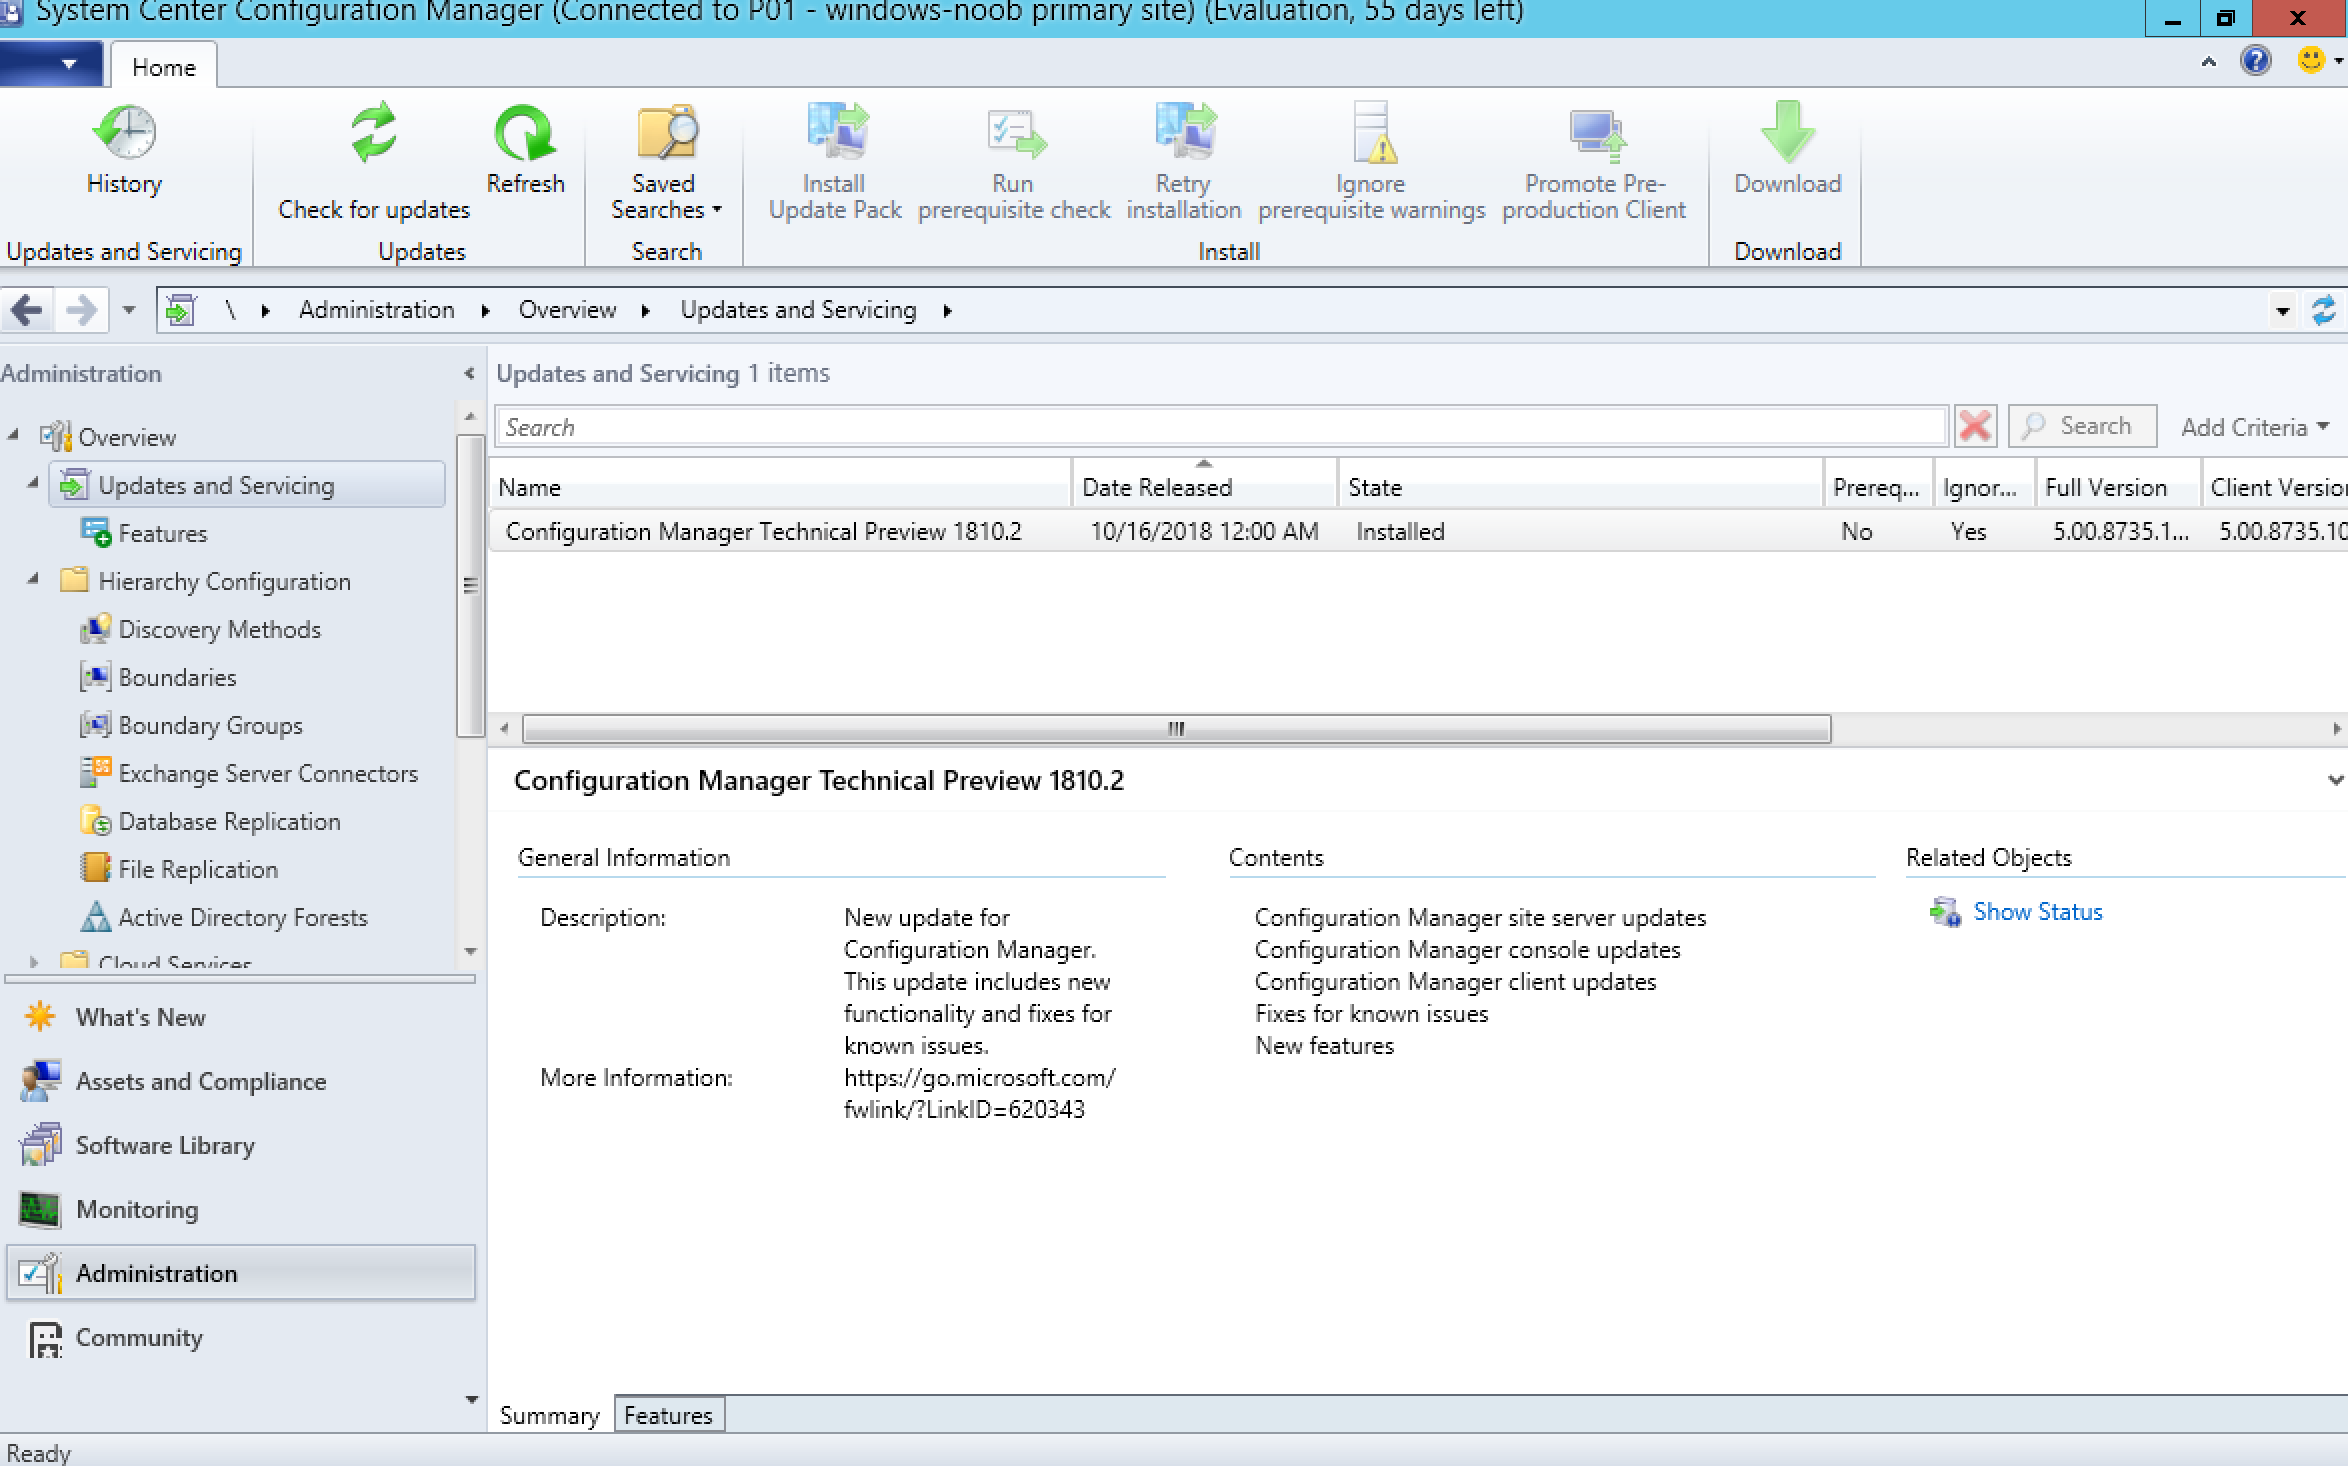
And after a while it’s installed
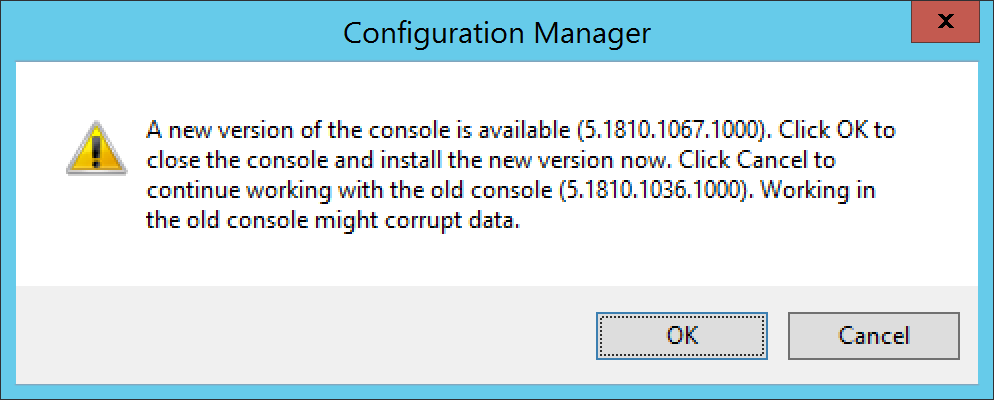
don’t forget to install the new console though, any action in the console will prompt you with this
And after a while it’s installed.
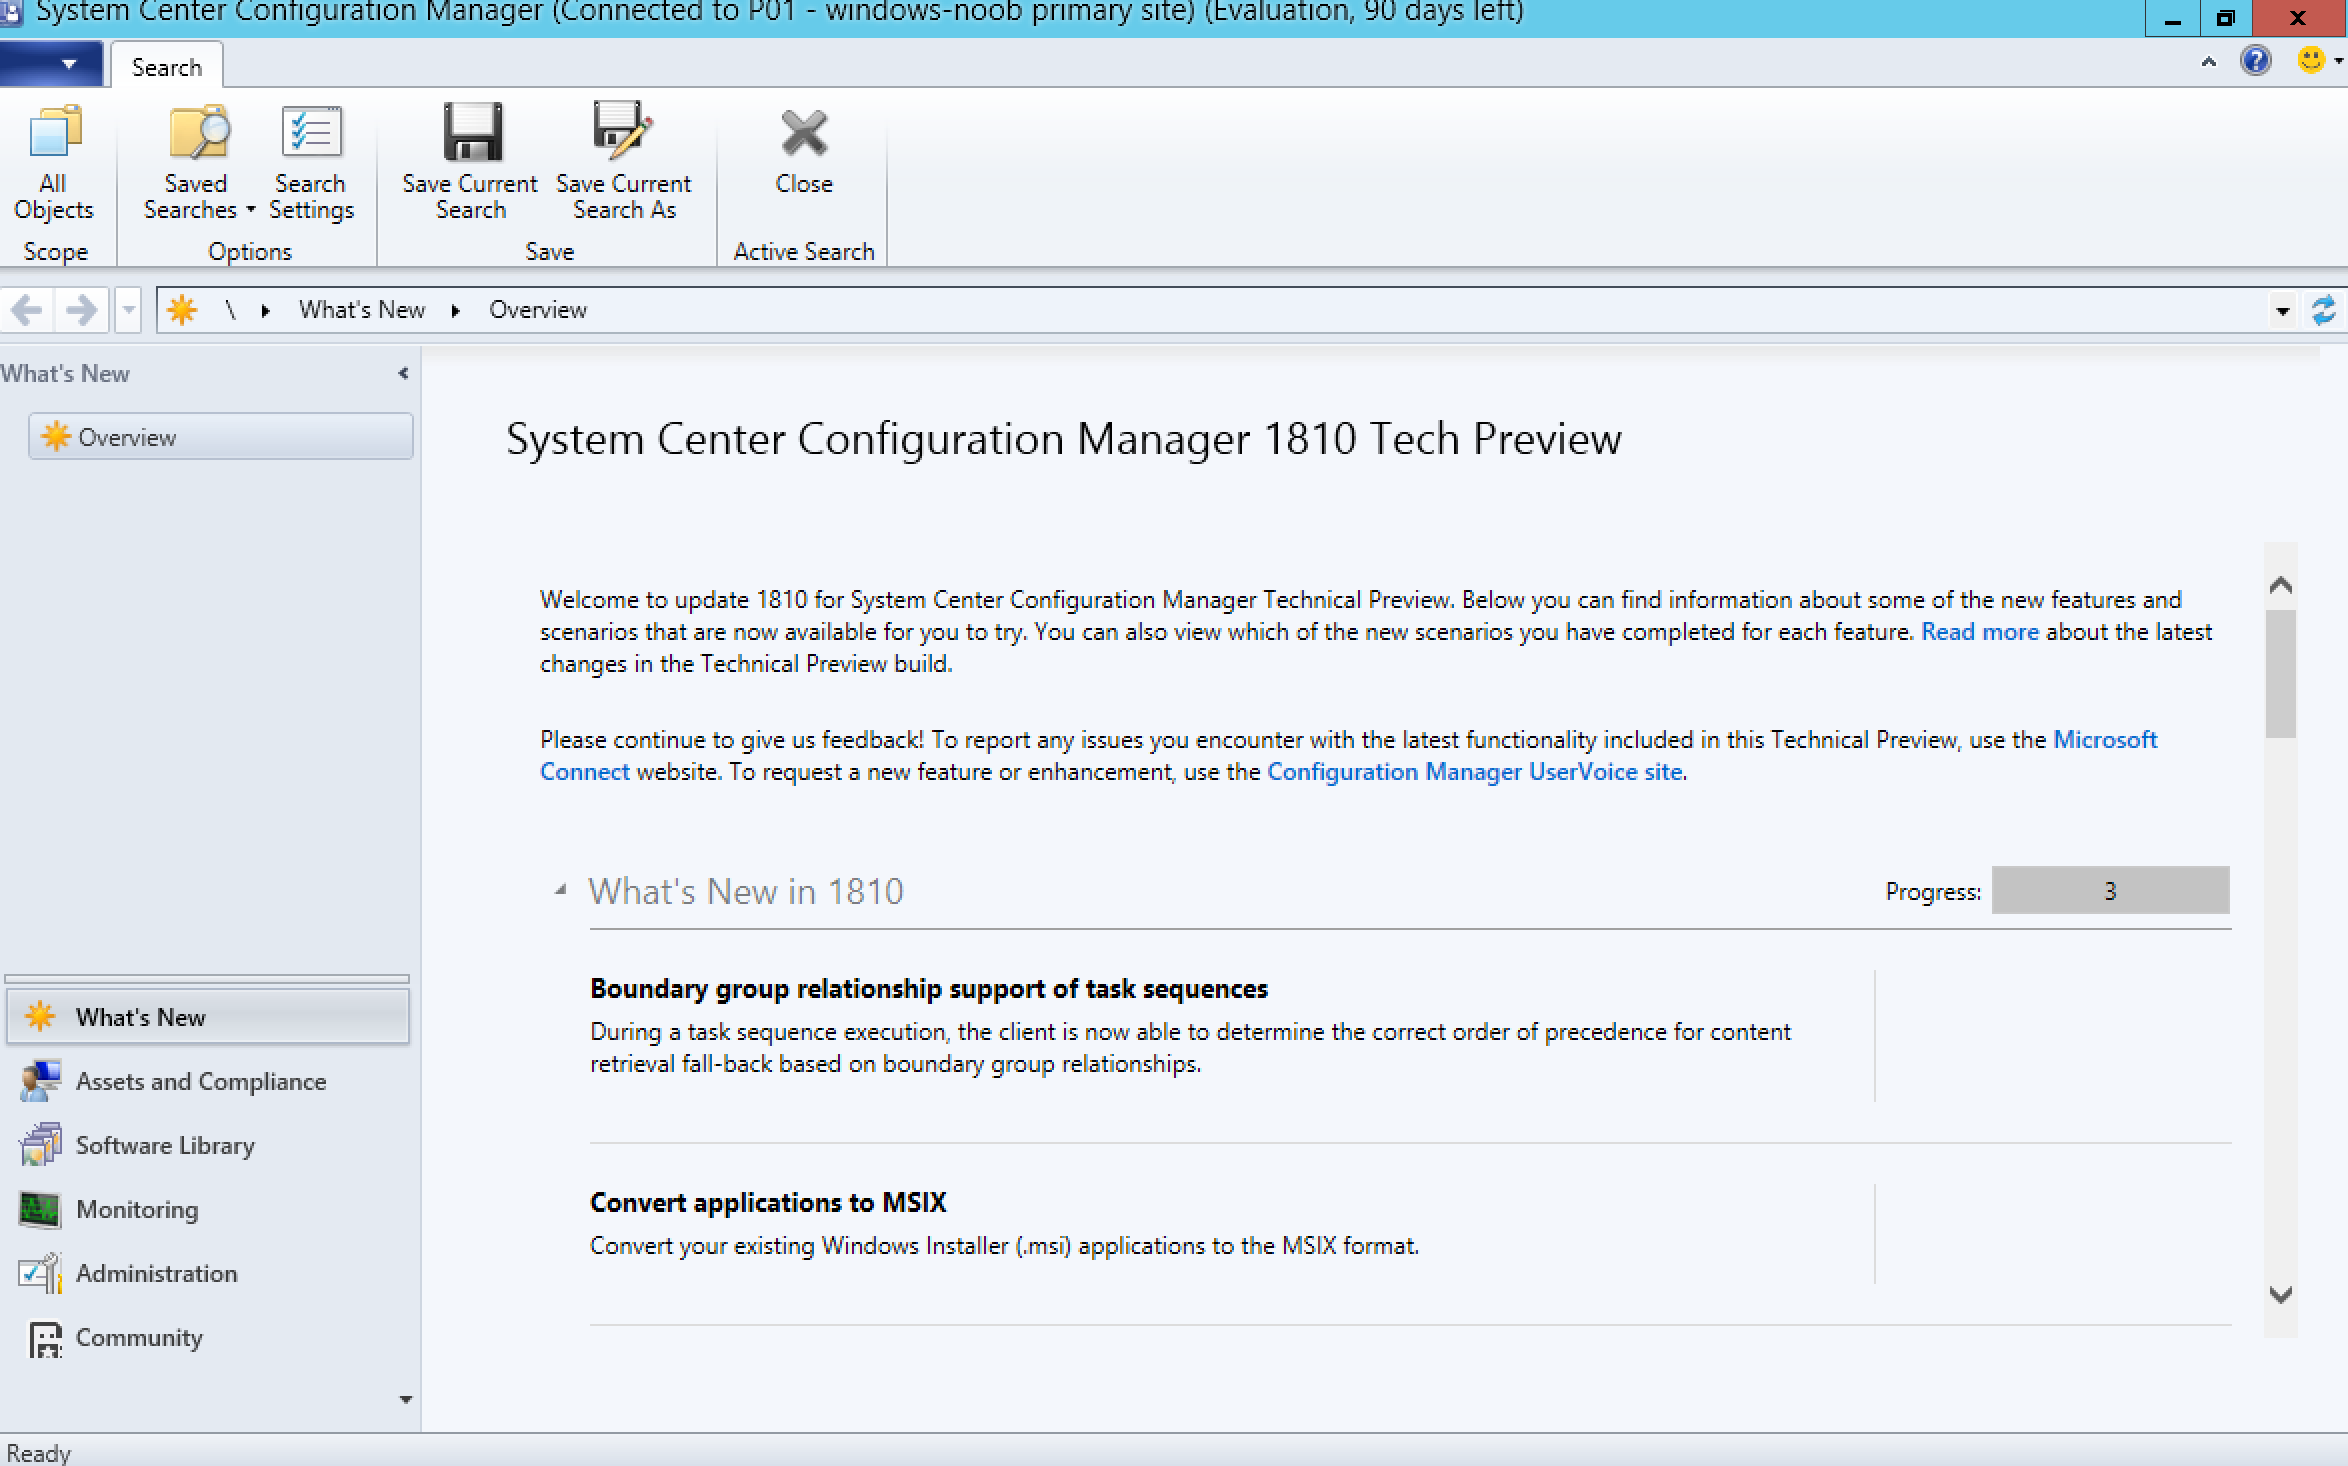
see what’s new below
Capabilities in Configuration Manager technical preview version 1810.2
- 7 minutes to read
- Contributors

Applies to: System Center Configuration Manager (Technical Preview)
This article introduces the features that are available in the technical preview for Configuration Manager, version 1810.2. Install this version to update and add new features to your technical preview site.
Review the technical preview article before installing this update. That article familiarizes you with the general requirements and limitations for using a technical preview, how to update between versions, and how to provide feedback.
The following sections describe the new features to try out in this version:
Improvements to collection evaluation
The following changes in collection evaluation behavior can improve site performance:
- Previously, when you configured a schedule on a query-based collection, the site would continue to evaluate the query whether or not you enabled the collection setting to Schedule a full update on this collection. To fully disable the schedule, you had to change the schedule to None.
Now the site clears the schedule when you disable this setting. To specify a schedule for collection evaluation, enable the option to Schedule a full update on this collection.
When you update your site, for any existing collection on which you specified a schedule, the site enables the option to Schedule a full update on this collection. While this configuration may not be your intent, it was the actual behavior. To stop the site evaluating a collection on a schedule, disable this option.
- You can’t disable the evaluation of built-in collections like All Systems, but now you can configure the schedule. This behavior allows you to customize this action at a time that meets your business requirements.
Tip
Only change the Time of the custom schedule on built-in collections. Don’t change the Recurrence pattern. Future iterations may enforce a specific recurrence pattern.
Configuration Manager administrator authentication
You can now specify the minimum authentication level for administrators to access Configuration Manager sites. This feature enforces administrators to sign in to Windows with the required level. To configure this setting, find the Authentication tab in Hierarchy Settings.
The following levels are available:
- Windows authentication: Require authentication with Active Directory domain credentials. This setting is the previous behavior, and the current default setting. When you update the site, there’s no change to the authentication level.
- Certificate authentication: Require authentication with a valid certificate that’s issued by a trusted PKI certificate authority. You don’t configure this certificate in Configuration Manager. Configuration Manager requires the administrator to be signed into Windows using PKI.
- Windows Hello for Business authentication: Require authentication with strong two-factor authentication that’s tied to a device and uses biometrics or a PIN. You can use Configuration Manager to manage and deploy Windows Hello for Business policies. For more information, see Windows Hello for Business settings.
To change this setting, first sign in to Windows with the intended authentication level.
Important
This configuration is a hierarchy-wide setting. Before you change this setting, make sure that all Configuration Manager administrators can sign in to Windows with the required authentication level.
It applies to all components that access the SMS Provider. For example, the Configuration Manager console, SDK methods, and Windows PowerShell cmdlets.
From the Authentication tab of Hierarchy Settings, you can also exclude certain users or groups. Use this option sparingly. For example, when specific users require access to the Configuration Manager console, but can’t authenticate to Windows at the required level. It may also be necessary for automation or services that run under the context of a system account.
Management insights rule for peer cache source client version
Management insights has a new rule to identify clients that serve as a peer cache source but haven’t upgraded from a pre-1806 client version. Pre-1806 clients can’t be used as a peer cache source for clients that run version 1806 or later. Select Take action to open a device view that displays the list of clients.
The new rule is Upgrade peer cache sources to the latest version of the Configuration Manager client, and is part of the new Content rule group.
Improvements to internet-based client setup
This release further simplifies the Configuration Manager client setup process for clients on the internet. The site publishes additional Azure Active Directory (Azure AD) information to the cloud management gateway (CMG). An Azure AD-joined client gets this information from the CMG during the ccmsetup process, using the same tenant to which it’s joined. This behavior further simplifies enrolling devices to co-management in an environment with multiple Azure AD tenants.
Now the only two required ccmsetup properties are CCMHOSTNAME and SMSSiteCode. For example:
ccmsetup.msi CCMSETUPCMD="CCMHOSTNAME=contoso.cloudapp.net/CCM_Proxy_MutualAuth/72186325152220500 SMSSiteCode=PS1"
The AADRESOURCEURI and AADCLIENTAPPID properties aren’t required.
For more information on these properties, see Client installation properties.
This new behavior also simplifies client management when you change how your site is onboarded to Azure AD. If you make changes to your Azure AD connection, such as creating a new app, existing clients automatically download these changes. When they do a regular location refresh, they also download the latest Azure AD information.
Convert applications to MSIX
Starting in version 1806, Configuration Manager supports deployment of the new Windows 10 app package (.msix) format. Now you can convert your existing Windows Installer (.msi) applications to the MSIX format.
For more information, see Create Windows applications.
Prerequisites
- A reference device running Windows 10 version 17701 or later
- Sign in to Windows on this device as a user with local administrative rights
- Install the following apps on this device:
- Configuration Manager console
- Install the MSIX Packaging Tool from the Microsoft Store
Don’t install any other apps or services. This device is your reference system.
Try it out!
Try to complete the tasks. Then send Feedback with your thoughts on the feature.
- Elevate the Configuration Manager console, go to the Software Library workspace, expand Application Management, and select the Applications node.
- Select an application that has a Windows Installer (.msi) deployment type.
Note
You need to be able to access the application’s source content from the reference device.
The application’s name can’t have any special characters. Configuration Manager uses the app name as the name of the output file.
Don’t install this application on the reference device in advance.
- Select Convert to .MSIX in the ribbon.
When the wizard completes, the MSIX Packaging Tool creates an MSIX file in the location you specified in the wizard. During this process, Configuration Manager silently installs the application on the reference device.
If the process fails, the summary page points to the log file with more information. If there’s an error about capturing user state, sign out of Windows. Signing in again may resolve this issue.
Next steps
To use this MSIX app, you first need to digitally sign it so that clients trust it. For more information on this process, see the following articles:
After signing the app, create a new deployment type on the application in Configuration Manager. For more information, see Create deployment types for the application.
Known issue
When you install the converted MSIX app, you may see the following error:
A main app package is required to install this optional package. Install the main package first and try again (0x80003d12)
There’s an extra parameter in a configuration file. This parameter doesn’t affect the migration process, but causes this error when installing the MSIX app.
Workaround
- Edit
C:\Program Files (x86)\Microsoft Configuration Manager\AdminConsole\XmlStorage\Other\MSIXPackageDeploymentTemplate.xml - Delete the following attribute:
MainPackageNameForModificationPackage=MainPackageIdentityName - Save the file.
- Elevate the console and start the Convert to .MSIX wizard.
Changes to client notification action to wake up a device
This version of Configuration Manager technical preview includes the following changes to the wake on LAN behavior. For more general information on the feature, see New client notification action to wake up device.
New client setting to allow network wake-up
Previously you had to manually enable the client for wake on LAN in the properties of the network adapter. This version includes a new client setting, Allow network wake-up. Configure and deploy this setting instead of the manual action.
Only wake up a single device
You can’t start this client notification action when you select more than one device or on a collection. Wake up devices one at a time. Send Feedback with your thoughts on the feature and when you need to wake up more than one device at a time.
Next steps
For more information about installing or updating the technical preview branch, see Technical preview.
For more information about the different branches of Configuration Manager, see Which branch of Configuration Manager should I use?
