
Introduction
I’ve been doing a lot of testing with Windows AutoPilot recently (blog post coming soon), and as part of that testing, I wanted my Windows 10 version 1709 (Fall Creators update) devices to have a customized start screen (or start menu as people often refer to it) with some Office applications and device configuration profiles installed. The ability to customize the start menu in Windows 10 is nothing new but I ran into some issues with the process, as I was using a 32 bit version of the Office Suite so I thought I’d document the fix here.
The issue I observed was that after creating the XML file, importing it into Intune and deploying it out to Windows 10 devices, instead of getting the Office icons in the start screen, they got blank boxes, and those boxes never populated with icons even after Office was installed. Some internet searching and digging found the answer but it wasn’t that clear what you had to do, hence this guide.
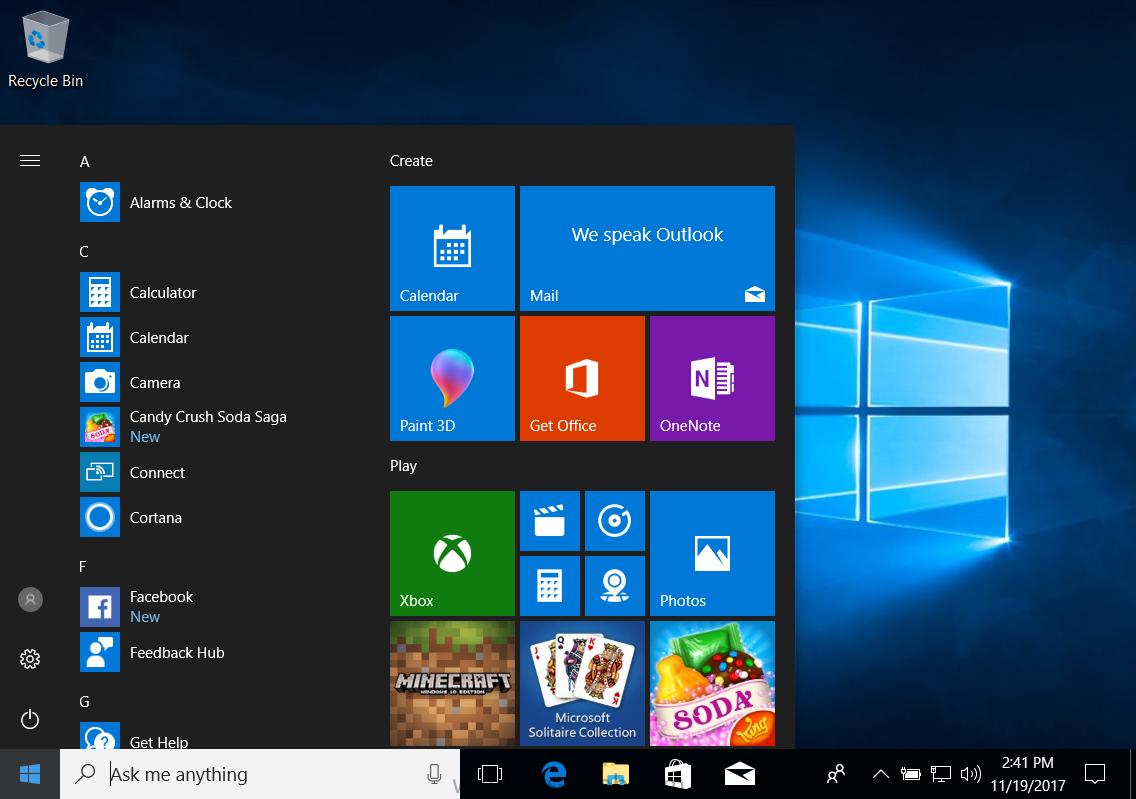
A newly installed Windows 10 version 1709 start menu can look quite a consumer oriented mess, such as the one shown below. This is definitely not what you want to see in your Enterprise. In this post you will deploy the Office 365 suite to Windows 10 version 1709 devices and then customize the start menu before capturing it to an XML file, editing the XML file and then deploying it using Intune.
Note: When a full Start layout is applied with this method, the users cannot pin, unpin, or uninstall apps from Start. Users can view and open all apps in the All Apps view, but they cannot pin any apps to Start. When a partial Start layout is applied, the contents of the specified tile groups cannot be changed, but users can move those groups, and can also create and customize their own groups.
Step 1. Configure the Office 365 suite in Intune (optional)
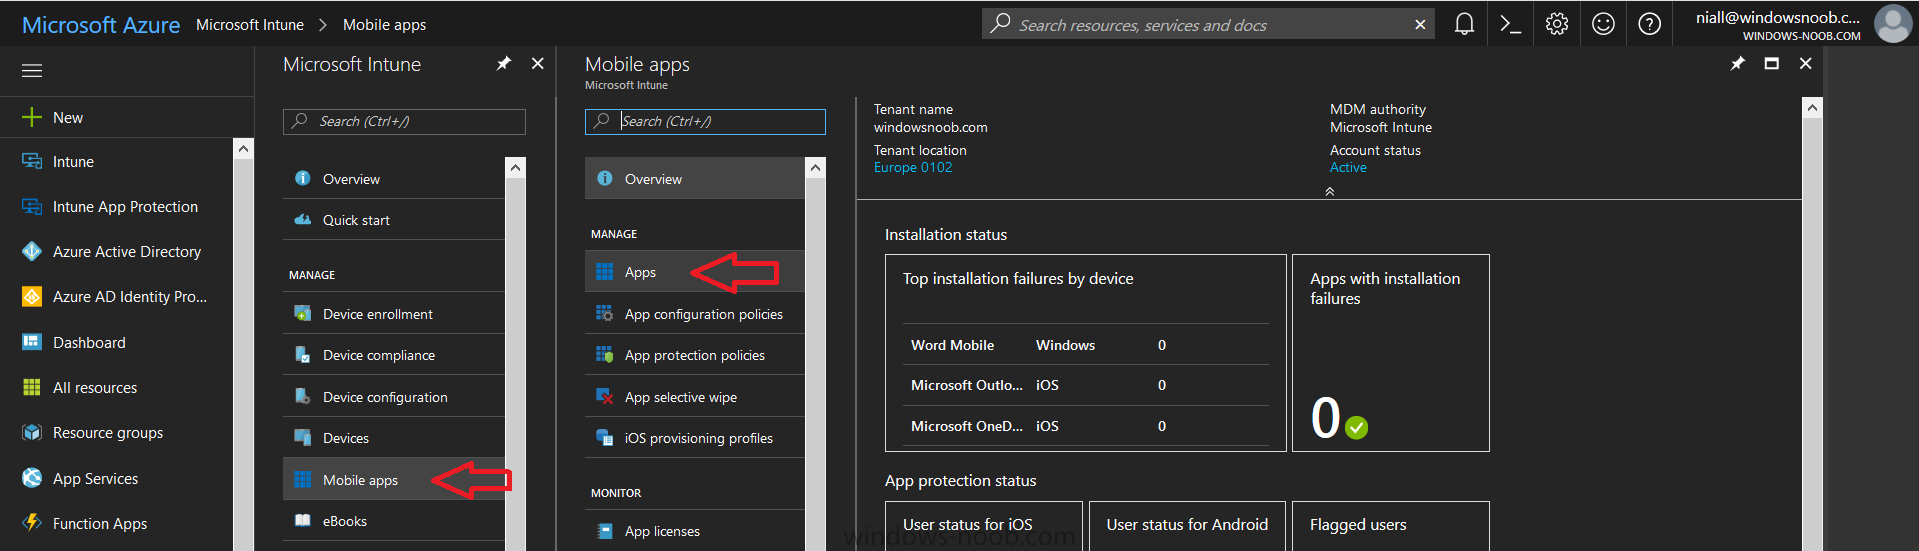
Customizing a start menu makes sense in an Office environment particularly when your users expect their Office apps are easy to reach. But before you can do that you’ll configure Office to install on some Windows 10 devices. In the Intune service in Azure, click on Mobile Apps, and then select Apps.
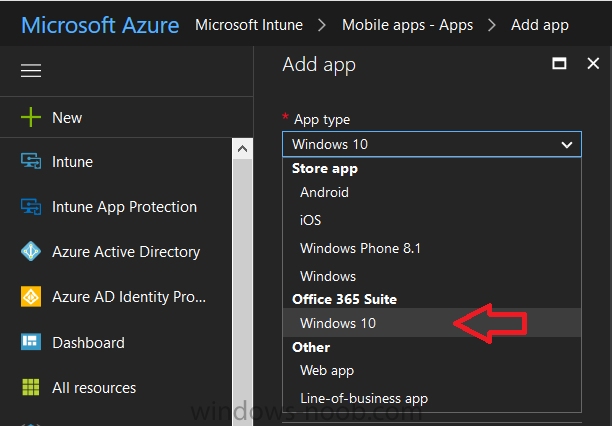
Click on + Add and then select Office 365 Suite and Windows 10.
Click on Configure App Suite, make your selections and click OK
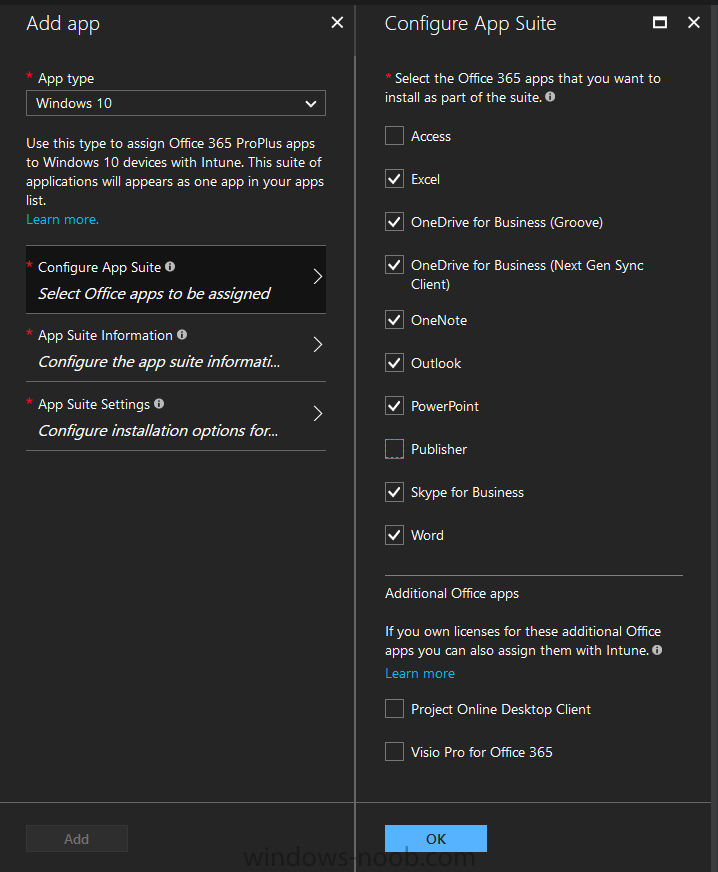
Next click on App Suite Information, fill in the information and click ok.

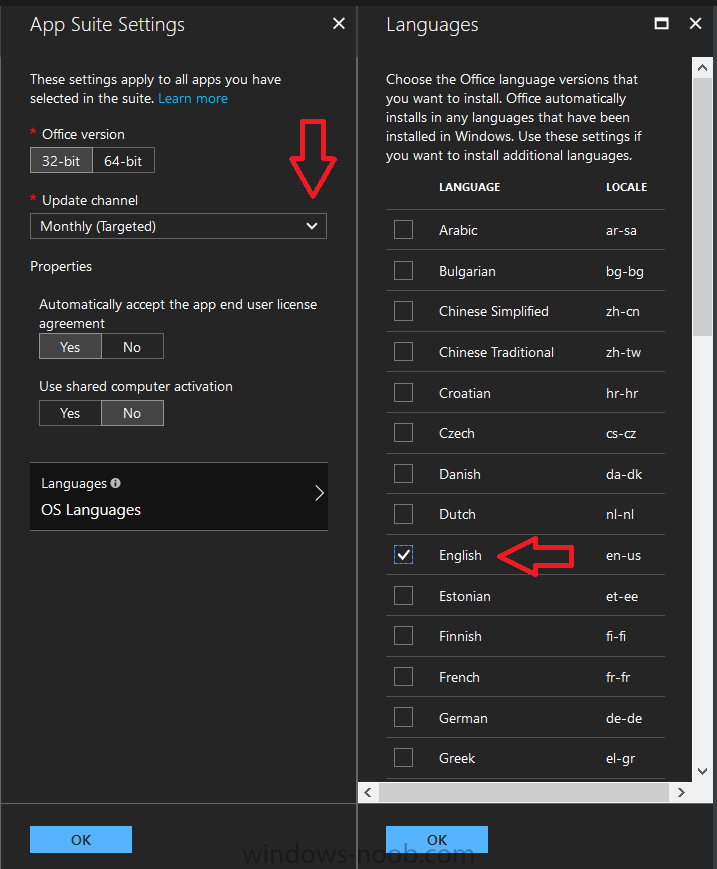
and next click on App Suite Settings, make your choices for Servicing (Office Updates) and Language options and click on OK then OK again. As I like to use WIP I have selected Monthly (targeted) to get the latest versions of office quickly.
Note: When choosing whether you want to assign the 32-bit, or 64-bit version of Office. You can install the 32-bit version on both 32-bit, and 64-bit devices, but you can only install the 64-bit version on 64-bit devices.
When done configuring click on Add.
you can read the rest of this post over at windows-noob.com here.
