
Introduction
Security is a big focus for many companies, especially when it comes to data leakage (company data). Encrypting data on Windows 10 devices using BitLocker means that data is protected. Microsoft Intune got yet more updates on June 30th, 2017, one of which was the ability to configure BitLocker settings detailed here. This ability was initially raised as a uservoice item.
You can now configure BitLocker settings for Windows 10 devices using a new Intune device profile. For example, you can require that devices are encrypted, and also configure further settings that are applied when BitLocker is turned on. For more information, see Endpoint protection settings for Windows 10 and later.
So let’s take a look at how it works.
Step 1. Create a Device Configuration Profile
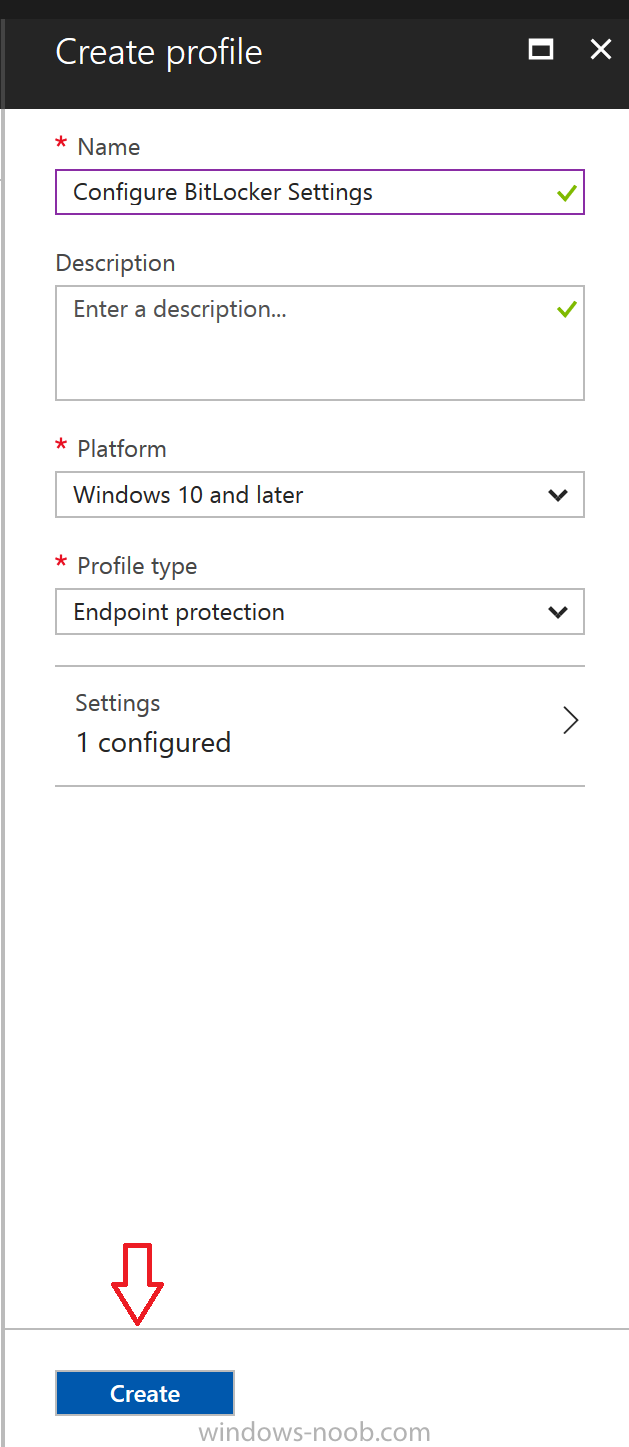
In the Azure Portal, navigate to Intune, and select Device Configuration, then click on Profiles and then click on Create Profile, and fill in the following details:
- Name: Configure BitLocker Settings
- Platform: Windows 10 and later
- Profile type: Endpoint Protection
Note: Endpoint Protection is the profile type for BitLocker configuration, not to be confused with System Center Endpoint Protection.
as shown below.
Step 2. Configure Settings in the profile
Next, in the Windows Encryption pane that appears, make your choices for Windows Settings,
Set the Require devices to be encrypted (Desktop only) option to Enable.
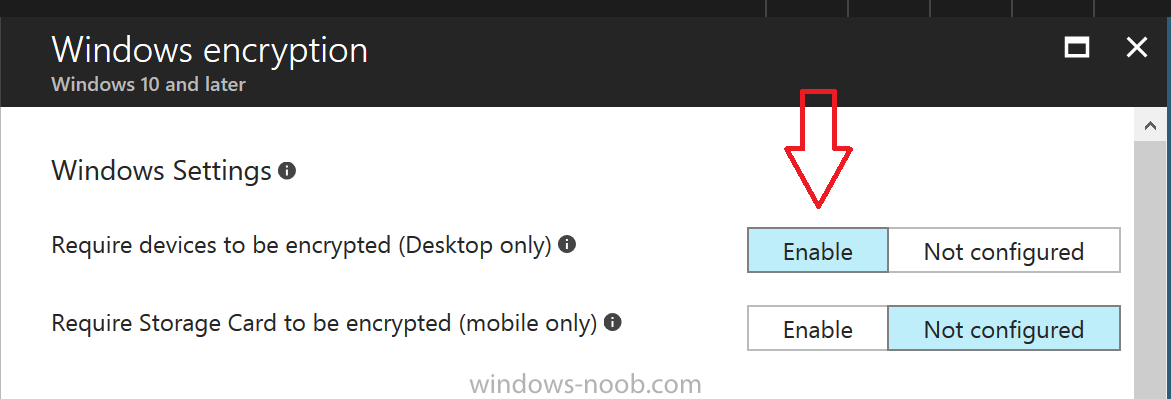
Make note of the note (the ‘i’, you can hover over it to see the info it contains), and I’ve bolded part of that statement below:
Selecting “Yes” will prompt end users to enable device encryption. End users will be asked to confirm there is no third party device encryption in use on their device. Turning on Windows encryption while third party encryption is in use will render device unstable.
So by requiring BitLocker encryption, your users will need to confirm the above prior to encryption taking place. Hopefully in the future we’ll be able to automate it 100% so that no user interaction is required.
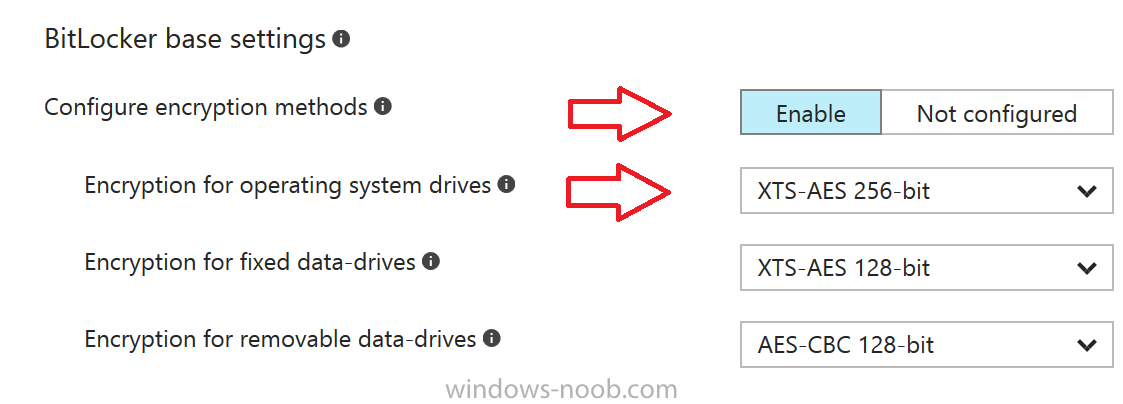
For BitLocker base settings, set Configure encryption methods to Enable and then set the desired encryption level via the drop down menus for each drive connected.
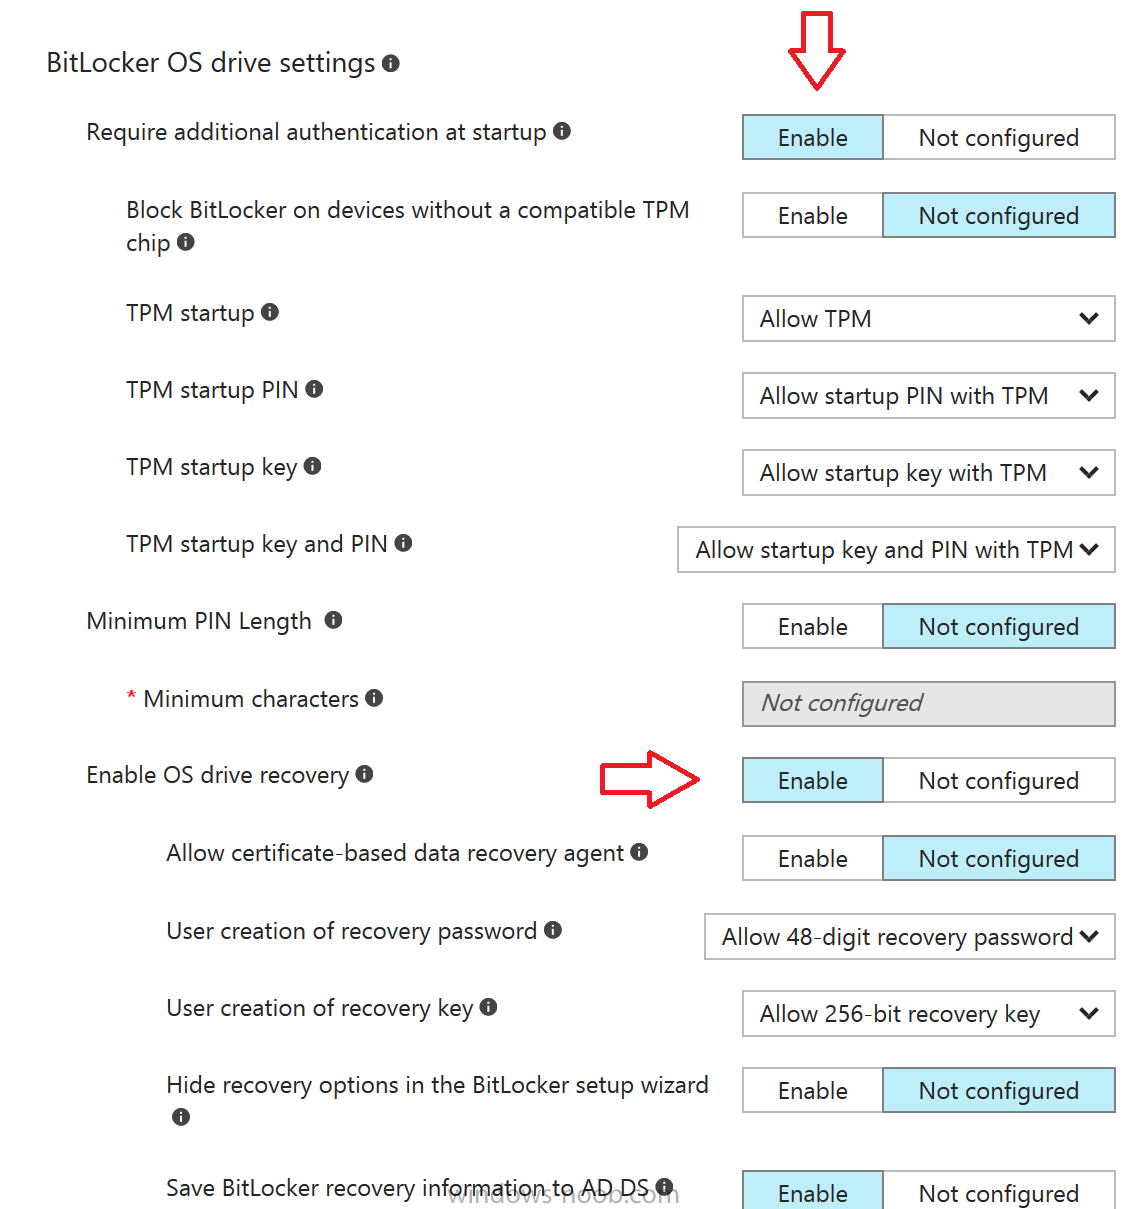
For BitLocker OS drive settings make your choices after setting Require additional authentication at startup to Enable.
For BitLocker fixed data-drive settings, you can deny write access to drives not BitLockered by enabling the option.

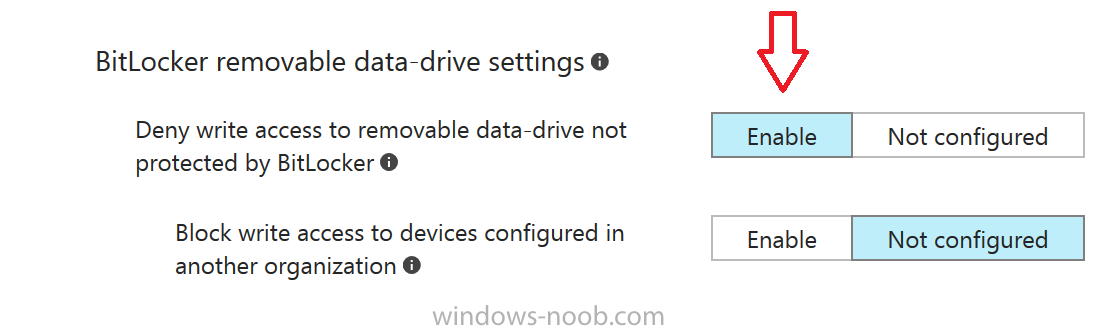
And for BitLocker removable data-drive settings, make your choices.
Once you’ve finished configuring the settings, click on OK and then click on Create, to Create the device configuration profile.
Step 3. Assign the profile to a group
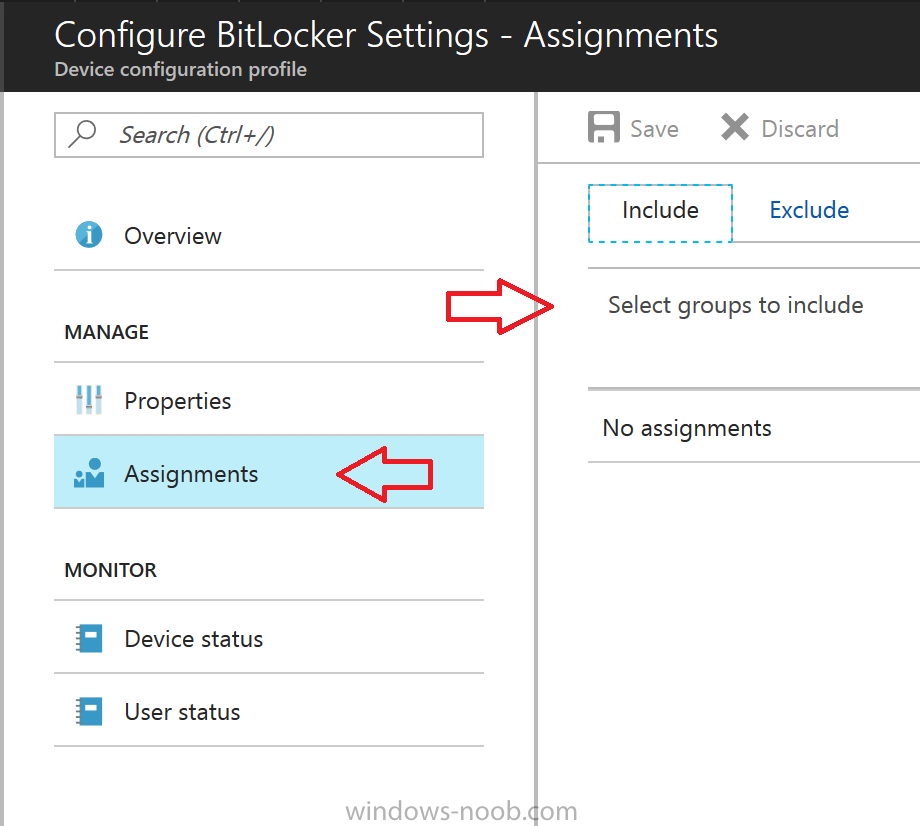
Now that you’ve created the profile, you need to deploy it (assign it) to a Group containing Windows 10 devices. Select the profile created above, and click on Assignments, next click on Select groups to Include.
Select a previously created Group (or groups if you wish), I selected one which I previously created called BitLocker Configuration but you can select whichever Group you want, and then click on the Select button at the bottom of that pane, if it’s not visible, zoom out (browser zoom).
read the rest @ windows-noob.com here
