
Introduction
Windows 10 is probably one of the fastest developing operating systems from Microsoft yet, and was initially released in July 2015 as Windows 10 version 1507. The version 1507 nomenclature equates to (YYMM) or year year, month month so you’ll always know when a version was released. Since that first release we’ve seen Windows 10 version 1511, and most recently Windows 10 version 1607 but very soon we’ll most likely have a new version of Windows 10 released called Creators Update and I’m guessing it’ll be version 1704. As each new version of Windows 10 is released, the new features it contains ensure that it is desirable and it’s just a matter of time before people want to upgrade to that version given the chance, but even with all the latest and greatest features, some users just won’t upgrade if given the choice for whatever reason.
There is however another element to consider and that is support ability, or how long Microsoft will release security updates for any given release of Windows 10. I’ve created a blog post to discuss this here but in a nutshell think of it like this:
n-2+60
In other words when the 2nd release of Windows 10 after a previous verion, is declared Current Branch for Business the n-2 release has an additional 60 days of support from Microsoft. That would mean that as of now (March 28th, 2017) that Windows 10 version 1507 (the n-2 release currently) is on it’s last legs in terms of official support from Microsoft, and not only that, once Creators Update gets declared CBB, Windows 10 1511 will share the same fate.
This leads you to deal with the support ability in a couple of ways, you can make the new upgrade available in Software center and hope your users will upgrade (seriously do you think they will ?), or you can get tough and decide when and where they will upgrade. To do that you have two options:
- servicing plans
- task sequences
I’ve discussed servicing plans here so I won’t go over that subject again. With task sequences you have far greater control over how to deal with things that can break servicing plans (such as incompatible AntiVirus software or Windows Language packs). Assuming that you’ve made the choice to use task sequences to forcefully upgrade your computers to the next version of Windows the next problem is how do you force the upgrade. The answer is defined by the purpose of the task sequence deployment, namely Required (or mandatory).
Just mentioning the words Required and Task Sequence is usually enough to make any seasoned ConfigMgr admin shiver. Why ? well there are many cases of people who’ve had career changing events in relation to required task sequences therefore using them must come with a big fat warning, so here it is.
WARNING!
Using required task sequences is very dangerous,
only use with extreme care and always test thoroughly.
Disclaimer: if you choose this method and it all goes wrong, I’m sorry, I cannot accept liability. It’s up to you to test what works in your organization and what doesn’t. My advice is test this thoroughly in a lab and only then recreate in production if it fits your needs.
Now that that is out of the way, let’s get on with it. In this post I’ll show you one way of forcefully upgrading your computers from a soon to be unsupported version of Windows 10 to the latest and greatest, and I’ll include steps and advice to help you ‘protect’ yourself from disaster. In this guide we’ll be forcing Windows 10 version 1511 computers to upgrade to Windows 10 version 1607.
Notifying users
There is one other thing to consider about required task sequences, they are normally for all intents and purposes zero touch meaning no user interaction. That is fine for simple quick changes such as upgrading applications but if your users are going to have one or two hours downtime due to a forced Windows upgrade, you’ll want to notify them and give them options to defer for a limited time period to a time that makes sense for them. Even though the recently released System Center Configuration Manager (Current Branch) version 1702 contains a great ability to edit the user notification message shown to users it’s limited in ability and it depends on your configured notification settings. So how do we solve that problem in a nice way. ConfigMgr allows us to chain programs before the task sequence begins and that’s the key to this solution.
Step 1. Create some collections (optional)
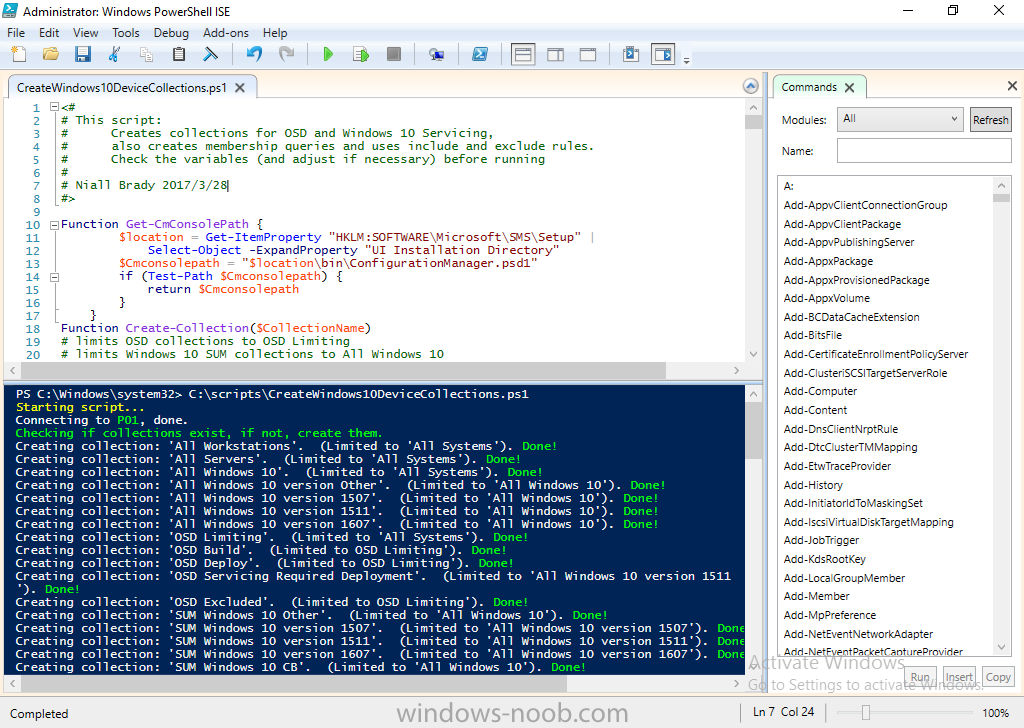
This step is optional but recommended as it will give you a base of collections to manage your deployments. To complete this step download the CreateWindows10DeviceCollections.ps1 PowerShell script in the downloads section and run it as Administrator in PowerShell ISE as shown below. This script not only creates collections to make your job of finding different versions of Windows 10 easier, but it adds queries, include and exclude rules as necessary.
and below is a subset of the collections created (there are 18 in total).
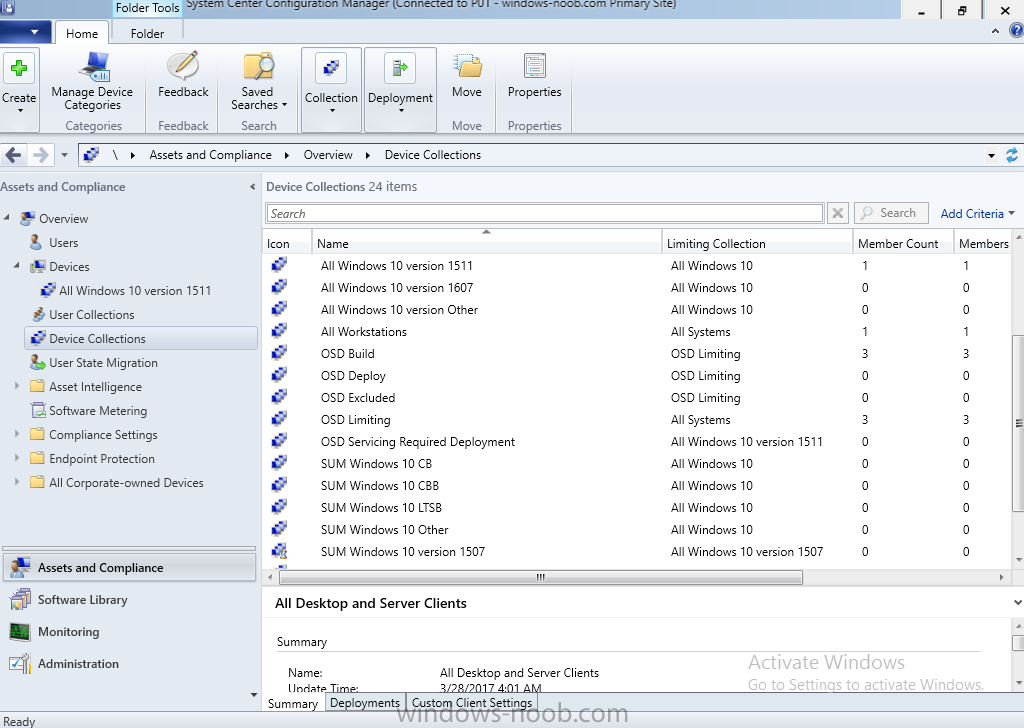
The OSD Servicing Required Deployment collection is limited to Windows 10 version 1511 as that is our target for the required upgrade. This does not mean that it will use all computers in that collection it just means it will only use computers added to the OSD Servicing Required Deployment collection provided that they are also present in All Windows 10 version 1511. This ensures that you are targeting the correct version of Windows 10 for the required upgrade.
Step 2. Create a Package/Program
In this step you’ll add a simple package/program that contains a few scripts. These scripts have error checking, logging and more built in so that you can trace what was done and when. These scripts will be chained to the required task sequence meaning that they must run successfully (with an exit code of 0) before the actual task sequence can start. User actions such as Defer in the popup will force an exit code 99 and the task sequence cannot start.
Download the scripts in the downloads section and extract somewhere useful. Copy the Required Windows 10 Upgrade folder to your source folder on your ConfigMgr server.

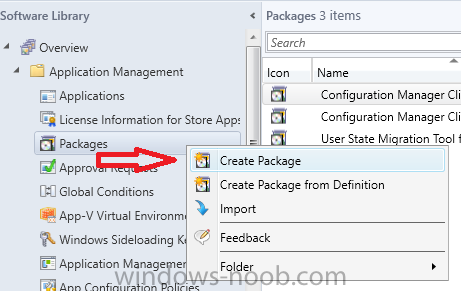
In the ConfigMgr console, select Application Management, Packages and Create Package.
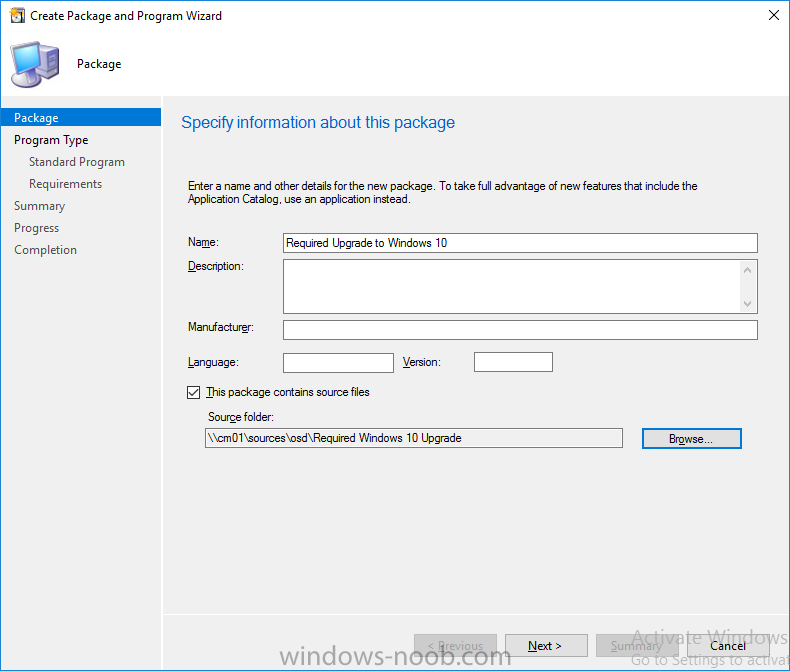
Give the new package a suitable name such as Required Upgrade to Windows 10 and point it to the source folder.
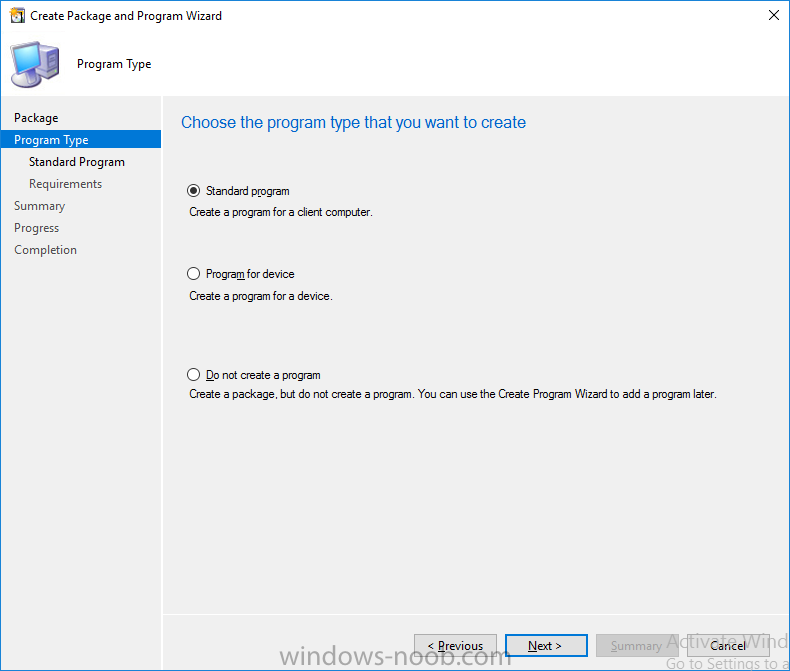
For Program Type, choose Standard Program.
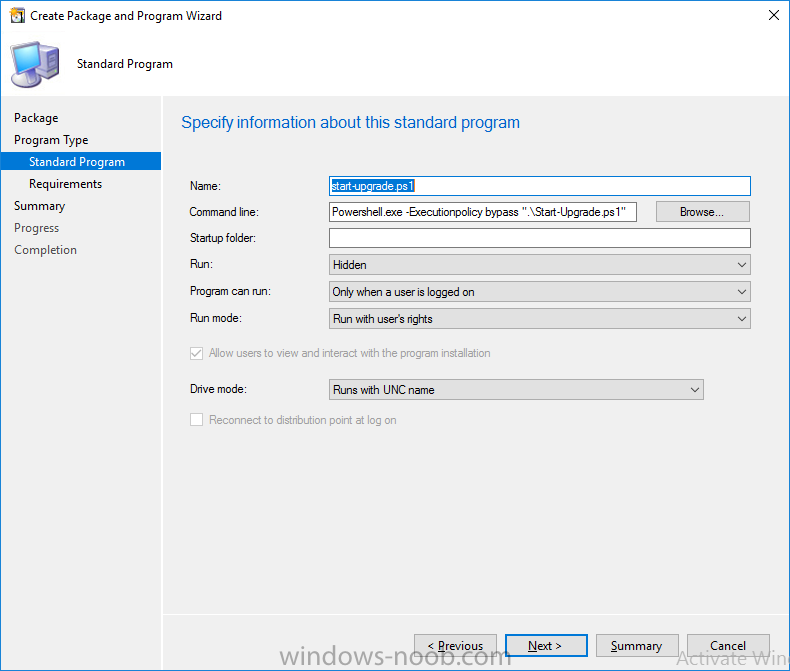
In the Specify information about this standard program screen fill in the following details
- Name: start-upgrade.ps1
- Command line: Powershell.exe -Executionpolicy bypass “.\Start-Upgrade.ps1”
- Startup folder:
- Run: Hidden
- Program can run: Only when a user is logged on
- Run mode: Run with user’s rights
- Drive Mode: Runs with UNC name
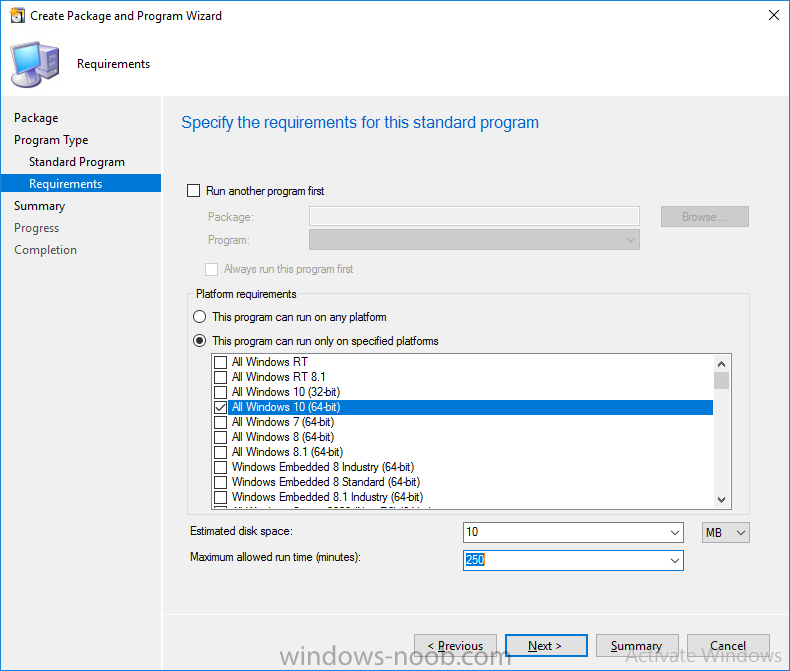
in the Specify the requirements for this standard program screen use the following values
This Program can run on only on specified platforms: All Windows 10 (64 bit)
Estimated disk space: 10 MB
Maximum allowed time (minutes): 250
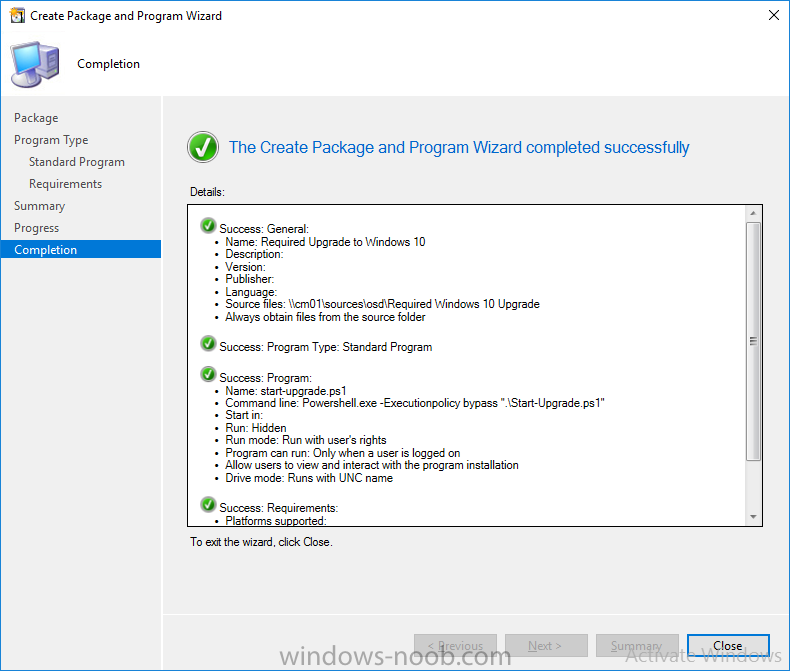
click next through to completion.
Step 3. Modify the package
On the newly created package, right click and choose Properties, click the Data Access tab. Select Copy the content in this package to a package share on distribution points
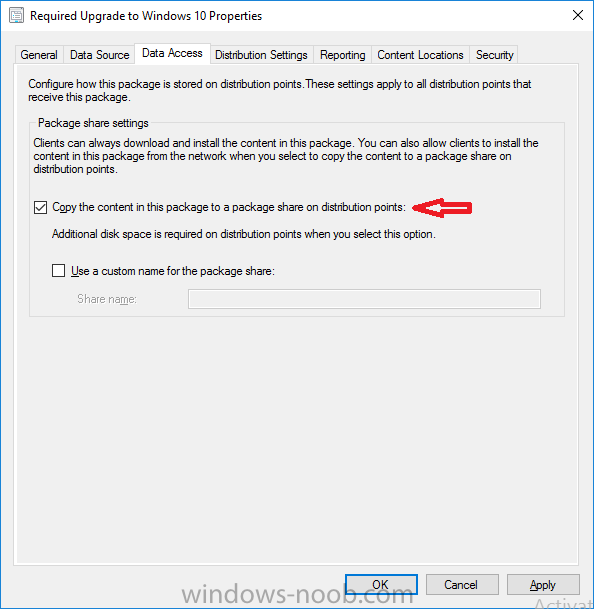
Click Apply and OK.
read the rest of this post @ windows-noob.com
