
Introduction
Microsoft has updated the Intune documentation to cover the steps to add and verify a custom domain.
Adding and verifying a custom domain
The steps to add and verify a custom domain can alternatively be performed in Azure Active Directory.
When your organization signs up for a Microsoft cloud-based service like Intune, you’re given an initial domain name hosted in Azure Active Directory that looks like the following: yourdomain.onmicrosoft.com. In this example, yourdomain is the domain name that you chose when you signed up, and onmicrosoft.com is the suffix assigned to the accounts you add to your subscription.
You cannot rename or remove that initial domain name. However, you can add, verify or remove your own custom domain names to use with Intune, which is helpful if you want to keep your business identity.
To add and verify your custom domain
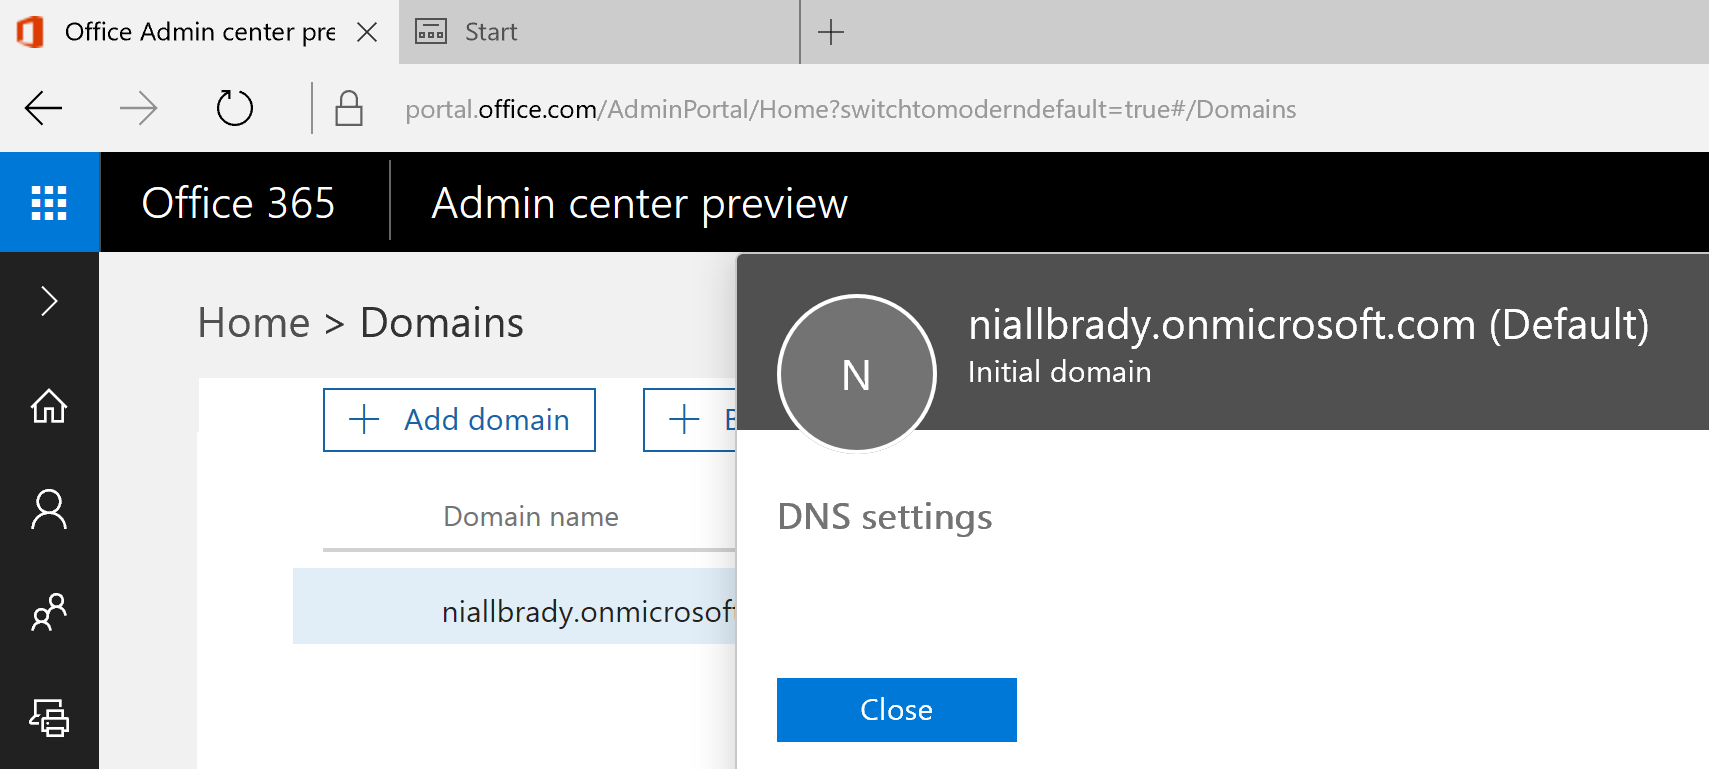
- Go to Office 365 management portal and sign into your administrator account.
Important
Check the Intune Account Portal has merged with the Office 365 management portal announcement for more details on where to manage Microsoft Intune users, groups, and domains.
- In the navigation pane, choose Settings > Domains.
- Choose Add domain, and type your custom domain name.
- The Verify domain dialog box opens giving you the values to create the TXT record in your DNS hosting provider.
- GoDaddy users: Office 365 Management portal redirects you to GoDaddy’s login page. After you enter your credentials and accept the domain change permission agreement, the TXT record is created automatically. You can alternatively create the TXT record.
- Register.com users: Follow the step-by-step instructions to create the TXT record.
Tip
Make sure to create a DNS alias (CNAME) for Windows devices enrollment, while making changes in your DNS hosting provider.
In a hybrid cloud scenario, after you added your custom domain name, and it has been verified that your organization owns it, you can keep managing user accounts in your on-premises Active Directory, then synchronize it with Azure AD.
To synchronize on-premises users with Azure AD
- Add the UPN suffix for your custom domain in your on-premises Active Directory.
- Set the new UPN suffix for the on-premises users that you plan to import.
- Run Azure AD Connect sync to integrate your on-premises users with Azure AD.
- Once the user account information has successfully synchronized, you can then assign Microsoft Intune licenses using the Office 365 Management Portal.
See also
- About your initial onmicrosoft.com domain in Office 365
- What to know before you start Microsoft Intune
more info > https://docs.microsoft.com/en-us/intune/get-started/domain-names-for-microsoft-intune
