
Introduction
This short post is to show you how easy it is to setup Windows Hello (login to the device using facial recognition) on your new surface Pro 4 or Surface Book. To setup Windows Hello on the Surface Book or Surface Pro 4 requires that the devices firmware and drivers are updated to October 2015 as described in this post. In addition, you need to define a PIN.
Step 1. Setup a PIN
Select Windows Settings, Accounts, Sign-in Options, PIN. You may be asked to set up your account with a PIN. If so, follow the on-screen instructions.
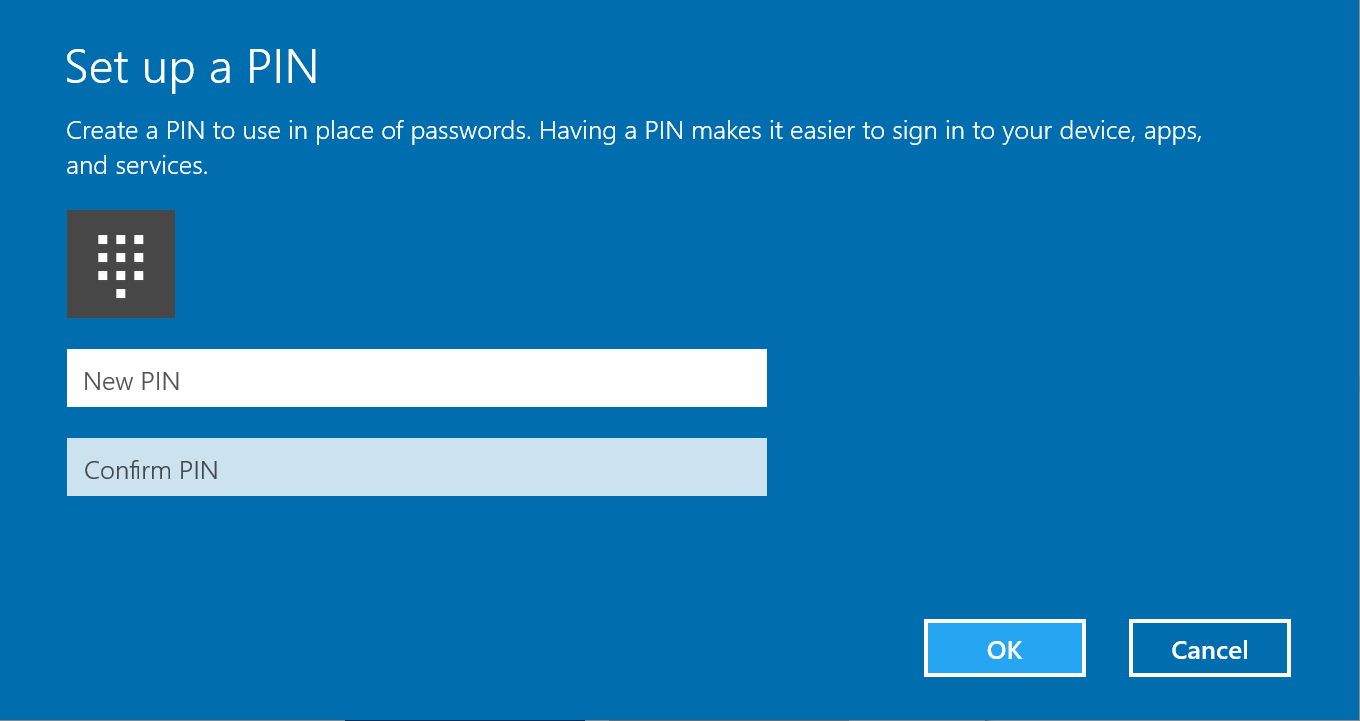 enter your PIN and click OK when done.
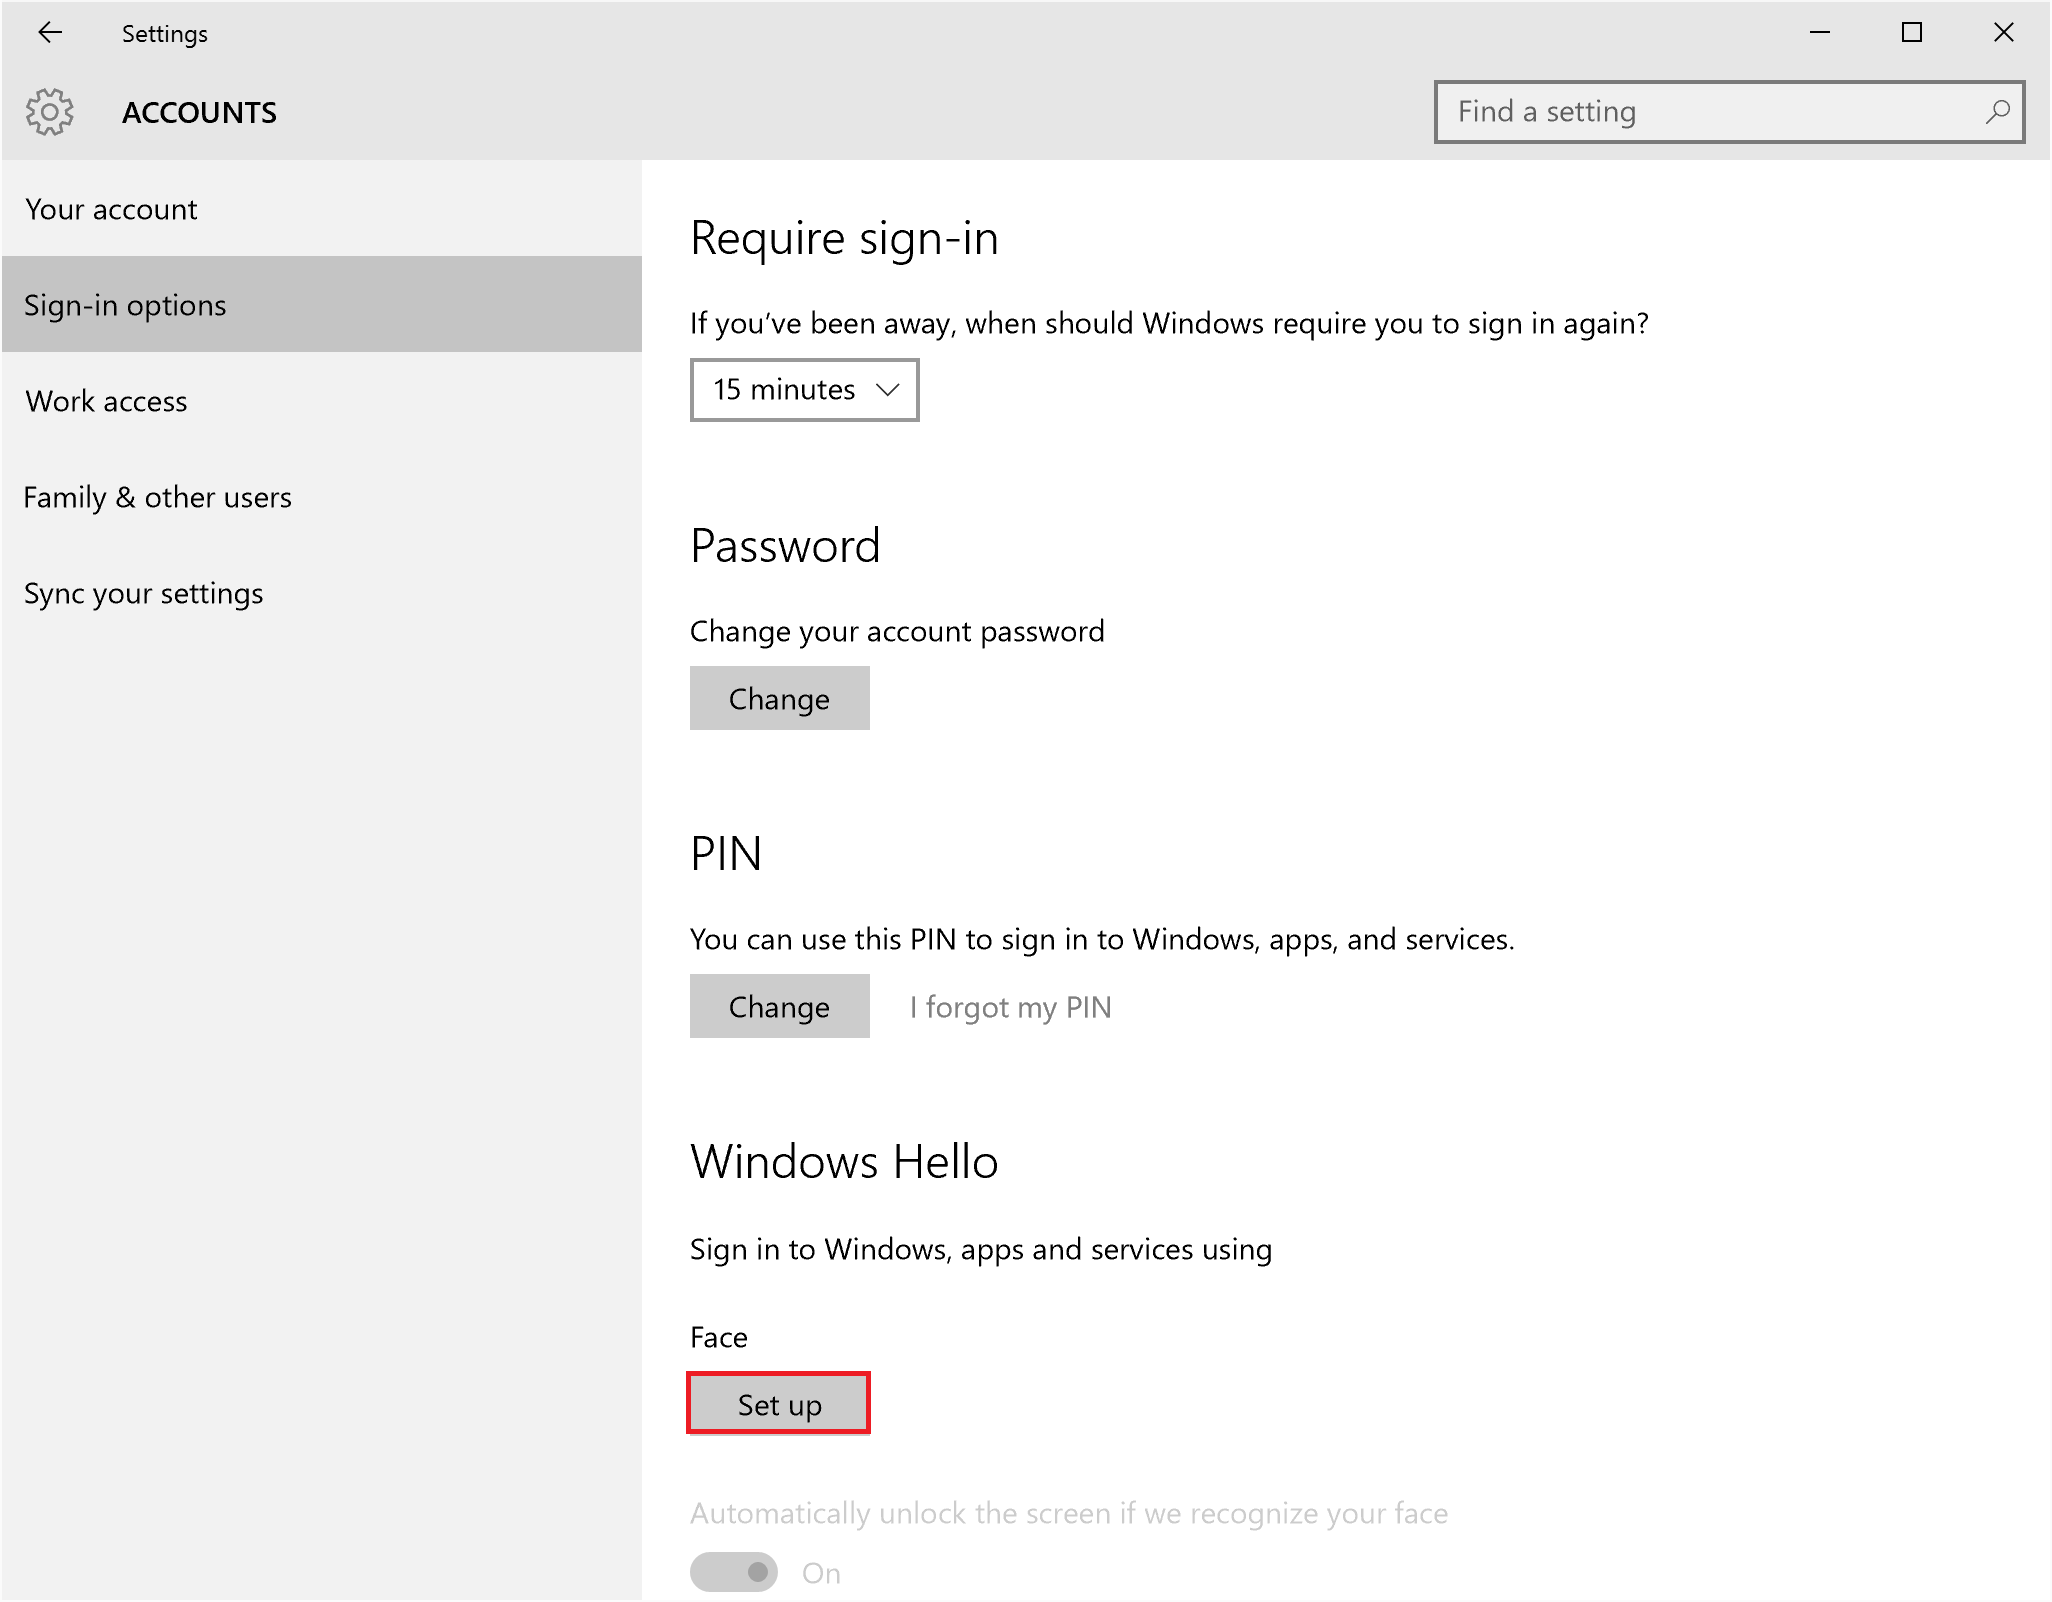
Step 2. Click Set up in Windows Hello
Click on Set up under Windows Hello (highlighted in red)
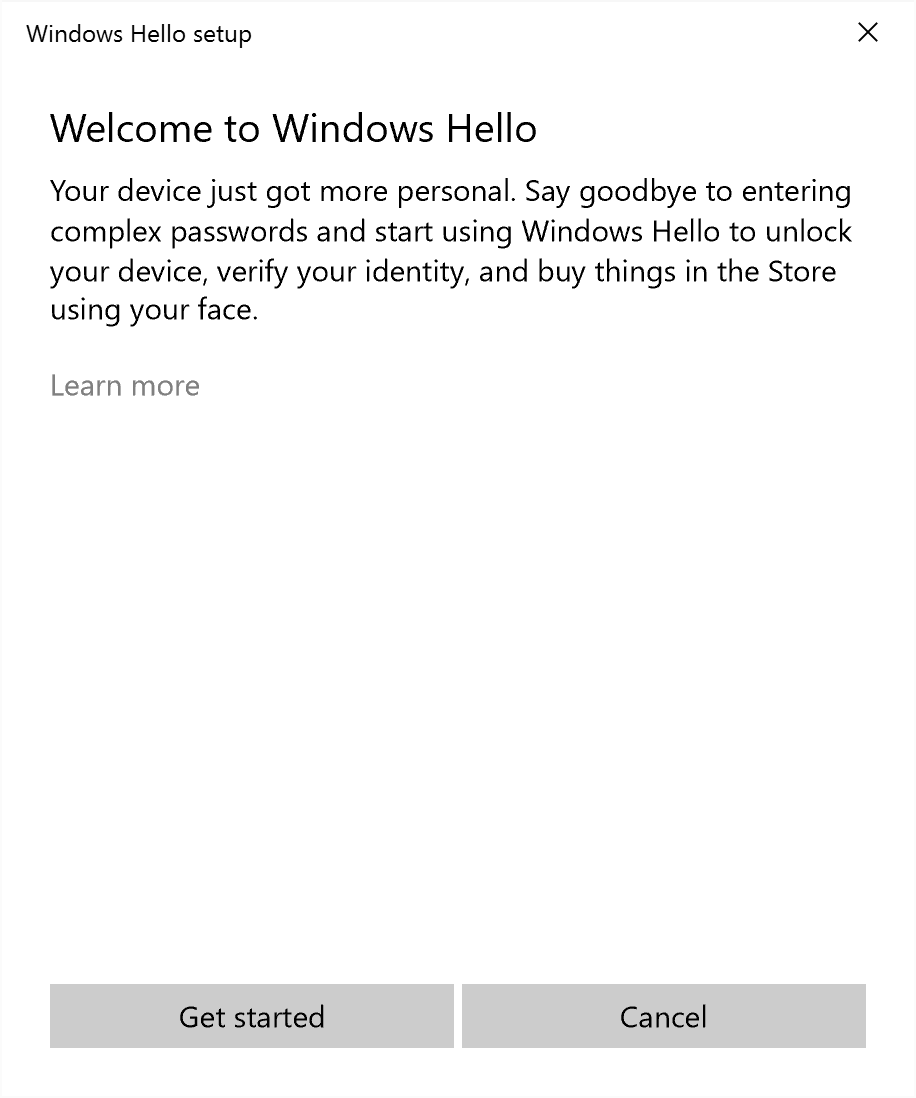
 In the Welcome to Windows Hello popup, click on Get Started
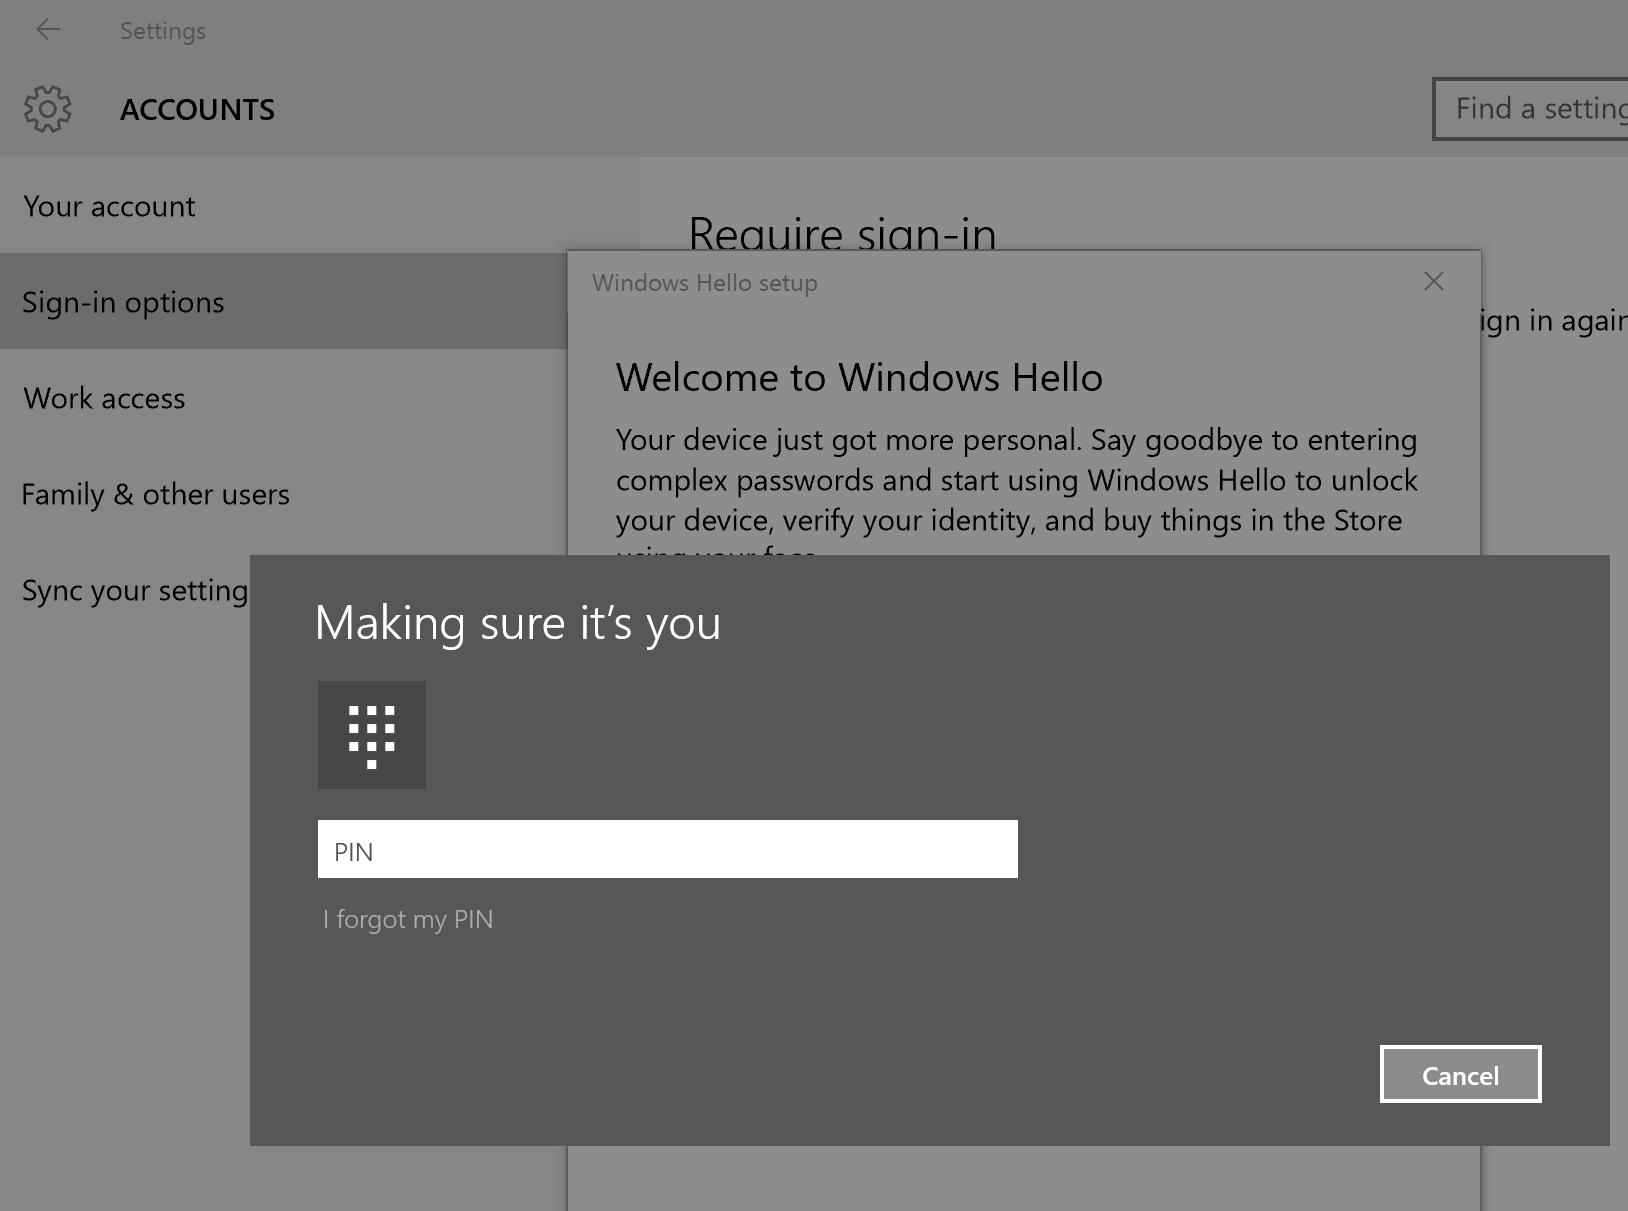
 You will be prompted for your PIN, enter it to continue.
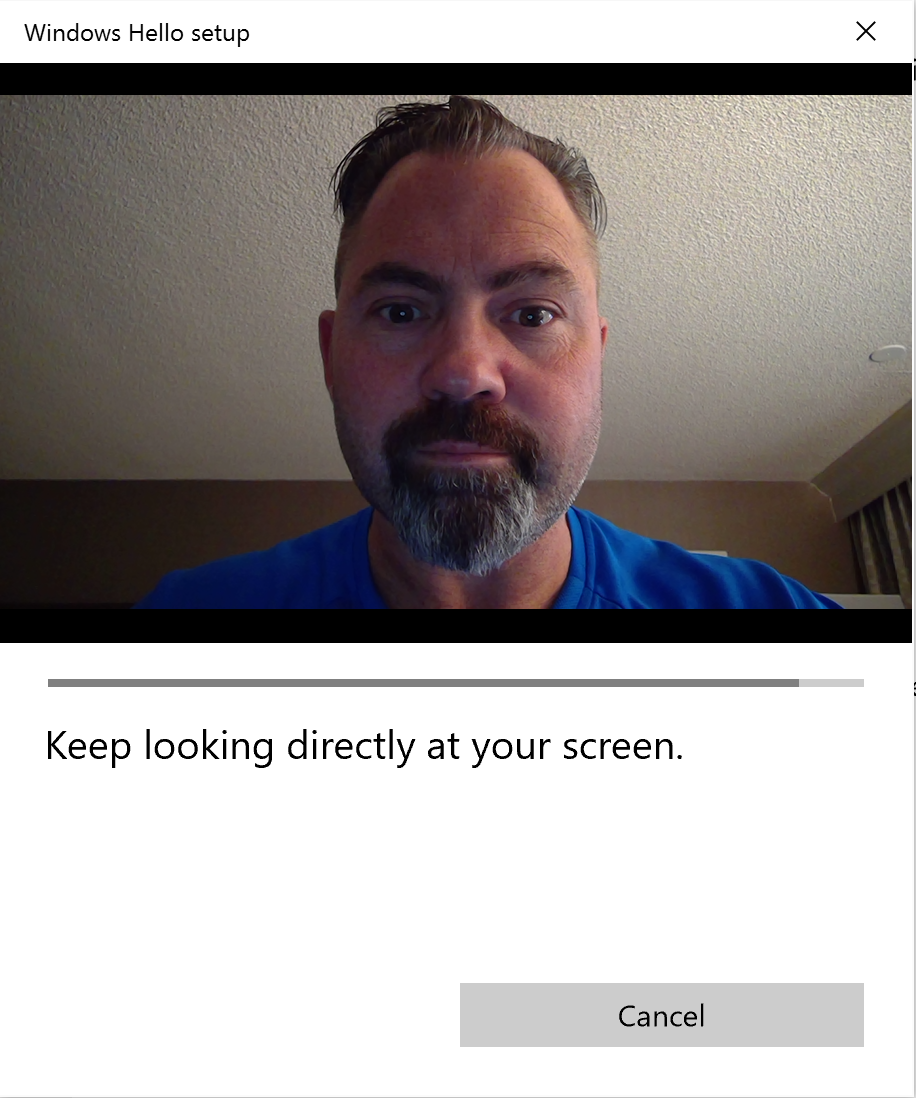
 after positioning your face in the center of the box, keep looking directly at the screen
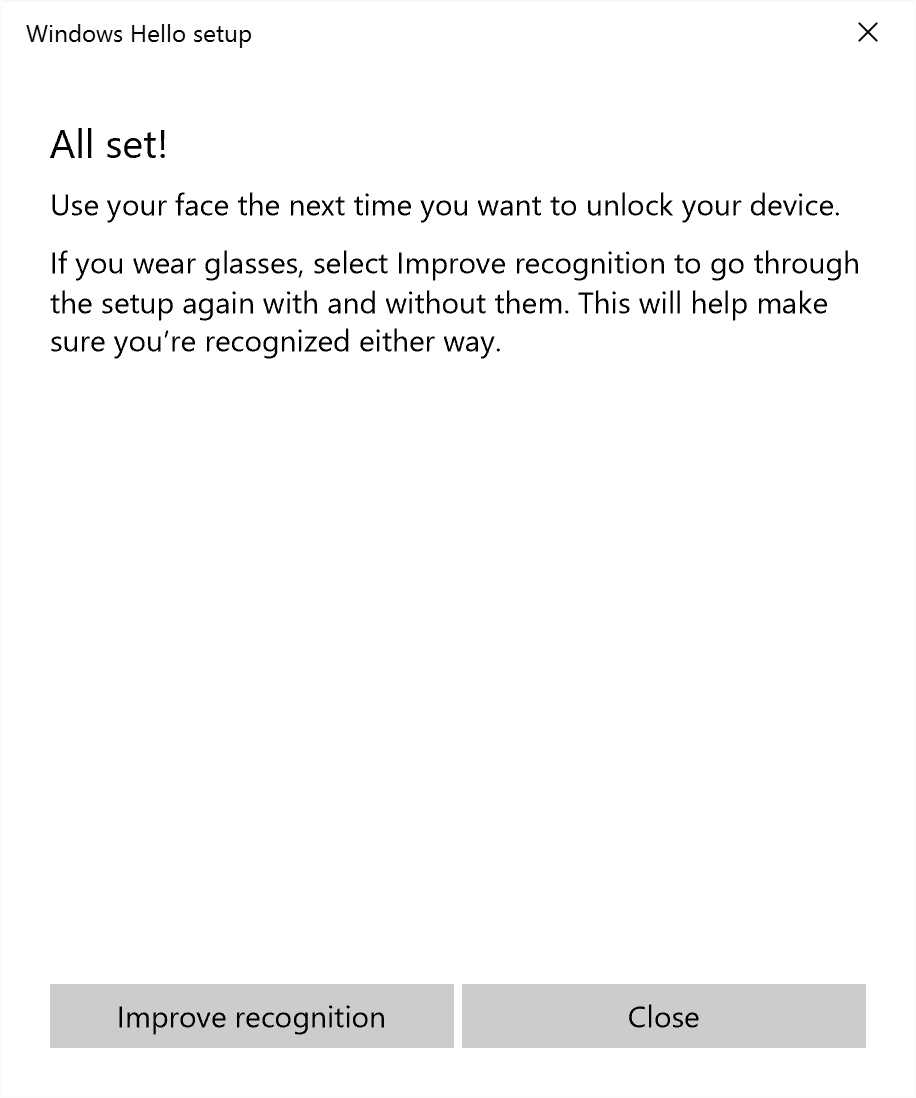
 If you wear glasses click on Improve recognition to scan your face again (this time with your glasses on)
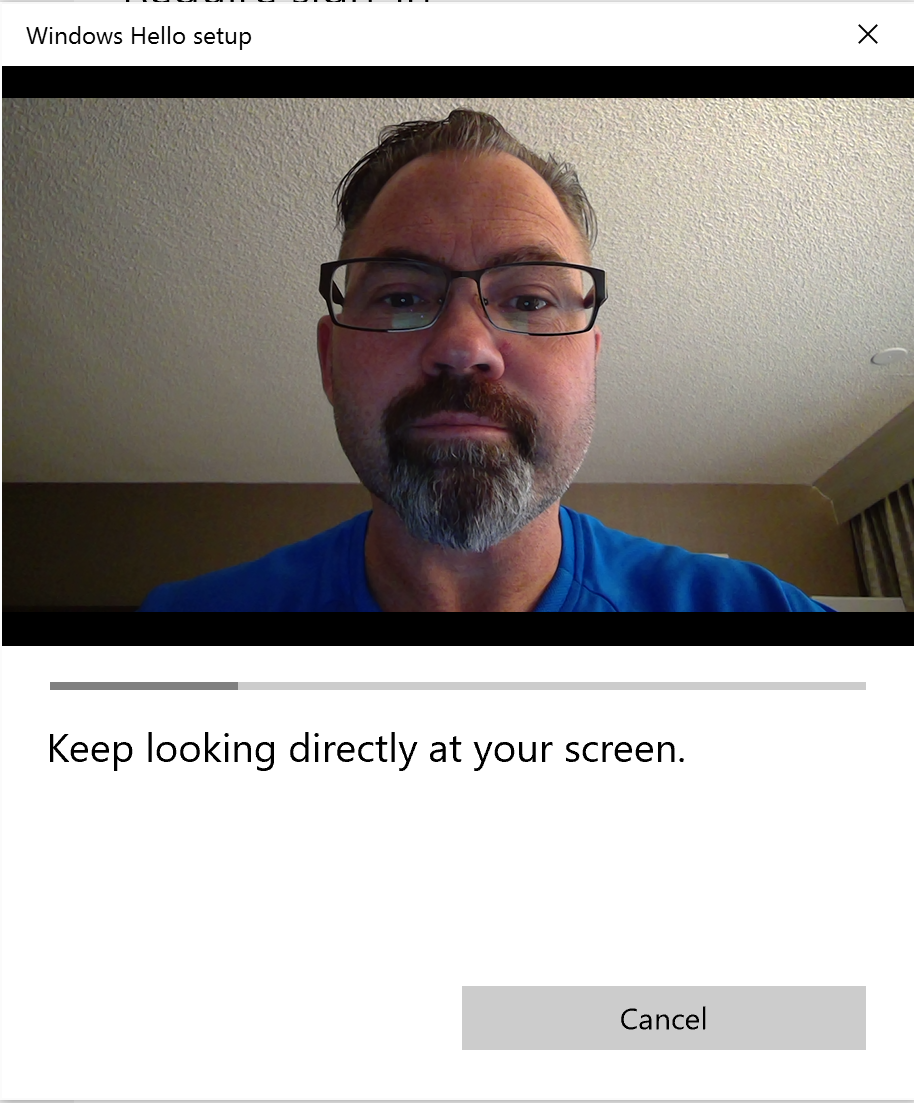
 and it will scan again…
 Step 3. Enable the Do Not Display Lock Screen GPO
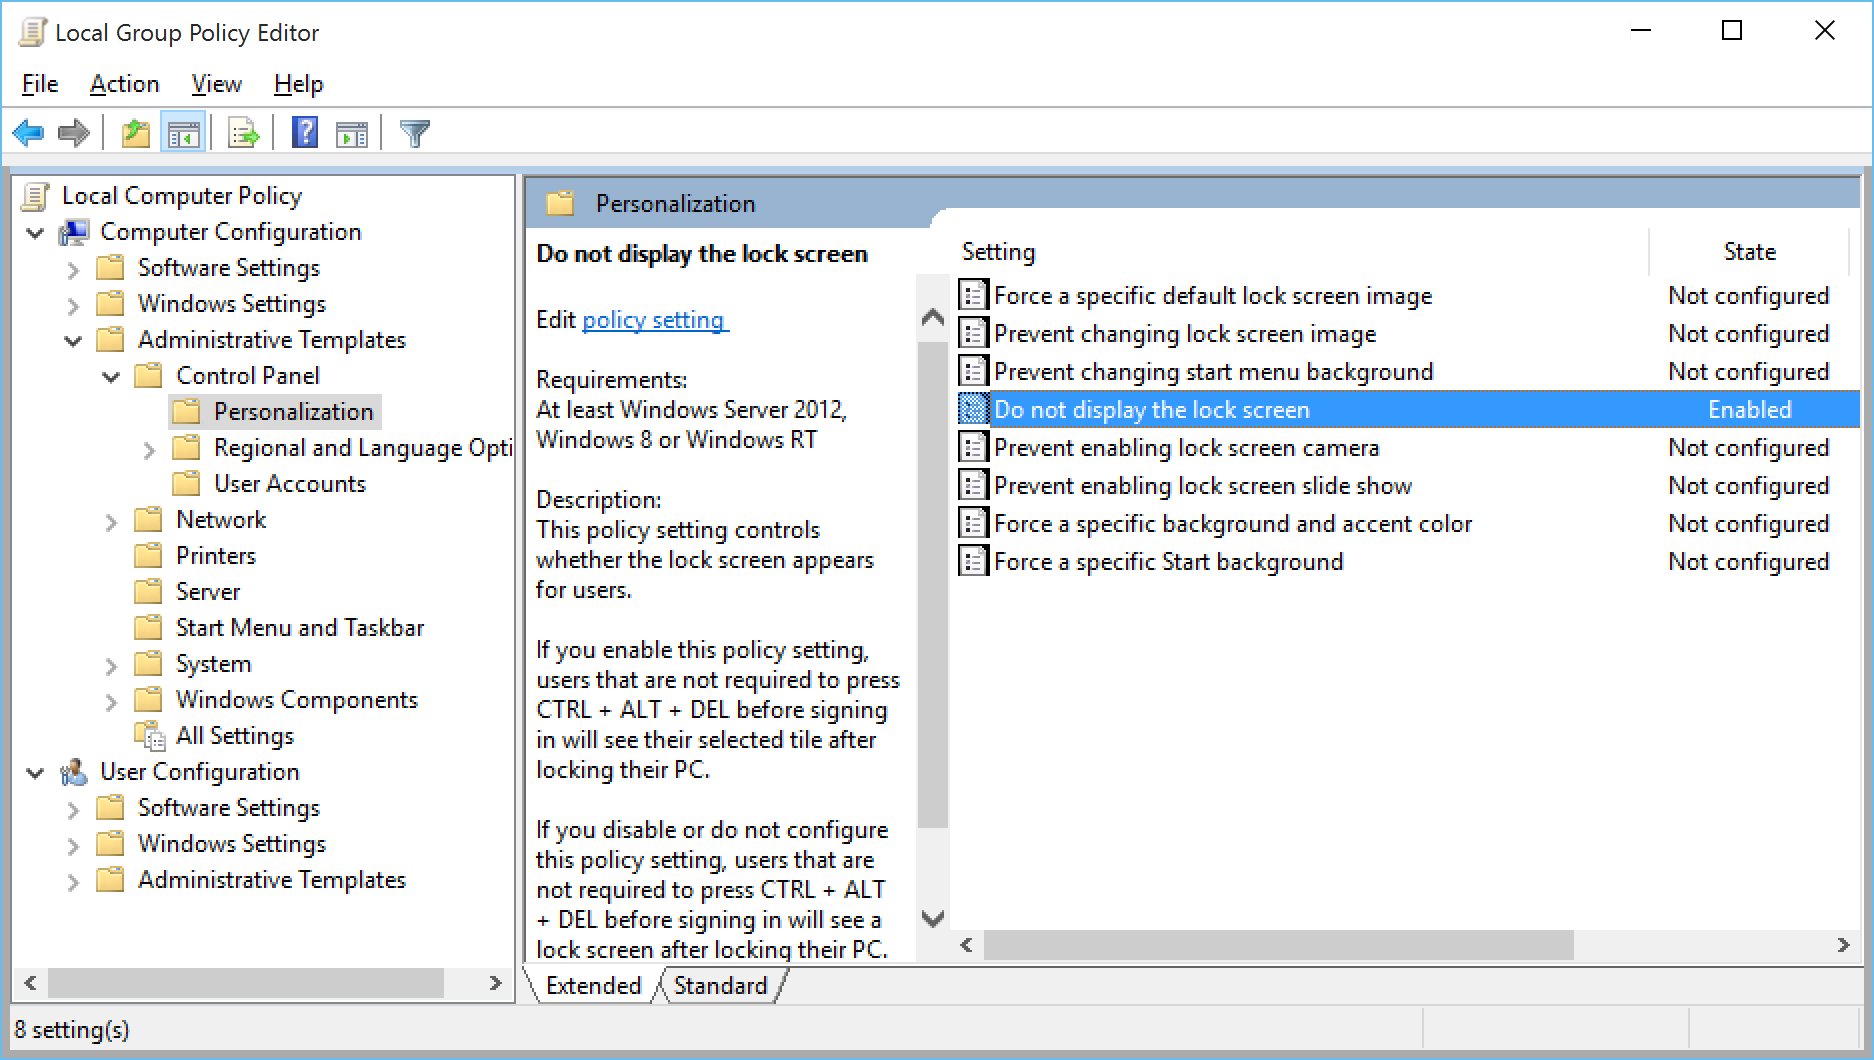
This is an optional step, but recommended if you don’t want the lock screen to bug you about disabling the lock screen when Windows Hello is enabled.
To disable the lock screen open the Local Group Policy Editor. In the left pane of Local Group Policy Editor, navigate to Computer Configuration\Administrative Templates\Control Panel\Personalization and set Do Not Display the lock screen to Enabled.
 Step 4. Try it out !
Here’s what should happen when you’ve done the above correctly
