
Introduction
More and more touch enabled Windows 8 hardware is becoming available, which is great news for us but it also poses some technical challenges. I recently had to image some Lenovo ThinkPad 10’s with Windows 8.1 using UEFI network boot via System Center 2012 R2 Configuration Manager.
Problem
Imaging the Lenovo ThinkPad 10 using USB Bootable media posed no issue even though the same boot wim was used for UEFI Network boot. When booting this device using UEFI network boot all was fine until just after the nbp (network boot protocol) part of the process started, this was even before the PXE password was presented. The problem was that the video resolution was set to something like 800×600 which means displaying any sort of Frontend HTA or UDI wizard to end users will look terrible.
A colleague of mine (thanks Magnus) started testing with unattend.xml, wpeinit and drvload and got some good results so I set about putting a working solution together in a task sequence.
Solution
We will use drvload to load the video driver while still in WinPE as one of the first steps in the task sequence, normally you do not need to do this however in this case it’s required as the video resolution is unusable.
Step 1. Download and extract the driver
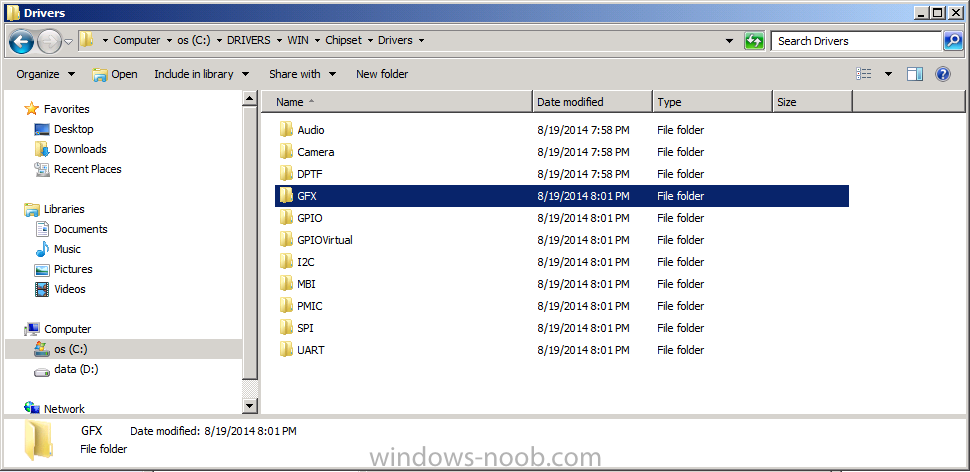
Download the Chipset driver for the Lenovo ThinkPad 10 from Lenovo’s website here. Once done, extract it somewhere by double clicking on the EXE file. By default it wants to extract the drivers to C:\Drivers. Browse to the path of the extracted drivers and locate the GFX folder as shown below
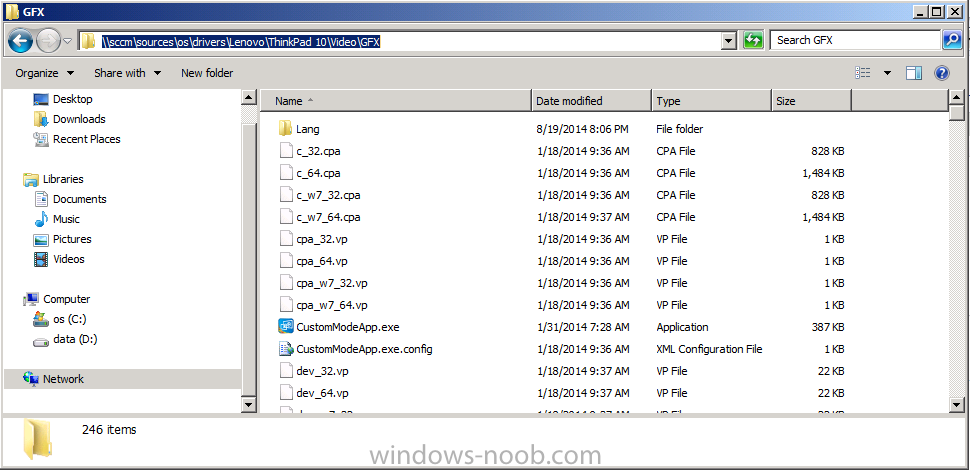
Copy the GFX folder and all files and folders within in to your Configuration Manager package sources share, for example \\sccm\sources\os\drivers\Lenovo\ThinkPad10\Video\GFX as shown below
Step 2. Create a Package containing the driver
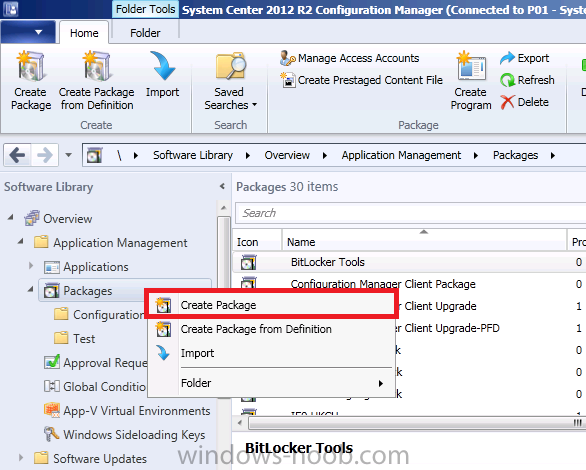
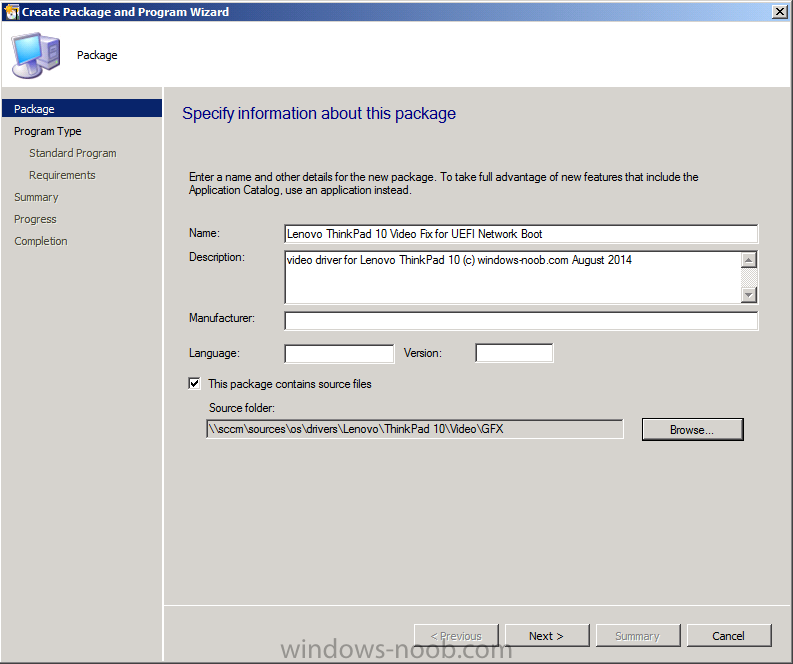
In the Configuration Manager console, create a new Package in Software Library,
Fill in the Package details and browse to the GFX folder copied above as shown below
with no Program as shown below
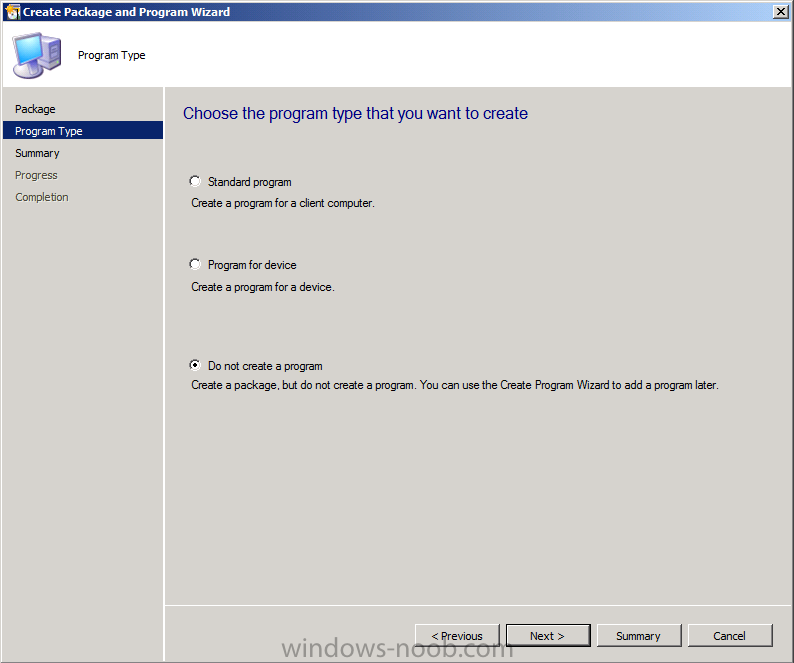
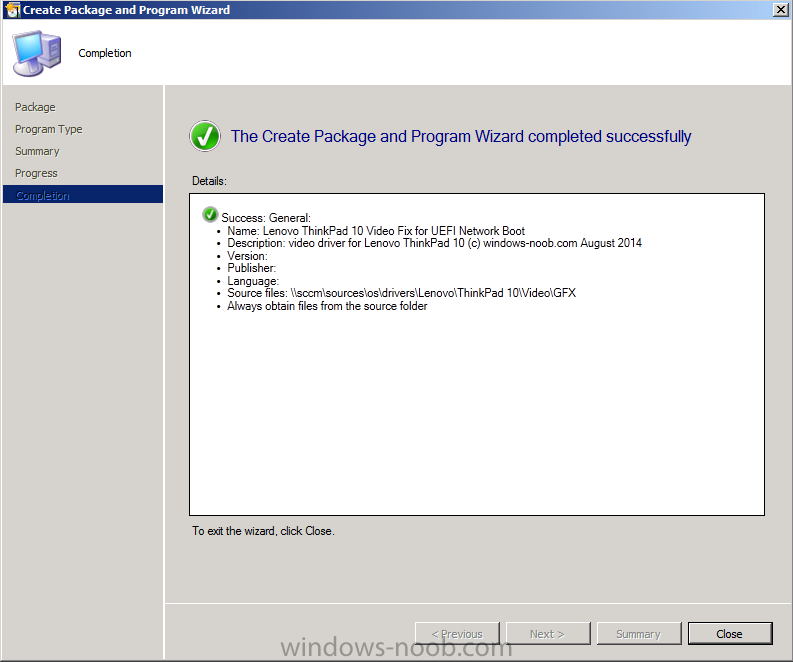
continue through that wizard until completion
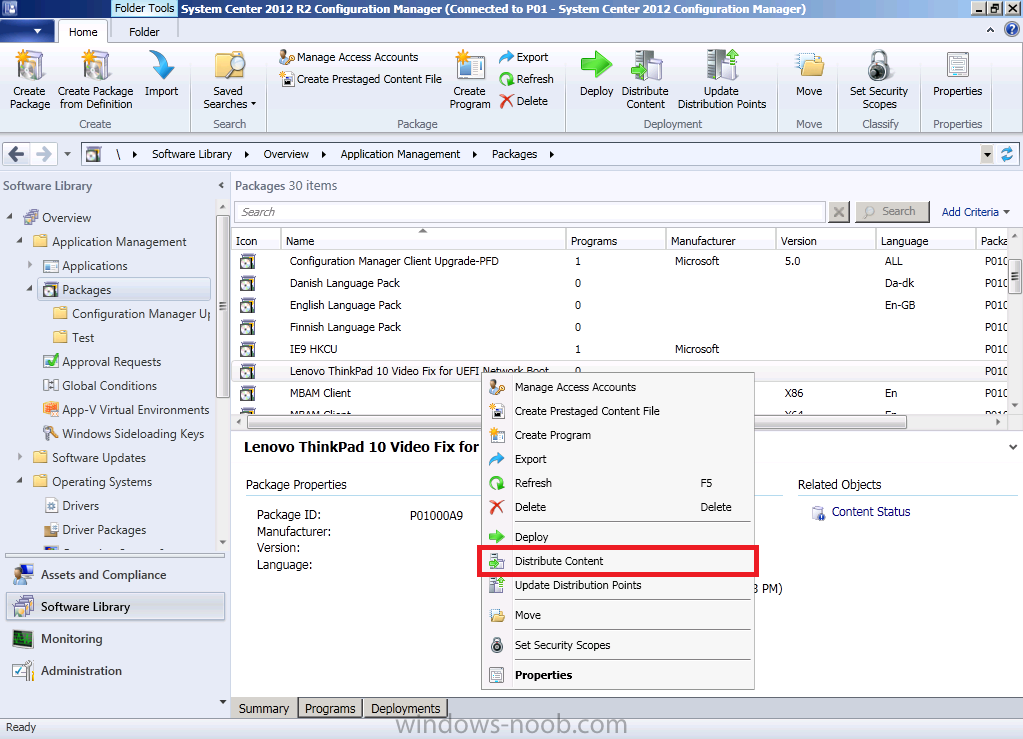
Step 3. Distribute the package to your distribution points
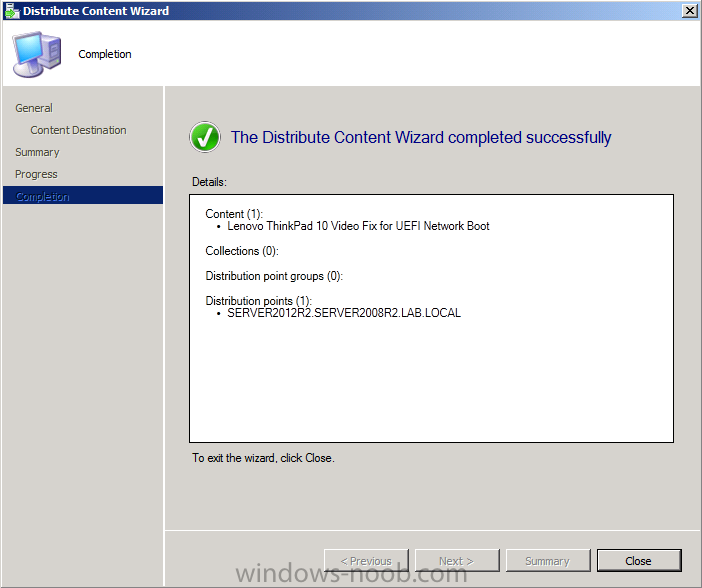
Right click on the package and choose Distribute Content as shown below
after selecting at least one distribution point continue through that wizard until completion
Step 4. Edit your task sequence and create a new Group
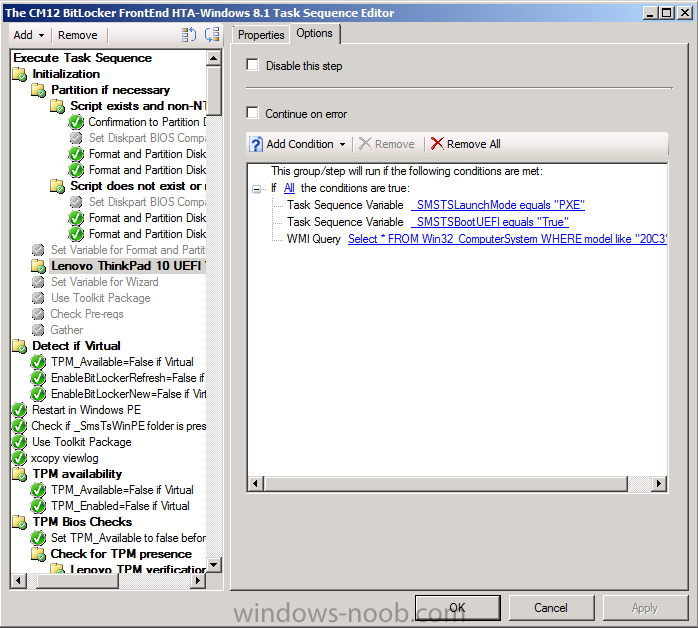
Open up your deployment task sequence (I used the CM12 BitLocker Frontend HTA available here) and create a new group called Lenovo ThinkPad 10 UEFI Video fix. Next, on the options tab create a new If statement, where ALL the conditions are true. The conditions to check for are:
- check if it’s a PXE boot
- check if it’s in UEFI mode
- check for the Lenovo MTM
You can do this by adding the PXE boot check using the _SMSTSLaunchMode variable as shown below

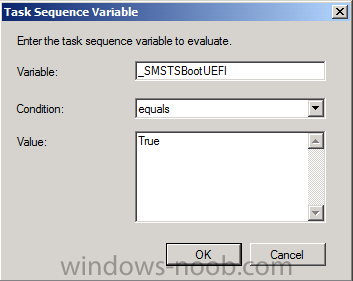
and add an UEFI bios check by using the _SMSTSBootUEFI variable as shown below
add a new wmi query as the one shown below
Select* FROM Win32_ComputerSystem WHERE model like "20C3%"
so that the finished options tab look exactly like below
Step 5. Add a Run Command Line to xcopy the video driver
Next within the new group, create a Run Command Line step, make sure that the step occurs somewhere at the start of the task sequence before any HTA, Frontend or UDI wizard is displayed such as in the example below. This step will work fine whether or not you have an MDT Integrated task sequence as it uses the _SMSTSMDataPath variable.
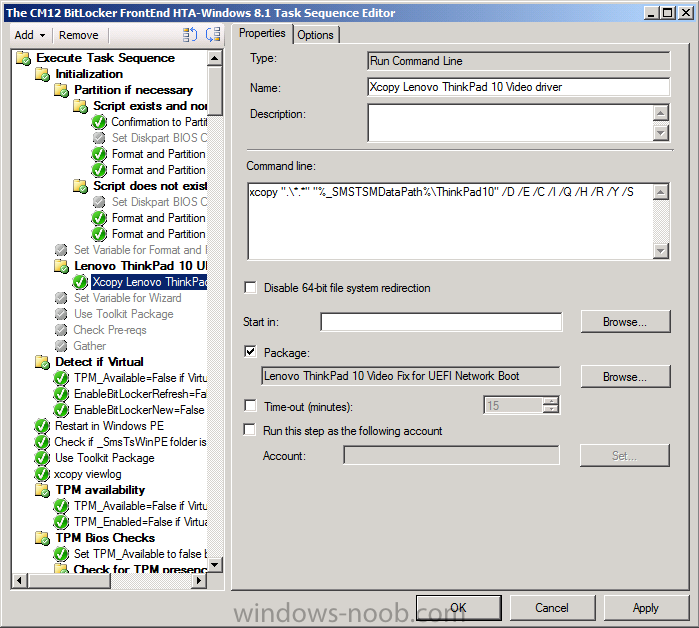
the command line of the xcopy is
xcopy ".\*.*""%_SMSTSMDataPath%\ThinkPad10"/D /E /C /I /Q /H /R /Y /S
make sure that you point to the package created in Step 2 above.
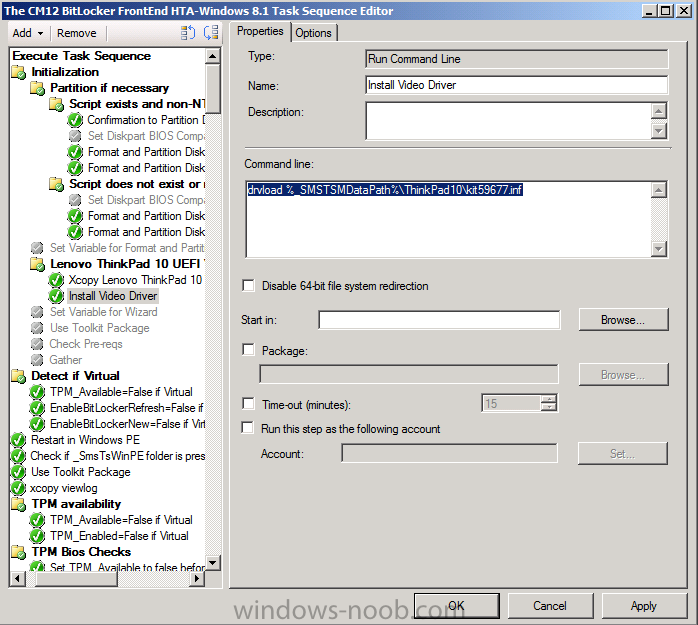
Step 6. Add a Run Command Line to xcopy the video driver
Next, create another new Run Command Line, and use the following command line
drvload %_SMSTSMDataPath%\ThinkPad10\kit59677.inf
so that it looks like below
Step 7. Otpional – Set the resolution with Unattend.xml
Create a text file called unattend.xml and copy it to your Video driver package created in step 2 above, redistributed that package to your distribution points, the contents of the file should be as below
<?xml version="1.0" encoding="utf-8"?><unattendxmlns="urn:schemas-microsoft-com:unattend">
    <settingspass="windowsPE">
        <componentname="Microsoft-Windows-Setup"processorArchitecture="amd64"publicKeyToken="31bf3856ad364e35"language="neutral"versionScope="nonSxS"xmlns:wcm="http://schemas.microsoft.com/WMIConfig/2002/State">
            <Display>
                <ColorDepth>32</ColorDepth>
                <HorizontalResolution>1024</HorizontalResolution>
                <RefreshRate>60</RefreshRate>
                <VerticalResolution>768</VerticalResolution>
            </Display>
        </component>
    </settings></unattend>
Create another run command line step to set the resolution using
wpeinit /unattend:%_SMSTSMDataPath%\ThinkPad10\unattend.xml
as shown in the screenshot below
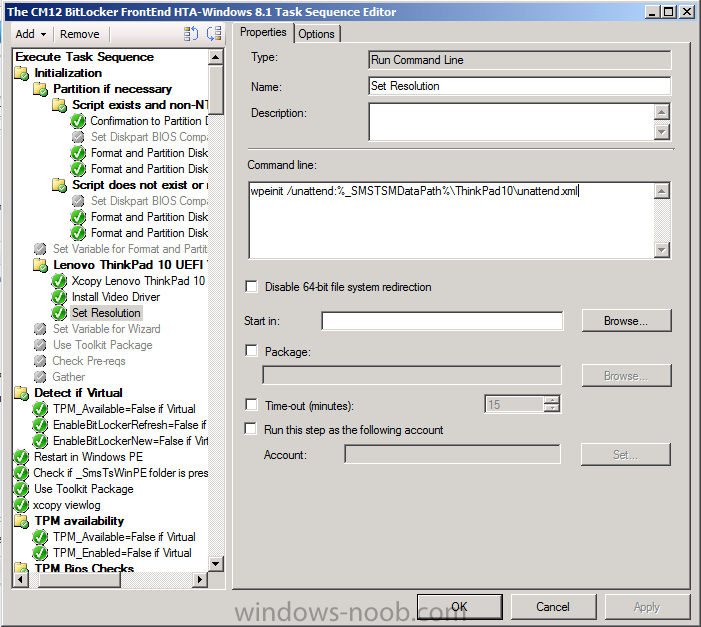
Note that the unattend.xml file will not work unless the video driver above is loaded first.
Step 8. PXE boot and verify
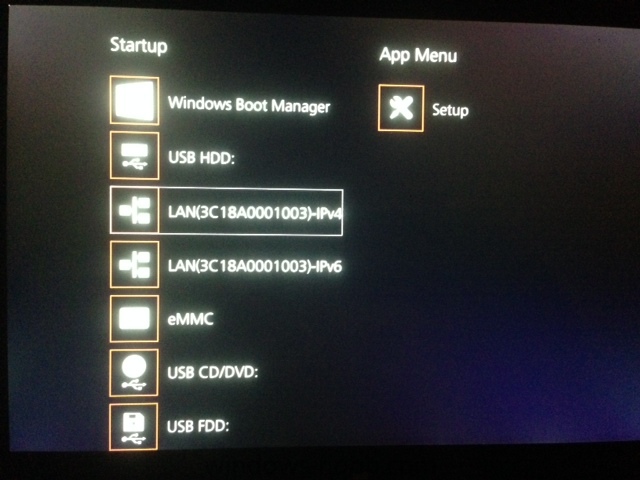
Make sure the unit is shutdown first. Then initiate a UEFI network boot (PXE boot) by holding the volume down key (right side) and Power button (top side). I used a USB 3 ethernet dongle attached to a USB hub and a USB keyboard.
Select the LAN connection using your external keyboard or use the up/down volume control
then the UEFI network boot process starts, press enter or it won’t boot
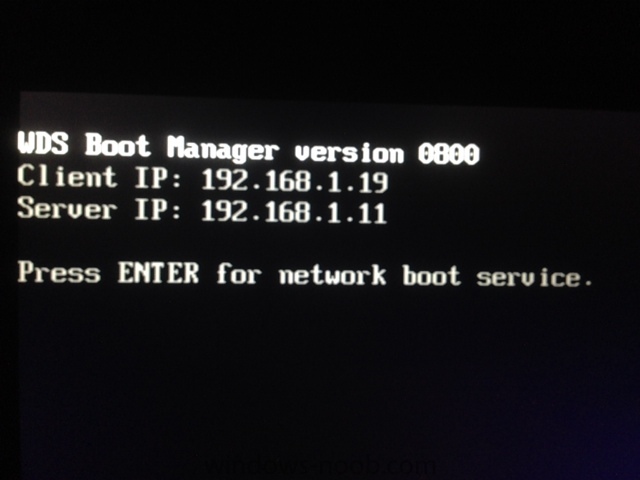
(more screenshots are coming)
Job done !
cheers
niall.
Related Reading
Task Sequence Built-in Variables in Configuration Manager – http://technet.micro…y/hh273375.aspx
Drivers for Lenovo ThinkPad 10 – http://support.lenov…ies/thinkpad-10
