In this post you will see how to upgrade System Center 2012 Configuration Manager (RTM release, build 7711) to the recently released Service Pack 1 Beta (Build 7782).
[Post Published 20/6/2012. Updated 11/9/2012 with SP1 beta info]
Update 11/2/2013: I’ve produced a new guide (post SP1 release) for Upgrading System Center 2012 Configuration Manager to SP1 here.
Recommended reading: Planning to Upgrade System Center 2012 Configuration Manager
If you have a hierarchy with CAS on top then you must start at the top of the hierarchy and work your way down like so:
CAS—->Primaries—->Secondaries
In this post I have a standalone primary with a secondary site, so you will see how to upgrade a secondary site attached to this primary.
The CTP or Beta releases should NOT be installed in production as there will be no upgrade path from these versions to the final release of Service Pack 1, however it’s fine to upgrade your LAB environment as you’ll want to see how the entire upgrade process works prior to upgrading your production environment when Service Pack 1 eventually ships, and of course you’ll want to see what this new release provides.
Note: Some of the screenshots taken in this post were taken on a computer installed with Server 2012 Release Candidate.
Tip: If you only have one LAB and want to test upgrading your System Center 2012 Configuration Manager environment, then (assuming it’s virtual) take snapshots of your Virtual Machines prior to doing any of these actions, then once you’ve gone through the upgrade process, you can restore the snapshots to return your LAB to its original setup.
To underline what I’ve said above please review the following from Microsoft:
CTP1 cannot be upgraded to CTP2 and CTP2 will not be upgradable to Beta. This release is not intended for production deployments. It’s targeted at giving you an early preview of some of what’s coming in this SP1 release. We specifically focused on a key set of scenarios documented here for this release.
Step 1. Uninstall the WAIK.
The Windows AIK (Windows Automated Installation Kit) can co-exist with the Windows Assessment and Deployment Kit but it’s recommended to first uninstall the WAIK.
Step 2. Install WSUS hotfixes
The following are necessary to support Windows 8 and Windows Server 2012. Download and install these WSUS hotfixes, reboot when prompted.
http://support.microsoft.com/kb/2720211
http://support.microsoft.com/kb/2734608
Step 3. Download the Windows ADK
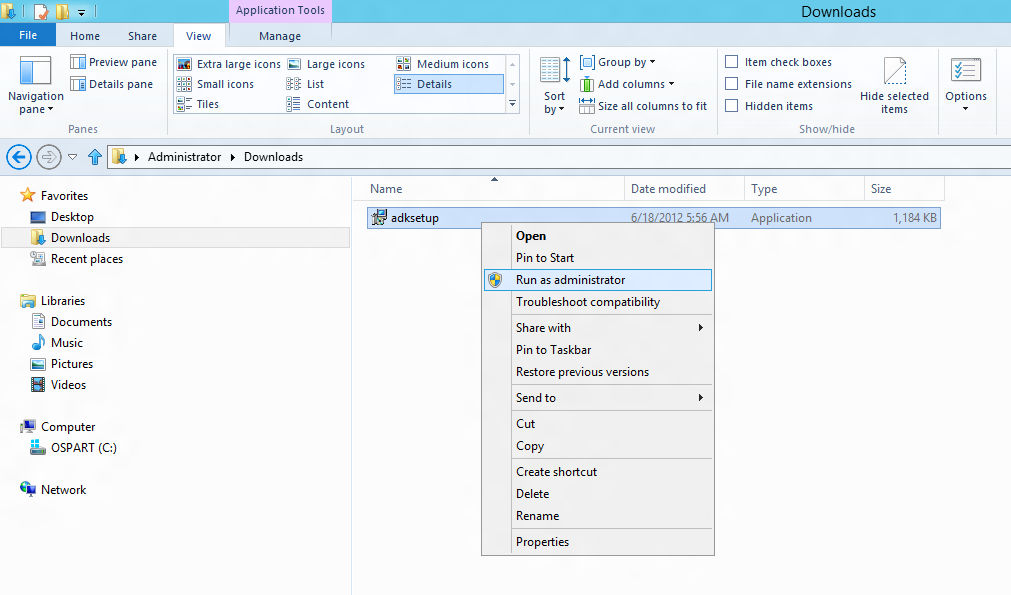
Service Pack 1 has some prerequisites namely the Windows® Assessment and Deployment Kit (Windows ADK). The Windows ADK is a collection of tools that you can use to customize, assess, and deploy Windows operating systems to new computers. You can download it from here (25/8/2012 – I’ve updated the link with the RTM version of the ADK). The initial download is small and you have to run that file in order to choose which features you want installed. Right click on adksetup and choose Run as Administrator. You can download this on another computer if you wish.
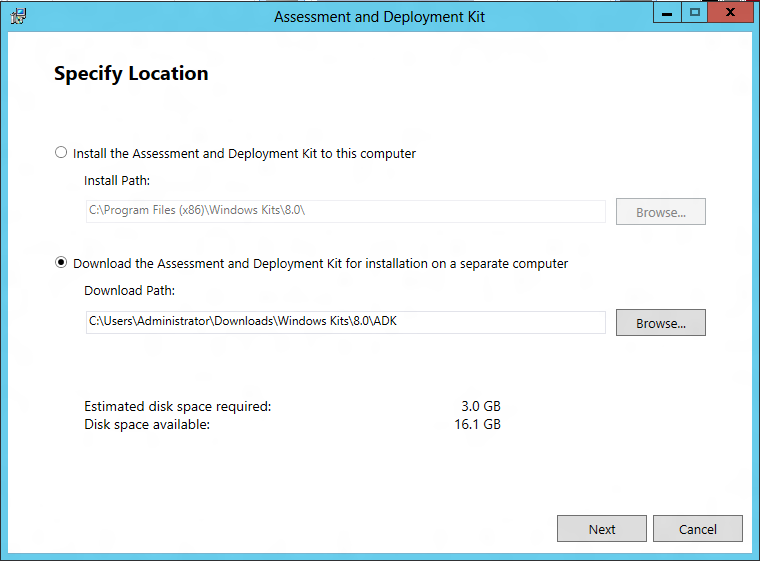
You’ll be presented with the Welcome to the Assessment and Deployment Kit wizard, click next and then you can specify a location of where to install it (or to just download the installer locally in order to copy it to your Configuration Manager server later). I chose to download it locally so that I could copy it to my Configuration Manager site servers later.
Note: If you are running ADKsetup from an already fully downloaded source it will not show you the download option and only show Install options.
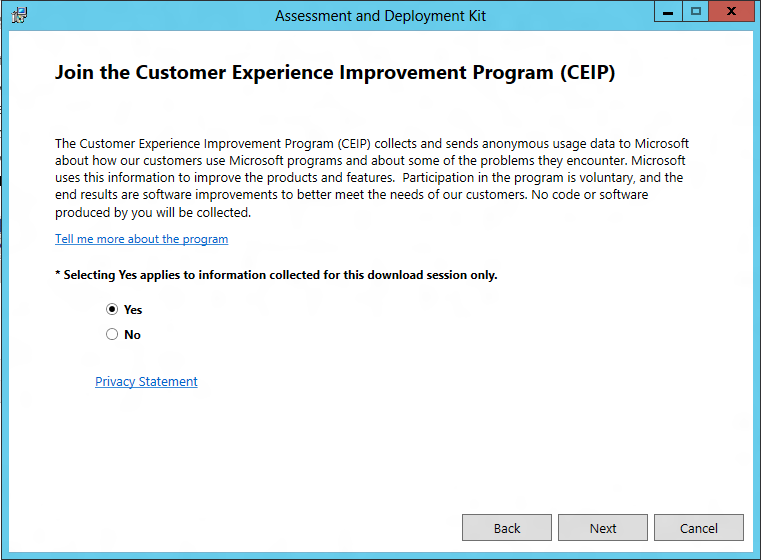
 You’ll be prompted to join the CEIP, make your choice and click next.
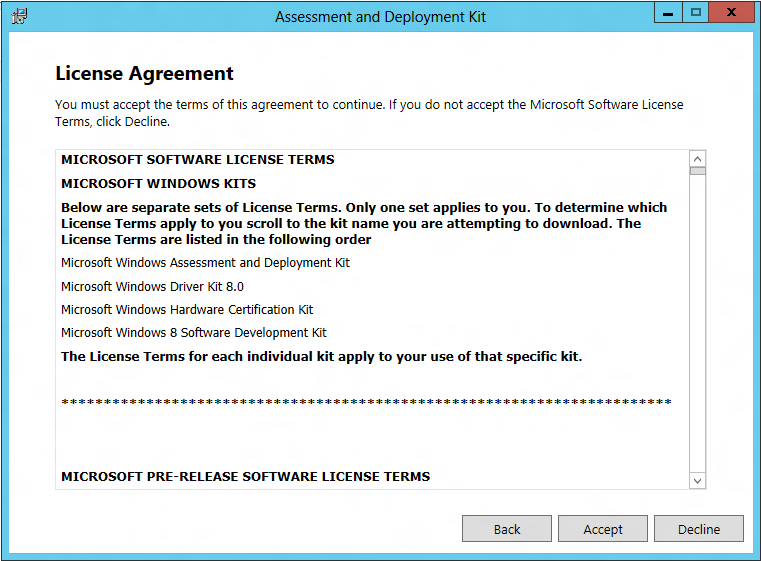
and Accept the license agreement to continue
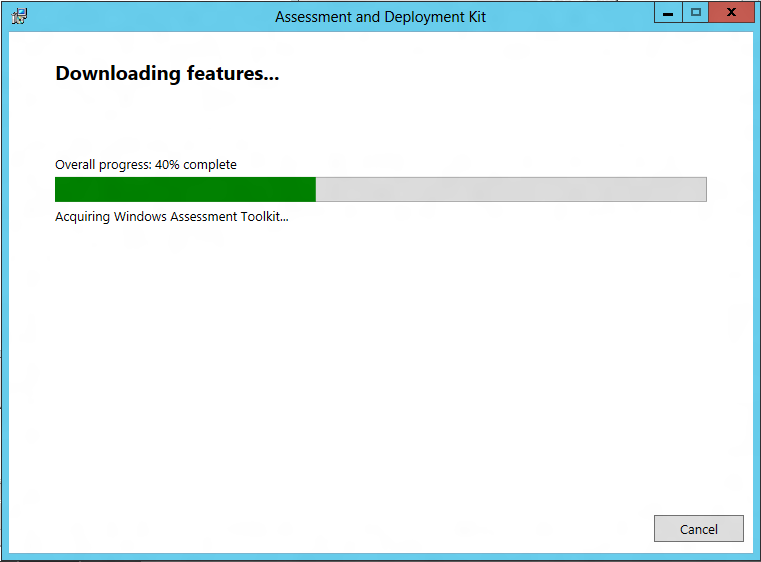
after which it starts downloading the files
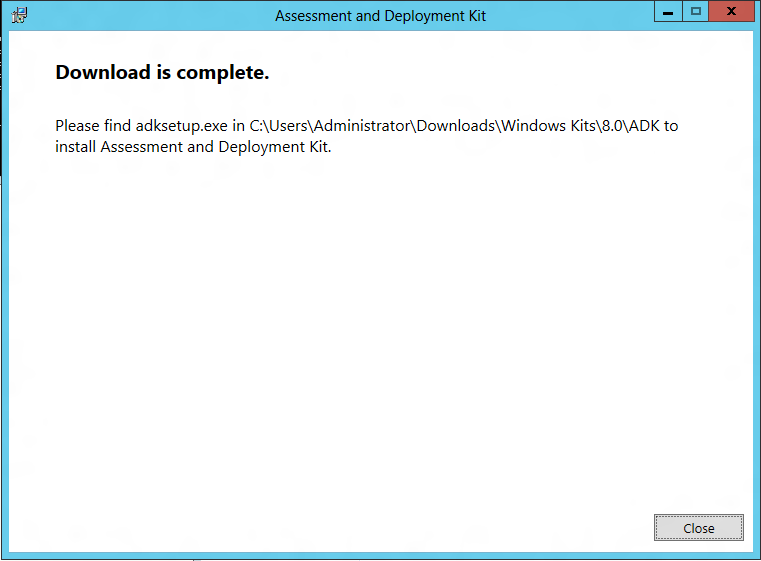
and after a while the download is complete
Step 4. Copy the downloaded ADK source to your Configuration Manager site servers.
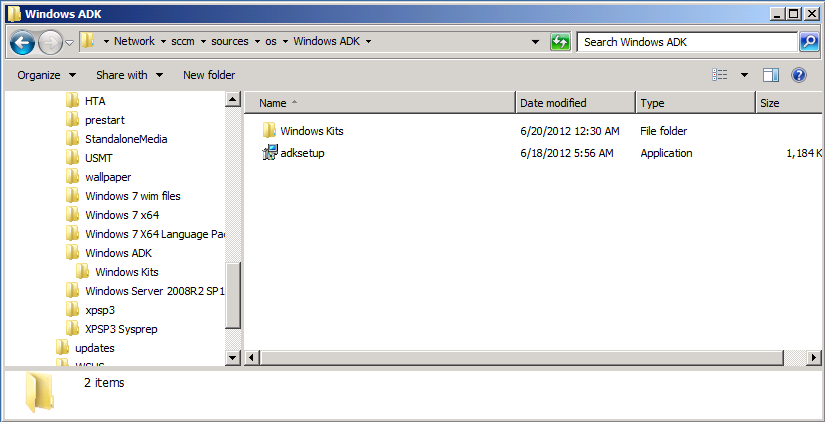
Once the above is done, copy the ADKsetup files (and folders) to your Configuration Manager server(s) to the following path \\SERVER\sources\os\Windows ADK.
Step 5. Install Windows ADK on your Primary server.
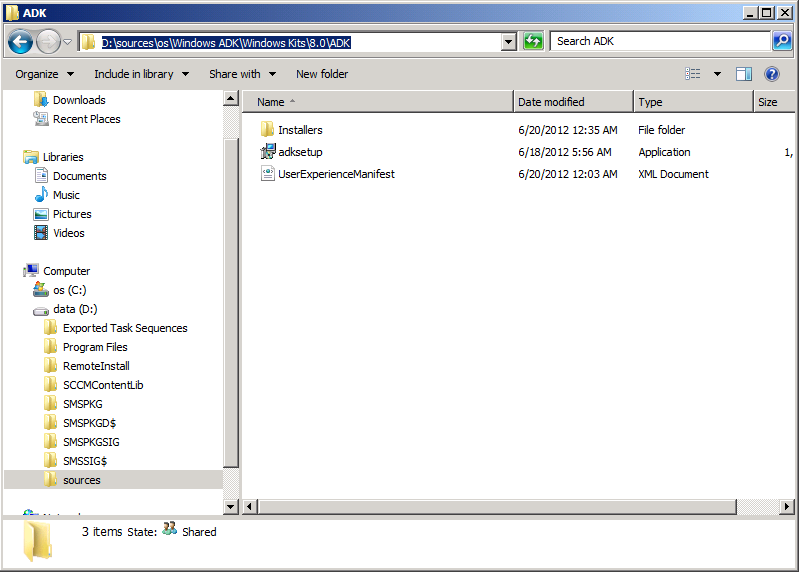
On your Primary server, browse to the local folder where you copied Windows ADK, and you’ll see it has created a bunch of sub-folders, browse to D:\sources\os\Windows ADK\Windows Kits\8.0\ADK. In this folder you’ll see the following files:-
Right-click on ADKsetup and choose Run as Administrator
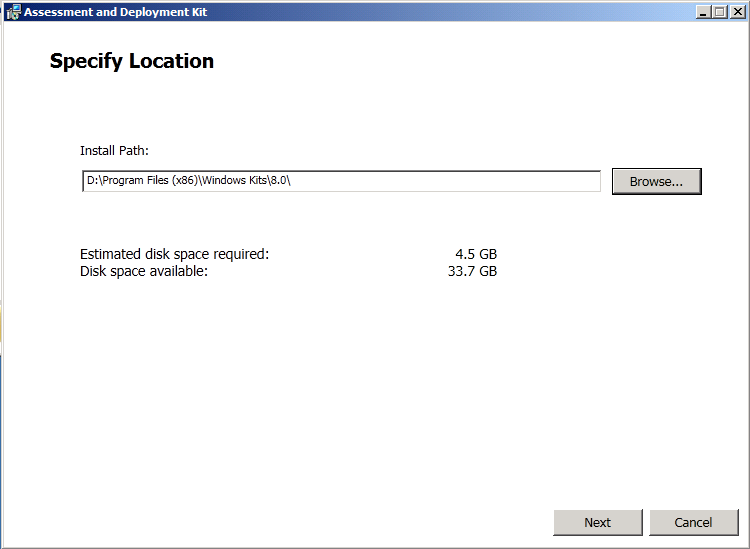
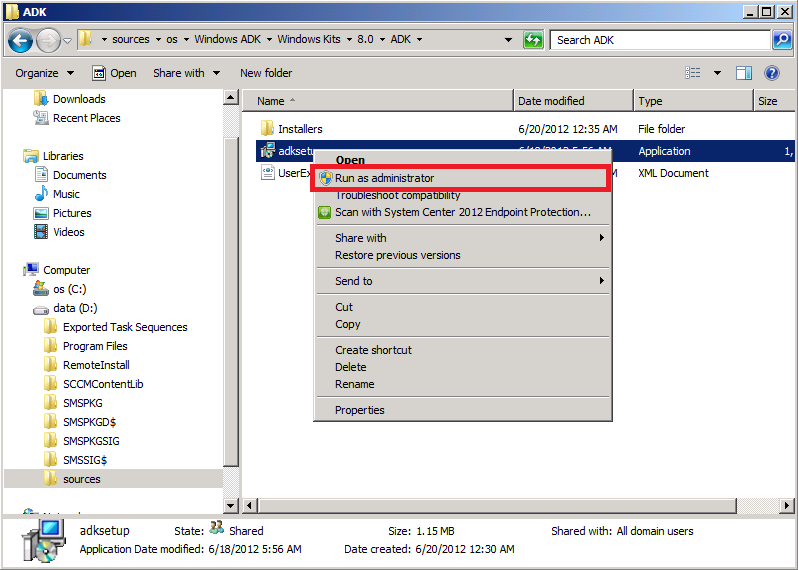 As we have already downloaded the ADK we are only given the option to Install, so select your install path location and click next.
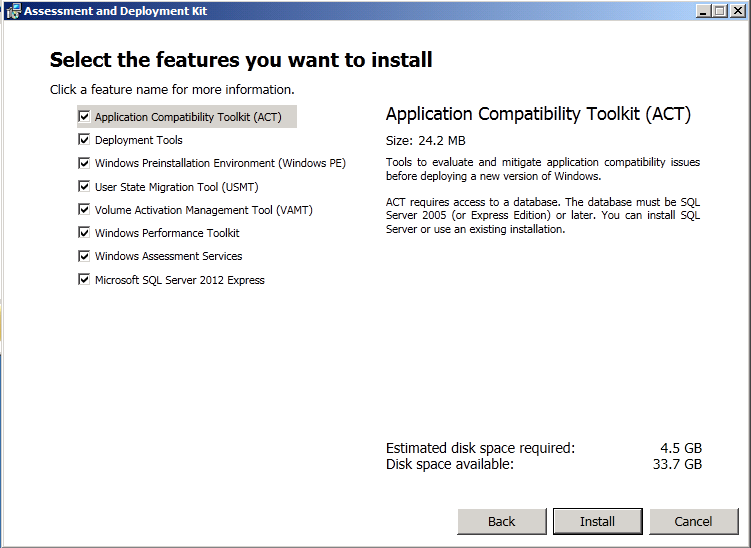
Click next at the CEIP and License Agreement screens until the Select the Features you want to Install screen appears.
If you have been doing any Operating System Deployment migrations involving data-migration (using User State Migration Tool 4.o) then you will need the following three components from the ADK installed on the Primary server:
- User State Migration Tool (USMT)
- Windows Deployment Tools
- Windows PreInstallation Environment (Windows PE)
Select at least those three options otherwise you’ll get prerequisite check failed errors when it comes to installing Configuration Manager 2012 SP1. The other options are optional. Click next to continue..
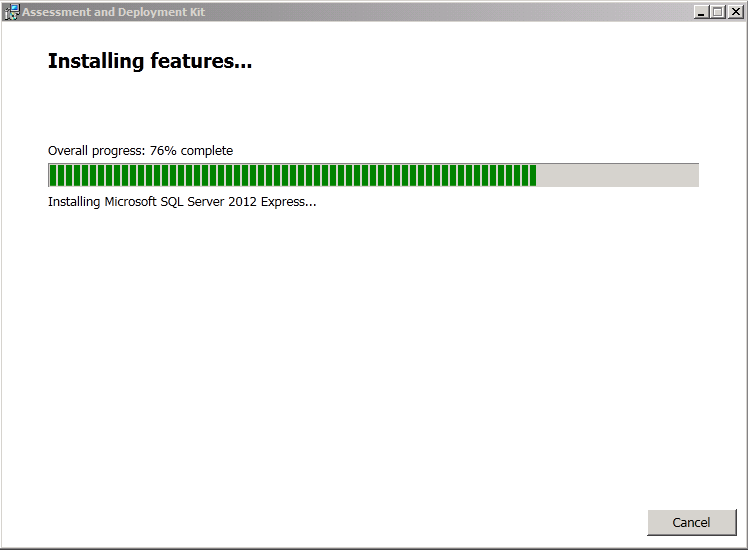
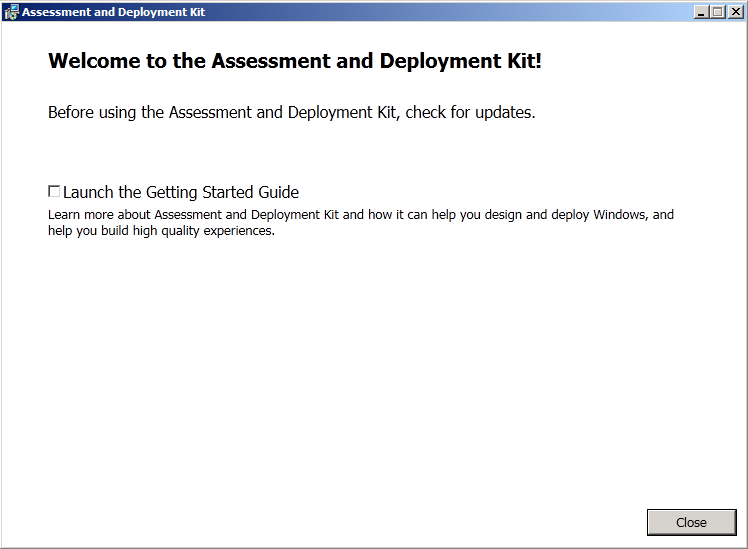
Continue through the wizard until completion, at this point you can close the wizard or Launch the Getting Started Guide.
Tip: If you want a script to automate the download and installation of the ADK please see this post from Alex Verboon. Here’s the actual command to silently install the bits required adksetup.exe /Features OptionId.DeploymentTools OptionId.WindowsPreinstallationEnvironment OptionId.UserStateMigrationTool /norestart /quiet /ceip off
Step 6. Download and Extract the System Center 2012 Configuration Manager Service Pack.
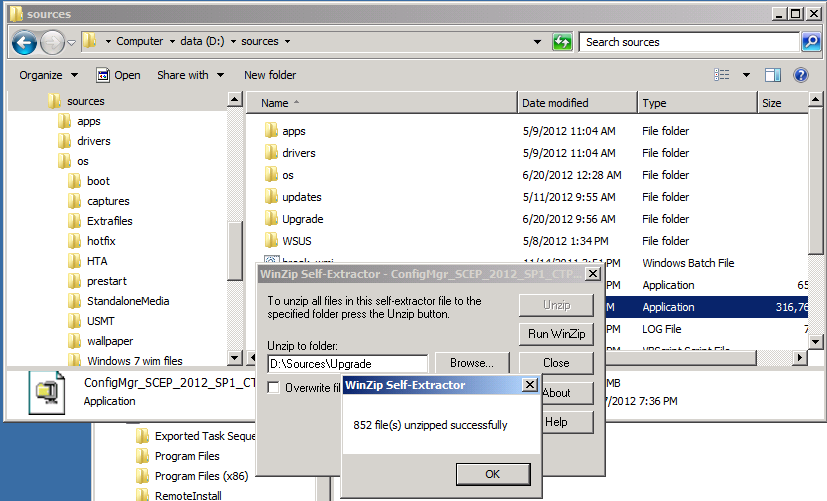
The current Service Pack release is CTP2, you can download the CTP2 release from here. The file you need is ConfigMgr_SCEP_2012_SP1_CTP_7743.exe. Once downloaded extract that file to your Configuration Manager server(s) to somewhere easy to remember like \\server\sources\upgrade.
Step 7. Start Upgrading Configuration Manager
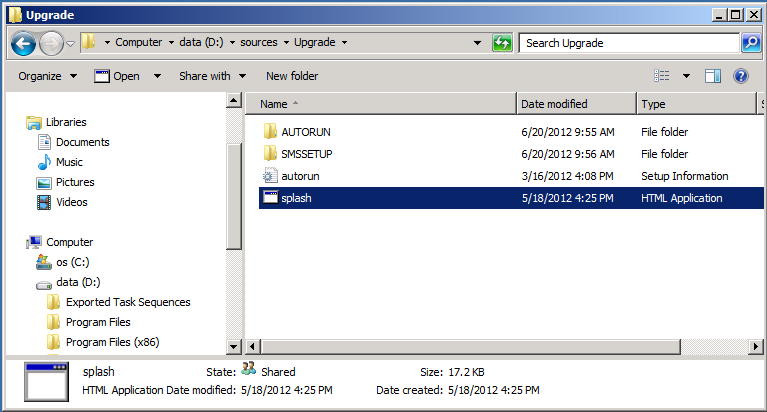
Logon to your Primary server as SMSAdmin (the user which installed Configuration Manager). Locate Splash.hta in the \sources\upgrade folder and double click on it.
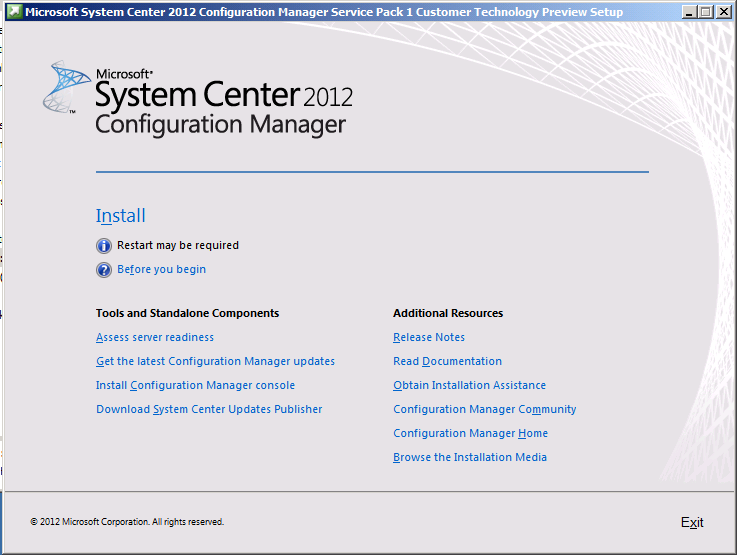
Click on Install to start the process
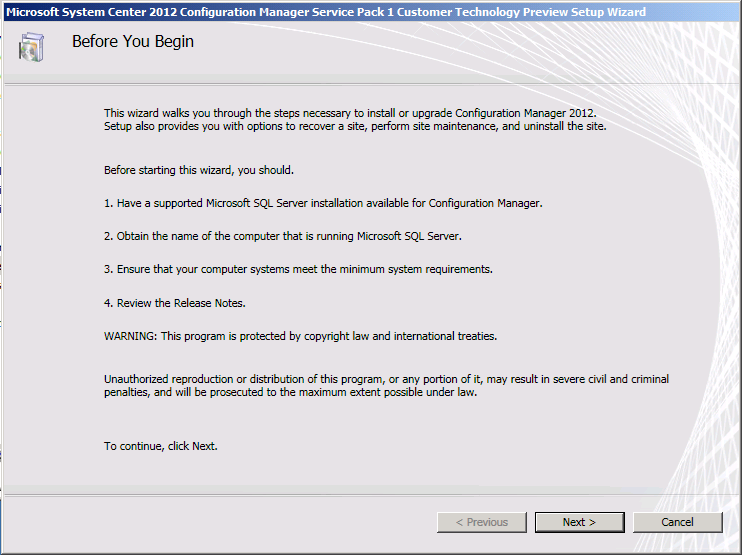
we see the Before you Begin screen..
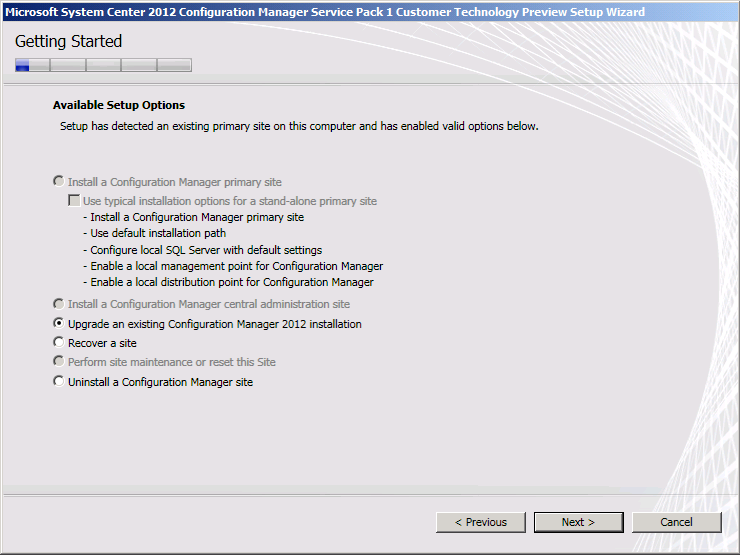
choose Upgrade an Existing Configuration Manager 2012 installation
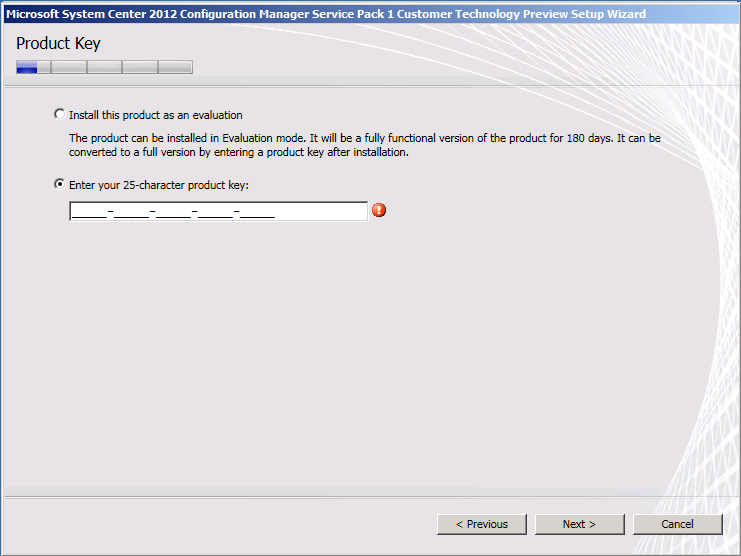
Enter your Product Key or choose the evaluation option if you don’t have a key
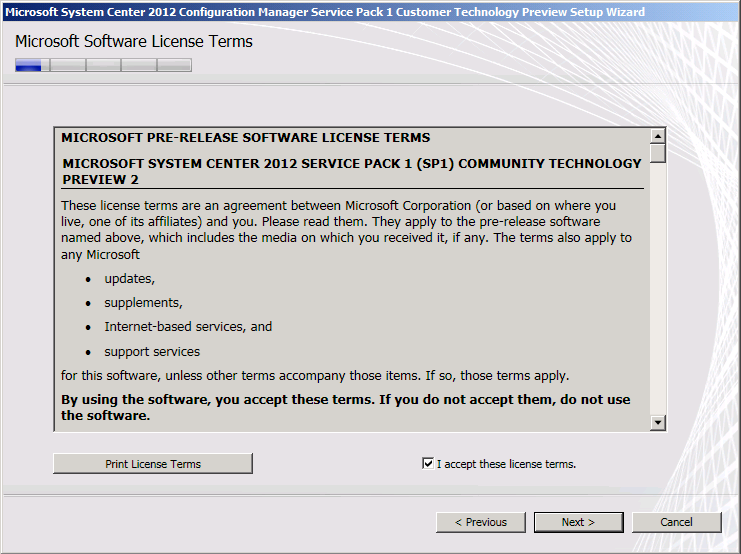
Accept the License aggreement
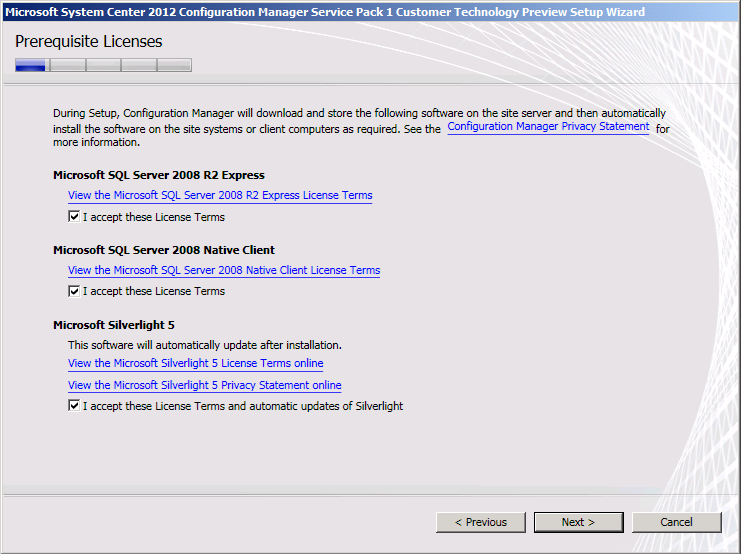
and the prerequisite Licenses
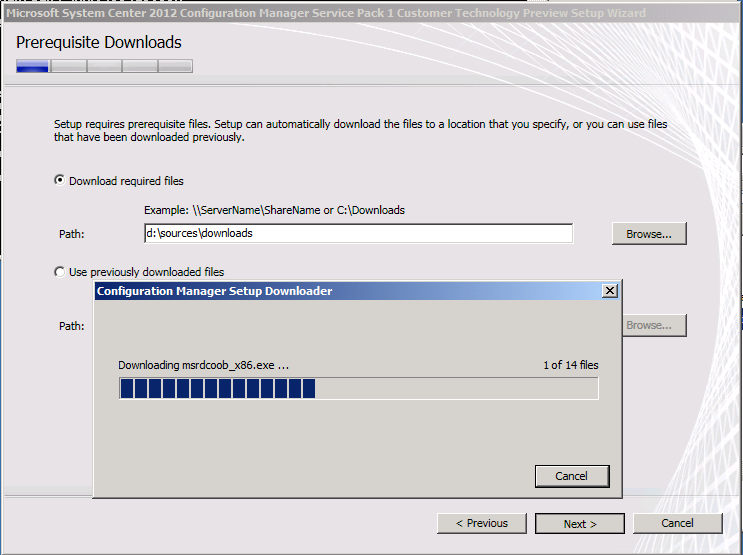
select to download the prerequisites or specify the folder where you have them already downloaded
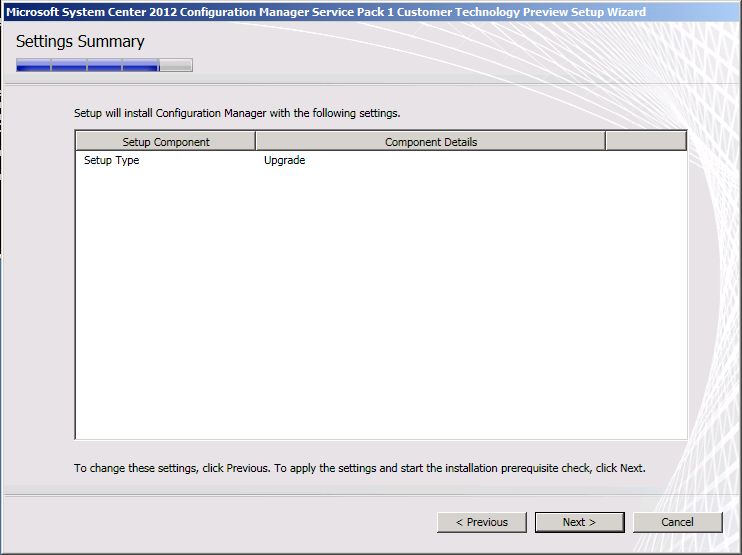
review the settings summary
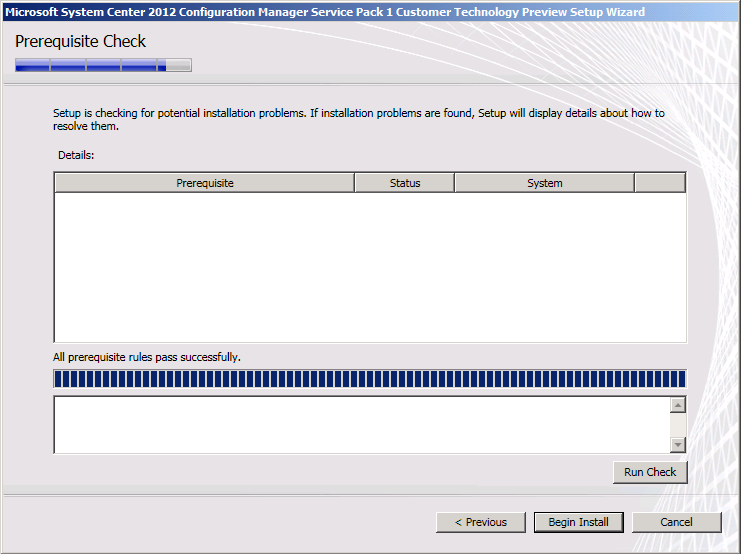
and then the Prerequisite Check takes place, we’ve already installed the ADK so should be ok, and in addition we have no Language Packs installed (if we did, we’d have to run setup and choose site maintenance and then modify language settings).
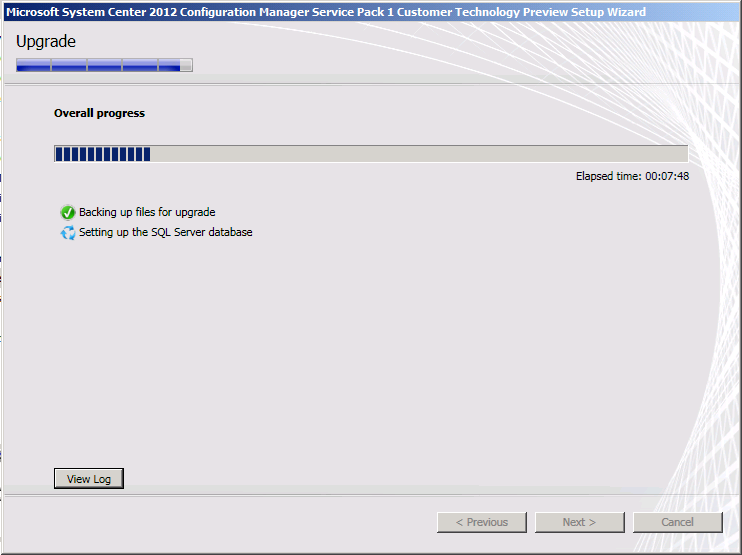
click on Begin Install to start the upgrade
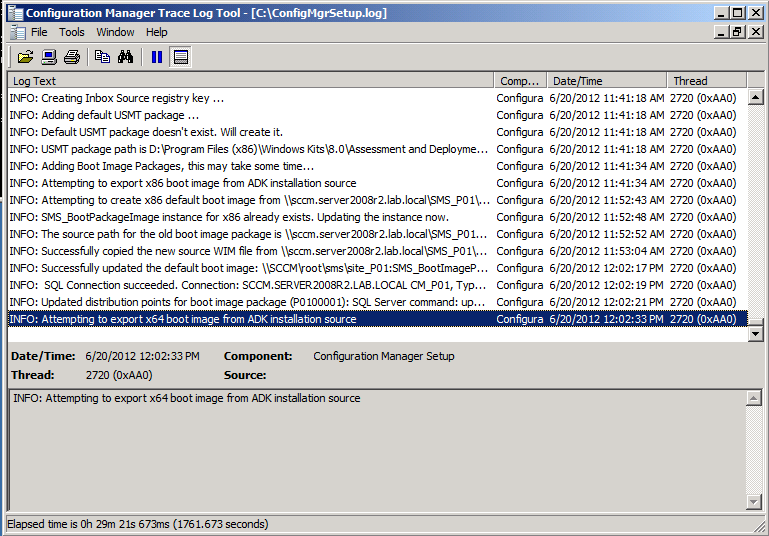
at this point go and grab a coffee or monitor the ConfigMgrSetup.log file located in C:\ using CMTrace (that tool is available in the SMSSetup\Tools folder)
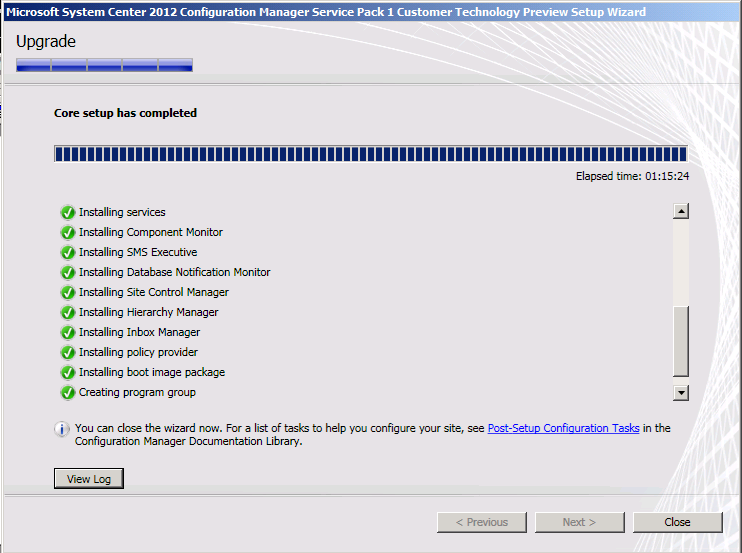
and after some time Core setup has completed
Tip: if you want to script the upgrade of your sites please see this post by Kent Agerlund.
Step 8. Verify the changes to our Primary site
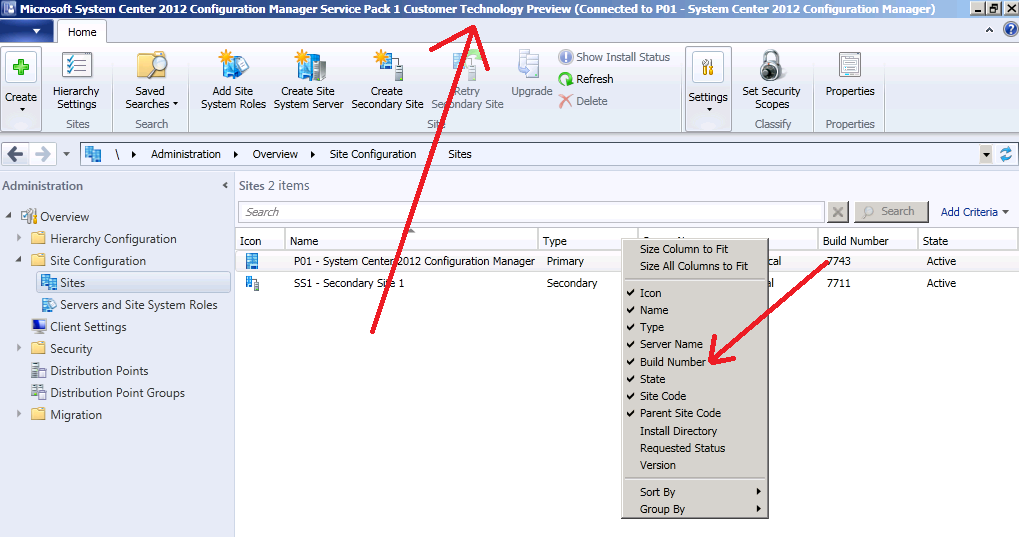
Start the Admin console and browse to the Administration workspace, sites, you can see that the Admin Console is now renamed to include Service Pack information and that the build number of our Primary site has upgraded to 7743. To reveal build number right click in the column and select that option. Notice also that the Secondary site build number remains at RTM level, that site still needs to be upgraded.
 Step 9. Distribute the USMT 5 Package
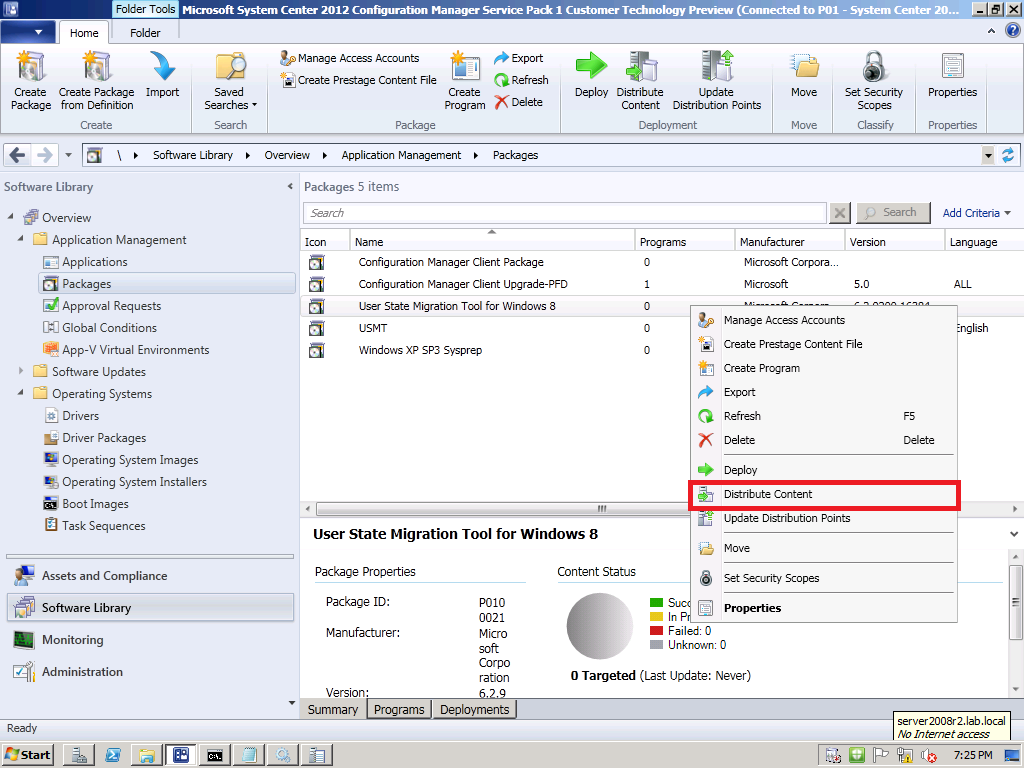
In the Software Library workspace, Application Management, Packages locate the User State Migration Tool for Windows 8, right click it and choose Distribute Content.
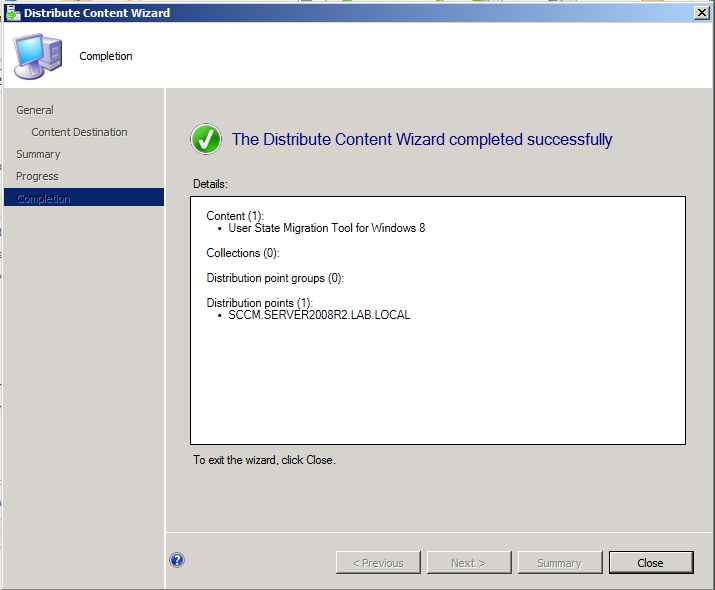
continue through the wizard until completion otherwise any new task sequences that reference this package will fail.
Step 10. Update your ConfigMgr client Package
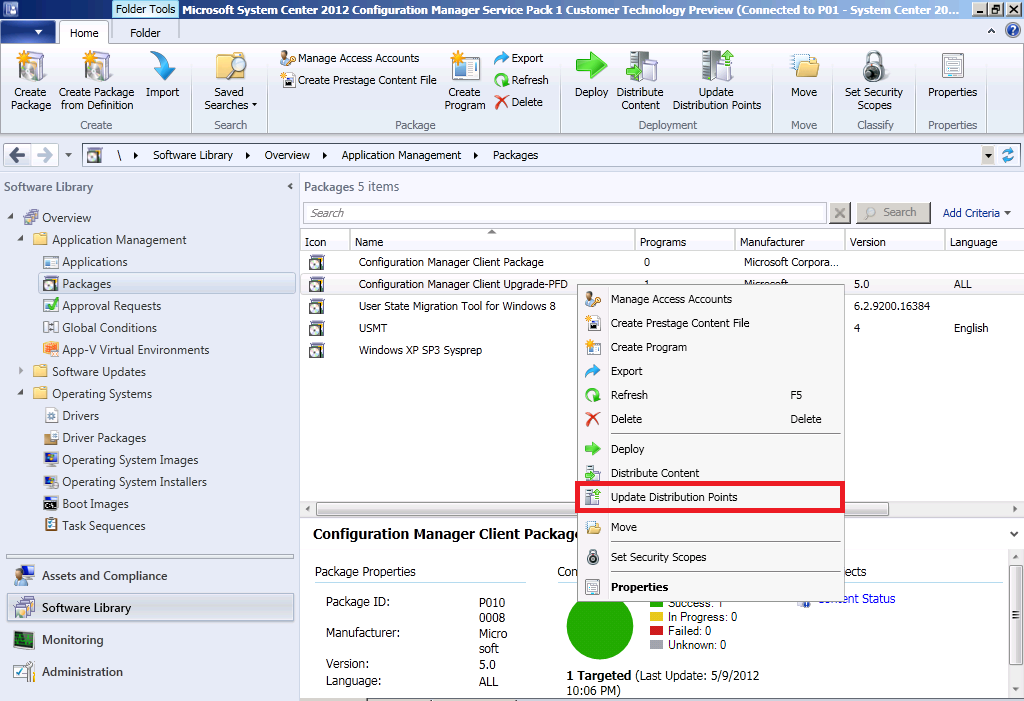
I usually create a Client Package from Definition for the Configuration Manager Client (for deploying the Configuration Manager Client in OSD in the Setup Windows and configmgr step), and now that you’ve upgraded your site you also want to upgrade your client package (for OSD). Locate the package and choose Update Distribution Points.
Step 11. Upgrade your clients
You need to upgrade all clients installed in your site to the Service Pack 1 version of the configuration manager client. Failure to do so will mean that many of the new features will not work on the RTM clients. There are many ways to push out the updated client, i’ll let you decide what’s appropriate for your hierarchy.
Step 12. Upgrade the Secondary Site
Tip: before upgrading any site, verify that the site component status is ok for that site and that there are no obvious problems that would prevent a site upgrade. If a site is not working before an upgrade due to missing requirements, it’s very unlikely to be working after the upgrade.
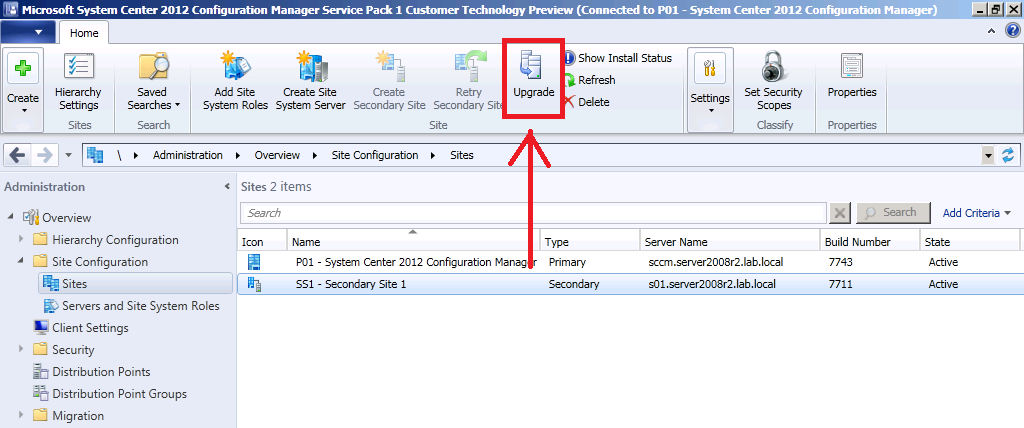
Select the secondary site and choose Upgrade in the ribbon.
you will get a popup window asking for confirmation, answer yes.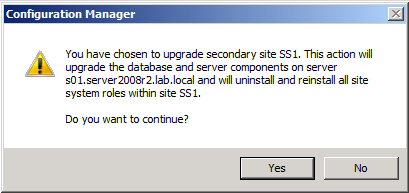
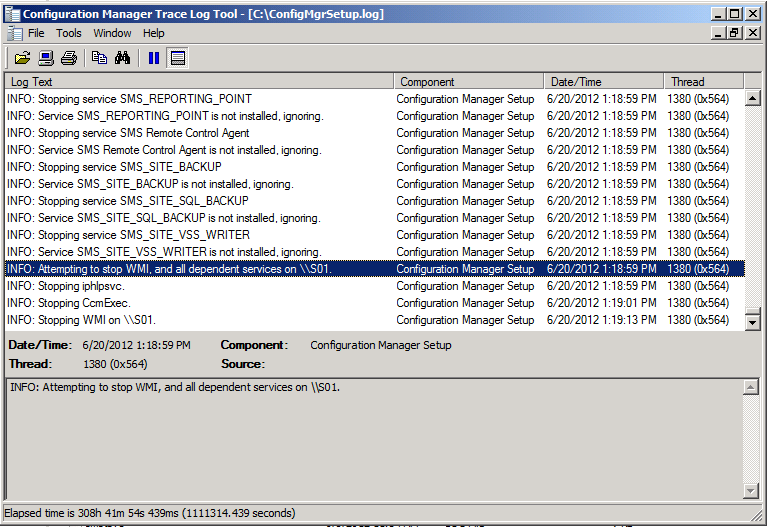
Tip: To review the progress you can monitor the ConfigMgrSetup.log file on the root of your secondary sites drive C:\.
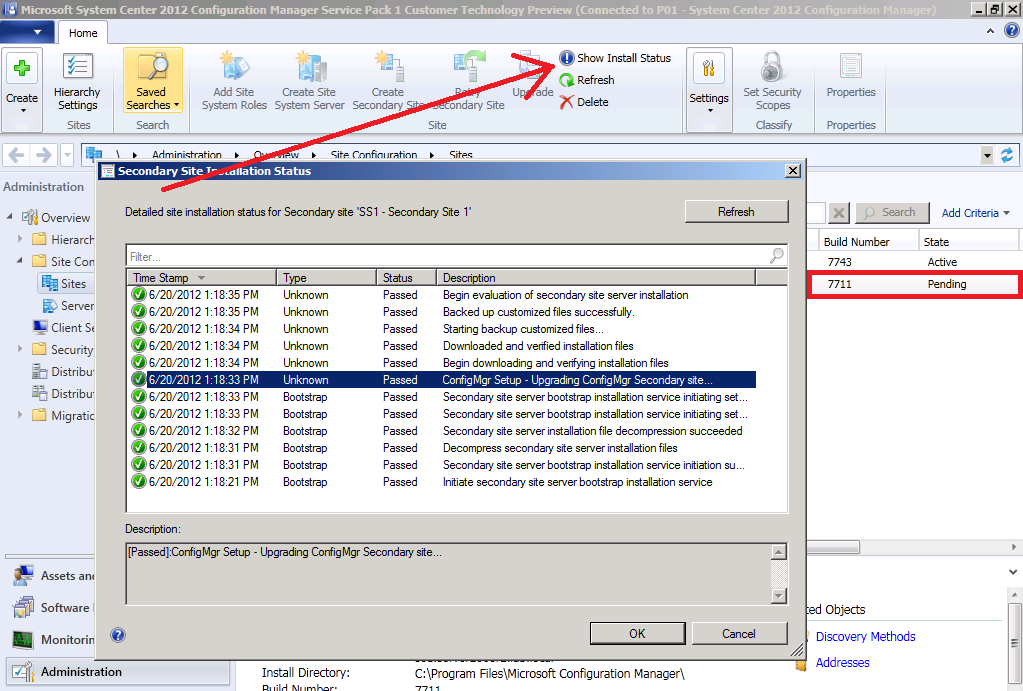
in addition you can click on Show Install Status in the console and click Refresh. Notice how the state of the secondary site is listed as Pending.
after a while you should see the state change to Upgrade and then Active, the build number should also reflect the upgraded status however in this case it may not as the following is listed on Technet in relation to this release:-
This prerelease version does not support an upgrade from System Center 2012 Configuration Manager. Install this prerelease version as a new installation of Configuration Manager.
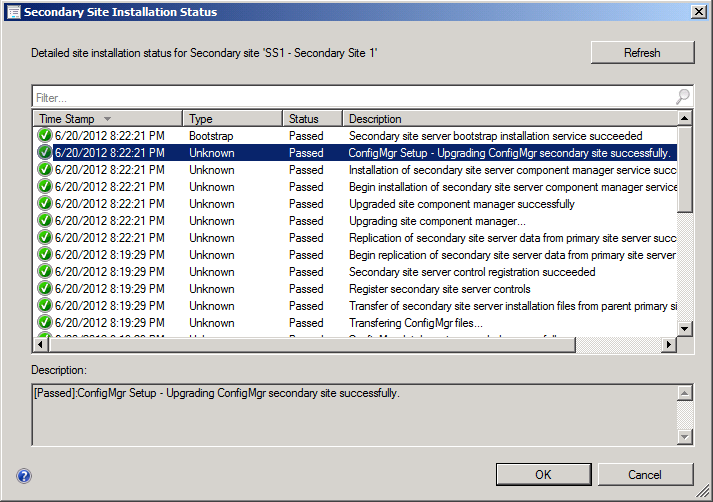
To be sure, review the Show Install Status, it should look like this
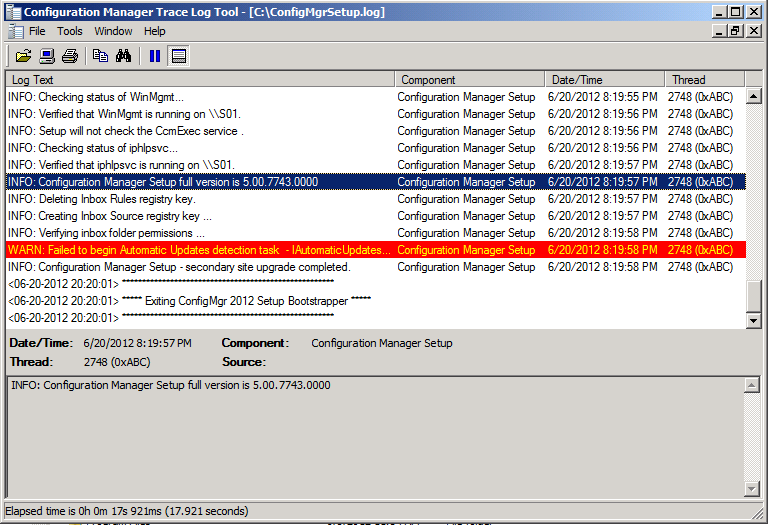
and the ConfigMgrSetup.log (on the secondary site) to see what is logged there it should state Configuration Manager Setup – secondary site upgrade Completed and a few lines above that it should list the correct version number.
until next time, adios !



Pingback: How can I deploy Windows 8 in UEFI mode using Configuration Manager 2012 ? | just another windows noob
Pingback: how can I Pre-Provision BitLocker in WinPE for Windows 8 deployments using Configuration Manager 2012 SP1 ? | just another windows noob
Pingback: How can I sequence applications using App-V version 5 for Configuration Manager 2012 SP1 « Sinisa SOKOLOVIC
Pingback: How can I sequence applications using App-V version 5 for Configuration Manager 2012 SP1 | just another windows noob
Pingback: How can I sequence applications using App-V version 5 for Configuration Manager 2012 SP1 « Sinisa SOKOLOVIC
Pingback: Upgrading SCCM 2012 with Service Pack 1 | Mshiyas Blog
Pingback: System Center 2012 Configuration Manager Step By Step Guides | just another windows noob ?