
In Part 1 of this series we got our AD and SCCM servers ready, and then we installed System Center 2012 Configuration Manager as a standalone Primary site. In Part 2 we configured the SCCM server further by adding some Windows Server roles necessary for the following Configuration Manager 2012 functionality, Software Update Point (SUP) and Operating System Deployment. In Part 3 we configured the server further by Enabling Discovery methods and creating Boundary’s and Boundary Groups. In Part 4 we configured Client Settings, Added roles and Distributed the Configmgr Client to our Computers within the LAB, then in Part 5 we enabled the Endpoint Protection Role and configured Endpoint Protection settings and targeted a collection called All Windows 7 Computers with these settings and policies. In Part 6 we configured our SUP further to Deploy software updates to our All Windows 7 Computers and Build Windows 7 X64 collections.
Now we will use the Build and Capture process to create our Base Windows 7 X64 wim image, we’ll use this image in the next part to Deploy Windows 7.
Whats new in Configuration Manager 2012 for Operating System Deployment ?
- You
can apply Windows Updates by using Component-Based Servicing (CBS) to
update the Windows Imaging (.wim) file format images that are stored in
the image node of the Software Library. - The Task Sequence
Media Wizard includes steps to add prestart command files (formerly
pre-execution hooks) to prestaged media, bootable media, and stand-alone
media. - You can configure the Task Sequence Media Wizard to
suppress the Configuration Manager Boot Media wizard during operating
system installation. This configuration enables you to deploy operating
systems without end user intervention. - You can define a
deployment in a prestart command that overrides existing deployments to
the target computer. Use the SMSTSPreferredAdvertID task sequence
variable to configure the task sequence to use the specific Offer ID
that defines the conditions for the deployment. - You can use the same task sequence media to deploy operating systems to computers anywhere in the hierarchy.
- The
Capture User State task sequence action and the Restore User State task
sequence action supports new features from the User State Migration
Tool (USMT) version 4. - You can use the Install Application
task sequence action to deploy applications from the Software Library
when you deploy an operating system. - You can define user device affinity for a client computer during operating system deployment.
- The functionality of the PXE service point and its configuration is moved to the distribution point to increase scalability.
Step 1. Enable PXE support for Clients
Perform the following on the SCCM server as SMSadmin
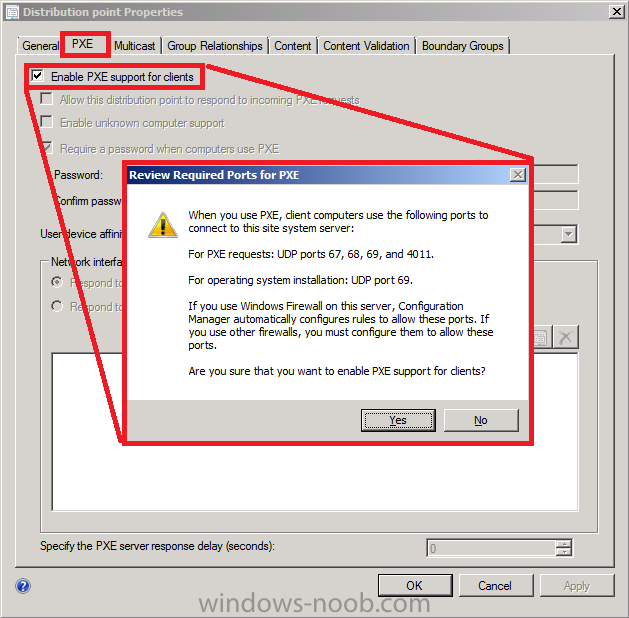
In the ConfigMgr console, click on Administration, Site Configuration, Servers and Site System Roles, and double click on the Distribution Point role listed, select the PXE tab and place a checkmark in Enable PXE support for Clients, answer Yes when prompted about firewall ports (UDP ports 67, 68, 69 and 4011 ).
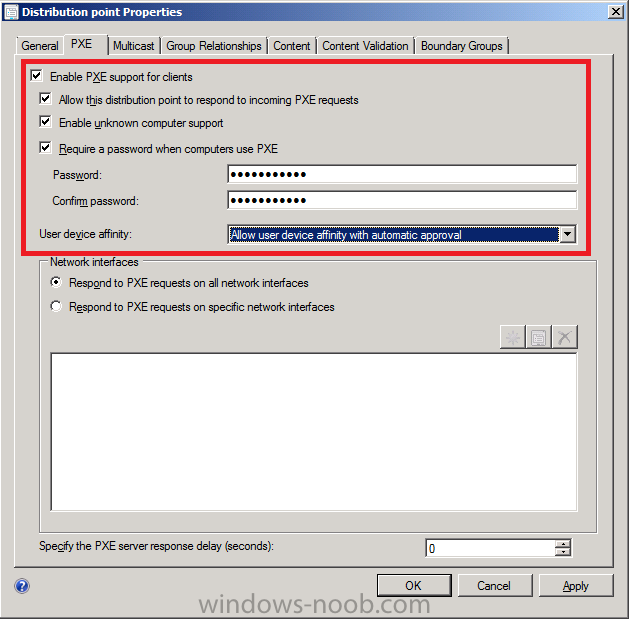
enable all options and click on the Drop down UDA option and set it to Allow User Device Affinity with Automatic Approval
Step 2. Add the Windows 7 X64 operating system image
Perform the following on the SCCM server as SMSadmin
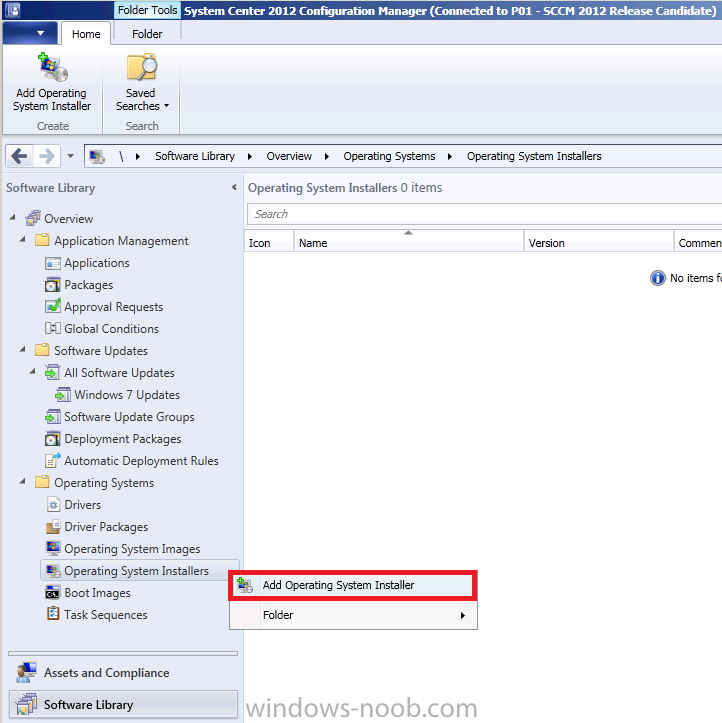
In the ConfigMgr console, select Software Library and expand Operating Systems, click on Operating System Installers and choose add operating system installer from the ribbon (alternatively right click to get the same option)
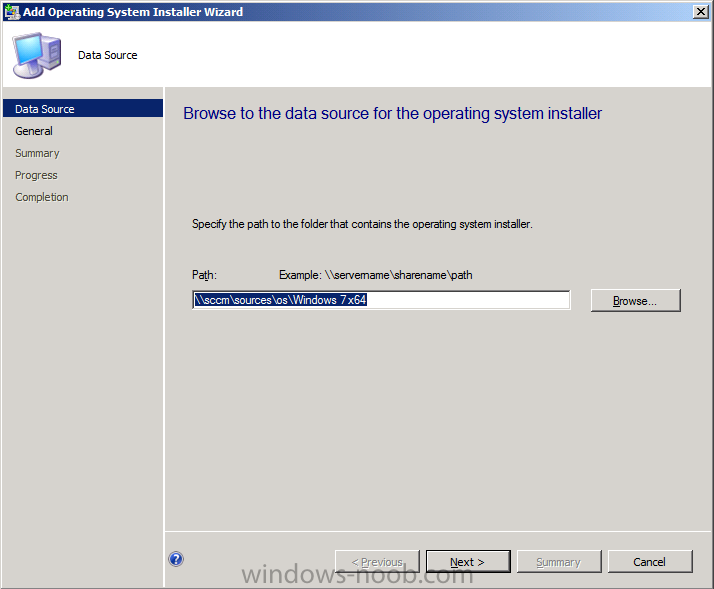
browse to the UNC path where you have previously copied the extracted contents of your Windows 7 X64 Enterprise ISO (I extracted mine and then copied it to \\sccm\sources\os\Windows 7×64
prior to this step.
fill in some general info about the image
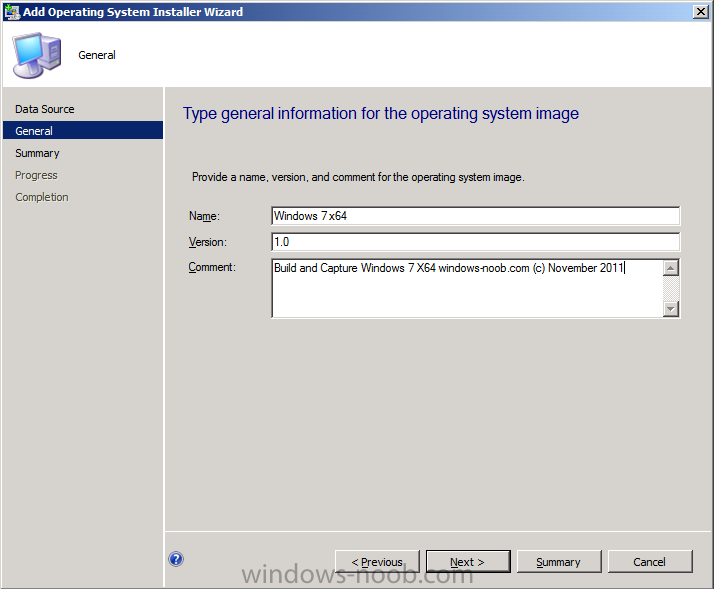
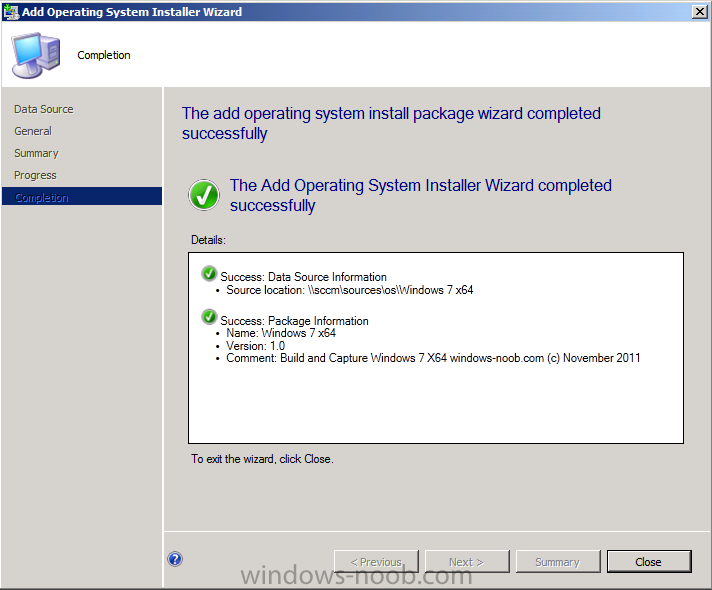
and complete that wizard.
Step 3. Distribute the Operating System to our Distribution Points
Perform the following on the SCCM server as SMSadmin
Now that we’ve added the image, let’s distribute it to our DP. Click on the image we just added and in the ribbon click on Distribute Content

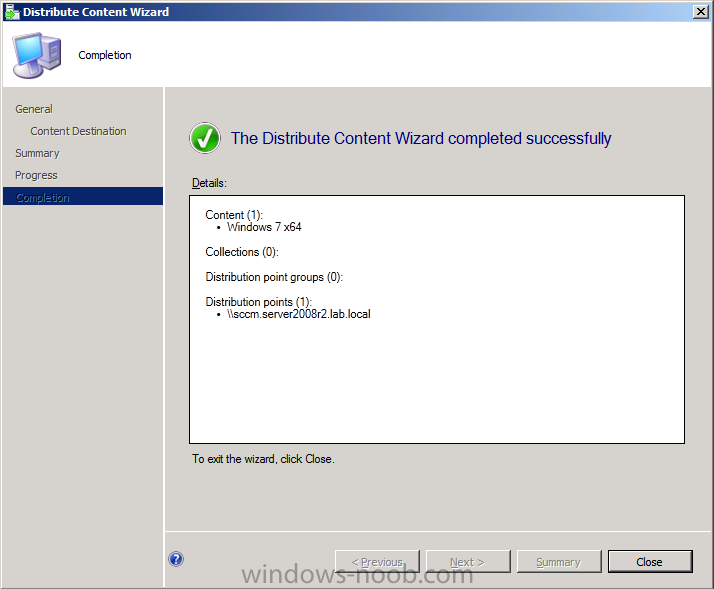
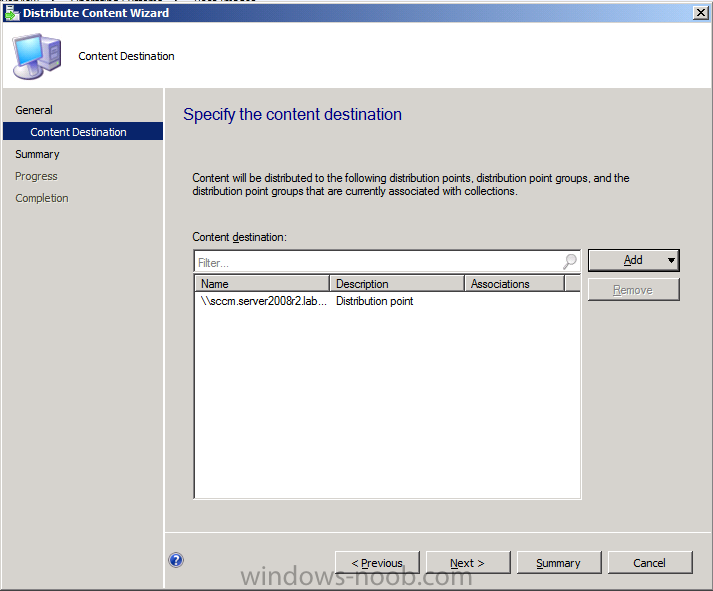
the Distribute Content wizard appears
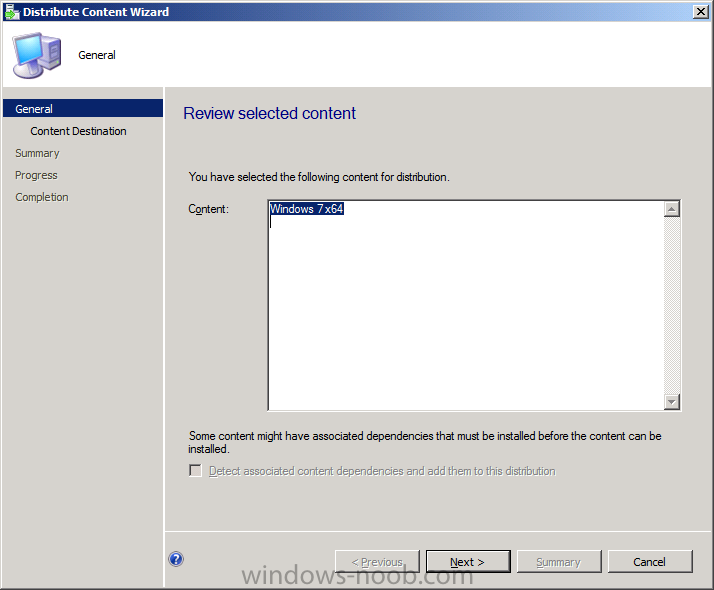
click next, select Add, select Distribution Point, select our SCCM server then ok
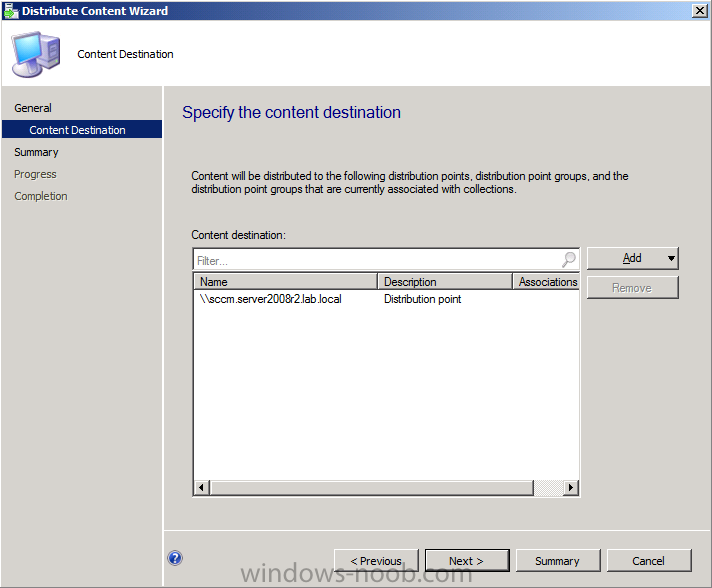
click next through the wizard until completion
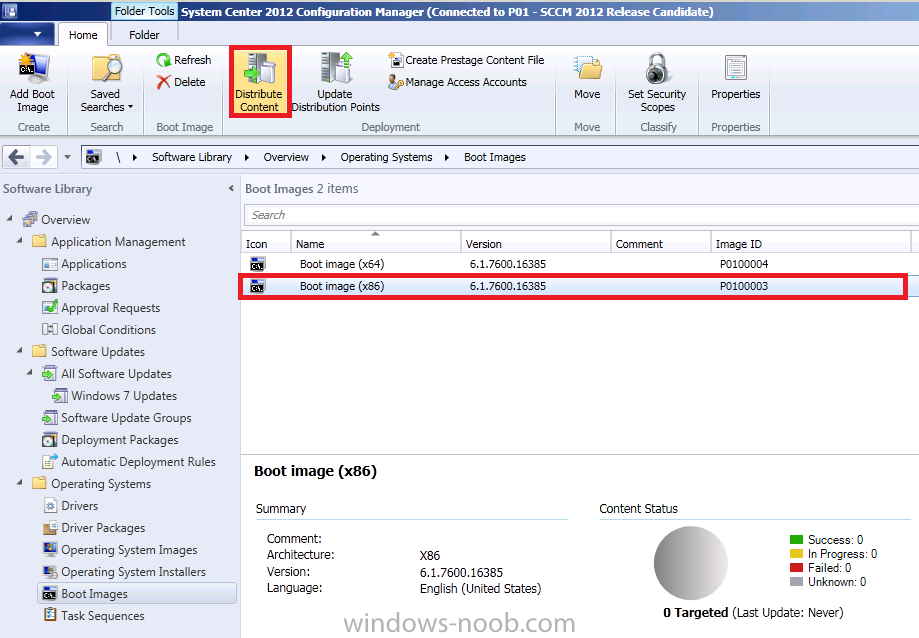
Step 4. Customise our boot images and then Distribute the Boot images to DP’s
Perform the following on the SCCM server as SMSadmin
Note: Even though Build and Capture of
Windows 7 X64 only needs the X64 boot image, we will update both boot
images as we’ll need them to both have Command support enabled.
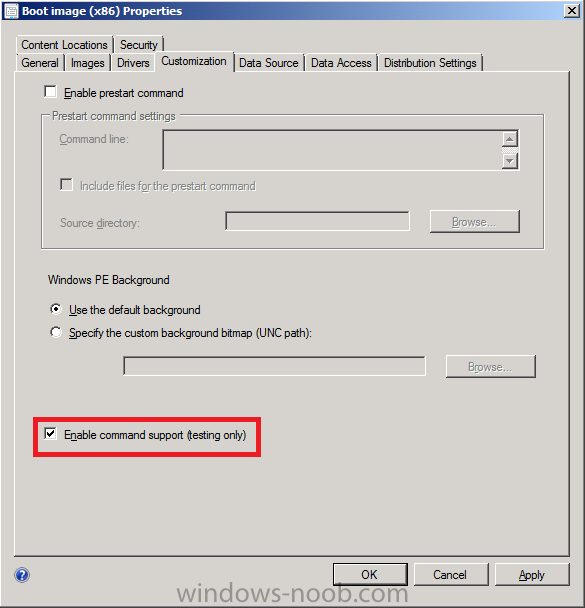
Select boot images in the left navigational pane, select the X86 boot image, right click choose properties click on the Customization tab, enable Command support
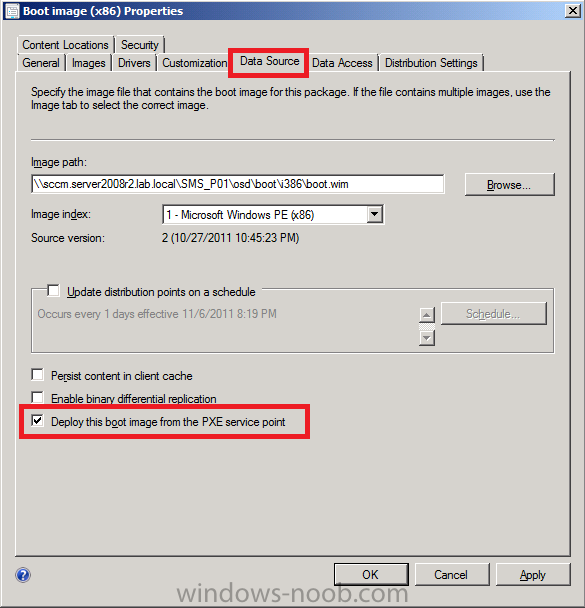
click on the Data Source tab, place a checkmark in Deploy this boot image from the PXE service Point
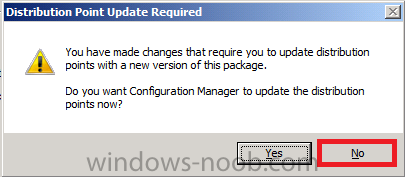
click apply, and answer No when prompted to udpate the Distribution Points now as we have to add our DP first before updating the boot image to the DP’s..
click Ok to close.
Now we need to Distribute our Boot image to our Distribution Point, so select the image and choose Distribute Content from the ribbon
add our Distribution Point and click through the wizard to completion
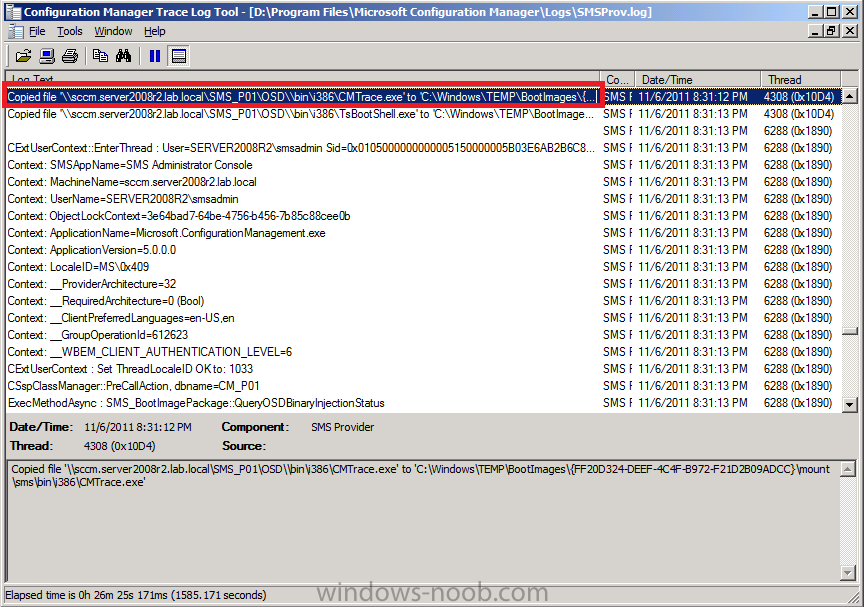
Tip: you can open the SMSProv.log
file in CMTrace to review the progress of the boot image changes being
made, infact you can even see that the CMtrace tool itself is now being
copied into our boot images by default ! excellent !!
Note: you must repeat the above process for the X64 Boot image
Step 5. Create and then Distribute the Configmgr Client Package to DP’s
Perform the following on the SCCM server as SMSadmin
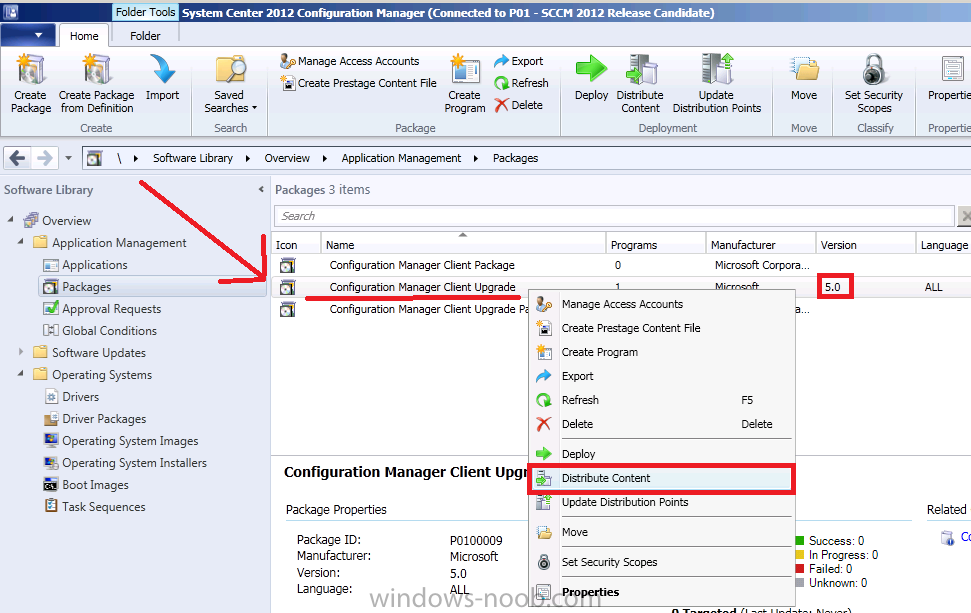
Currently there are two packages for Configuration Manager Client however neither are working in their current form, rather than use them let’s create our own.
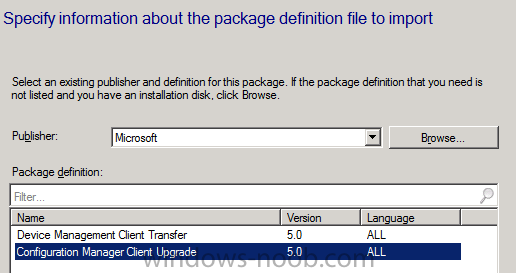
In Software Library, right click on Packages and choose Create Package from Definition,
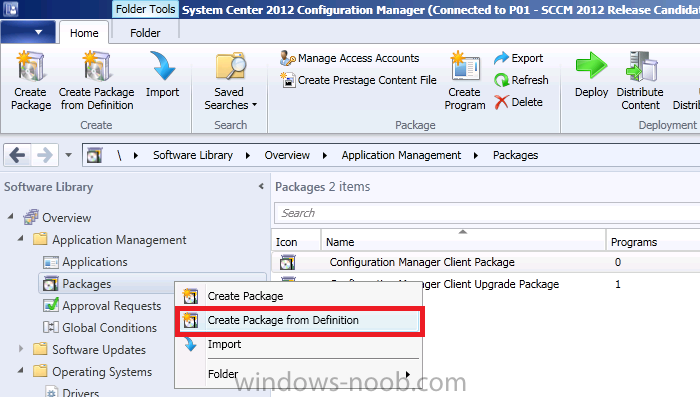
choose Configuration Manager Client Upgrade, click next
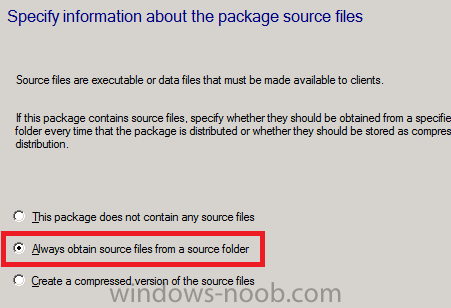
choose Always obtain source files from a source folder
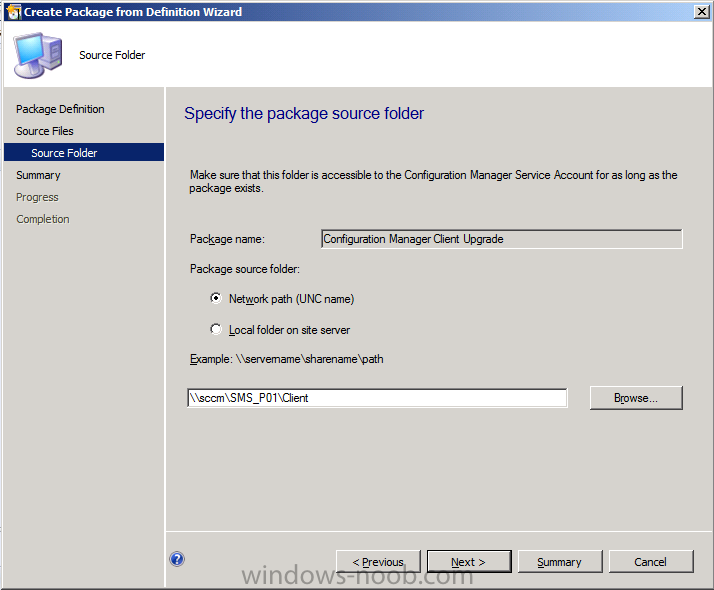
for source folder point to \\server\sms_xxx\client where xxx is your site code eg; P01
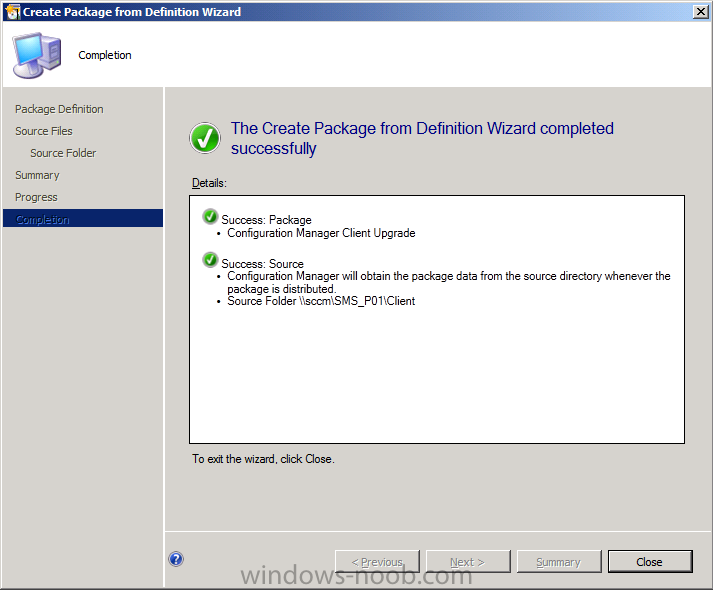
click next through the wizard until it completes
select our newly created package and add it to our Distribution Points (right click it, choose Distribute Content, go through the wizard).
Note: our Client package is the only one with version 5.0 so it’s easy to see.
Step 6. Create the Build and Capture Task Sequence
Perform the following on the SCCM server as SMSadmin
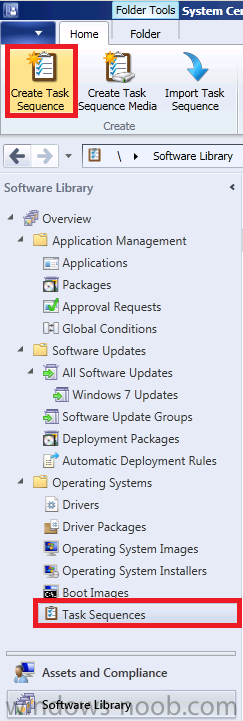
In the Configmgr Console click on Task Sequences under Software Library, Operating System Deployment. In the Ribbon click on Create Task Sequence
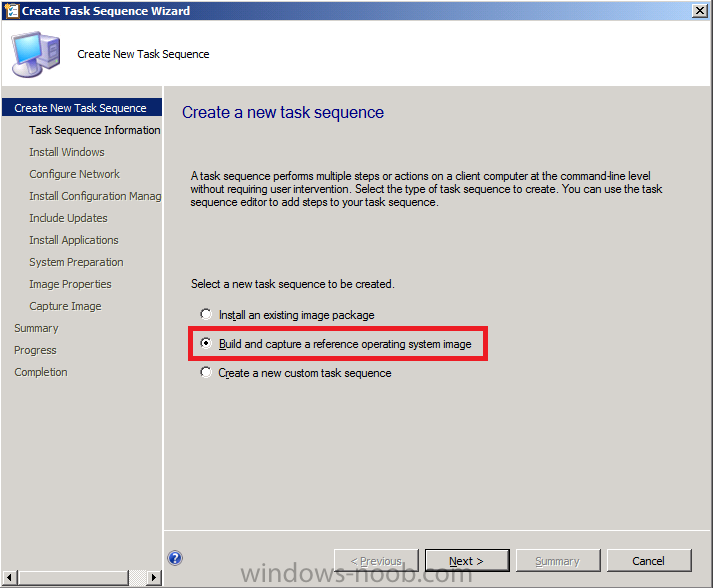
select the Build and Capture a reference operating system image option
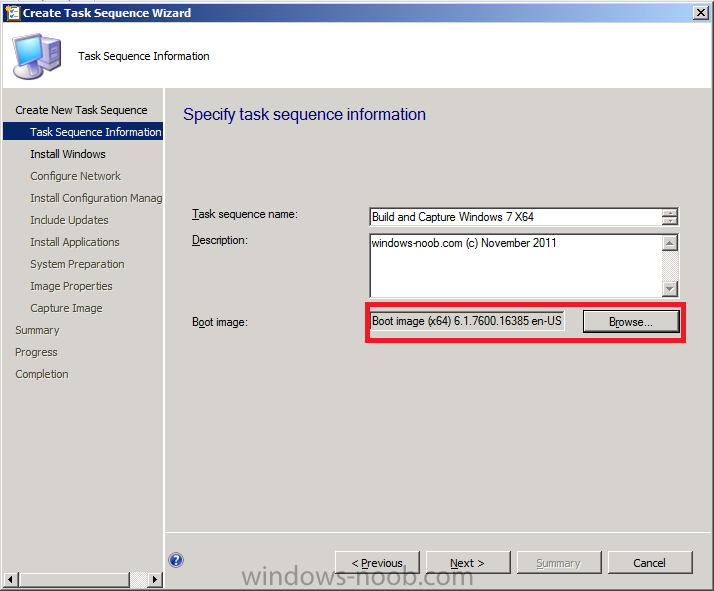
fill in some details about the Task Sequence and select the X64 boot image which you distributed to the dp’s above
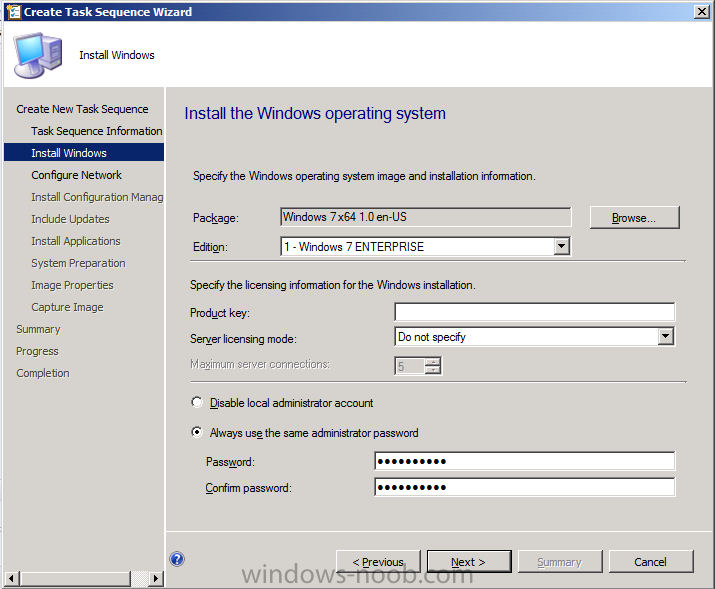
in the next screen we get to select our Operating System Installation
source Image that we added above in addition to this i’d recommend you
DON’T enter the Product Key and that you DO enter an Administrator
Password
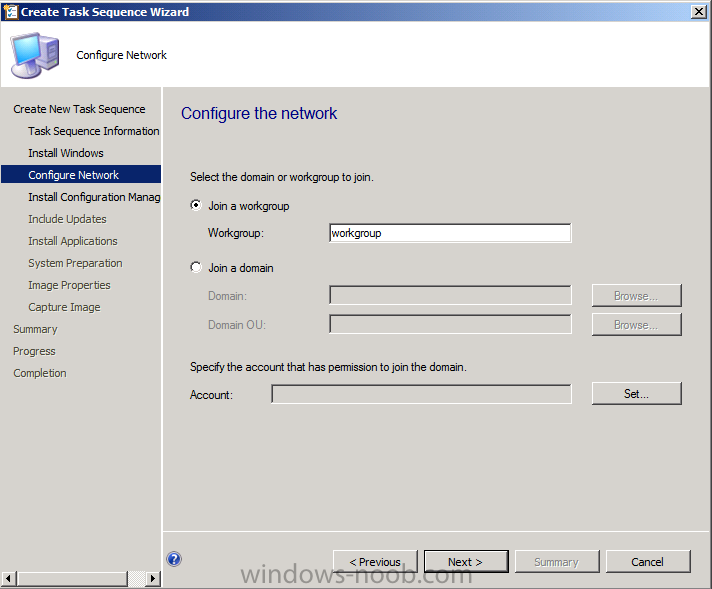
next we should join a workgroup to keep the build and capture image clean of any changes that can be made via domain join
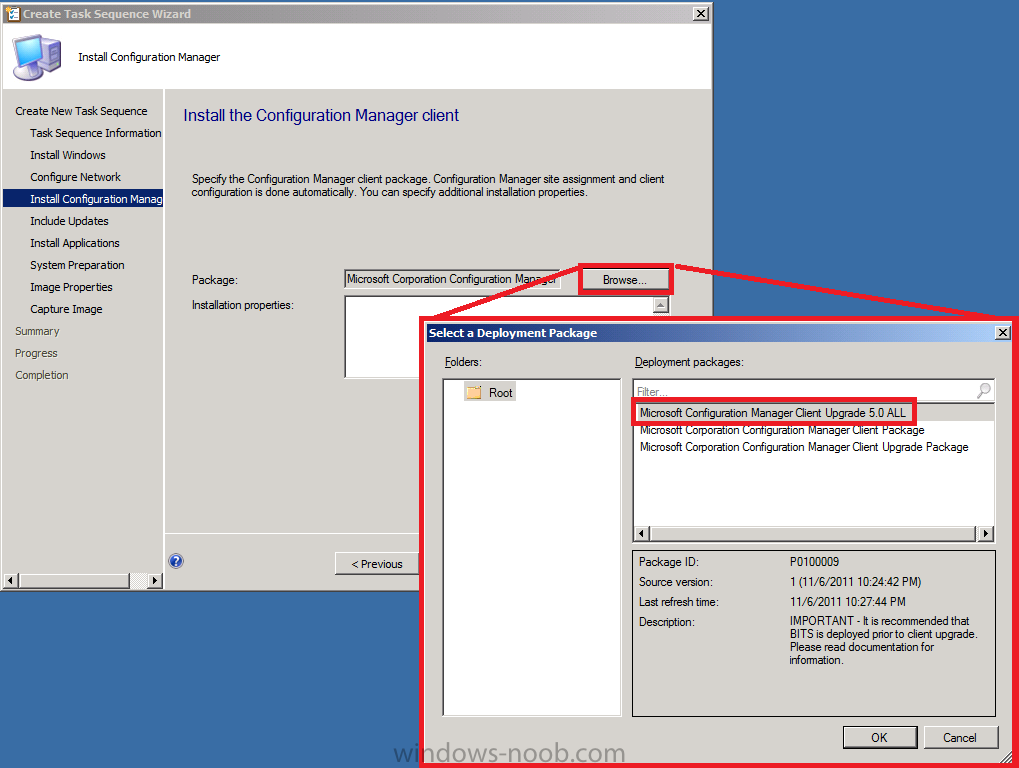
next we get to include the Configmgr client package, make sure to use the one we created earlier, select the Microsoft Configuration Manager Client Upgrade 5.0 All Package
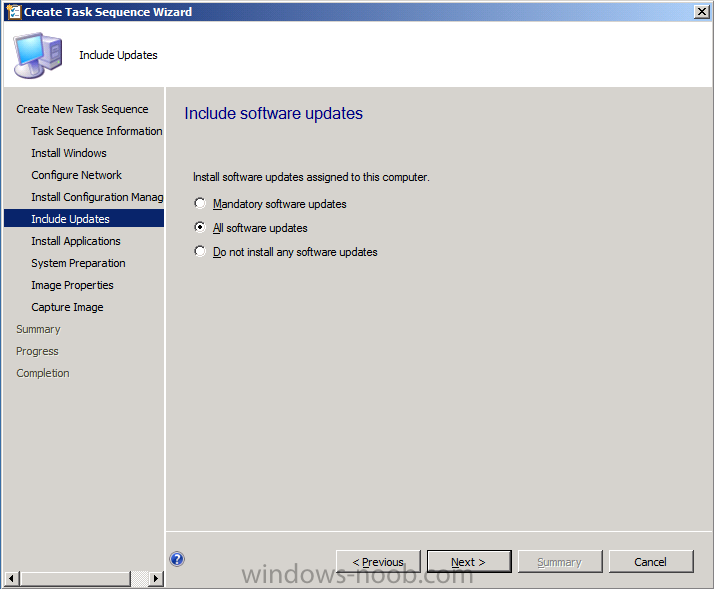
choose to install All Software Updates
click next through the wizard through the application, sysprep and image info screens,
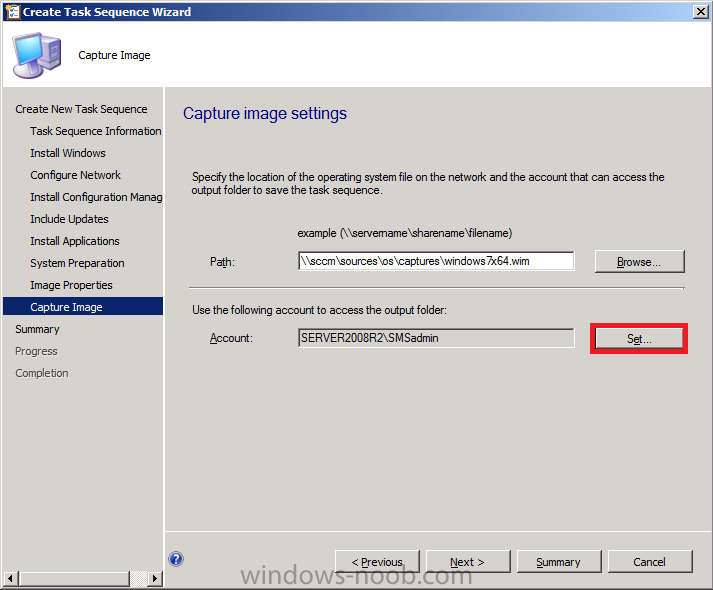
for the Capture image settings screen fill in the capture account details and use a user that has rights to that UNC path (don’t forget to create the \\server\sources\os\captures
directory first..) make sure you type the capture account details
correctly otherwise you’ll have a long wait until the next Build and
Capture is done and you get to see if your capture actually succeeds or
not due to a typo)
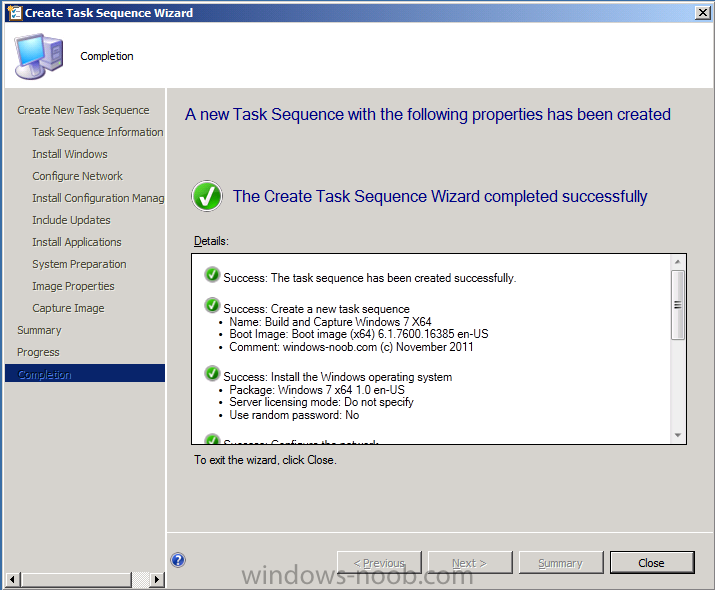
close the wizard
Step 7. Import Computer Information
Perform the following on the SCCM server as SMSadmin
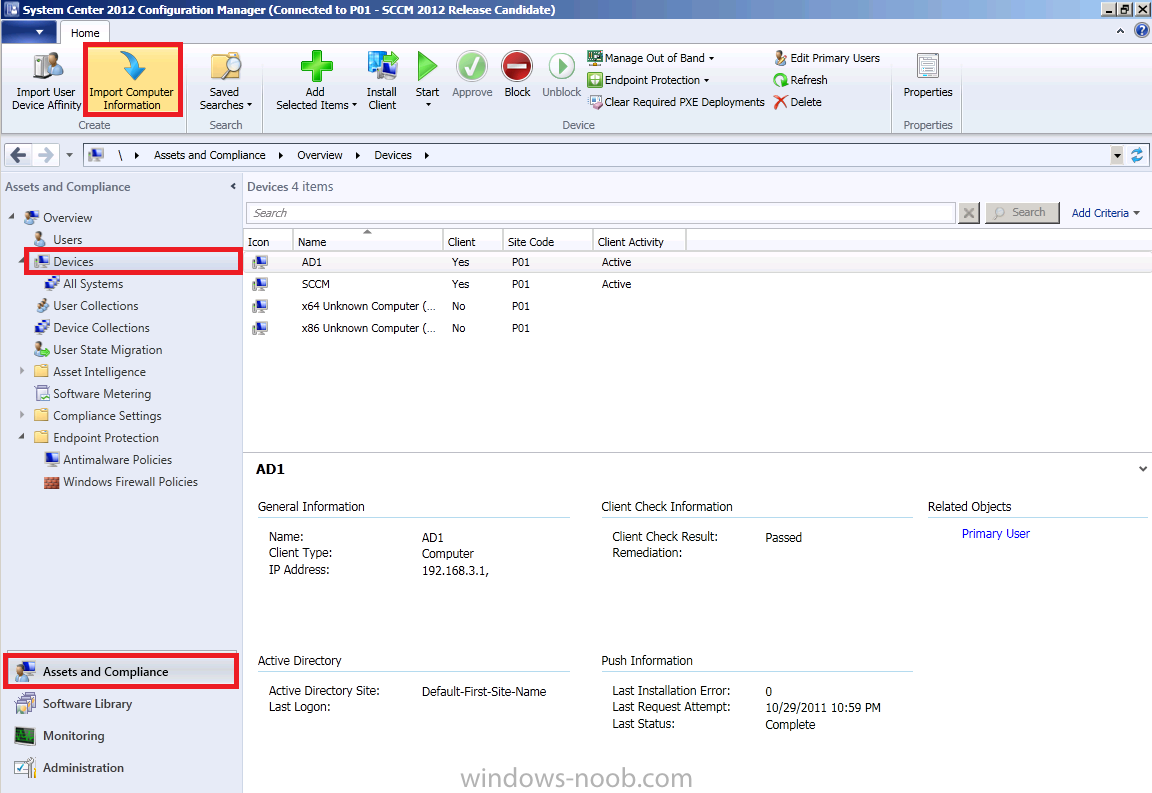
We need our Virtual Machine to be imported into ConfigMgr’s database before we can add it to our Build and Capture Windows 7 X64 collection so lets do that. In the ConfigMgr console, click on Assets and Compliance, Devices, and in the Ribbon click on Import Computer Information. If you havn’t already created a Virtual Machine do so now, we need one with 1 gig of Virtual Ram and we need to know it’s MAC address.
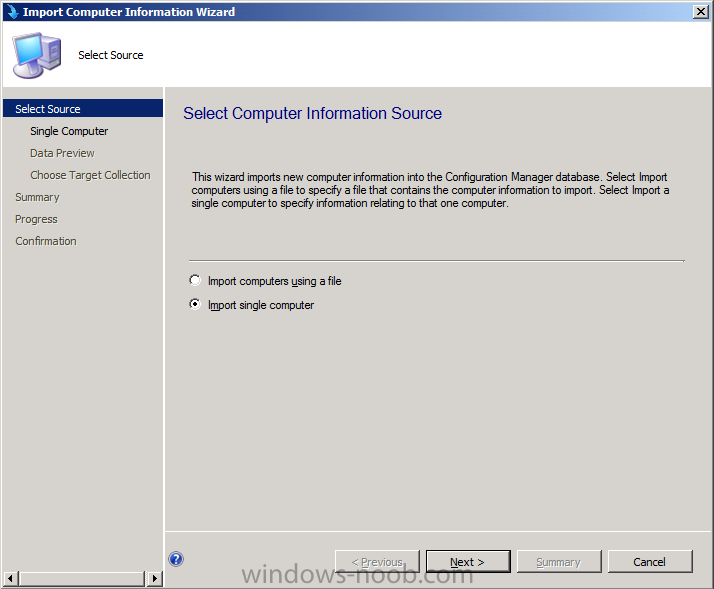
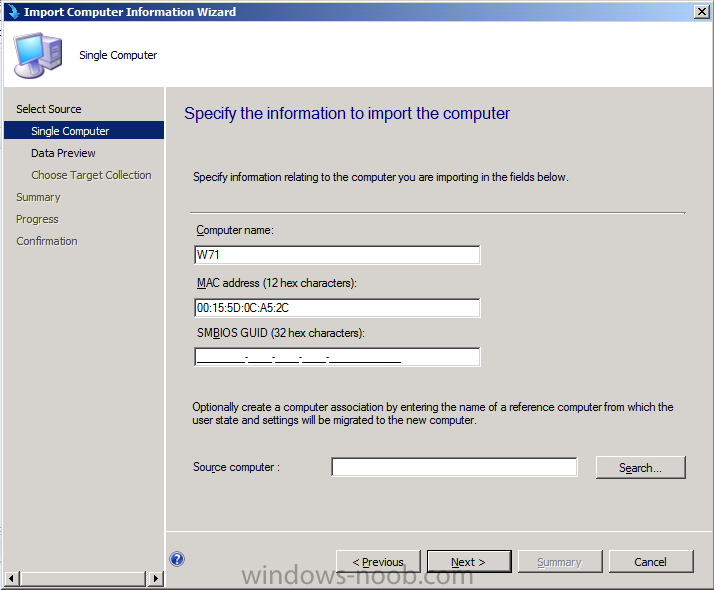
choose import single computer
filll in the computername and mac address
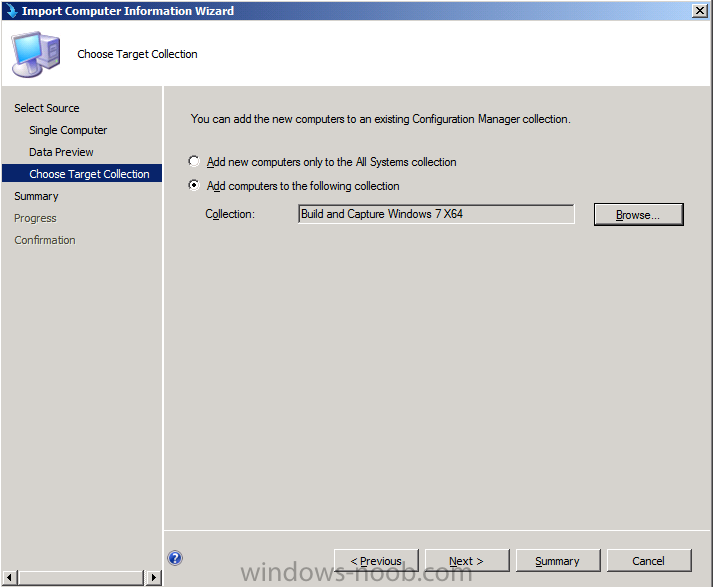
click next through data preview and for target collection choose our Build and Capture Windows 7 X64 collection we created in the previous part
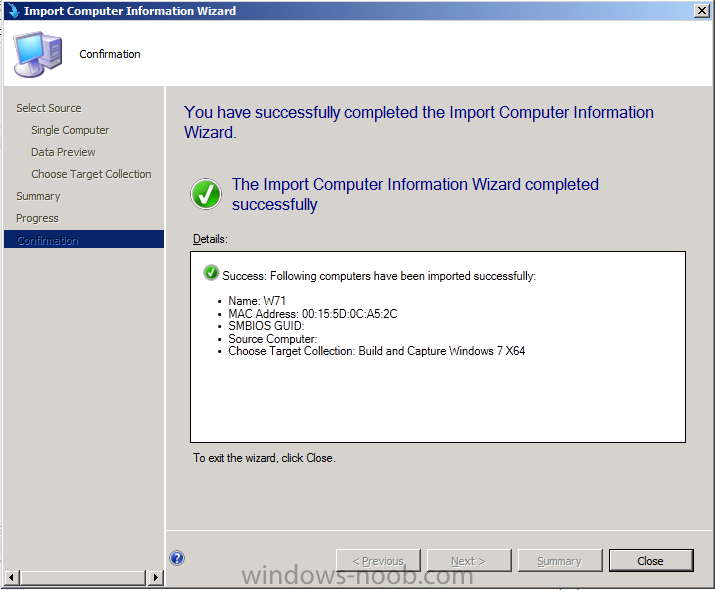
click next through the wizard to completion.
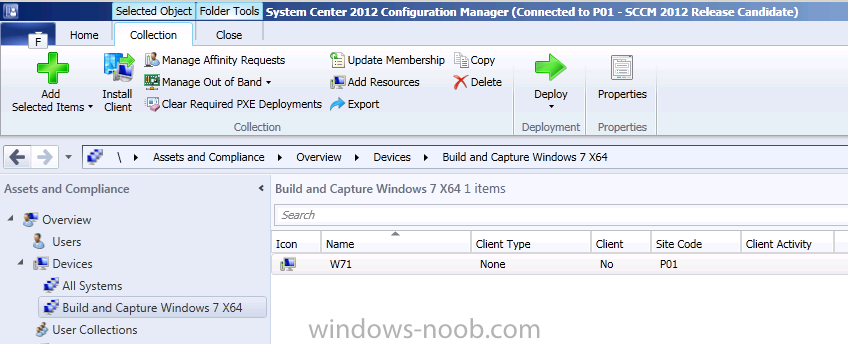
and it appears in our collection after a few minutes
Step 8. Deploy the Build and Capture Task Sequence
Perform the following on the SCCM server as SMSadmin
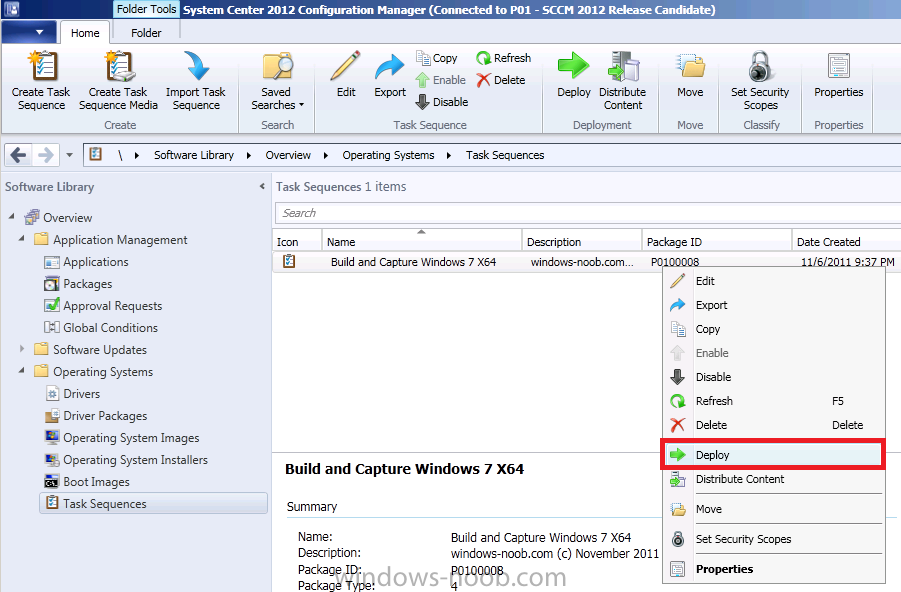
In Software Library, select Task Sequences, select our Build and Capture Task sequence and right click, choose Deploy, if Deploy is greyed out are you sure you created a new package from Definition for the Configuration Manager Client ?
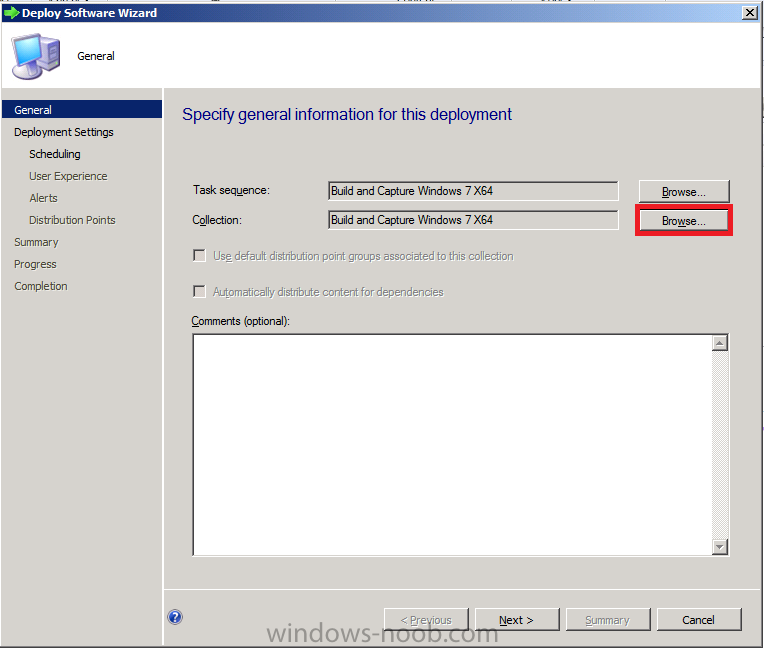
point it to our build and capture collection
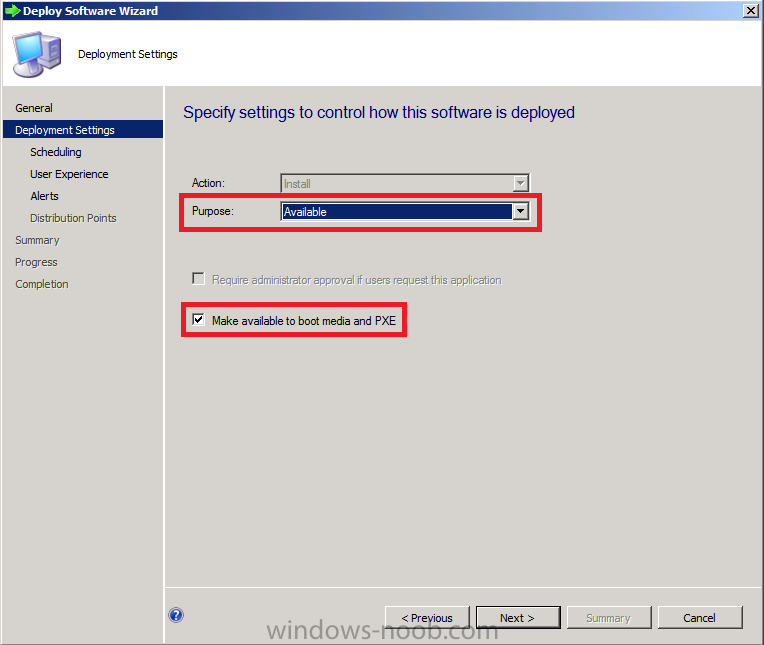
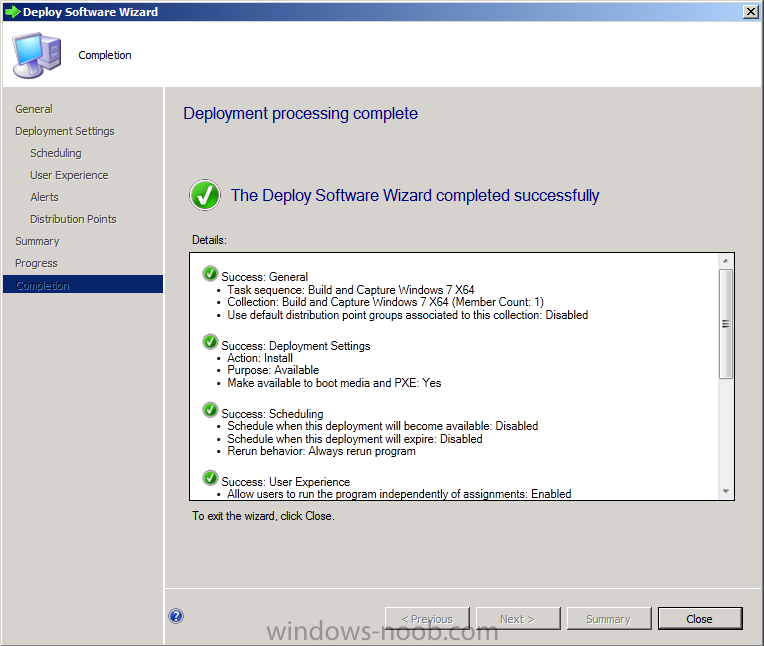
change the purpose from Required to Available, and set make available to boot media and PXE
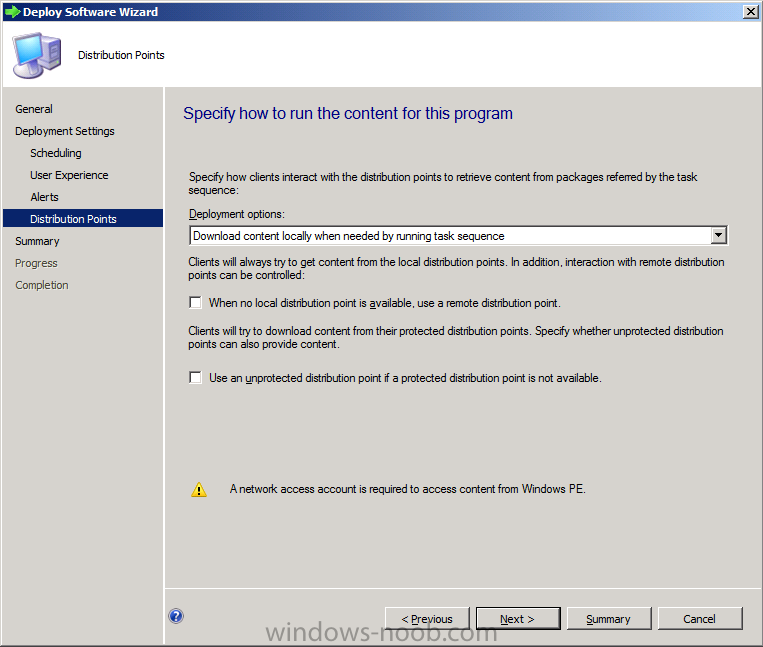
click next through the options until you get to distribution point, make a note of the Network Access Account note !
finish the wizard
Step 9. Enable the Network Access Account
Perform the following on the SCCM server as SMSadmin
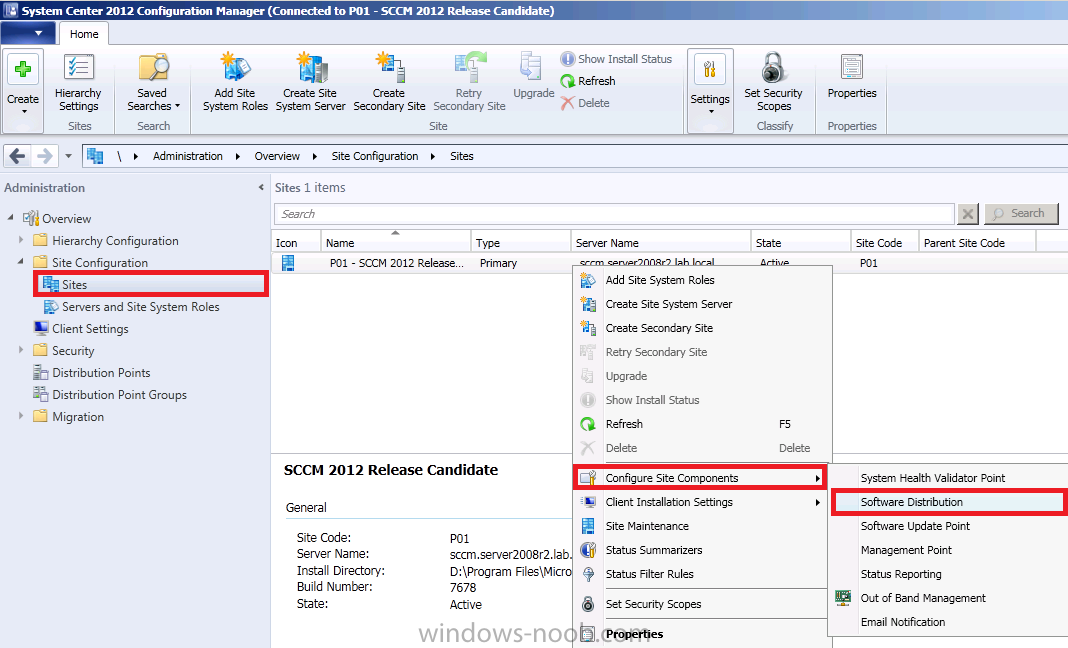
In the ConfigMgr console, select Site Configuration, Sites and right click on our P01 site, choose Configure Site Components, Software Distribution (alternatively in the ribbon click on Settings, Configure Site Components, Software Distribution)
Click on the Network Access Account tab and specify your Network Access Account user, choose new user, input the details and test the connection (Note: this is New since Beta 2)
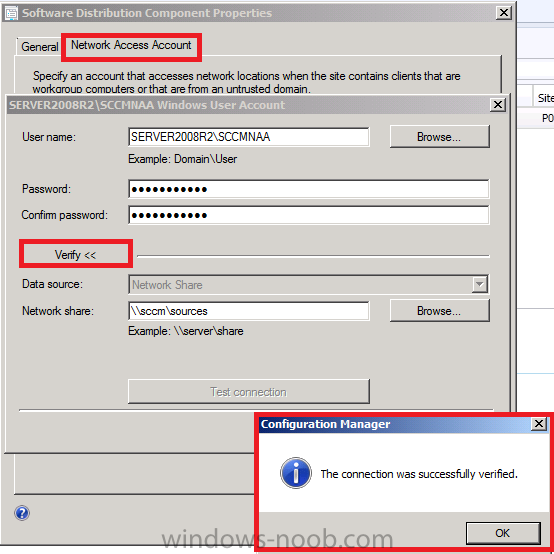
click Apply and Ok.
Step 10. PXE boot our new Virtual Machine
Perform the following on the SCCM server as SMSadmin
Note: Before PXE booting the Virtual Machine, verify that the Windows Deployment Service is started, if not, start it, monitor the SMSPXE.log during the process and during the PXE boot.
Press F12 when prompted
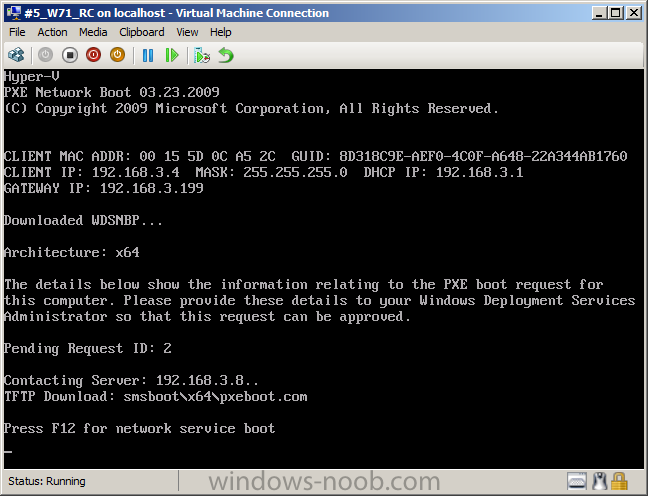
enter our PXE password
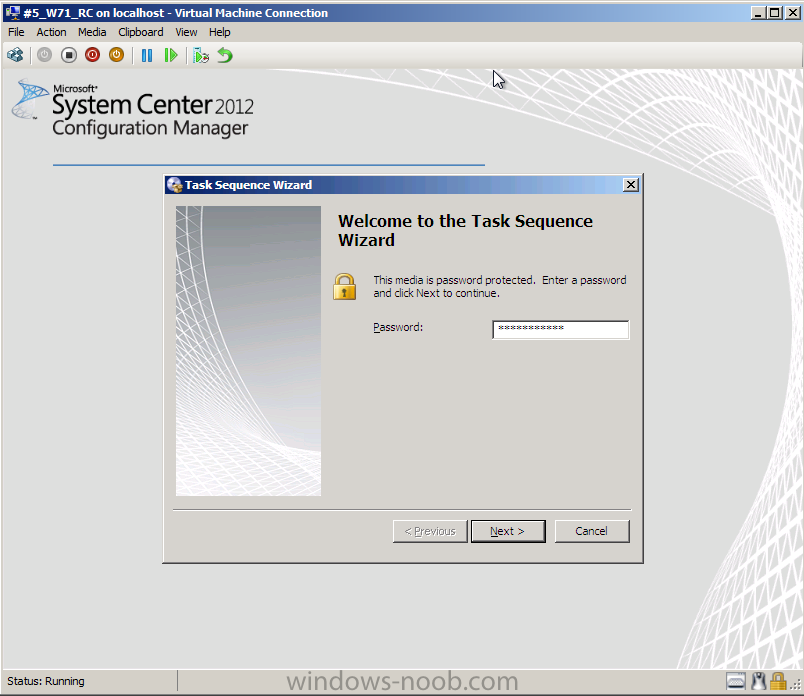
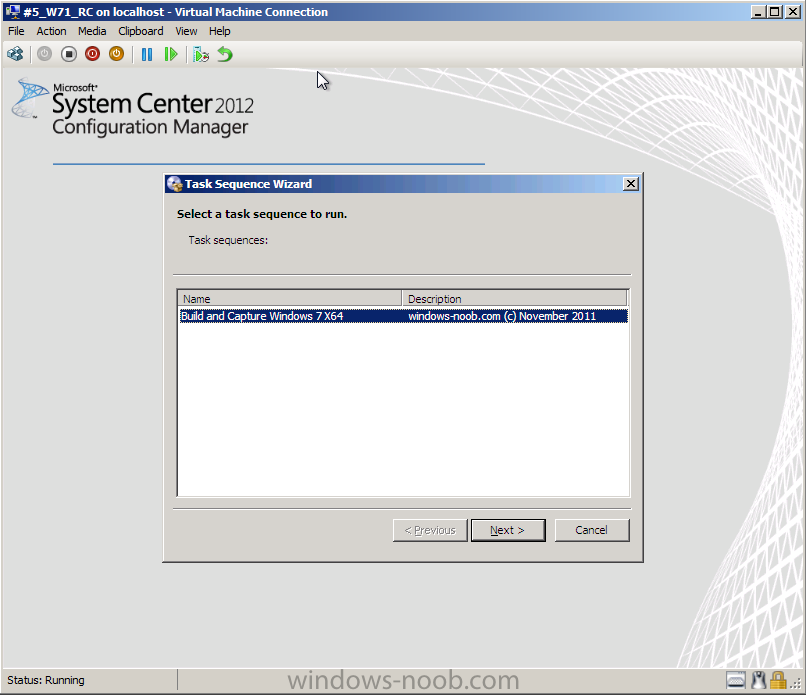
click next and select our Build and Capture Windows 7 X64 task sequence
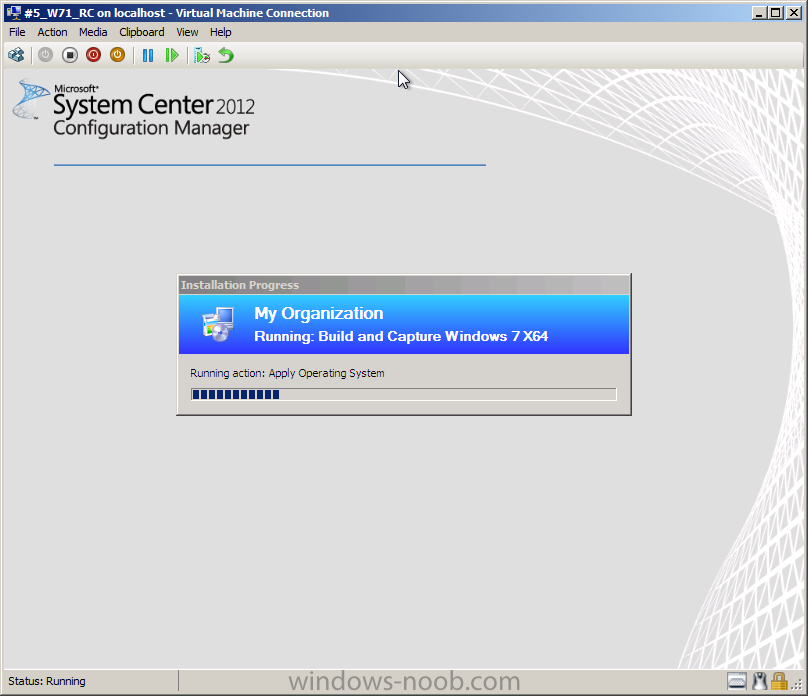
and pat yourself on the back for a job well done as it goes through the process of Build and Capture
In the next part of this series, we will Deploy our captured WIM and continue learning about this fantastic product
The original post is here
