
Introduction:
After a lot of development and testing and countless changes it’s time
to release version 1.0 of the windows-noob.com FrontEnd HTA. This HTA
can be used by Network administrators/techs to quickly make choices
about Deployment Type (Backup, Reinstall, New Computer) for their migrations from Windows XP to Windows 7.
The HTA comes with pre-written scripts that do the hard work for you and
set variables based on choices made by the end user. These variables
are in turn used by the backend Task Sequence to do the actual heavy
lifting. If you stick to the default Task Sequence included here, then
when you start it you’ll see a password prompt
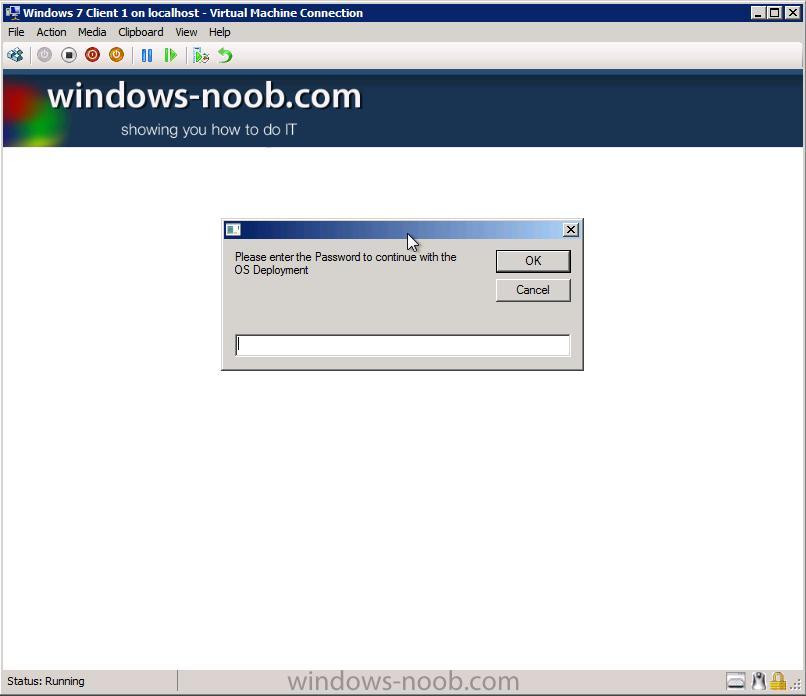
enter Password123 to continue, if you get it wrong it will abort the task Sequence so be careful  .
.
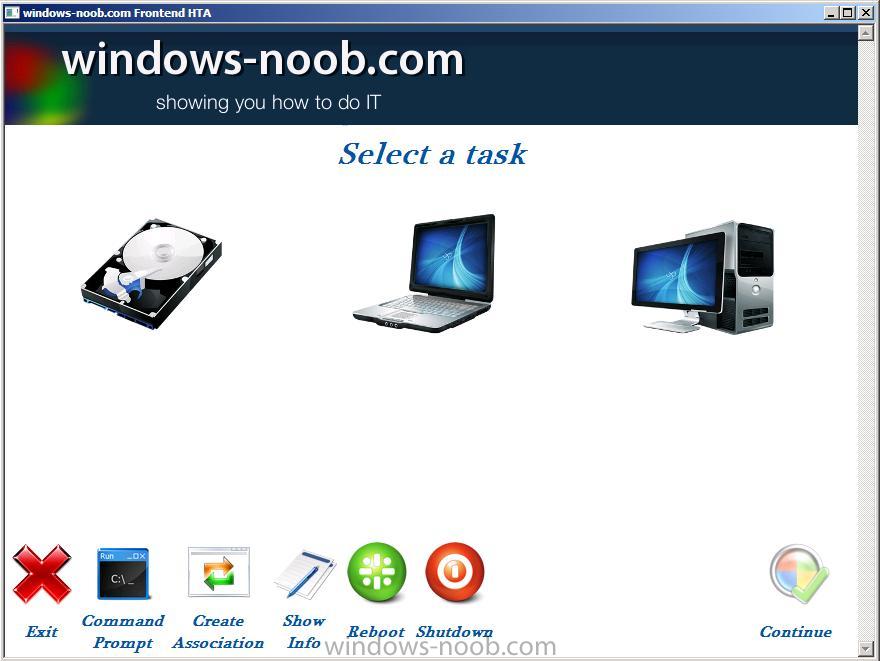
Once you’ve entered the password correctly the HTA itself will display,
currently it’s adjustable in size, you can edit the DeployMenu.hta to
maximise it by editing the following lines,
<HTA:APPLICATION ID="objTest" APPLICATIONNAME="Frontend HTA" SCROLL="yes" SINGLEINSTANCE="yes">
<!HTA:APPLICATION ID="objTest" APPLICATIONNAME="Frontend HTA" SCROLL="No" SINGLEINSTANCE="YES" BORDER="none" CAPTION="no" WINDOWSTATE=MAXIMIZE SINGLEINSTANCE="yes">
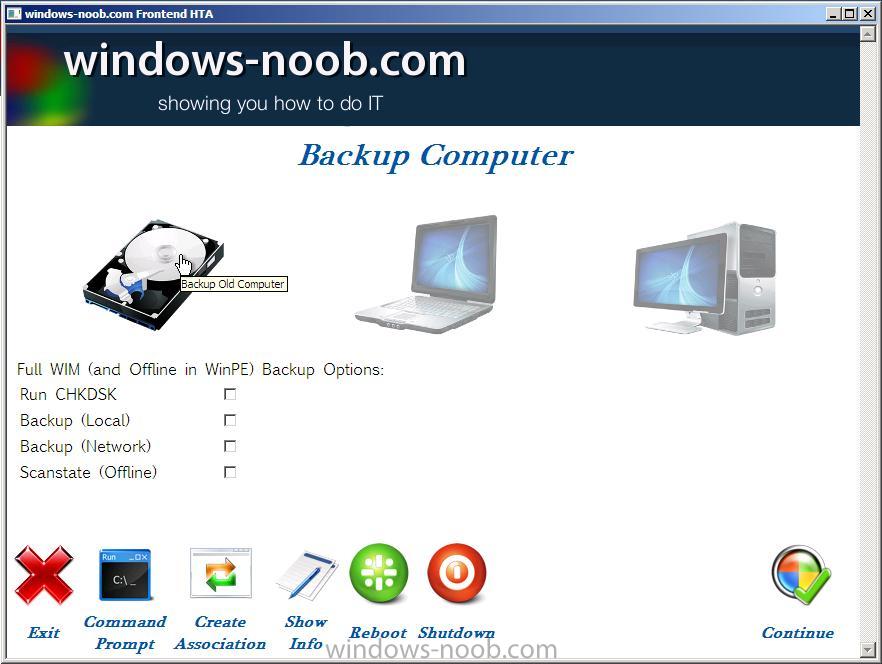
The Backup option allows you to Backup the
data in several different ways (option to run CHKDSK before backup, full
WIM backup both locally and network, Offline Scanstate in WinPE which
is then backed up to a network Share) and also allows you to Create a
computer association between source and destination computer while in
WinPE if you want to do traditional SMP based state backup (note however
for SMP based scenarios that the scanstate must be performed separately
while in the full Windows OS using a separate Task Sequence).
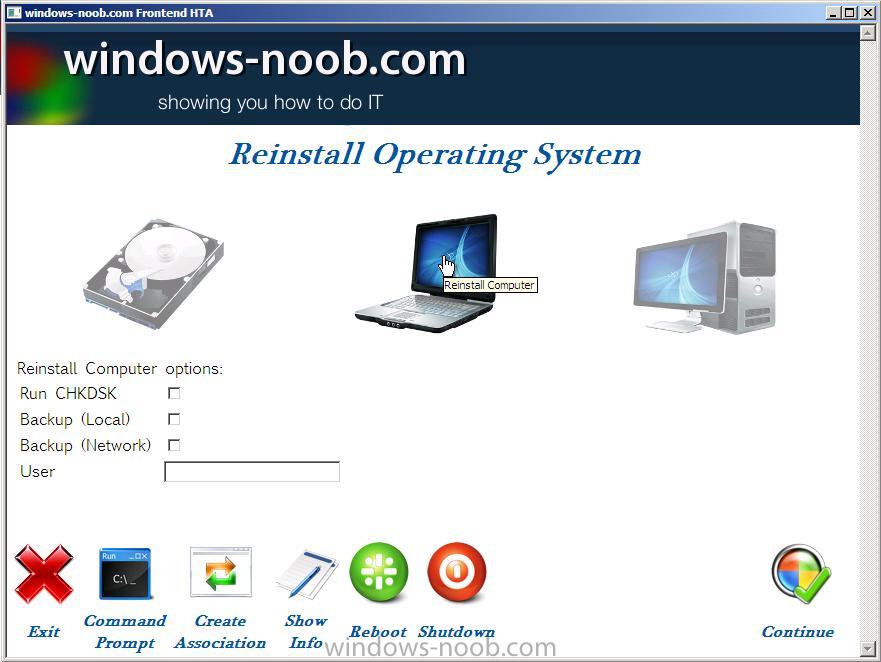
The Reinstall option allows users to
Quickly backup data (using offline mode in WinPE and hardlinking) and
install Windows 7 Enterprise on existing hardware. They can also
optionally specify a user which will then become the Local Administrator
of that computer.
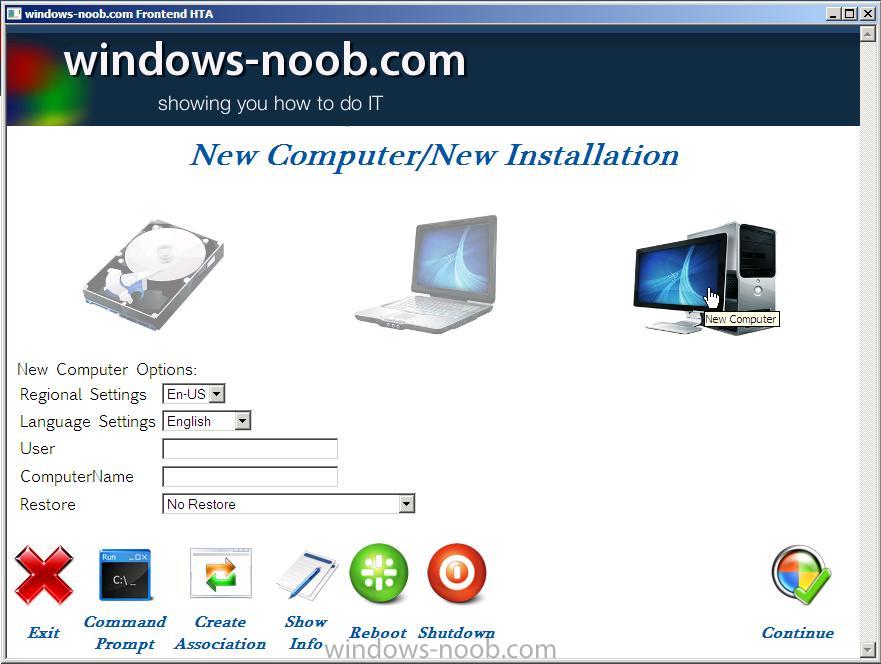
The New Computer option allows you to choose regional and language options offline via drop down menus (4 languages offered, can be expanded upon easily)
Requirements:
The HTA has the following prerequisites:-
* MDT 2010 update 1 integrated with ConfigMgr
* Maik Kosters Web Services 7.2 installed – quick quide here
* SCCM 2007 SP2 R2 or later
* Implement Offline scanstate in WinPE as shown here
* Install Language packs Offline using SCCM 2007 sp2
Features
The windows-noob.com HTA has the following features:-
The windows-noob.com FrontEnd HTA ver 1.0 is primarily used for Deploying (or migrating to) Windows 7, and it offers the following features,
- Backup
- Reinstall
- New Computer
The three Operating System Deployment scenarios, Backup, Reinstall
(refresh) and New Installation (bare metal/new computer) offer their own
options, detailed below:-
Backup features
Chkdsk
full wim backup (local)
full wim backup (network)
Offline scanstate in WinPE (network)
Reinstall features
Chkdsk
full wim backup (local)
full wim backup (network)
Offline scanstate in WinPE (local using hardlinking)
Username becomes Local Administrator
New Computer Features
Regional settings (drop down choice)
Language Settings (drop down choice)
Username
Computername
Restore Users data (drop down choice, none, SMP or Offline via Network)
Additional Features
In addition to the above, you have the ability to:
Exit from the HTA
Open a command prompt
Create a Computer Association (see below)

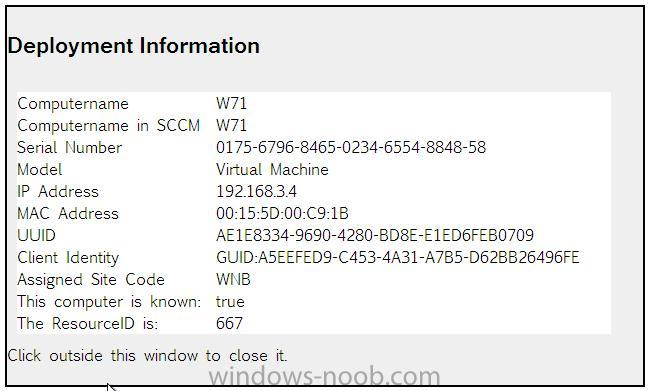
Show information about a client, including IP Address, MAC address, GUID, etc (see below)
Reboot
Shutdown
so that’s the introduction now here’s how to implement it in your lab..
read the rest plus see the screenshots here on windows-noob.com
