
In Part 1. of this series we Installed vNext, now we will configure it.
If you have used Configuration Manager 2007 before you’ll know that we need to use Boundaries.
You need boundaries or the clients will not find the nearest
Distribution Point when they make a Client Location Request. The
boundaries help them find the content at the nearest Distribution Point.
Before we can configure the boundary in vNext we will create a new
Active Directory Site based on our Ip subnet.
Step 1. Add new Active Directory Site
We will begin our Configuration by adding an Active Directory Site.
Perform the following on the Active Directory Domain Controller as a Domain Administrator
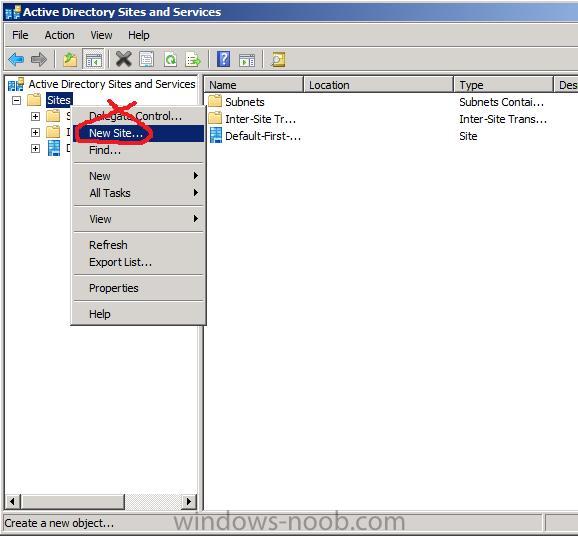
Open Active Directory Sites and Services, Click on Sites, New site.
Give your new site a name like WindowsNoobSite and click the DEFAULTIPSITELINK and click ok.
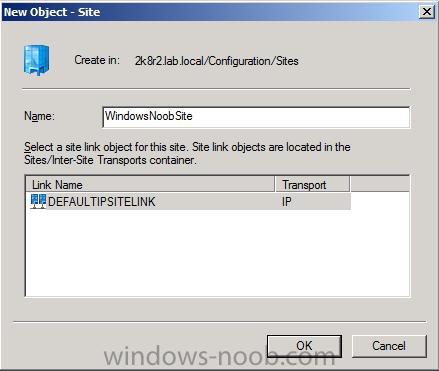
click Ok again
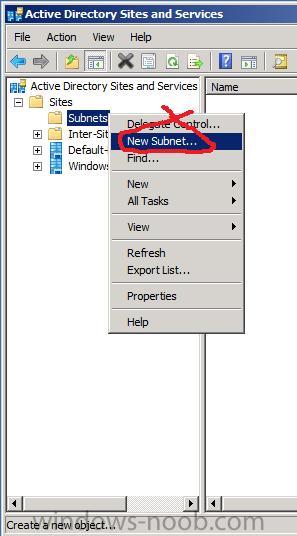
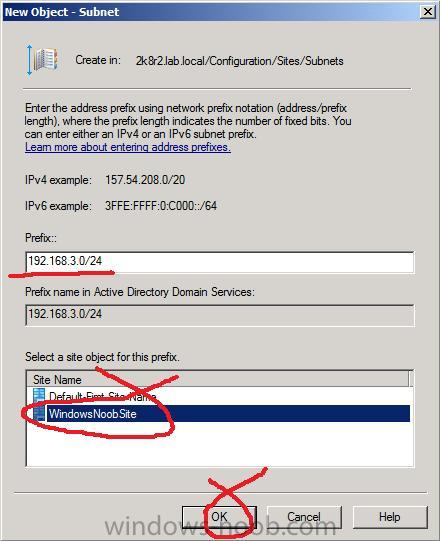
Now right click on Subnets, and choose New Subnet
Enter your Prefix in the box provided (I’m using 192.168.3.x so I entered 192.168.3.0/24) and select the WindowsNoobSite then click ok.
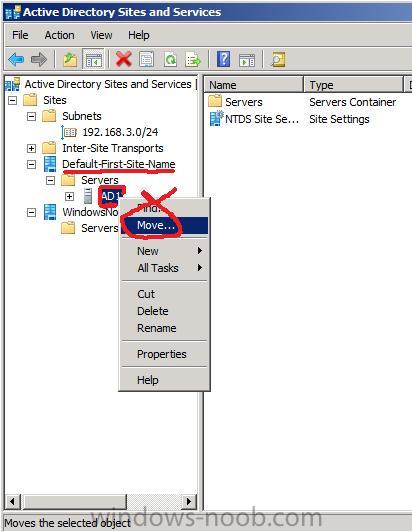
Now we are going to Move our Active Directory server (AD1) from the Default-First-Site-Name to our new site, WindowsNoobSite, so expand it as below and right click on AD1 and choose Move.
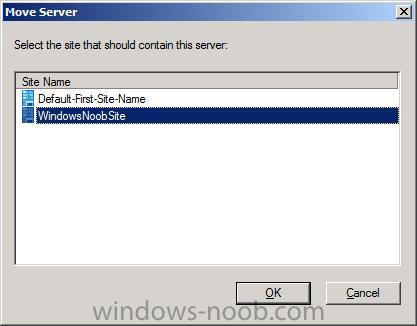
Select our WindowsNoobSite and click ok.
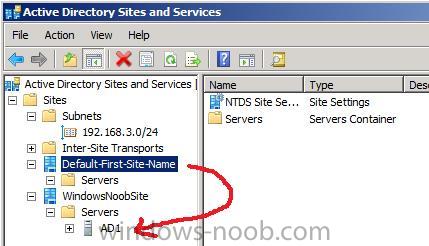
The AD1 server is moved to our new site !
read the rest of Part 2 here
