
Introduction
One of the user definable sources for updates for Endpoint Protection definition updates is an UNC file share, but how you populate that share can mean success or failure when it comes to deploying definition updates from a UNC file share for System Center 2012 Endpoint Protection using System Center 2012 Configuration Manager SP1.
In addition to populating the share correctly, you also need to define your AntiMalware Policy UNC path source correctly otherwise the definition updates will never be found.
In this post I’ll explain how you can set this up and how to verify it’s working.
Step 1. Create a Share and populate with folders
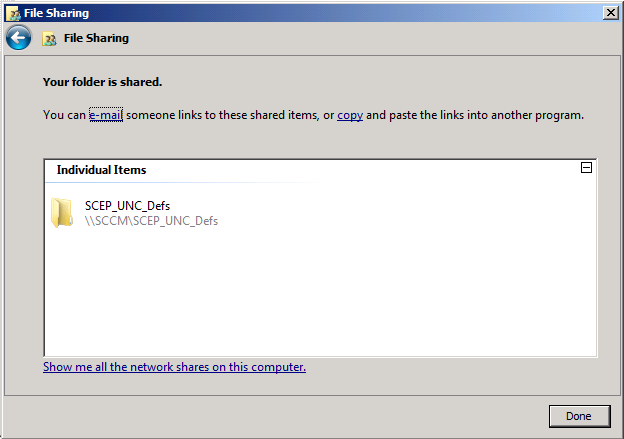
First of all on your chosen server create a folder called SCEP_UNC_DEFS and share it to Domain Users and Domain Computers.
Beneath this folder create another folder called Updates with two sub folders for both architectures like so
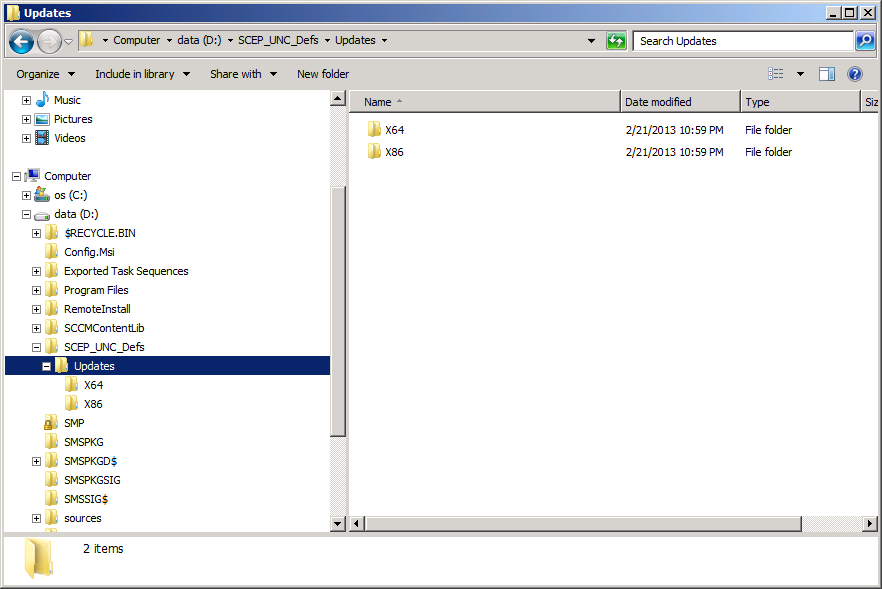
Step 2. Populate the share with definition updates
Now that we’ve created our template folder structure we need to populate it with the actual definition updates for the prospective architecture.
For x64, download the following files and place them in the X64 folder.
- Antimalware full definitions (http://go.microsoft.com/fwlink/?LinkID=121721&clcid=0x409&arch=x64)
- Antimalware delta definitions (http://go.microsoft.com/fwlink/?LinkId=211054)
- Network-based exploit definitions (http://go.microsoft.com/fwlink/?LinkId=197094)
For x86, download the following files and place them in the X86 folder.
- Antimalware full definitions (http://go.microsoft.com/fwlink/?LinkID=121721&clcid=0x409&arch=x86)
- Antimalware delta definitions (http://go.microsoft.com/fwlink/?LinkId=211053)
- Network-based exploit definitions (http://go.microsoft.com/fwlink/?LinkId=197095)

Step 3. Create a new Antimalware Policy
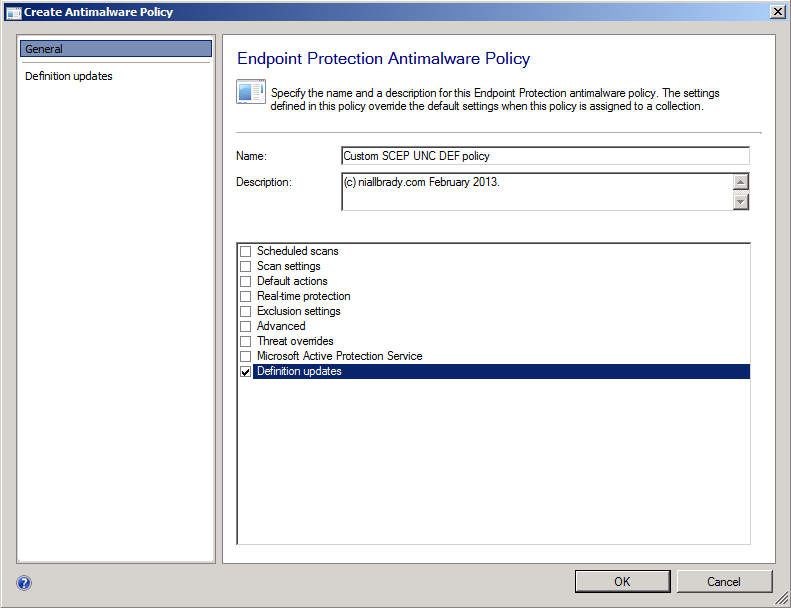
In the Assets and Compliance workspace, expand Endpoint Protection, select Antimalware Policies, right click and choose Create AntiMalware Policy, give it a name like Custom SCEP UNC DEF policy and select Definition Updates from the available choices (you may of course add more sections but for the purpose of this post this is sufficient).
Click on Set Paths and enter the path to the Updates folder which is a sub directory of the SCEP_UNC_DEFS file share, click on Add when done.
eg: \\server\scep_unc_defs\updates
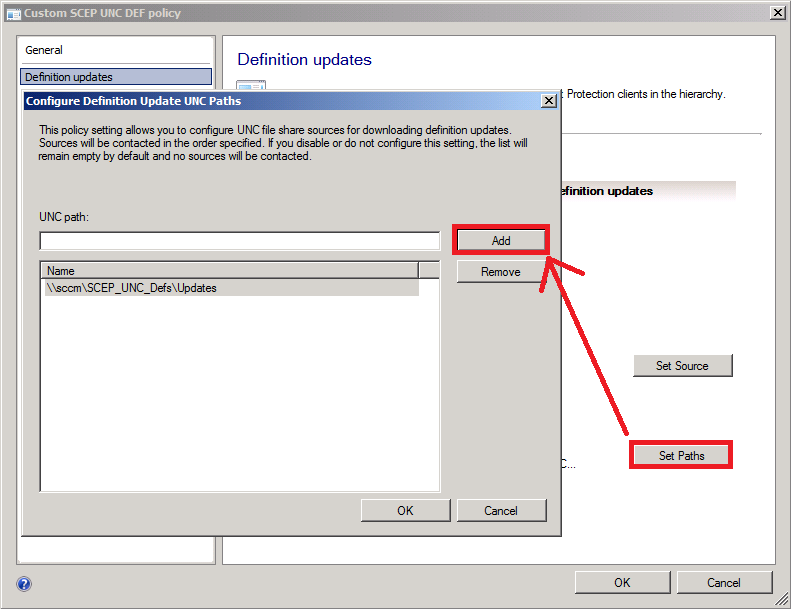
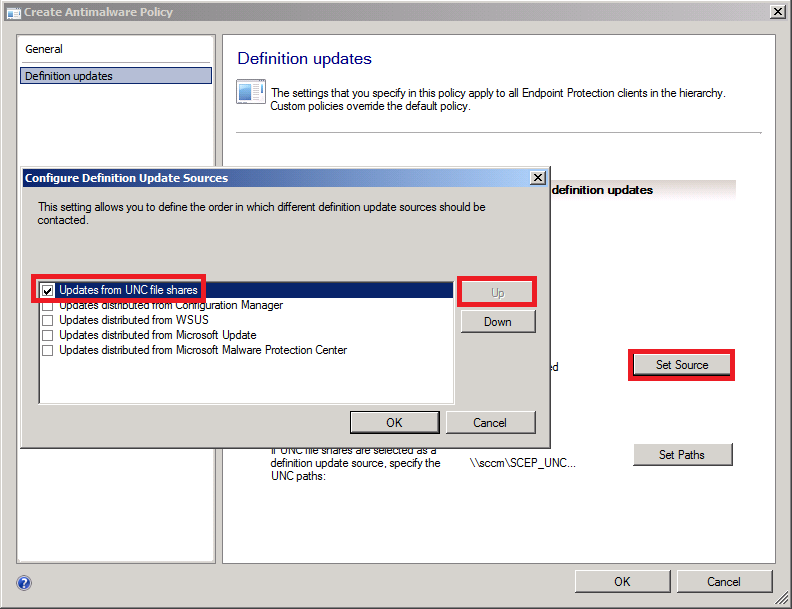
Next click on Set Source, make sure to select Updates from UNC Shares and use the UP button to bring this to the top choice (if you want it as the first option checked when more than one source is selected).
Step 4. Create a collection to target the Antimalware Policy
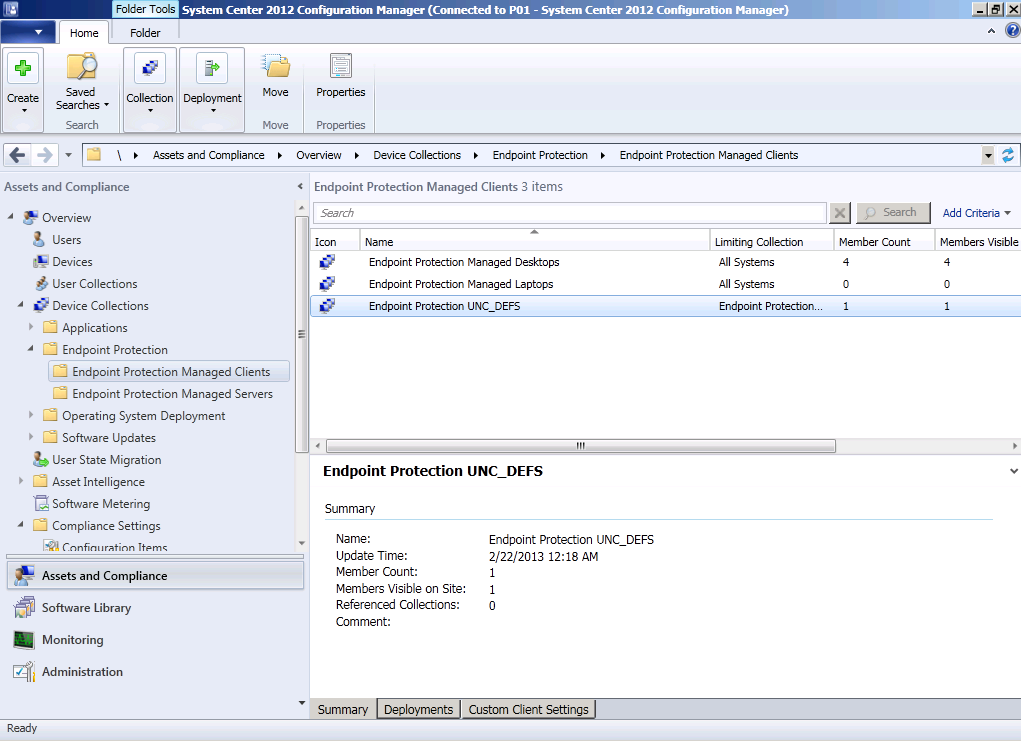
Right click on Devices Collections, and choose create device collection, give it a suitable name like Endpoint Protection UNC_DEFS
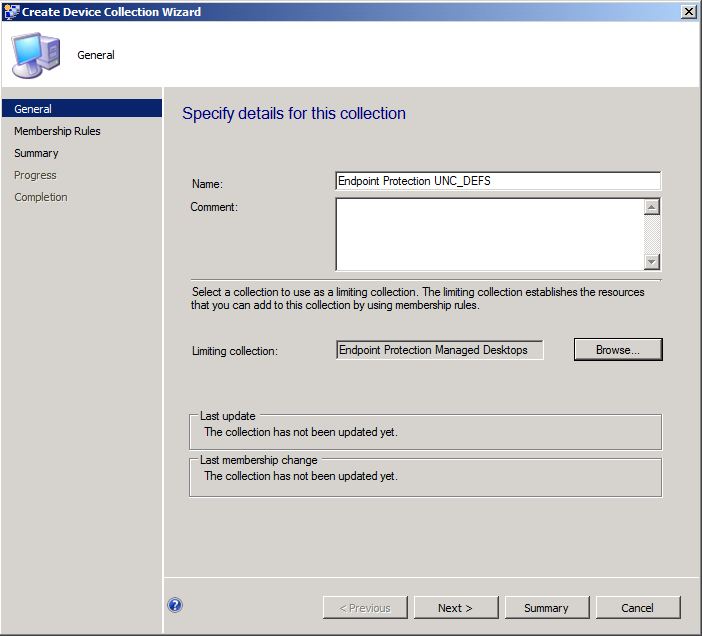
you can populate it however you want (queries or direct membership) and then move it to somewhere suitable if required.
Step 5. Change the Antimalware Policy priority
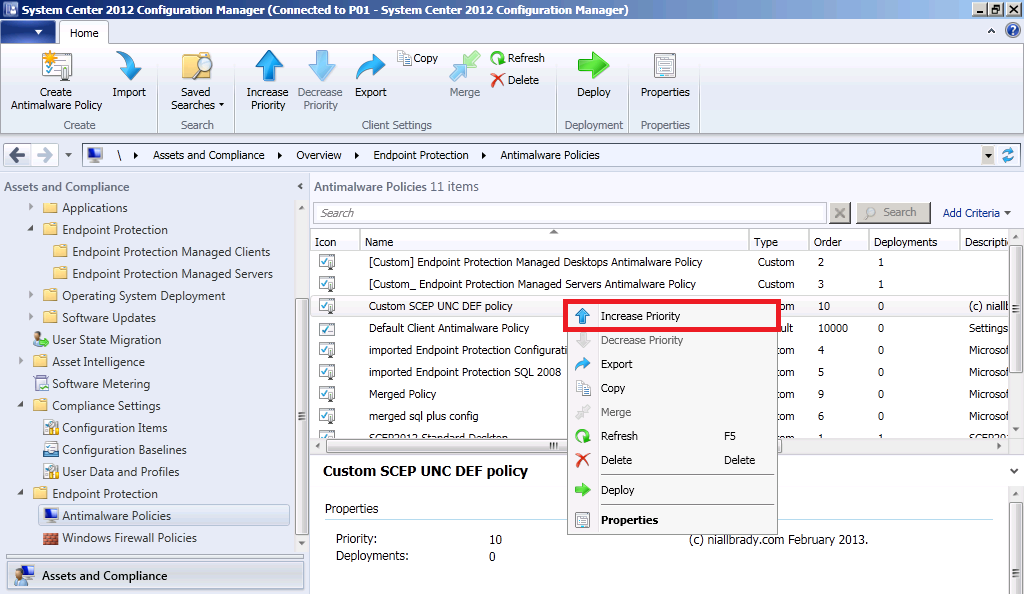
right click on your new antimalware policy and choose Increase Priority, make this the highest priorty you can as SP1 uses Client side merge of AntiMalware policies and we want this source for definition updates to take priority on any computers in this collection.
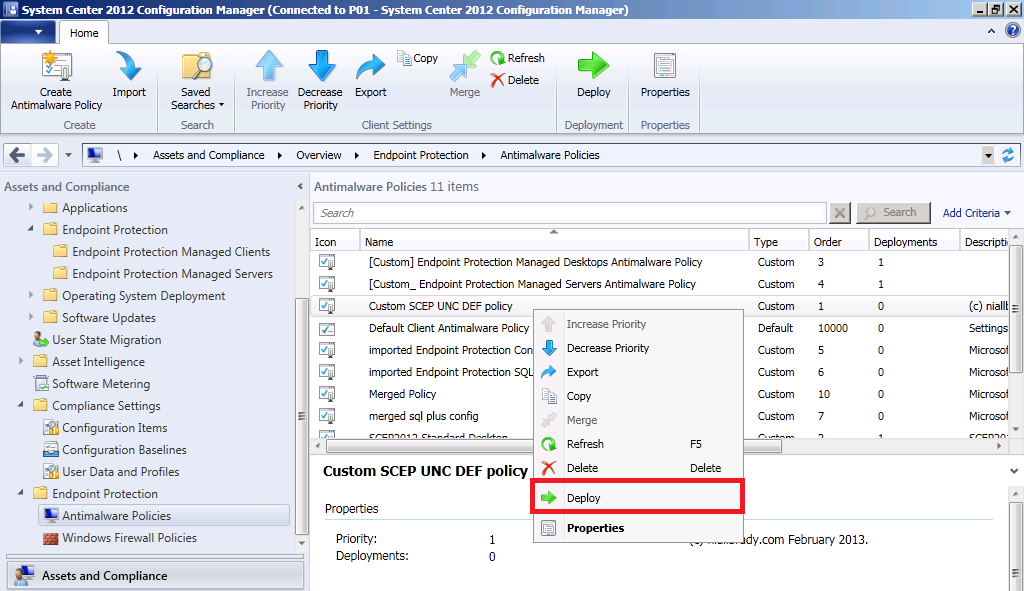
Step 6. Deploy the Antimalware Policy
Right click on the AntiMalware Policy and choose Deploy
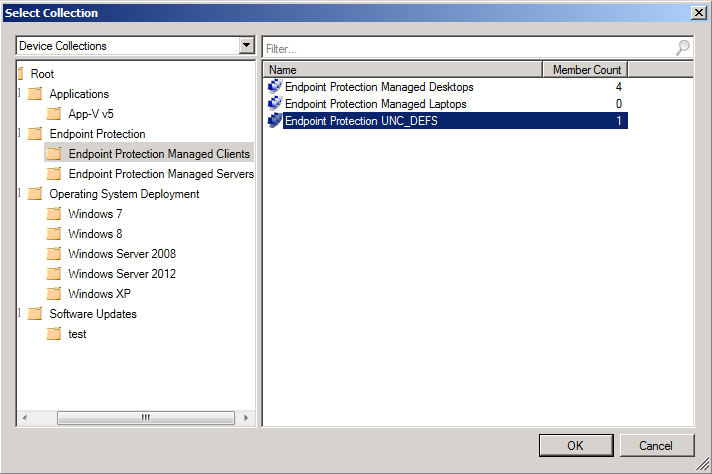
point it to the collection we created above
Step 7. Verify the UNC file share is being used
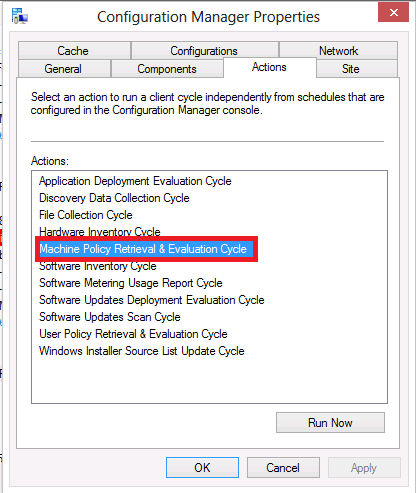
Now everything is in place to deploy definition updates via an UNC file share, but we need to prove that don’t we. On a Windows client computer that you’ve added to our collection we created above, run the following Configuration Manager client action, Machine Policy Retrieval & Evaluation Cycle.
 This will ensure that our client has the latest Antimalware Policies targeted to it including the one we created above, to verify that our policy is indeed targeted to this computer please see this post, you should see something similar to the following in the registry, depending on what Antimalware Policies are applied to this client however we are only interested in our Custom SCEP UNC Def policy and it is indeed listed below.
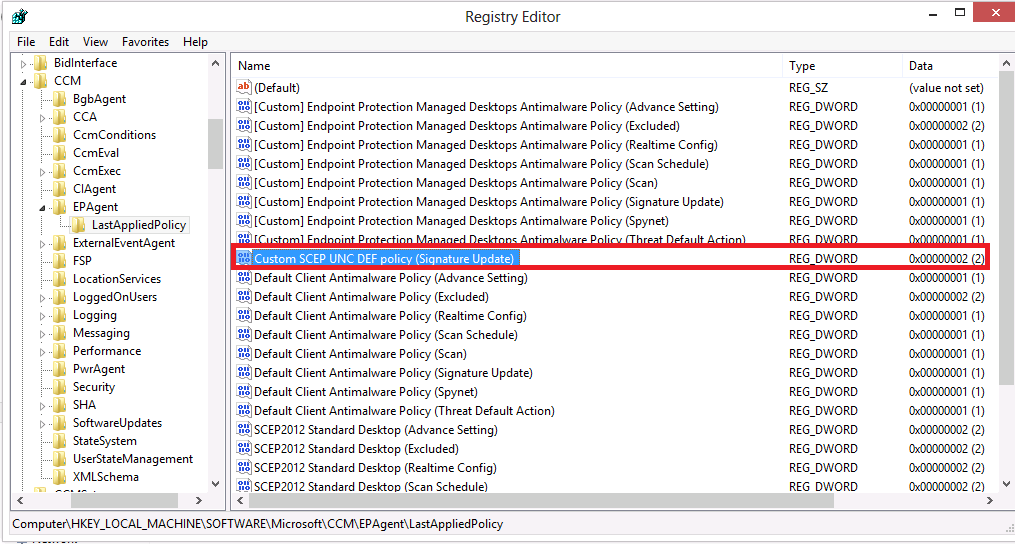
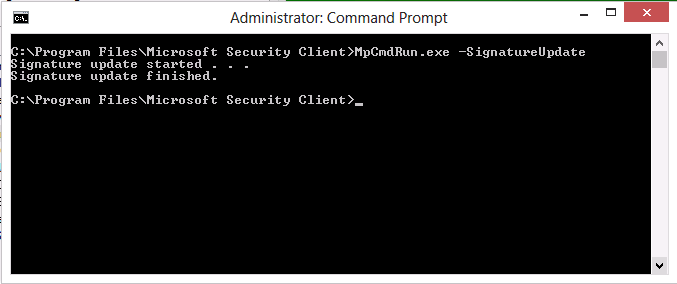
Do not proceed with the verification until your Windows client has our Custom SCEP_UNC_Def policy applied. Once done, open an Administrative command prompt and browse to the following folder C:\Program Files\Microsoft Security Client\ and execute the following command MpcmdRun.exe -SignatureUpdate as per below screenshot.
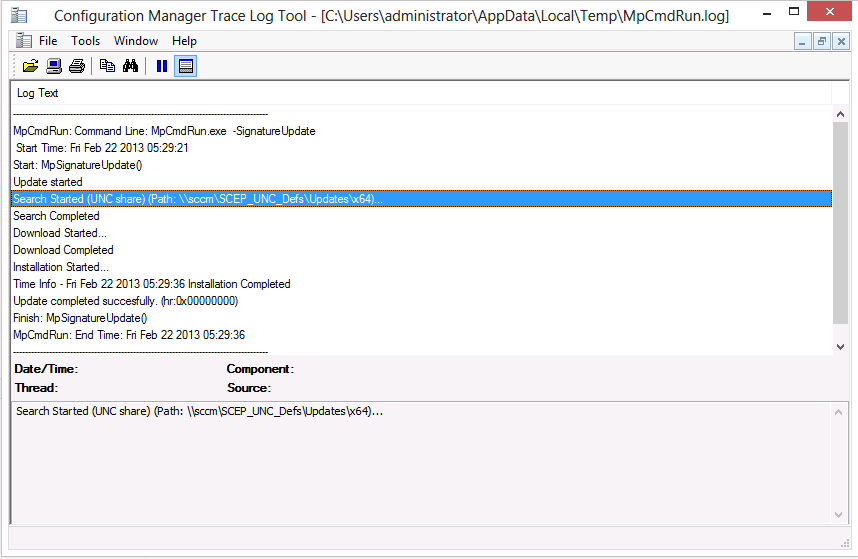
If all went well then you’ll see Signature Update Finished. Open the following log file for final verification C:\Users\Administrator\AppData\Local\Temp\MpCmdRun.Log and you should see search started (UNC Share) along with the following text, Update Completed Successfully. (hr: 0x00000000)
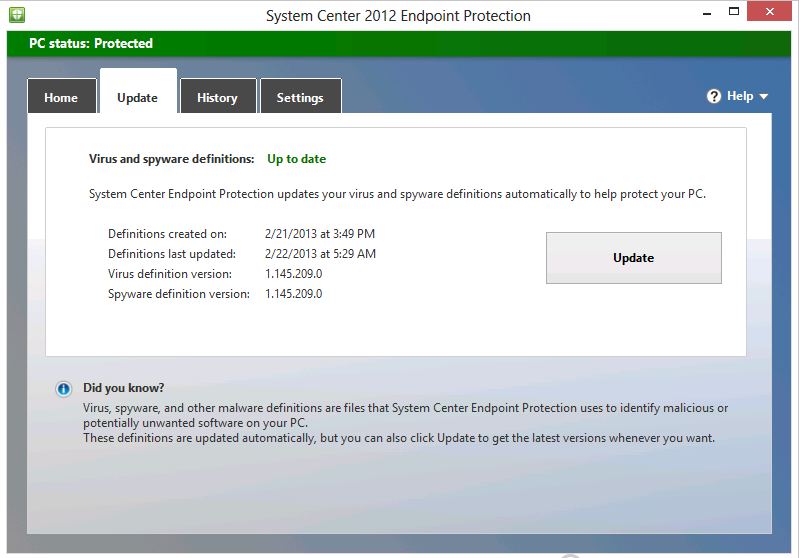
You can open the SCEP client, click on the updates tab and review the Definition Update versions for further verification.
 And there you have it, your SCEP client has updated it’s definition updates from your UNC file share as specified in your Custom Antimalware Policy, and you’ve proven the fact !.
Troubleshooting Tip:
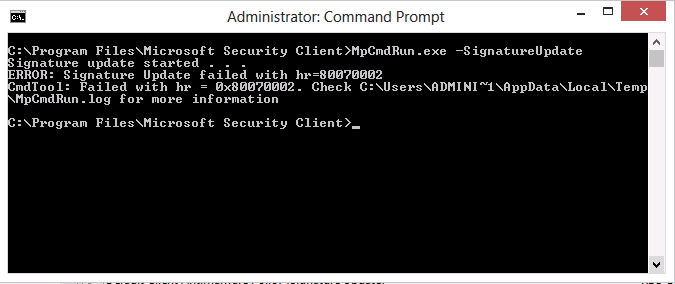
If you fail to get this to work and see the following error instead,
Error: Signature Update failed with hr=80070002
then verify you are pointing at the correct UNC File share directory as listed in my guide above then try again.
Summary
System Center 2012 Configuration Manager SP1 is a powerful management solution and you can use custom antimalware policies to update Endpoint Protection via multiple or single sources, including using UNC file shares, this ability gives great flexibility and control over how you want those definition updates deployed.
If you’d like to automate the download of those definition updates please review the following post.
until next time, from Seattle,
cheers
niall

Pingback: System Center 2012 Configuration Manager Step By Step Guides | just another windows noob ?