
Introduction
This blog series is comprised of 3 parts. In this part I’ll cover how you can migrate your existing configuration manager managed, domain joined devices to Azure AD joined, and Intune managed devices. During that process the app also converts those devices to Windows Autopilot devices, all with minimal downtime for the end user and via an easy to use self-service app.
- Migrate to the cloud – Part 1. Setup <- you are here
- Migrate to the cloud – Part 2. Customization
- Migrate to the cloud – Part 3. Troubleshooting
If you’d like to see a video showing the entire migration process then here it is.
Note: In the video, I refer to a Windows Hello for Business problem pin entry, but that was simply because I was restoring a check-pointed virtual machine and testing it over and over. You shouldn’t see that problem on regular computers.
The app itself is comprised of 3 main parts which does the following:
Part #1
1. Create local migration admin account APSweepback, enable Autologin
2. Remove MBAM client
3. Remove SCCM client
4. Change the Windows shell
5. Drop out of the domain
6. Restart computer…
Part #2
1. AutoLogin as APSweepback account
2. Start second script (shell)
3. rename old ‘on prem’ account to xxxxx.OLD
4. popup AADJ wizard asking for credentials
5. convert the device to Windows Autopilot device
6. create scheduled task for part 3
7. restart computer (to reapply UAC settings and for WHFB)
Part #3
1. Install Company Portal
2. Launch OneDrive for Business
3. Cleanup registry keys and changes
4. add to Autopilot Sweepback completed AAD group (for reporting and remediation scripts)
5. popup notification that all is done and logoff
The app development is mostly done, but it’s still evolving based on feedback, if you know of better ways of doing things within the app then do please let me know.
Here’s a short overview of the apps main features
- Created with Powershell
- Uses Azure Functions (HttpTriggers)
- Disconnects a device from the domain/ConfigMgr
- Connects to Azure AD/Intune
- Convert device to Windows Autopilot
- Users data stored in OneDrive
- Users data remains on the device after migration
- Installed apps remain installed on the device
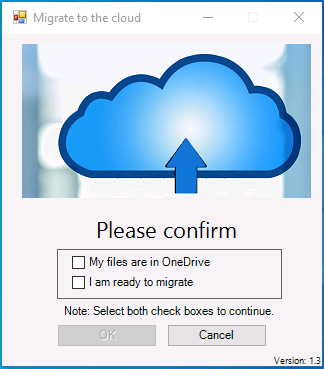
- UI front end for the end user
- Status screen indicating progress
- Detailed Logs
- Email ability (via Azure/Sendgrid)
Step 1. Get the scripts
Note: You can only download these files when logged on as a member of https://www.windows-noob.com
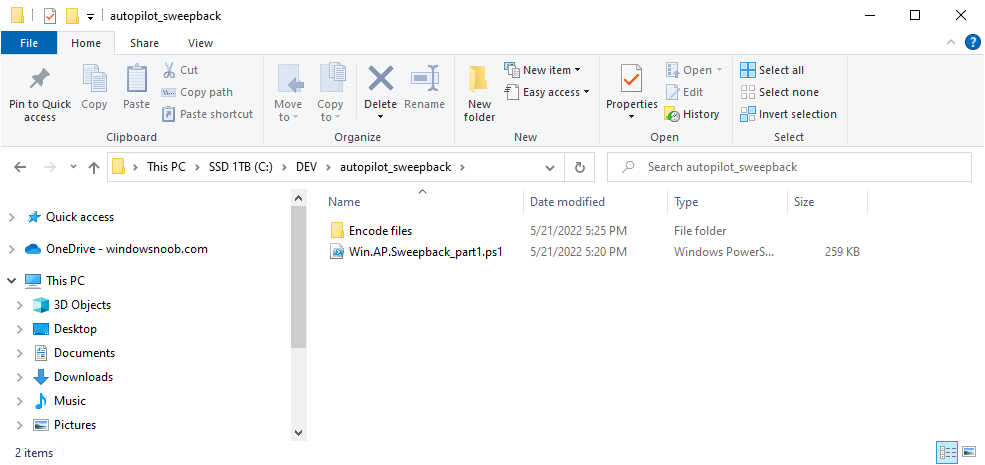
Extract the zip to C:\DEV
The extracted ZIP files should look something like this
Step 2. Get ServiceUI.exe from MDT
You’ll need the ServiceUI.exe executable file to display user interfaces (UI) to end users in SYSTEM context. As our app will be deployed from ConfigMgr in SYSTEM context, we’ll utilize ServiceUI.exe. To get the file, download and install MDT somewhere and navigate to C:\Program Files\Microsoft Deployment Toolkit\Templates\Distribution\Tools\x64. To download MDT click here.
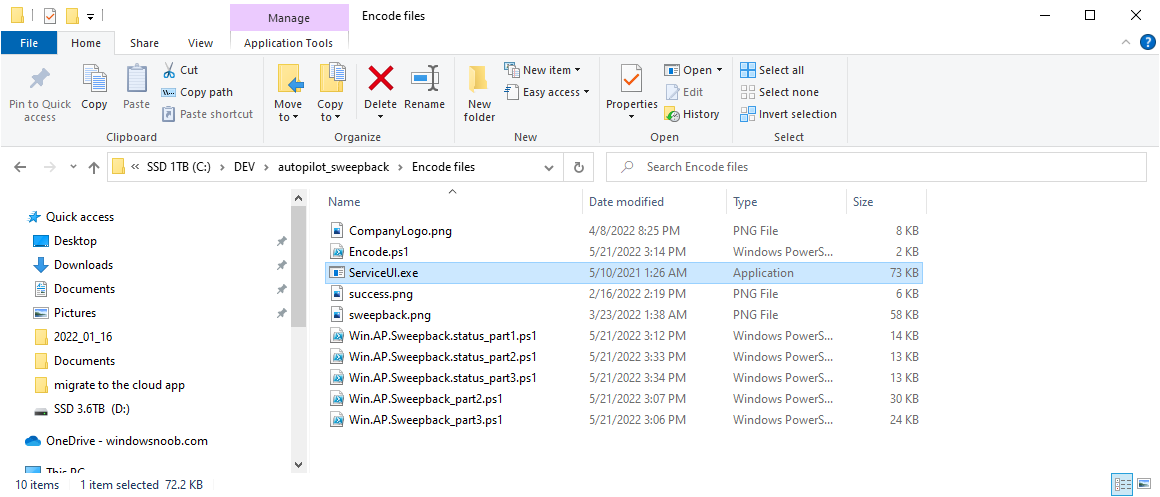
Copy the ServiceUI.exe file to your extracted C:\DEV\autopilot_sweepback\Encode files folder so it looks like this.
Step 3. create some azure ad groups
In Microsoft Endpoint Manager (MEM), create two Static Azure AD groups with the following names:
- Autopilot Sweepback Completed
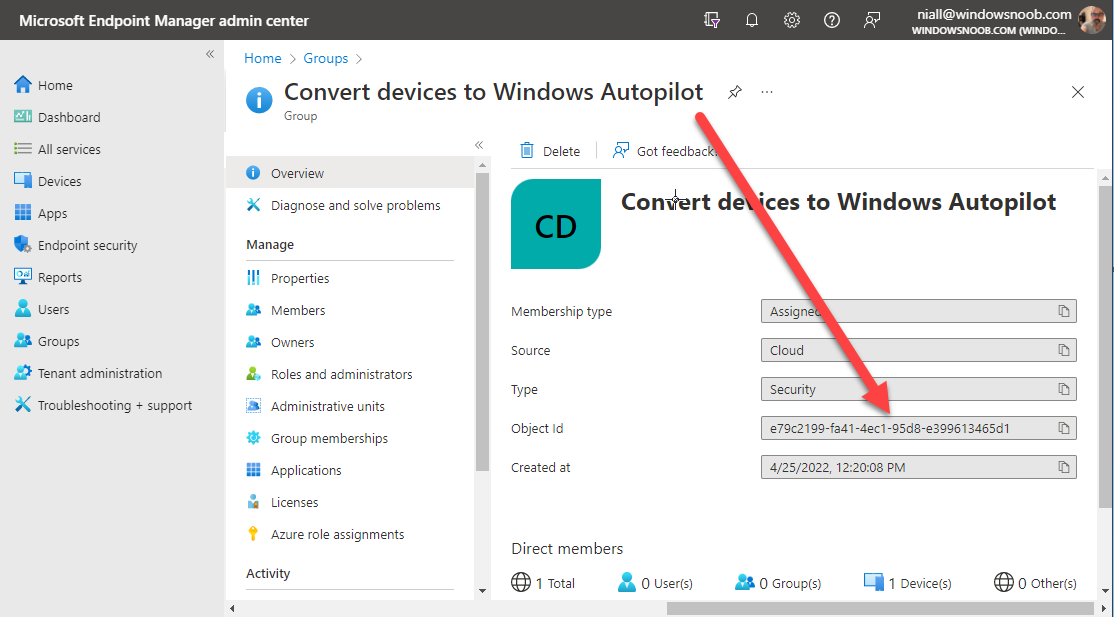
- Convert devices to Windows Autopilot
After creating the groups, take note of the ObjectId of each aad group.
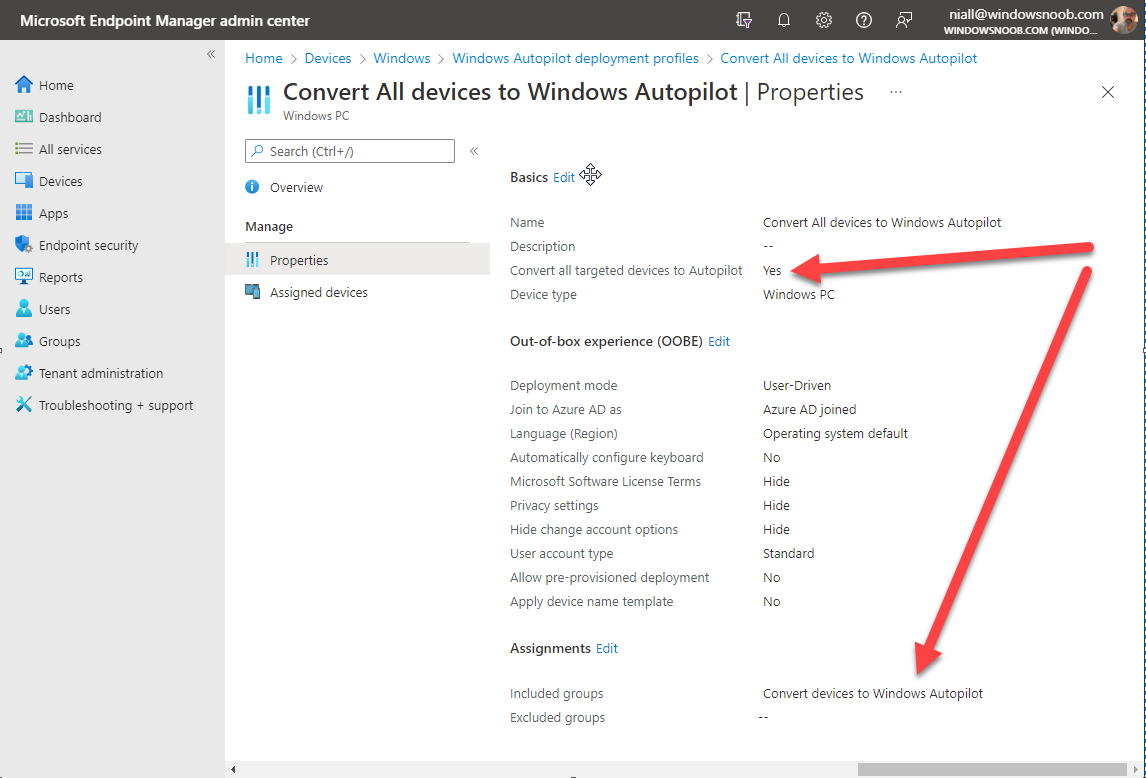
Step 4. create a Windows Autopilot deployment profile
In MEM, navigate to Devices, Windows, Windows Enrollment, and select Windows Autopilot Deployment Profiles, select Create to create a new profile and make sure that Convert all targeted devices to Autopilot is set to YES and that the profile is assigned to the Convert devices to Windows Autopilot Azure AD group created in step 3 above.
Step 5. create an Azure function
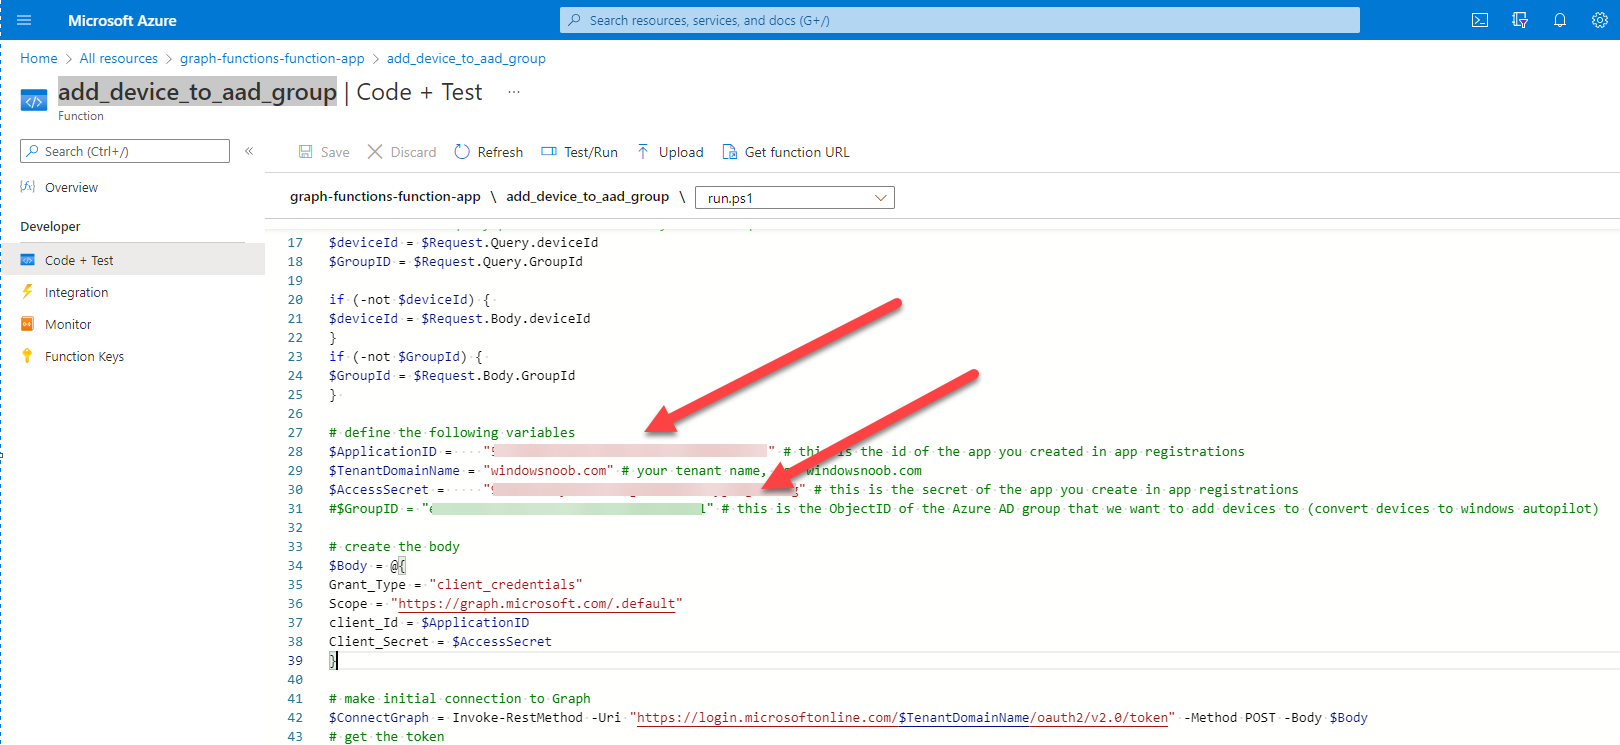
In Azure, I will assume you’ve already created a functionapp as per Step 4 of this blog post. If not, go ahead and create one and then return to this step. Next create a new httptrigger called add_device_to_aad_group and insert the following code into it.
# Niall Brady 2022/05/21 (used by the Check Compliance, Software Updates to devices solutions amongst others...)
# Dynamically ADDS a device to an azure ad group
#

using namespace System.Net
# Input bindings are passed in via param block.
param($Request, $TriggerMetadata)

# Write to the Azure Functions log stream.
Write-Host "PowerShell HTTP trigger function processed a request."
# Interact with query parameters or the body of the request.
$deviceId = $Request.Query.deviceId
$GroupID = $Request.Query.GroupId

if (-not $deviceId) {
$deviceId = $Request.Body.deviceId
}
if (-not $GroupId) {
$GroupId = $Request.Body.GroupId
}

# define the following variables
$ApplicationID =    "" # this is the id of the app you created in app registrations
$TenantDomainName = "" # your tenant name, eg: windowsnoob.com
$AccessSecret =     "" # this is the secret of the app you create in app registrations


# create the body
$Body = @{
Grant_Type = "client_credentials"
Scope = "https://graph.microsoft.com/.default"
client_Id = $ApplicationID
Client_Secret = $AccessSecret
}

# make initial connection to Graph
$ConnectGraph = Invoke-RestMethod -Uri "https://login.microsoftonline.com/$TenantDomainName/oauth2/v2.0/token" -Method POST -Body $Body
# get the token
$token = $ConnectGraph.access_token
$token

# to improve logging...
$triggerName = "add_device_to_aad_group"
$a = Get-Date
$body = " `n"
$body = $body + "$a Starting the '$triggerName' function...`n"
$body = $body + "$a Connected to tenant: $TenantDomainName.`n"

#START $FindDevice
if ($deviceId -and $GroupId) {
	$Group = Invoke-RestMethod -Method Get -uri "https://graph.microsoft.com/v1.0/groups?`$filter=Id eq '$GroupId'" -Headers @{Authorization = "Bearer $token"} | Select-Object -ExpandProperty Value
	$GroupName = $Group.displayName
	$body = $body + "$a You supplied deviceId: '$deviceId'" + ".`n"
	$body = $body + "$a You supplied groupId: '$GroupId'" + ".`n"
	$body = $body + "$a Group.displayName: '$GroupName'" + ".`n"

	#$GroupMembers =  Invoke-RestMethod -Method Get -uri "https://graph.microsoft.com/v1.0/groups/$GroupID/members?$filter " -Headers @{Authorization = "Bearer $token"} | Select-Object -ExpandProperty Value
	# | Select-Object -ExpandProperty Value

    # below fixes the 100 members per returned result in AAD problem
    $GroupMembers2 = Invoke-RestMethod -Method GET -uri "https://graph.microsoft.com/v1.0/groups/$GroupID/members?`$count=true&`$filter=startswith(deviceid,'$deviceId')" -Headers @{Authorization = "Bearer $token";"ConsistencyLevel" = "eventual"}

	# if found do this
	if ($GroupMembers2.value.deviceId){
		#$body = $body + "--------------------------------------------------------------------`n"
        #$body = $body + "This device was found in the AAD group so no need to add it again...`n"
		#$body = $body + "deviceId: " + $GroupMembers2.value.deviceId + "`n"
        #$body = $body + "displayName: " + $GroupMembers2.value.displayName + "`n"
		#$body = $body + "--------------------------------------------------------------------`n"
		Write-Host -ForegroundColor Yellow "$GroupMembers2.value.displayName is in the group"
		$body = $body + "$a Device: " + $GroupMembers2.value.displayName + " is already in the " + $GroupName + " group, nothing to do.`n"
		$body = $body + "$a The computer is already in the group, nothing to do.`n"
		$Status = "Already present in group"
	}
	else	{
        $AddDevice = Invoke-RestMethod -Method Get -uri "https://graph.microsoft.com/v1.0/devices?`$filter=deviceId eq '$deviceId'" -Headers @{Authorization = "Bearer $token"} | Select-Object -ExpandProperty Value | %{
        Write-Host -ForegroundColor Green "Adding $($_.DisplayName) ($($_.ID)) to the group"
        $body = $body +  "$a Adding $($_.DisplayName) ($($_.ID)) to the group with ObjectID $GroupID.`n"
        $ComputerName = $($_.DisplayName)
        $Status = "ADDED"
        $BodyContent = @{
            "@odata.id"="https://graph.microsoft.com/v1.0/devices/$($_.id)"
        } | ConvertTo-Json
            # code to add it here...
            # the $ref variable is explained here... kinda # https://docs.microsoft.com/en-us/graph/api/group-post-members?view=graph-rest-1.0&tabs=http
            try {Invoke-RestMethod -Method POST -uri "https://graph.microsoft.com/v1.0/groups/$GroupID/members/`$ref" -Headers @{Authorization = "Bearer $token"; 'Content-Type' = 'application/json'} -Body $BodyContent
            # pause some seconds to allow time for the object to be populated if recently added...
            sleep 30
            }
            catch { $body = $body + "$a ERROR ADDING THE DEVICE`n"
                    $body = $body + "Here is the error message: '$_.ErrorMessage'"
                    $Status = "ERROR ADDING THE DEVICE"
                    }
	}
    }

}
#END $FindDevice

$a = Get-Date
$body = $body + "$a Exiting Azure function."
# Associate values to output bindings by calling 'Push-OutputBinding'.
Push-OutputBinding -Name Response -Value ([HttpResponseContext]@{
StatusCode = [HttpStatusCode]::OK
Body = $body
})
In the code above, fill in the following values that correspond to your environment:
- ApplicationID
- TenantDomainName
- AccessSecret
Don’t forget to Save your changes in the Http trigger. Take note of the function URL by clicking on Get Function URL, it’ll look something like this

Step 6. edit the variables
Next, open Powershell ISE and locate the win.ap.sweepback_part1.ps1 powershell script. Fill in or change the missing values for the variables listed below:
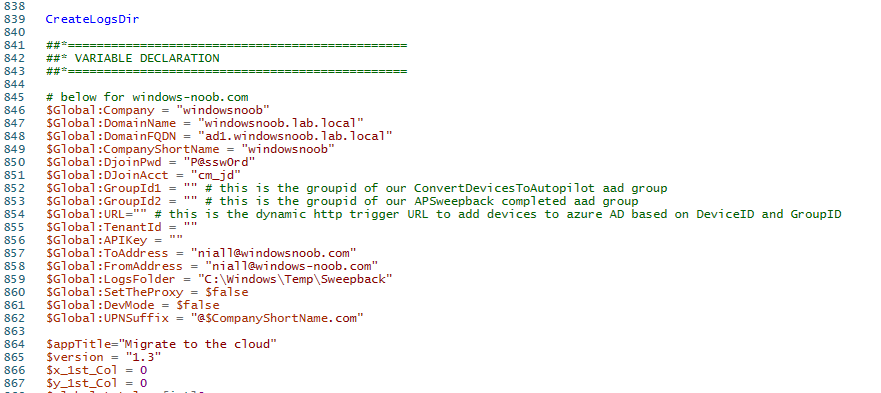
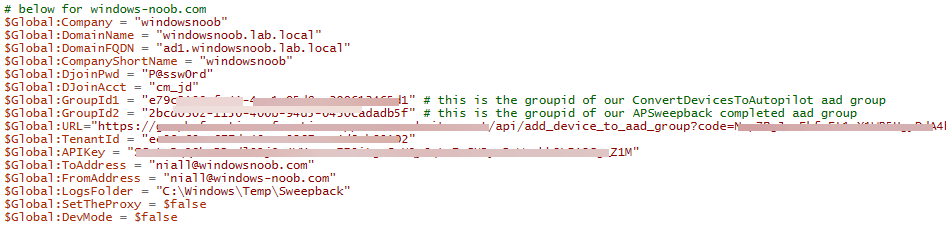
So it looks more like this (the values from my tenant are blurred):
Next, open the encode.ps1 script and run it, once completed, browse to the Encoded files folder and locate the
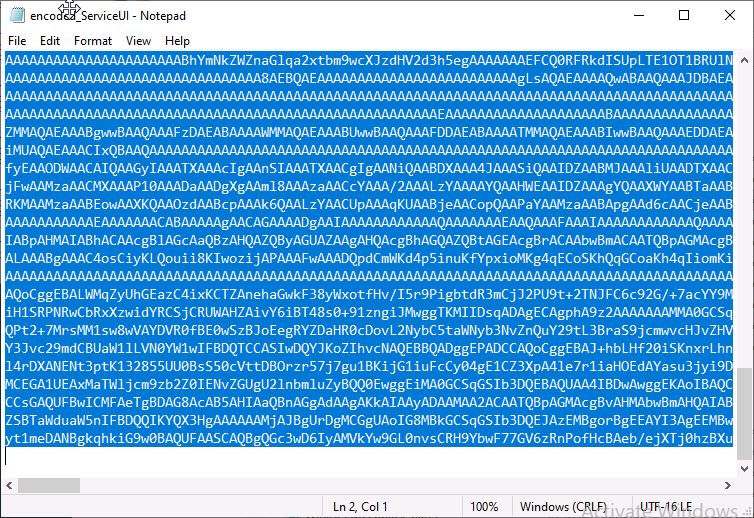
After running the script, locate the encoded_ServiceUI.txt file and open it in notepad.
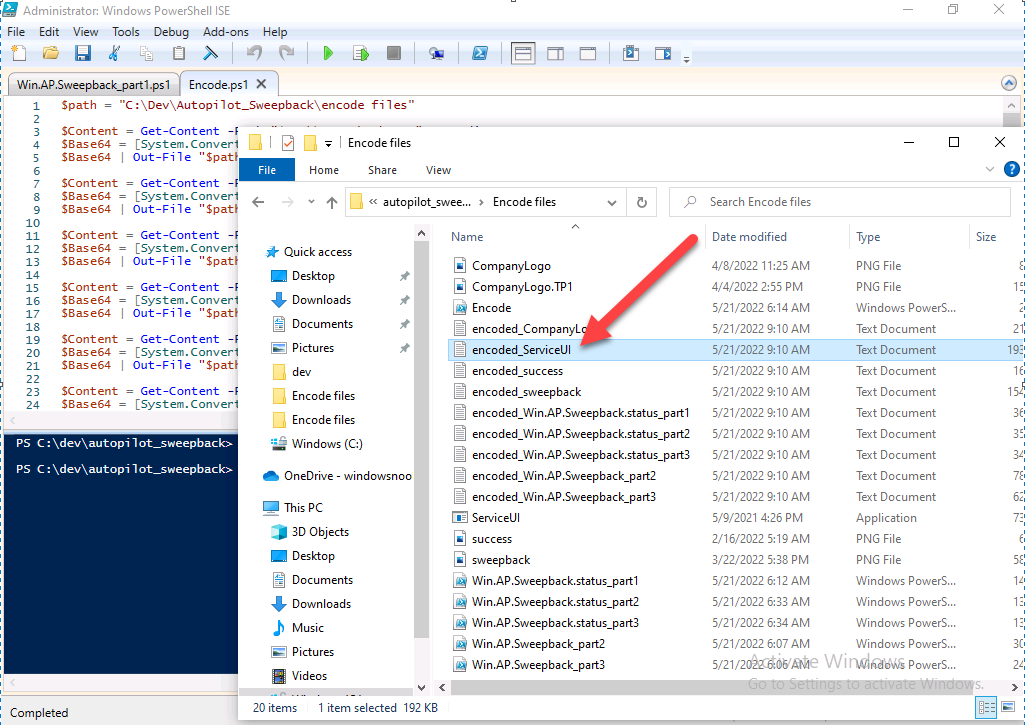
Copy the contents of that file using CTRL+A followed by CTRL+C
Paste that code into the following line in between the quotation marks
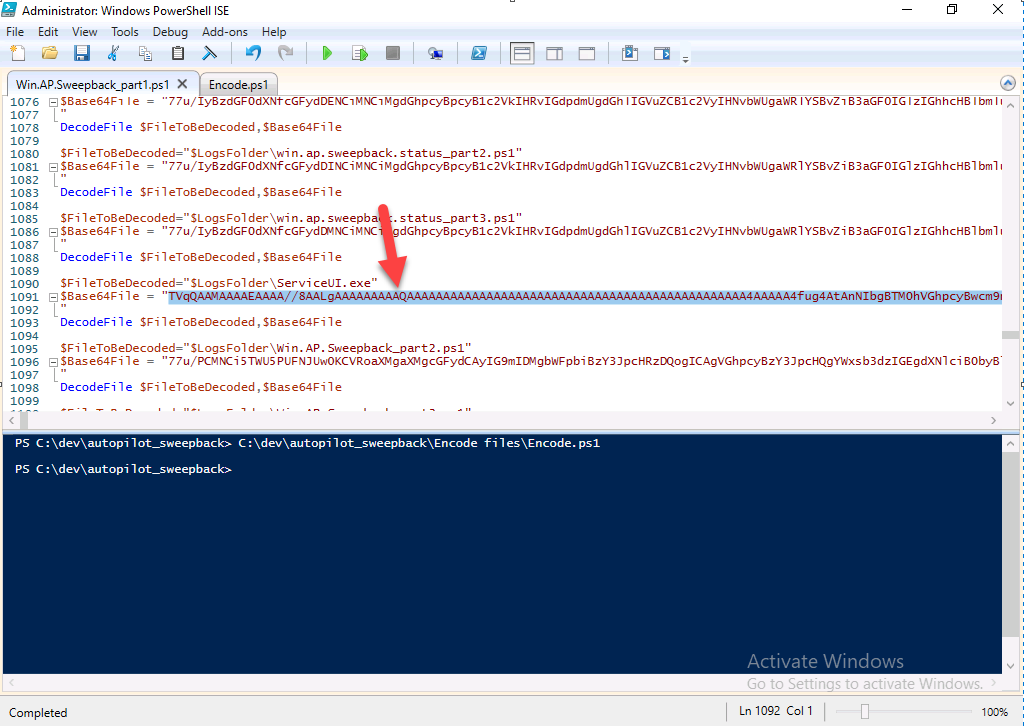
Save the changes to the win.ap.sweepback_part1.ps1 code.
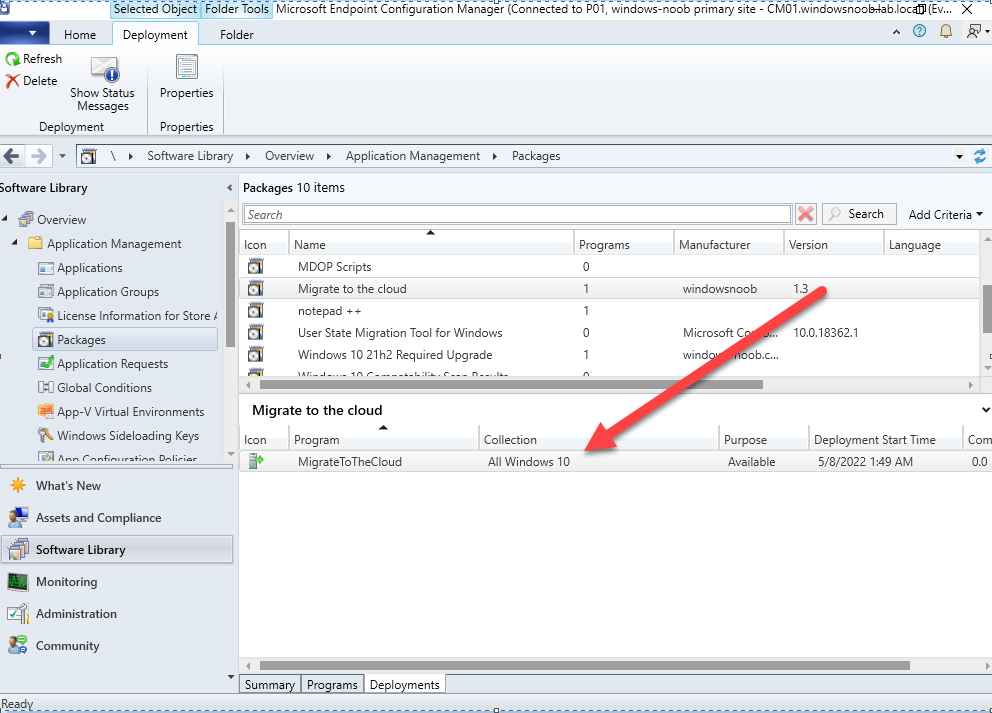
Step 7. create and deploy the app in ConfigMgr
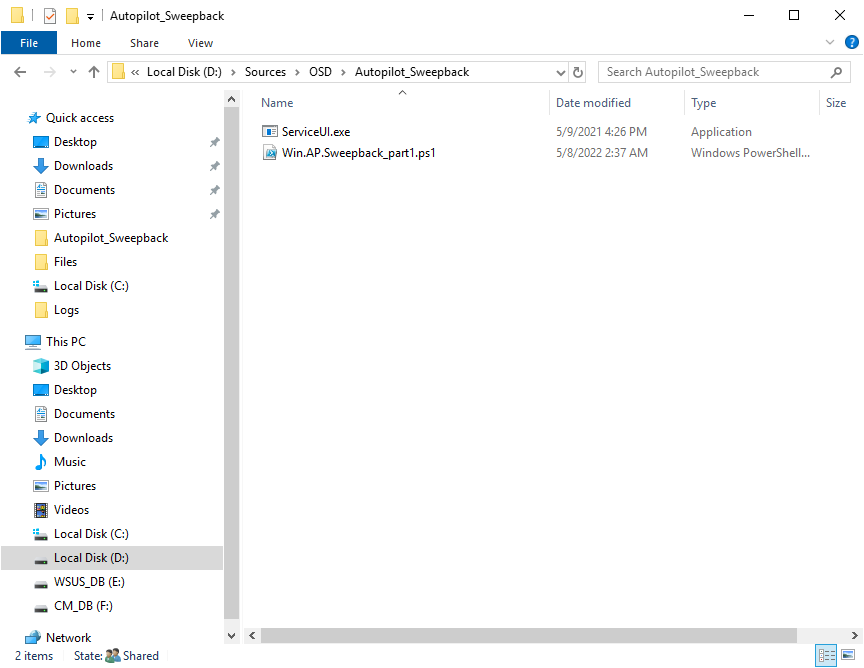
In my example, I simply created a package/program in ConfigMgr to deploy this app, use whatever application model you wish. To do this simply copy two files to a folder called Autopilot_Sweepback and use that as your package source.
- ServiceUI.exe
- win.ap.sweepback_part1.ps1
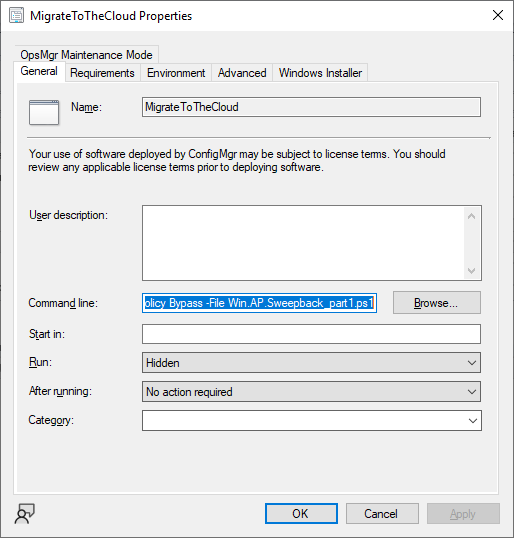
the program for the package uses the following line
ServiceUI.exe -process:explorer.exe %SYSTEMROOT%\System32\WindowsPowerShell\v1.0\powershell.exe -NoProfile -WindowStyle Hidden -ExecutionPolicy Bypass -File Win.AP.Sweepback_part1.ps1
as shown here
Next, deploy the package to a collection containing some devices you want to migrate.
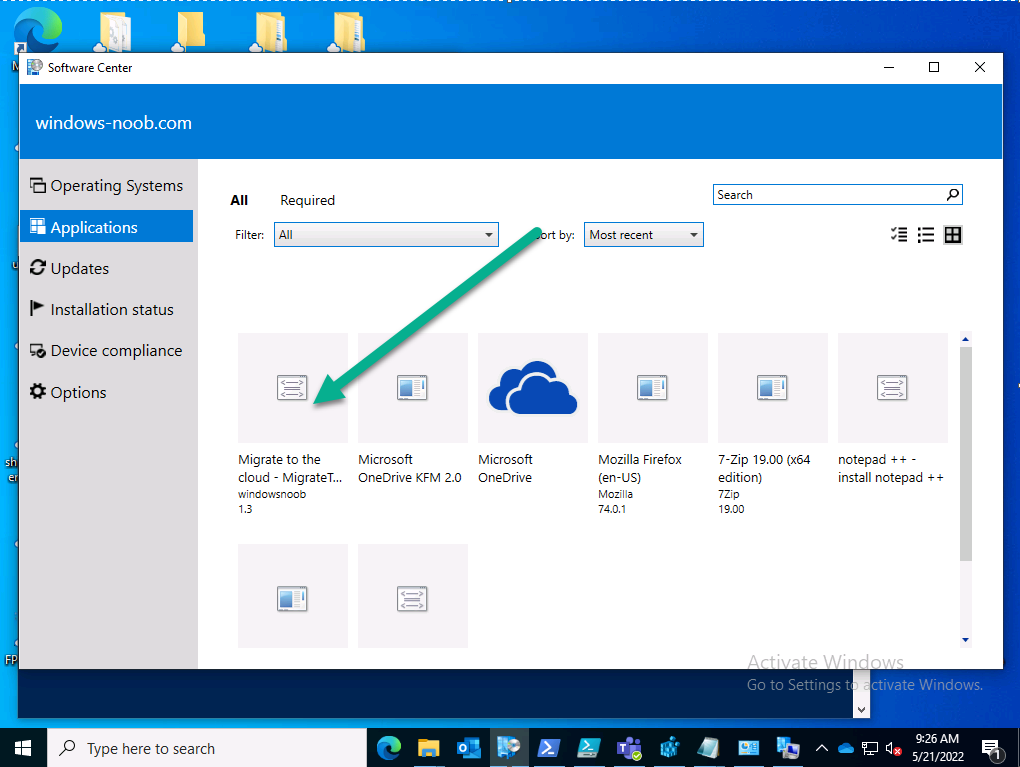
Step 8. Test it
Now the hard work is mostly done and you can start testing it, launch it from Software Center and start migrating to the cloud !
That’s it, join me in the next parts where we’ll go a little further!
cheers
niall
Related reading
- https://docs.microsoft.com/en-us/windows/client-management/mdm/mdm-enrollment-of-windows-devices
- https://docs.microsoft.com/en-us/mem/intune/enrollment/enrollment-restrictions-set
- https://techcommunity.microsoft.com/t5/microsoft-endpoint-manager-blog/the-journey-to-cloud-based-device-management/ba-p/3264631
