
 Microsoft released Windows Intune back in March 2011, this was their launch pad to get users into the cloud. This later evolved into Microsoft Intune and is now known as Microsoft Endpoint Manager. This cloud journey
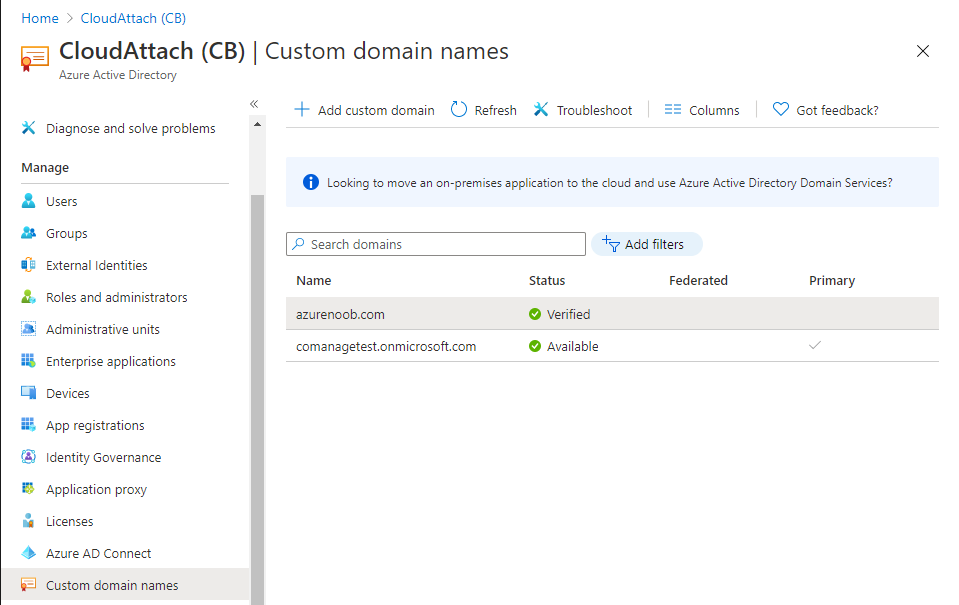 encompassed several new technologies and associated buzz words summarized below.
- Hybrid MDM – Depreciated, this was the first combination of ConfigMgr and Intune
- Co-management – The ability to manage devices via ConfigMgr and Intune
- Co-existence – Using a 3rd party MDM solution together with ConfigMgr
- Cloud Attach – Attaching cloud components to a ConfigMgr environment
- Tenant attach – Attaching ConfigMgr managed devices including servers to the cloud
This part is the first part in a series of guides about cloud attach in Microsoft Endpoint Manager and the guides are co-written by Niall & Paul, both of whom are Enterprise Mobility MVP’s with broad experience in the area of modern management. Paul is 4 times Enterprise Mobility MVP based in the UK and Niall is 10 times Enterprise Mobility MVP based in Sweden. If you use Twitter and want to see content when we release it then please do follow us:
Why are we writing this?
Both Paul and I have worked on multiple cloud-based lab scenarios together over the course of the last year keeping ourselves educated and involved during lock down. We focused on expanding our knowledge about these exciting new technologies that come with the enabling of cloud attach features. That includes advanced cloud capabilities offered via a Cloud Management Gateway (CMG), co-management and additional capabilities available via Tenant attach.
This area of modern management is rapidly evolving, now more than ever as workers find themselves working remotely during COVID-19, therefore it’s important to keep up with what’s new and what is changing.
This multi part blog will focus on helping you get your organization cloud attached, and we will start by assuming that your environment has a few key aspects already setup:
- PKI enabled (guide)
- Intune Tenant created
- Azure Subscription (free trial)
- Licenses applied, you can grab a free trial of Enterprise Mobility plus Security which includes Intune and Azure AD Premium P2 here (free trial).
In this part we will show you how to do the following:
1. Add a custom domain name to Azure
2. Set up a User Principal Name (UPN) for your on-premises Active Directory
3. Set up hybrid Azure AD Join using Azure AD Connect
4. Configure hybrid Azure AD join using Azure AD Connect
So, let’s get started.
Step 1. Add a Custom Domain Name to Azure
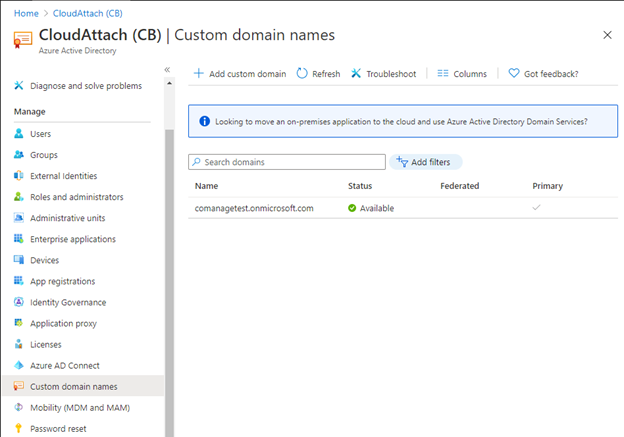
Login to https://portal.azure.com select Azure Active Directory to add a custom domain name in Azure AD Directory. Select custom domain names in the left pane and then click the + Add custom domain link in the top ribbon.
When presented with the Custom domain name window, enter the name of the domain you own and click the Add domain button.

After adding the domain name, you’ll be shown a screen similar to the one below, you can choose to add a TXT or MX record on your DNS provider.
In the example below we chose the TXT option.
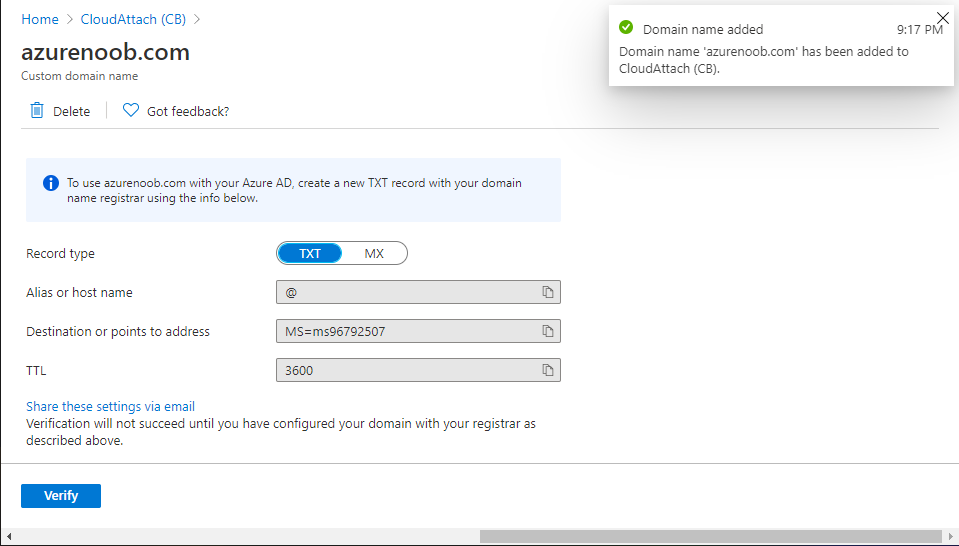
Enter the provided TXT record at your domain name provider. Below is example of the TXT record we entered at out providers DNS management portal. We’ve set the TTL to a low value to get this propagated quickly so that we can verify the domain.
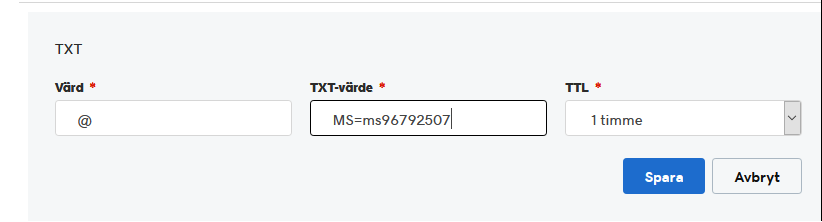
Tip: You can use a website such as dnschecker.org to see if the TXT record has propagated and can be queried, when this has happened go back to the Azure portal and click the Verify button to verify the domain.
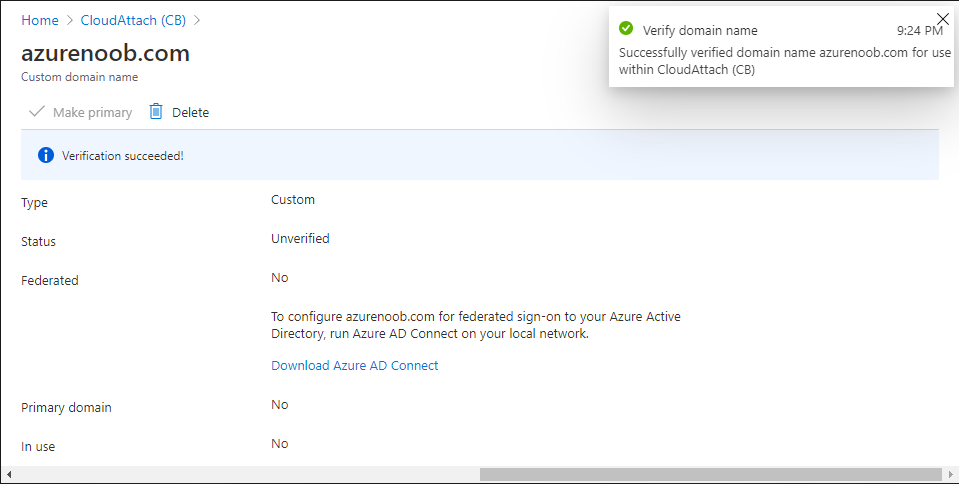
Once the domain is successfully verified, it will report as so in the Custom domain names blade.

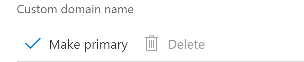
After the custom domain name is added, you can make it the Primary domain name. To do that do as follows. Select the custom domain name which you have verified above, and click on Make Primary.
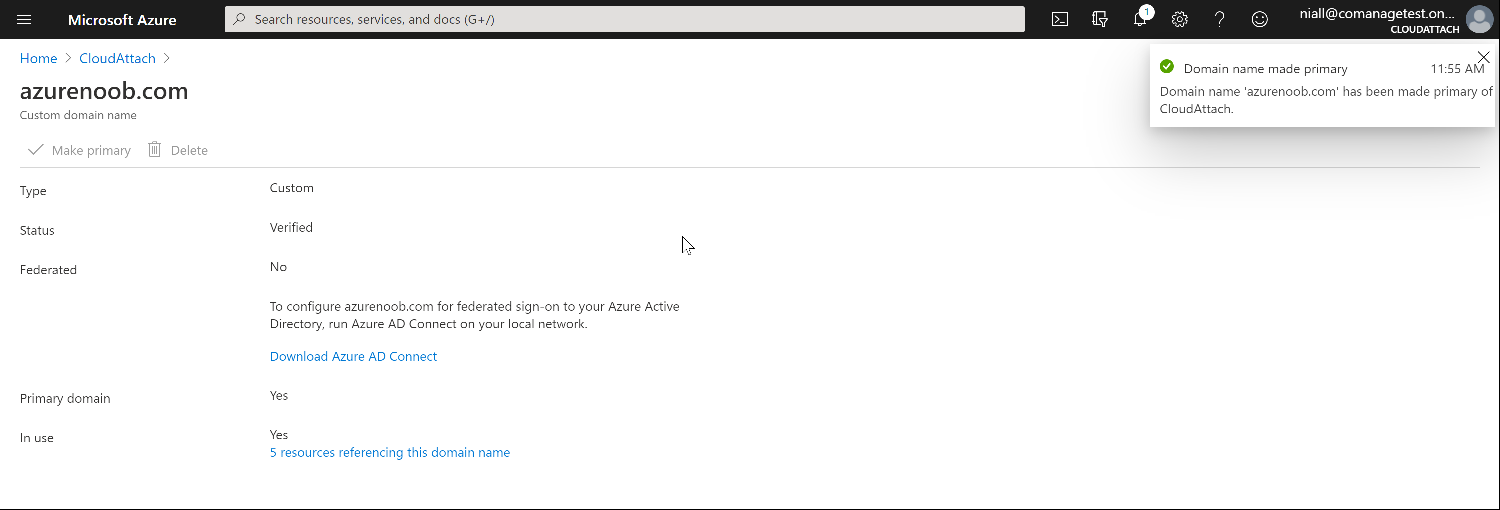
After doing that your custom domain name will be the new Primary domain name.
You can read the rest of this guide over @ windows-noob.com here.
