
This series is comprised of different parts, listed below.
- Part 1 – Introduction and server setup
- Part 2 – Install and do initial configuration on the Standalone Offline Root CA
- Part 3 – Prepare the HTTP Web server for CDP and AIA Publication
- Part 4 – Post configuration on the Standalone Offline Root CA
- Part 5 – Installing the Enterprise Issuing CA
- Part 6 – Perform post installation tasks on the Issuing CA
- Part 7 – Install and configure the OCSP Responder role service (this part)
- Part 8 – Configure AutoEnroll and Verify PKI health
In part 1 of this series, you configured your LAB for a 2 tier PKI hierarchy running on Windows Server 2016. You used PowerShell to create some virtual machines, and then installed Windows Server 2016, Windows 10 Enterprise version 1803 and optionally Smoothwall 3.1 before configuring the IP address scheme and Computer Names on the virtual machines. Finally you configured ADDS on DC01 so that you have a working Domain Controller for the rest of this LAB. In part 2 you installed and did the initial configuration on the Standalone Offline Root CA. In part 3 you prepared the HTTP Web Server for CDP and AIA Publication and you created a DNS record for the publicly available web server.
In part 4 you performed post configuration on the Standalone Offline Root CA to set certificate revocation list (CRL) period registry settings using CertUtil, and then enabled object access Auditing and finally, you configured three locations for the Authority Information Access (AIA) and four locations for the Certificate revocation list Distribution Point (CDP), again using CertUtil. In part 5 you joined the IssuingCA computer to the windowsnoob domain before creating a new CAPolicy.inf file which was customized for the Issuing CA role. Next, you published the Root CA Certificate and CRL (both to Active Directory and the HTTP web server) and you installed the Enterprise Issuing CA before submitting a request to the StandAlone Offline Root CA. Next you installed the Issuing CA Certificate using the response files from the StandAlone Offline Root CA on the removable media.
In part 6, you performed post installation and configuration of the IssuingCA server by configuring Certificate Revocation and CA Certificate Validity Periods, you then enabled auditing on the CA server, and configured the AIA and CDP. In this part you will install and configure the OCSP responder role service on the web server. The use of Online Responders that distribute OCSP responses (1) along with the use of CRLs, is one of two common methods for conveying information about the validity of certificates. Unlike CRLs, which are distributed periodically and contain information about all certificates that have been revoked or suspended, an Online Responder receives and responds only to requests from clients for information about the status of a single certificate. The amount of data retrieved per request remains constant regardless of the number of revoked certificate. For more information about why having an OCSP is a good thing in your PKI environment read here (2).
Step 1. Install the Online Responder Role Service on the web server
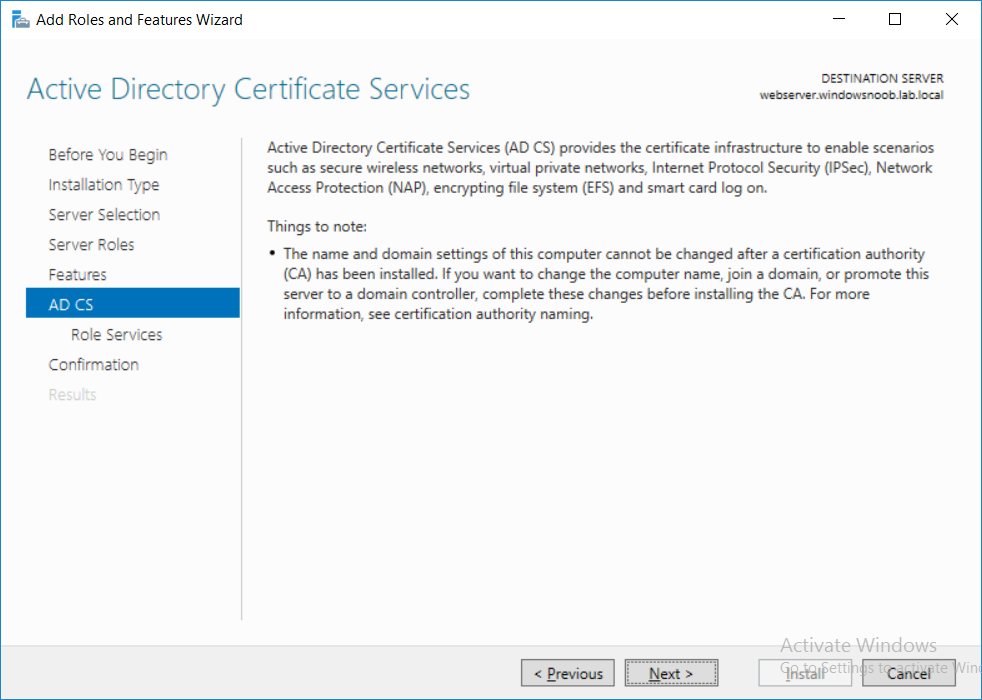
Ensure that you are logged on to webserver.windowsnoob.lab.local as windowsnoob\Administrator. Open Server Manager. Right click on Roles, click Add Roles. On the Before You Begin page, then select Next. On the Select Server Roles page, select Active Directory Certificate Services

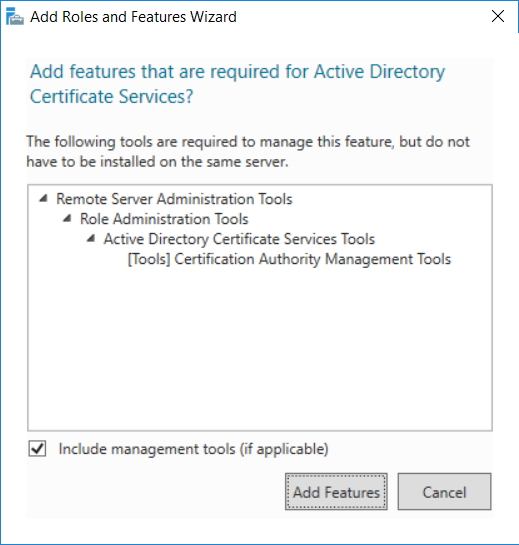
and then click Next. If you are prompted to add features, click Add features.
On the Features page, click Next, on the introduction to Active Directory Certificate Services page, click Next.
On the Select Role Services page, clear the Certification Authority option, and then select Online Responder as shown below:
read the rest of this post on windows-noob.com here.
