
Introduction
In Part 1 I showed you how you can configure BitLocker on Windows 10 devices using Microsoft Intune, but that method relies on the end user actually clicking on the notification in Windows and then continuing through the wizard until completion.
In this post I’ll show you how you can automate that part of the process, using an MSI that is based upon an MSI that was originally created by Pieter WigLeven. That MSI creates a scheduled task to run daily until the drive is encrypted.
Pieter’s solution was great but lacked some key features that I wanted such as logging (so that you can view errors which may occur during the encryption phase), logic and a user facing reboot prompt. Therefore, I decided to rewrite the PowerShell script included in the MSI and then re-package it for your benefit.
Note: I’d recommend you test this solution in a lab environment, I used Windows 10 version 1703 Hyper-v based virtual machines (Generation 2) with a Virtual TPM enabled. Also to note, this MSI (and Pieters) does not check for the existance of a third party encryption tool.
Enabling a Virtual TPM
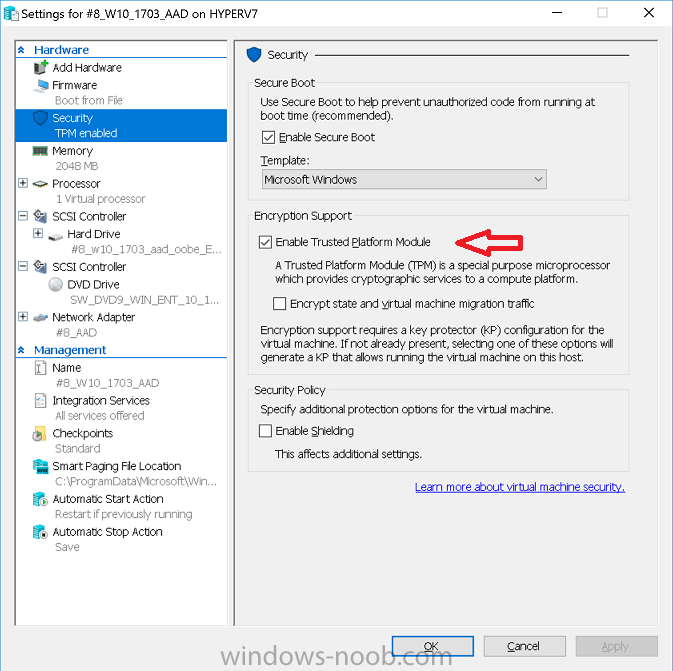
If you use Hyper-v VM’s without a Virtual TPM enabled then the PowerShell script will exit logging errors and will not start the encryption. You can enable the Virtual TPM in the Security settings of your virtual machine (shown in the screenshot below) by placing a check mark in Enable Trusted Platform Module.
Step 1. Download the MSI
You can get the original MSI from Pieter that applies to your scenario here or use the windows-noob.com version in the Downloads section of this guide. Keep in mind that if you are doing Azure AD join, that the user is automatically an Administrator, if however you are using Windows Autopilot then the user will not be an Administrator. The windows-noob.com version of the tool is based on the user being an Administrator.
Note: For the purpose of this guide I’ve used the windows-noob.com version of the first download available on Pieters blog. I’ve modified the MSI as described in Step 5 and made it available in the Downloads section of this Guide, it includes logging, some logic and a Reboot notification for end users built in.
Step 2. Add the MSI as a LOB app in Intune
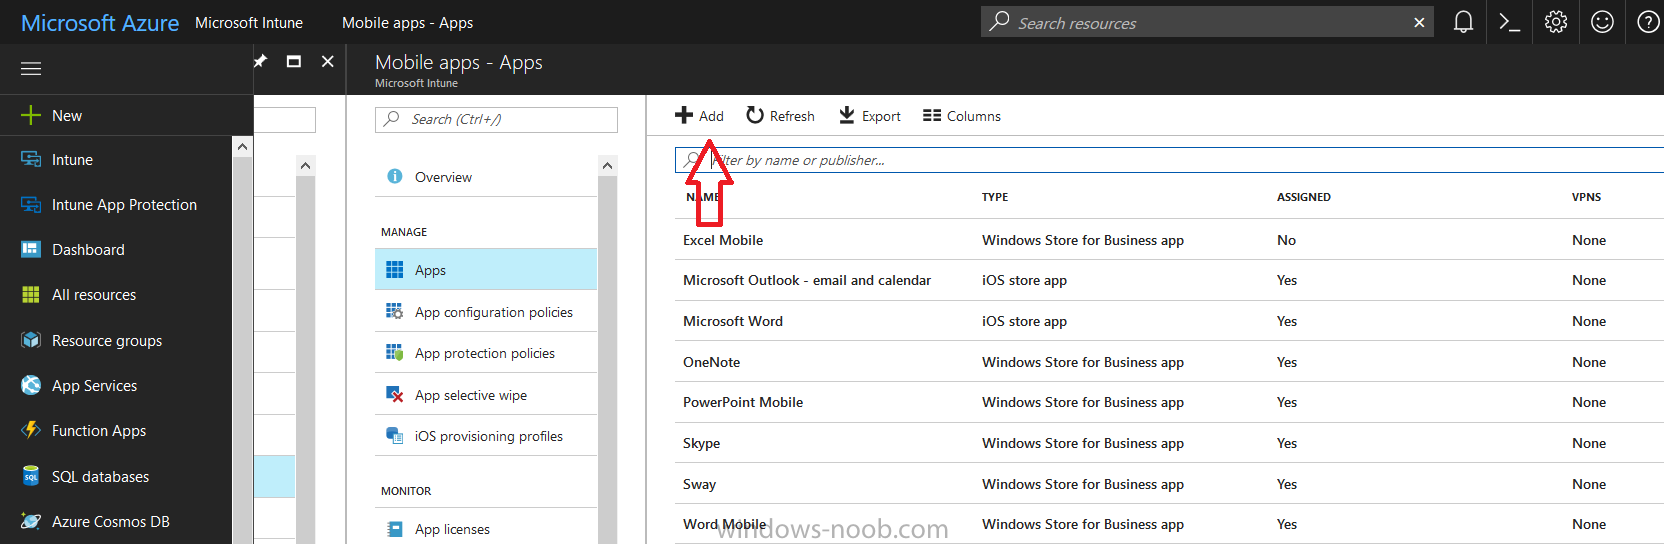
Now that you have the MSI available, it’s time to upload it into Intune. In the Intune service in Azure, select Mobile Apps, then Apps, then click on + Add to add an App.
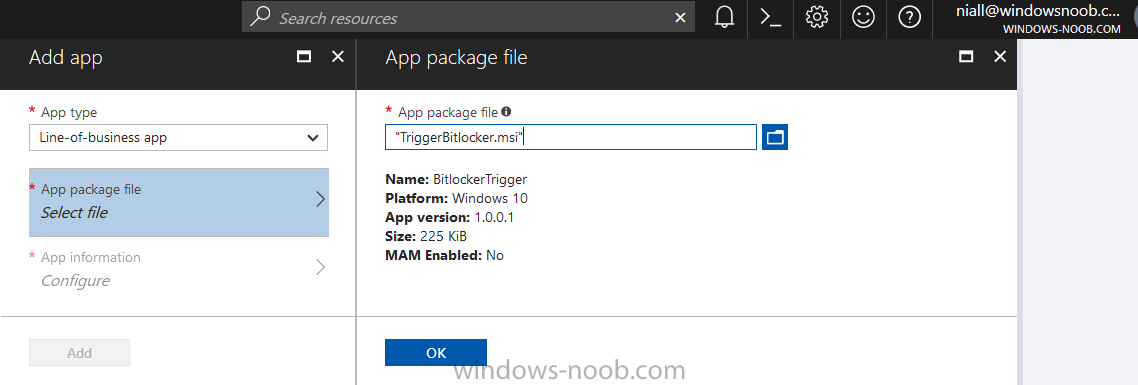
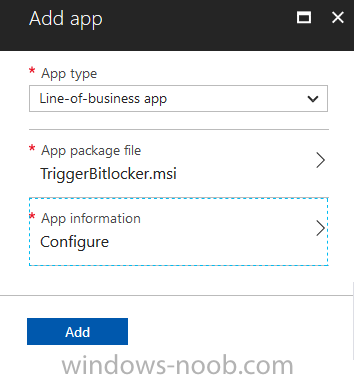
Select Line of Business app in the drop down, then select Select file and point it to the downloaded MSI file before clicking on OK.
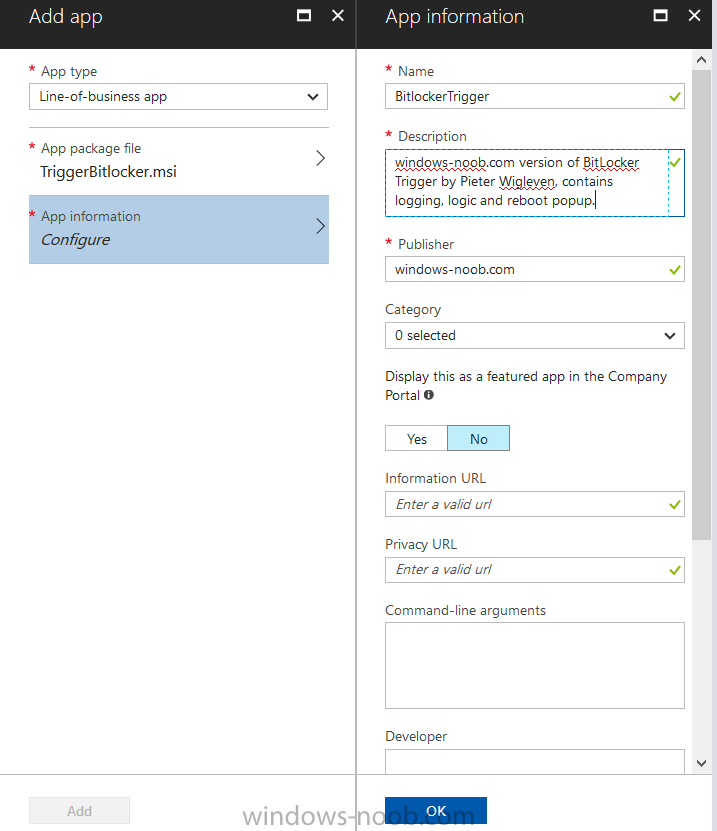
Next click on App Configuration and fill in some details about the application before clicking on OK
finally click on Add.
You can read the rest of this guide @ windows-noob.com here
