
Introduction
Update: This has been replaced with newer versions ! The latest available was released in 2016 and is available here.
I guess this could be called version 3.0 of the original windows-noob FrontEnd HTA, and this time it has evolved to support System Center 2012 Configuration Manager. I’ve been meaning to migrate this to Configuration Manager 2012 for quite a while now but time was not on my side between work and family. This works on both Configuration Manager 2012 RTM and Configuration Manager 2012 SP1 so that you can deploy Windows 7 or Windows 8 depending on the version (of Configuration Manager) you are currently running.
Before starting, please make sure you can fulfill the requirements otherwise some or all of the features may not work.
The HTA requires the following:
* Patience
* Configuration Manager 2012
* MDT 2012 Update 1 integrated with Configuration Manager 2012
* Language packs for the Appropriate Operating System
* Dell CCTK files and Lenovo SMBIOS/SMBUS files
* Maik Kosters Web Services (version 7.3) [optional but recommended]
* MBAM Server to store and manage the BitLocker encryption recovery keys, if you are planning on deploying Windows 8 with BitLocker use the Microsoft BitLocker Administration and Monitoring (MBAM) 2 0 Beta Refresh Release [required for the REFRESH action unless you suspend the disc in Windows first]
* Michael Niehaus’ Webservice for RIS like autonaming [optional]
What does it do ?
The HTA allows you to PXE boot into WinPE and use an easy interface for migrating your computers to Windows 7 or Windows 8 using Configuration Manager 2012 Service Pack 1 with MDT 2012 Update 1 integrated.
Not only does this HTA now work with Configuration Manager 2012 but it has additional functionality added such as being able to choose the BitLocker Encryption Algorithm, install the System Center 2012 Endpoint Protection client andthe ability to install Multi Language options.
On the left we have Backup, in the middle it’s Reinstall and to the right it’s New Computer as denoted by the cool unopened box.
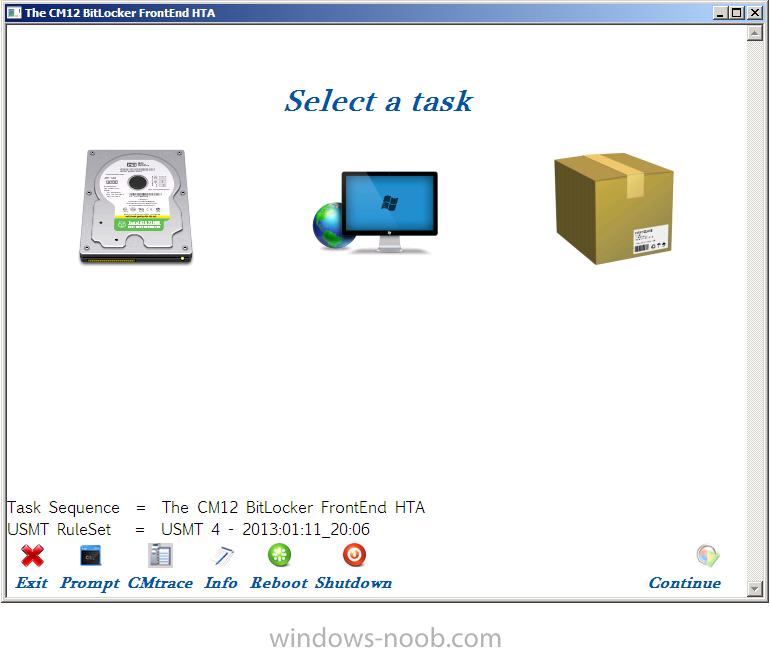
In the lower left corner you’ll notice two new lines of information, one is the Task Sequence name (handy when you are changing versions) and the other is the current USMT ruleset version (it points to a text file which you maintain, and you can use it to keep track of your internal changes to any custom XML files contained in your USMT ruleset, the name of the file is usmt_rulesets_version.txt and a sample is included, this helps you keep track of changes you make to your migration ruleset and is useful for troubleshooting failed migrations with helpdesks using USB or Standalone media which may be out of date…).
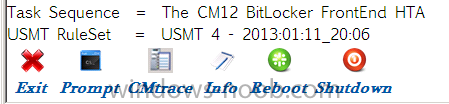
clicking on the Info button in the lower left corner brings up even more details about the deployment, the following new items have been added to the Deployment Information window
- Make
- Memory
- Is on Battery
- Is UEFI
- Is VM
- Virtual Platform
- AssetTag
some of the above are new data gathered via the enhanced Gathering ability from MDT 2012 Update 1.

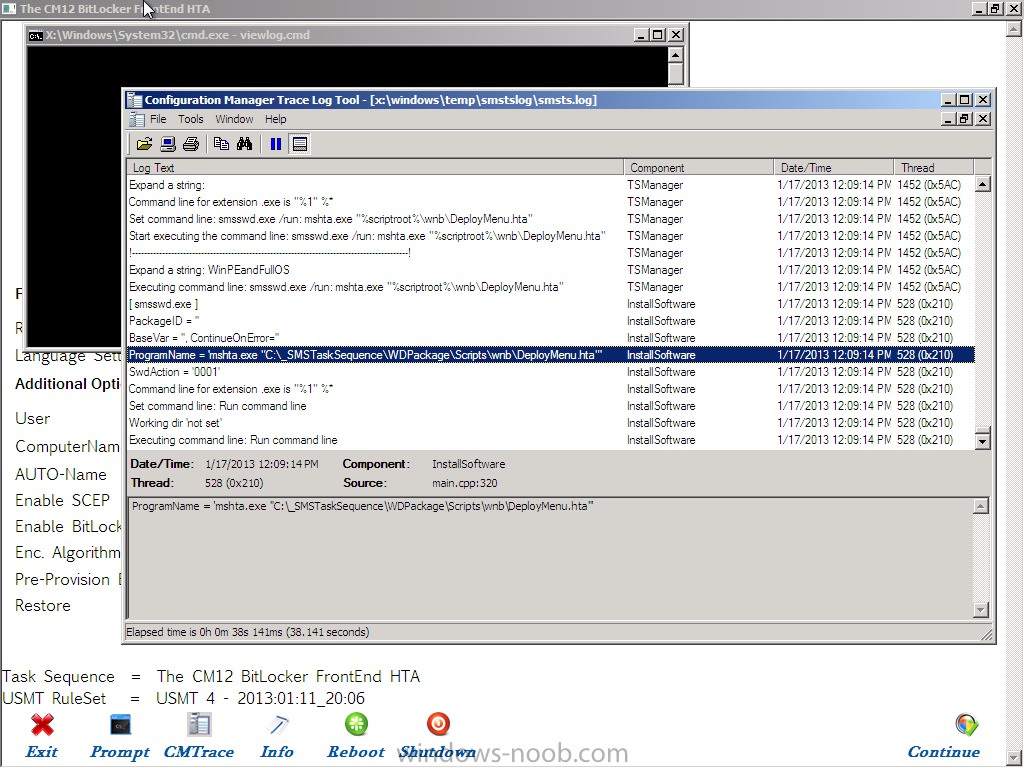
and clicking on the CMTrace button will open the current SMSTS.log file in CMTrace so that you can monitor the deployment
A closer look at the functionality
There are three main choices in the HTA, and they are detailed below:
Backup old computer
Backup old computer allows you to backup your data in WinPE either locally or to a network share using a mixture (or combination) of ZTIbackup.wsf (for full WIM backups) or scanstate.exe (for file backups). Lastly, you can choose to run a CHKDSK on the disk to check for file corruption. It’s all automated, all you have to do is to decide how you want the backup to take place from the options below:-
- full WIM backup locally
- full wim backup to network
- chkdsk
- offline scanstate to Network folder
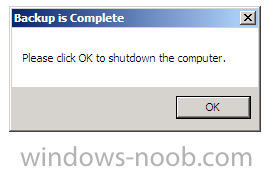
Once a backup is complete you’ll get a popup message notifying you and clicking ok will shutdown the computer.
Reinstall computer

This option reinstalls Windows 7 or Windows 8 (and retains the users data using hardlinking) on Windows XP or Windows 7 computers and supports the following BitLocker specific scenarios, in the table below anywhere it mentioned 7 you can do the same with Windows 8 if that is the OS you are deploying:-
Note: BL=BitLockered and UBL=Not BitLockered, the reinstallation of already BitLockered computers requires a MBAM backend in order to provide the needed key.
- XP>7 BL
- XP>7 UBL
- 7 BL>7 UBL
- 7 UBL>7 BL
- 7 BL>7 BL
- 7 UBL>7 UBL
In addition to the above, you can do the following:-
- full WIM backup locally
- full wim backup to network
- chkdsk
- Auto Computername
- Enable (or disable) BitLocker (if the computer has a TPM detected, if not the option is greyed out)
- Enter a Username (get’s added to the Local Administrators group)
New Computer
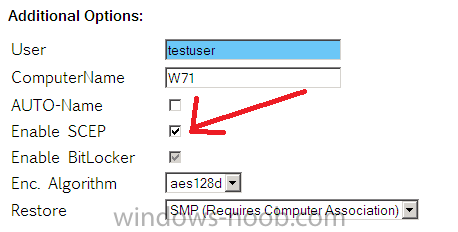
This option allows you to perform a new installation of Windows 7 or Windows 8 with or without BitLocker full disc encryption enabled, in addition you can select the type of Advanced Encryption Standard algorithm you want via a drop down menu.

You can also select to Enable SCEP which will install the System Center 2012 Endpoint Protection client during the task sequence so that you are protected and ready to do business.
In addition to the above, you can do the following:-
- specify Regional settings for one or more countries
- specify Language settings for one or more countries
- change the computername, or choose to use Auto Computername
- Enable (or disable) BitLocker (if the computer has a TPM detected, if not the option is greyed out)
- Restore from a previous backup to network, or State Migration Point
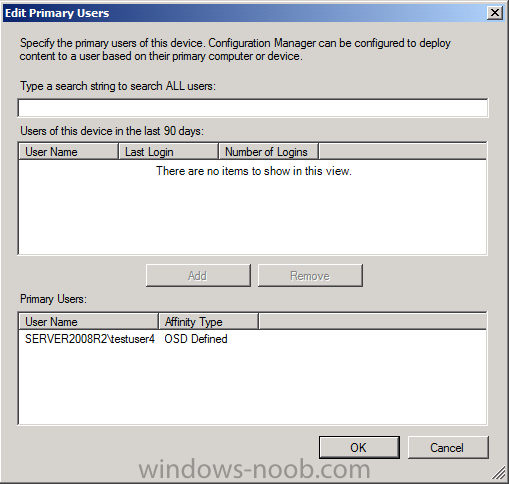
- Enter a Username (this user get’s defined as the User Device Affinity user and get’s added to the Local Administrators group, if you don’t want them being a local admin simply disable that group in the task sequence.)
What else does it do ?
In addition to the above the HTA has the following functionality:-
- detects if the hardware is Lenovo or Dell (you have to add the driver package steps)
- detects and interrogates the TPM/Bios on Dell and Lenovo hardware to prepare it for BitLocker
- if no TPM is found it disables the BitLocker capability in the HTA
- if virtual hardware detected, it disables BitLocker capability (however you can enable this just for testing)
- allows you to Notify the end user if the task sequence was successful or unsuccessful
- creates a REG key upon successful task sequence completion and adds it to the registry
- creates a text file in c:\ to demonstrate successful task sequence
- copies CMTrace.exe to the Windows\System32 of the OS drive.
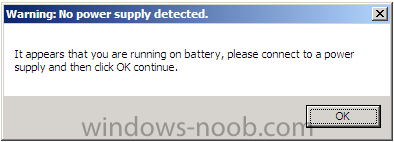
The task sequence will check if the computer is connected to power, and if not it will inform the user via a popup, this is done via the new IsOnBattery variable.
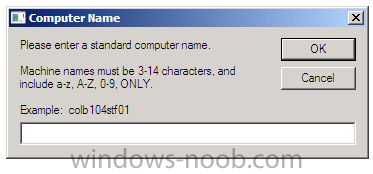
Once you launch Backup, Reinstall or New Computer, the computername is automatically checked and if it matches MININT- then you’ll be prompted to change it manually.
In addition there are some debug steps in the task sequence (they are disabled, simply enable them to see the functionality) to allow for things like pausing the task sequence, this is great for troubleshooting.
Recommended Reading
- The BitLocker FrontEnd HTA – http://www.windows-n…er-frontend-hta
- The windows-noob.com FrontEnd HTA – http://www.windows-n…end-hta-ver-10/
- How can I create a boot image with HTA support using MDT – http://www.windows-n…port-using-mdt/
- Introduction to Web Services – http://www.windows-n…o-web-services/
- How can I install a Web Service – http://www.windows-n…-a-web-service/
- Deploying Language packs offline using MDT – http://www.windows-n…oyments-part-4/
- Deploying Multiple Language Packs offline using MDT – http://www.windows-n…iple-languages/
- Advanced Encryption Standard – http://en.wikipedia….yption_Standard
- Operating System Deployment and Endpoint Protection – http://blogs.technet…stallation.aspx
- How to change the default BitLocker encryption method and cipher strength when using the Enable BitLocker task – http://blogs.technet…igmgr-2007.aspx
- MBAM Beta 2.0 – http://windowsteambl…n-2-0-beta.aspx
- Configuring UDA during OSD – http://blogs.technet…deployment.aspx
- MBAM 2 Setup – http://msandbu.wordp…oring-beta-2-0/
Coming Soon
- Pre-Provision BitLocker ability, currently disabled
- UEFI ability not added yet
Issues and other
I will post issues found/fixes here as they arise.
Download the Files
In this ZIP you have an exported copy of both the CM12 RTM Task Sequence and the CM12 SP1 task sequence, I’ve succeeded in importing the RTM Task Sequence into SP1 but you may have issues so use the one that works for you.
 The CM12 BitLocker FrontEnd HTA.zip 1.86MB
well that’s it, please try this out and tell me what you think of it, I hope you like my efforts :-).

Pingback: SCCM 2012 SP1: The CM12 BitLocker FrontEnd HTA « MS Tech BLOG
Is it possible to fix the download link. I think it is broken.
fixed !
Pingback: Links from our System Center User Group meeting in Stockholm 14/1 – 2014 - CCMEXEC.COM – System Center blog
Pingback: Links from our System Center User Group meeting in Stockholm 14/1 – 2014 | CMTrace - System Center
Pingback: Liste des outils pour Configuration Manager 2012 | Déploiement Windows
Pingback: System Center Configuration Manager Community Tools | The Blue Trainers Team