
To view the rest of this post plus screenshots please click here
In Part 1. of this series we Installed vNext, in Part 2 we started to configure it. In Part 3,
we configed Beta 2 some more by enabling Active Directory discovery
methods, adding some site system roles, configuring the computer client
agent and client push settings and finally doing a manual client
installation to verify it all worked, now we will look at Application
Installation and the Software Catalog and Software Center features of
SCCM 2012.
Application Management documentation is available already on Technet
however not all the content is complete so some blank parts may appear –
http://technet.micro…y/gg699373.aspx
Heres a summary (from Technet) of whats new in Application Management in ConfigMgr 2012.
Applications are new in Configuration Manager 2012 and have the following characteristics:
- Applications contain the files and information
necessary to deploy a software package to a computer or a mobile device.
Applications contain multiple deployment types that contain the files
and commands necessary to install the software. For example, an
application could contain deployment types for a local installation of a
software package, a virtual application package or a version of the
application for mobile devices. - Requirement rules define
conditions that specify how an application is deployed to client
devices. For example, you can specify that the application should not be
installed if the destination computer has less than 2GB RAM or you
could specify that a virtual application deployment type is installed
when the destination computer is not the primary device of the user. - Global conditions are similar to requirement rules but can be reused with any deployment type.
-
User device affinity allows you to associate a user with specified
devices. This allows you to deploy software to a user rather than a
device. For example, you could deploy an application so that it only
installs on the primary device of the user. On devices that are not the
primary device of the user, you could deploy a virtual application that
is removed when the user logs out. - Deployments are used
to distribute applications. A deployment can have an action which
specifies whether to install or uninstall the application and a purpose
which specifies whether the application must be installed or whether the
user can choose to install it. - Configuration Manager
2012 can use detection methods to determine if a deployment type has
already been installed on a device by using product information, or a
script. - Application management supports the new
monitoring features in Configuration Manager 2012. The status of an
application deployment can be monitored directly in the Configuration
Manager console. - Packages and programs from
Configuration Manager 2007 are supported in Configuration Manager 2012
and can use some of the new deployment and monitoring features. -
Software center is a new client interface that allows users to
request and install applications, control some client functionality and
to access the application catalog which contains details about all
available applications.
Perform the following on the vNext server as SMSadmin
We want to verify that our Software Catalog is showing correctly so on
the vNext server, start Internet Explorer and browse to http://vnext/CMSoftwareCatalog replace vnext with your server name, you should see the following
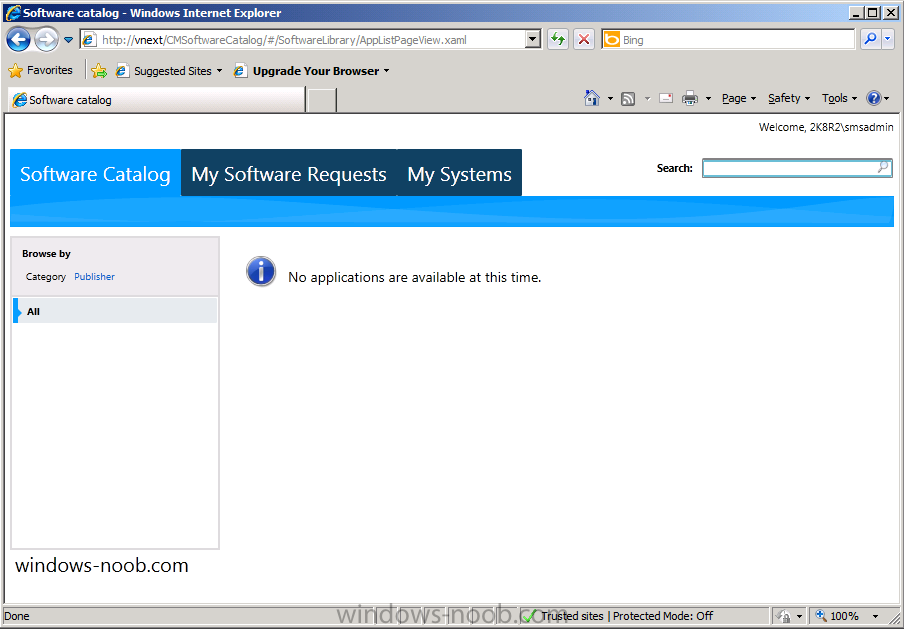
If it does not appear like so verify the address is the same as the one you configured in Step 4 of Part 3.
As you can see the Software Catalog allows a user to browse available Applications (remember Applications, not Packages, Packages won’t be listed here..) so lets get started with adding an application.
Step 1. Adding an Application
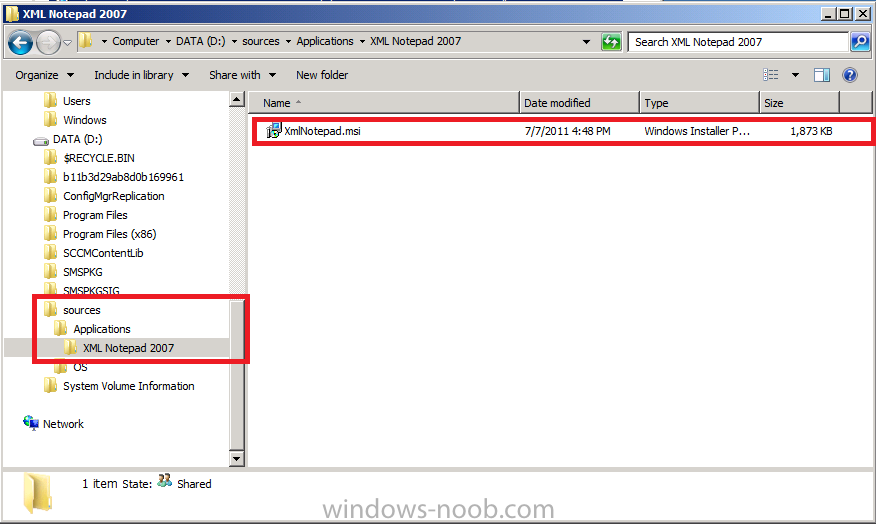
We will download a simple MSI application called XML Notepad 2007.
Save the application in your package sources share (I have shared a
root folder on D:\ called Sources with sub folders within, one is called
Applications). Copy the downloaded XML Notepad 2007 MSI file to a
subdirectory of your sources\applications share just like I have done in
the screenshot below.
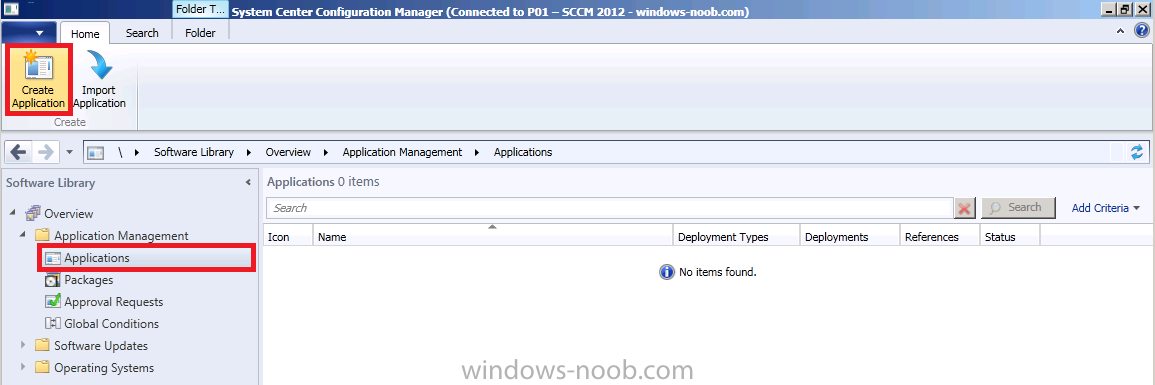
Open the ConfigMgr console and browse to Software Library, click on Appliction Management and finally click on Applications. In the Ribbon (top left) click on Create Application,
the create application wizard appears, browse to the UNC of where we copied our XML 2007 application and select the MSI file (\\vnext\sources\applications\xml notepad 2007\xmlnotepad.msi)
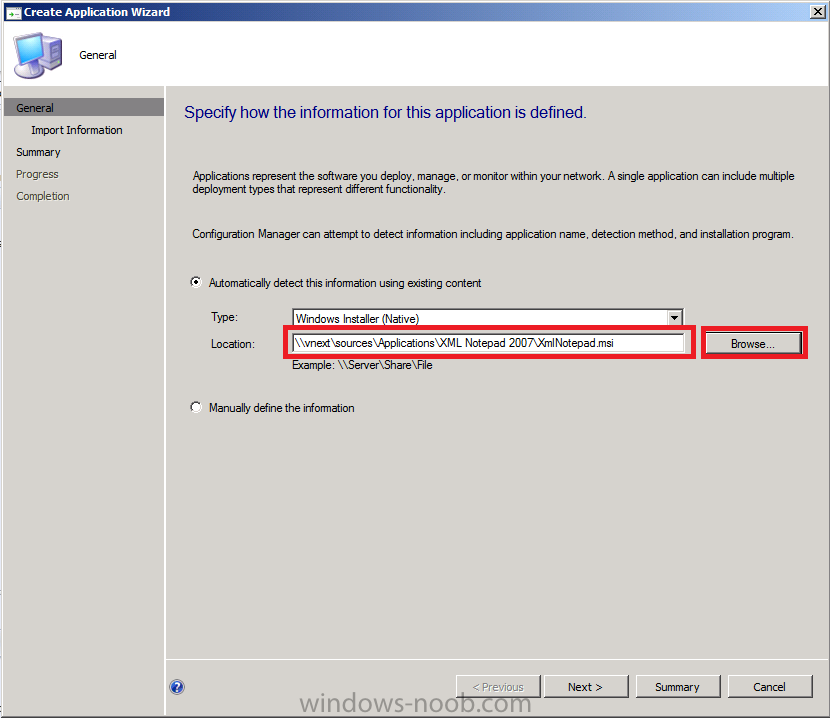
click next, review the Import Information screen, click next

the next screen needs some input, fill in some details to make it meaningful and change the drop down menu to Install for System (default is Install for User)
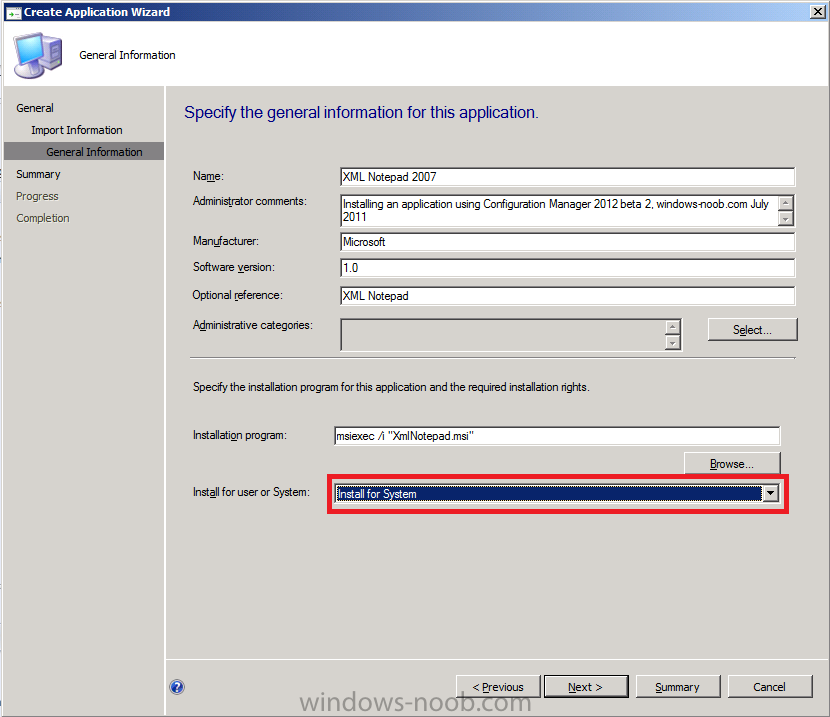
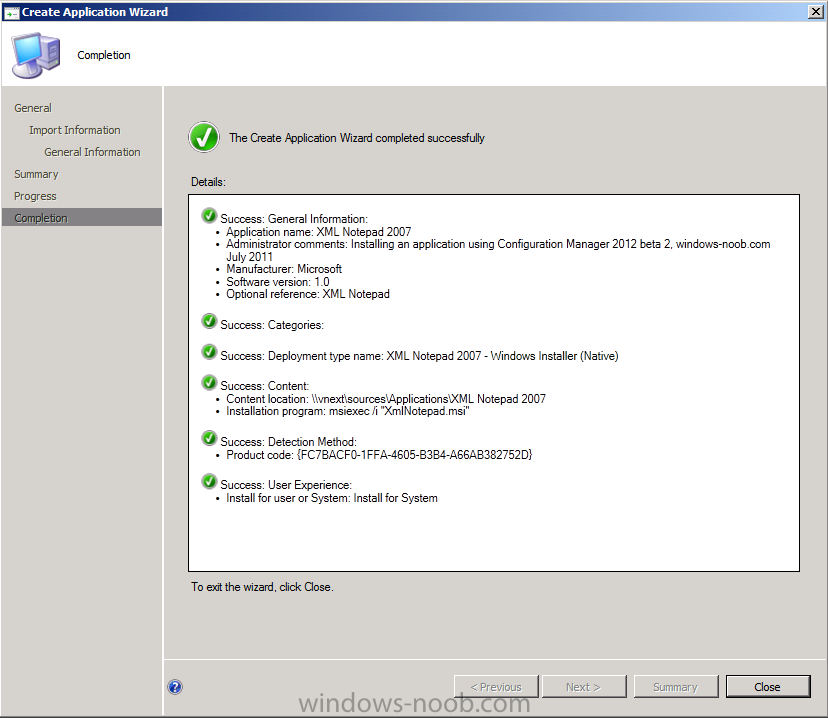
Click next at the summary and next again to confirm, click close to exit the wizard
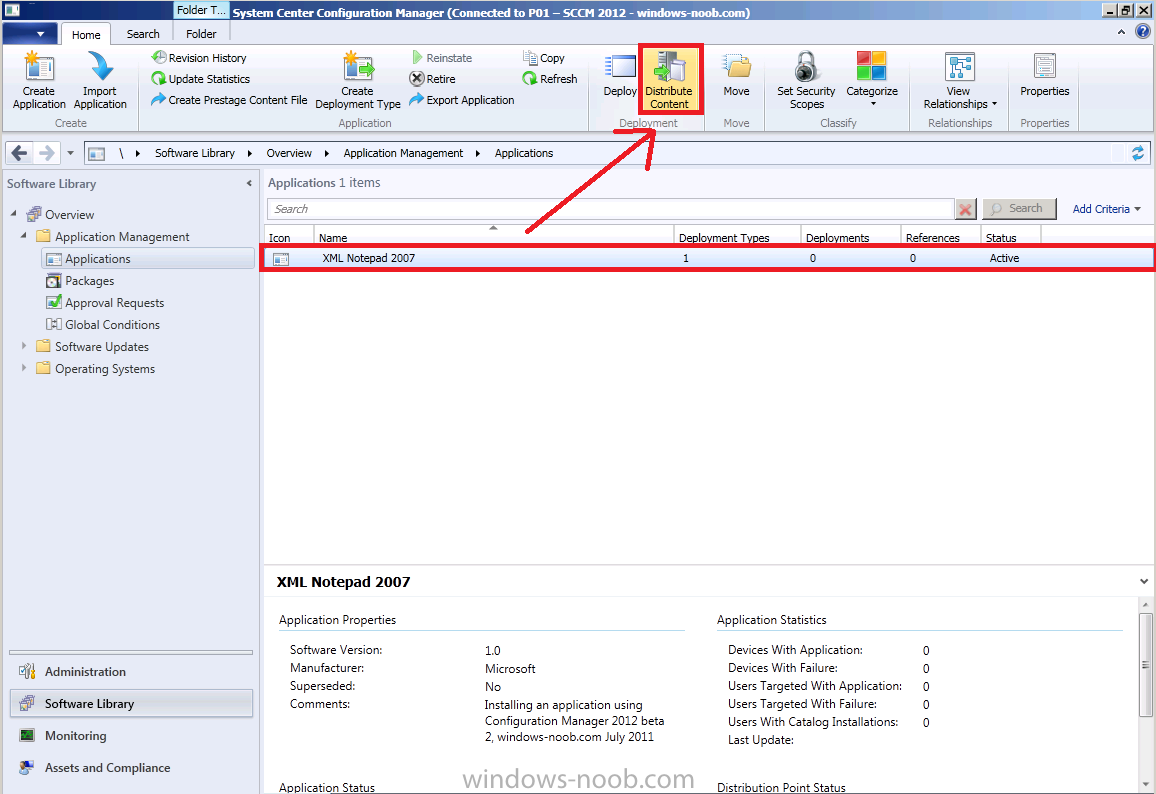
Step 2. Distribute Content
Now that we’ve created our first application, let’s distribute it to our
DP, click on our listed application and in the ribbon above, click on Distribute Content (you can right click the application and select the same option from the choices listed).
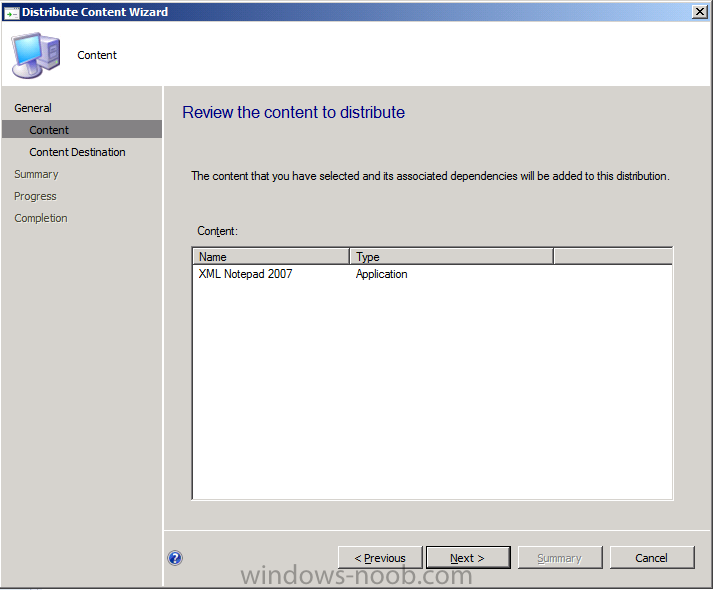
The distribute content wizard appears, click next
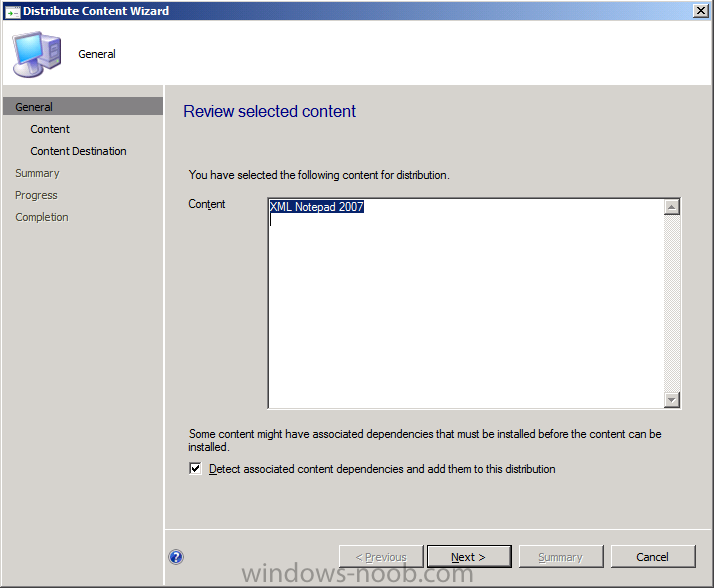
review the content to distribute
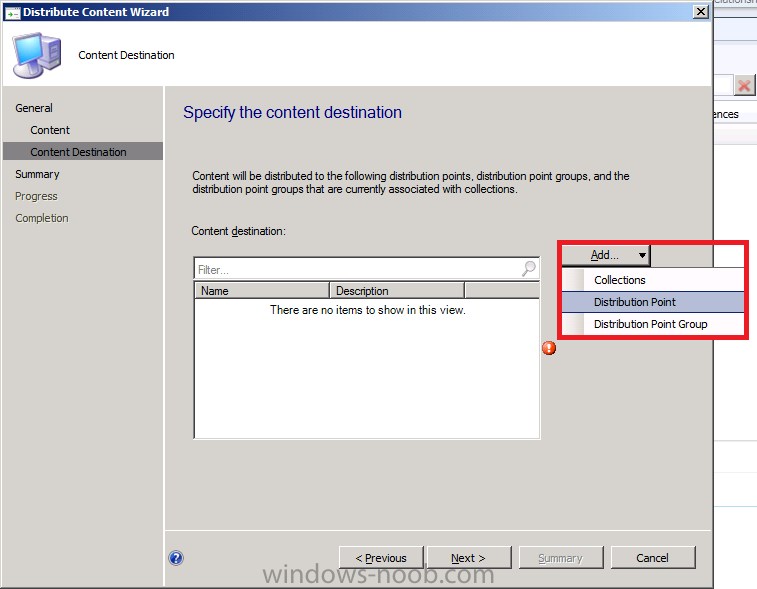
and for the next screen click on the drop down menu for Content destination, select Distribution Point
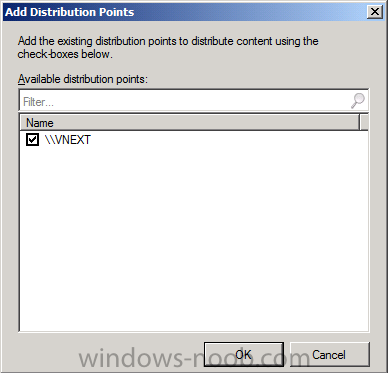
select our vnext DP and click ok
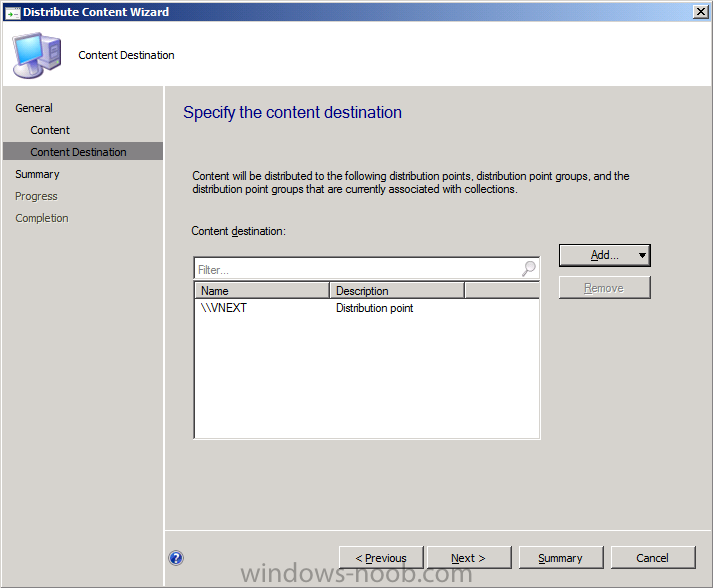
click next
review the summary and click next, then you’ll see the completion page
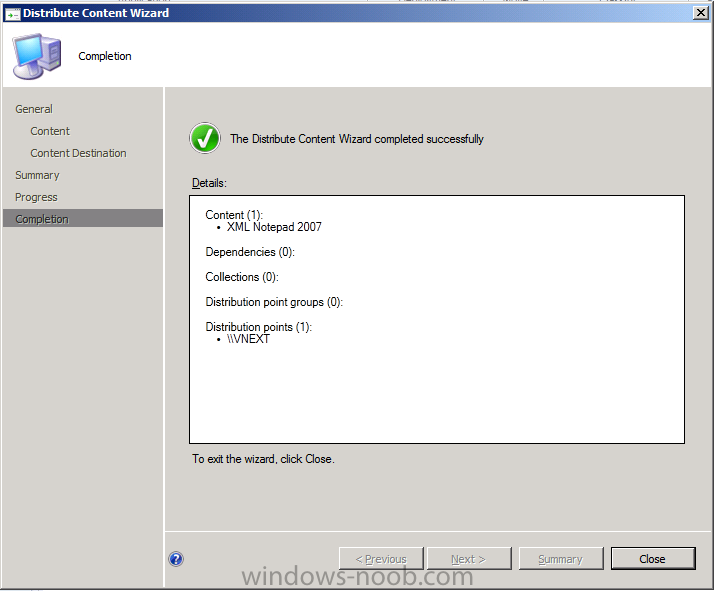
click close
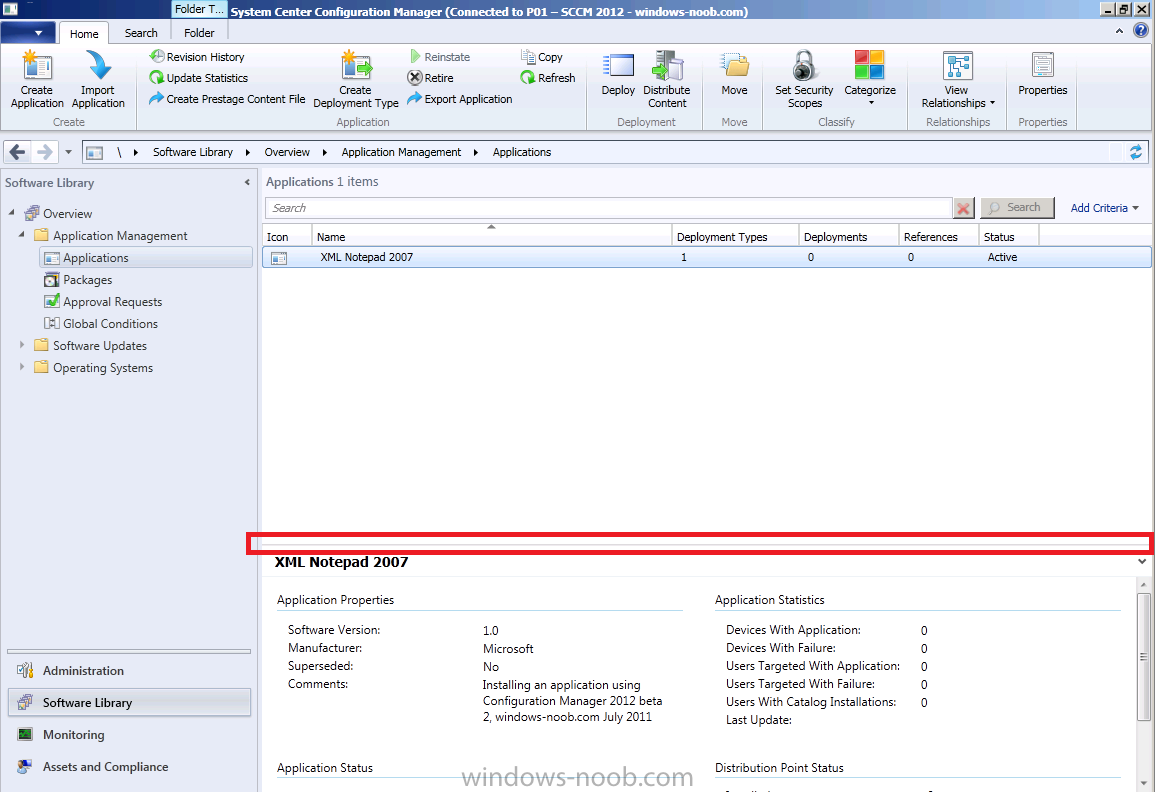
In the console, select the line above your application, click it and drag up so you can see more info about your application
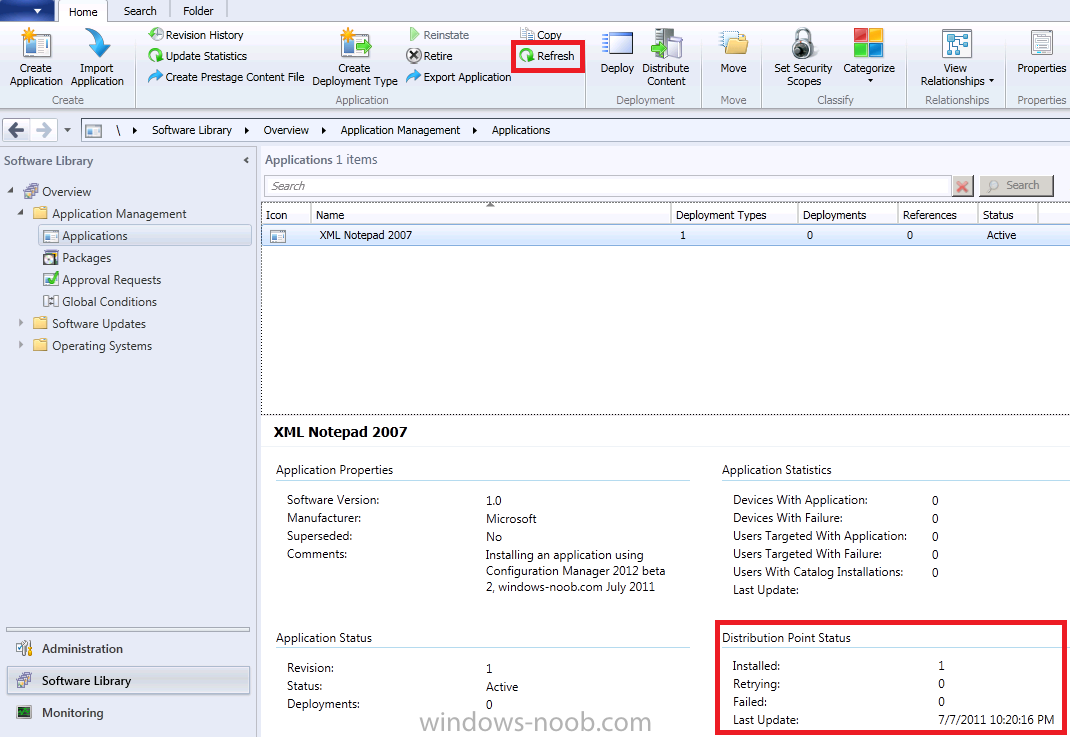
In Distribution Point Status, our application should be listed as installed, if not click on Refresh in the Ribbon above.
To view the rest of this post plus screenshots please click here
