
In Part 1. of this series we Installed vNext, in Part 2
we started to configure it. In this part we will continue configuring
Beta 2 by enabling Active Directory discovery methods, adding some site
system roles, configuring the computer client agent and client push
settings and finally doing a manual client installation to verify it all
works.
Perform the following on the vNext server as SMSadmin
Configuring Discovery Methods.
For information of Planning Discovery methods for SCCM 2012, please refer to this page on Technet.
Planning for Discovery in Configuration Manager 2012 – http://technet.micro…y/gg712308.aspx
Active Directory Discovery Methods
Quote
Manager 2012 Active Directory discovery methods can discover Active
Directory sites, subnets, users, and computers that are stored in Active
Directory Domain Services. To discover information from Active
Directory, Configuration Manager requires access to the Active Directory
locations that you specify and will use the computer account of the
site server that runs the Active Directory discovery method. Or, you can
specify a Windows account to run any Active Directory discovery method.
When any of the four Active Directory discovery methods run,
Configuration Manager contacts the nearest domain controller in the
Active Directory forest to locate Active Directory resources. The domain
and forest can be in any supported Active Directory mode, and the
account that runs the discovery method must have Read access to the
specified Active Directory containers. During discovery, the discovery
method searches the specified locations for objects and then collects
information about the object.
With the exception of Forest Discovery, all the Active Directory discovery methods support Delta Discovery.
Step 1. Enable Active Directory Security Group Discovery
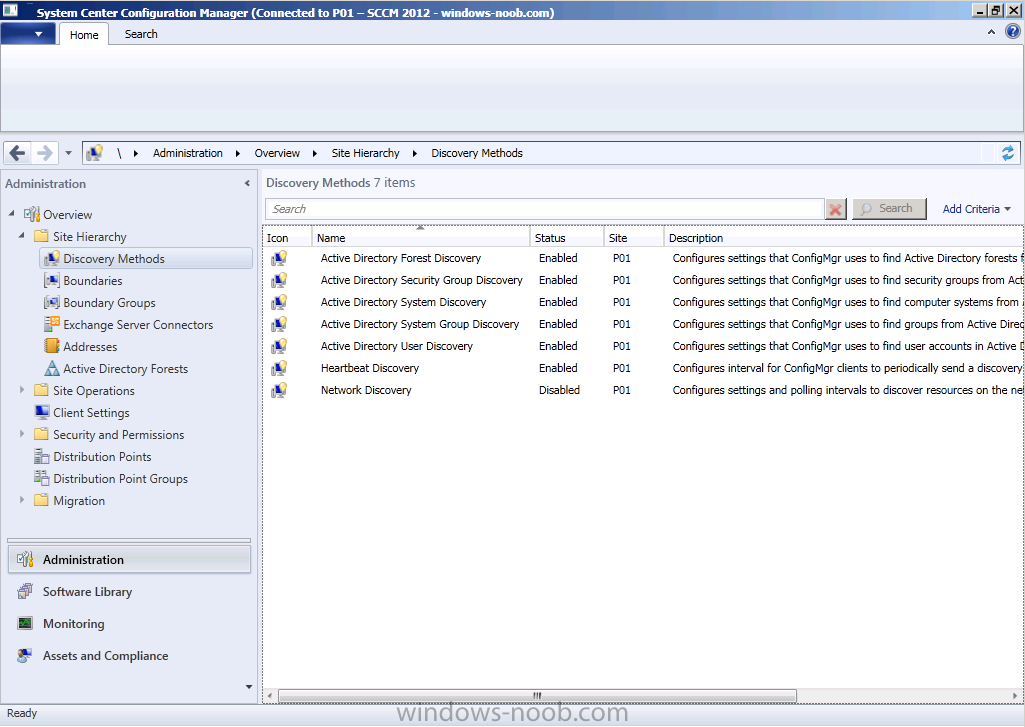
Click on the Administration workspace, expand Overview, Site Hierarchy, Discovery Methods
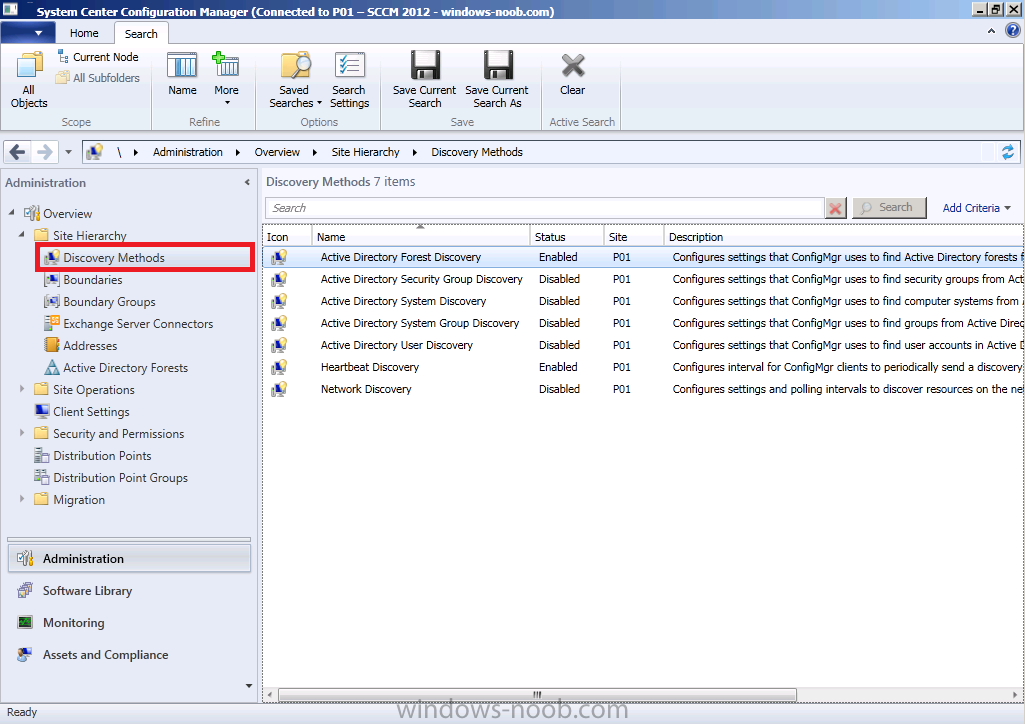
You can see that we have already enabled Active Directory Forest Discovery (Heartbeat Discovery is automatically enabled), so let’s enable some additional discovery methods otherwise our computers (and users) will not appear in Assets and Compliance.
Double click on Active Directory Security Group Discovery, place a checkmark in enable active directory security group discovery
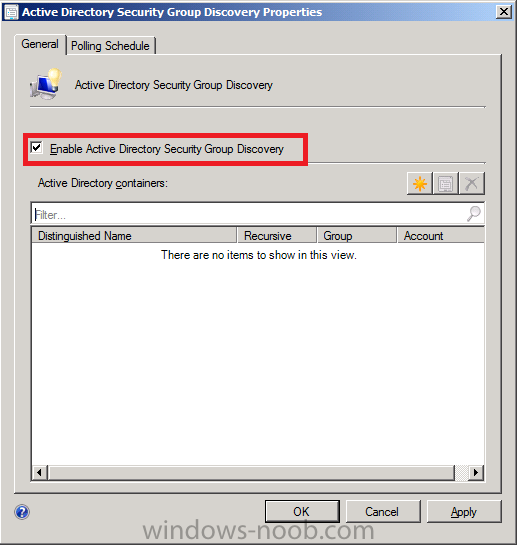
click on the yellow starburst to add an Active Directory container, once
done click on Browse and select your chosen active directory container
to search during the discovery process
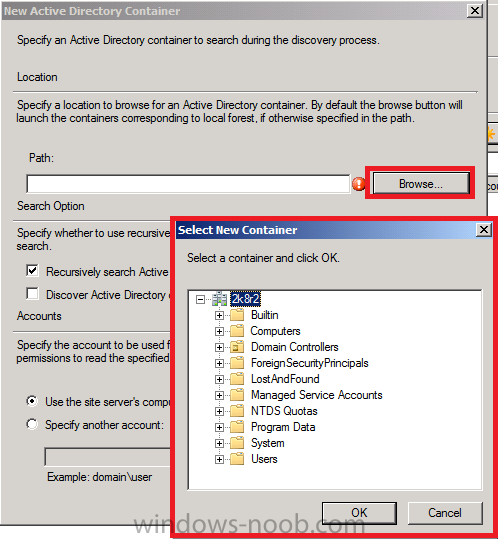
click Ok when done
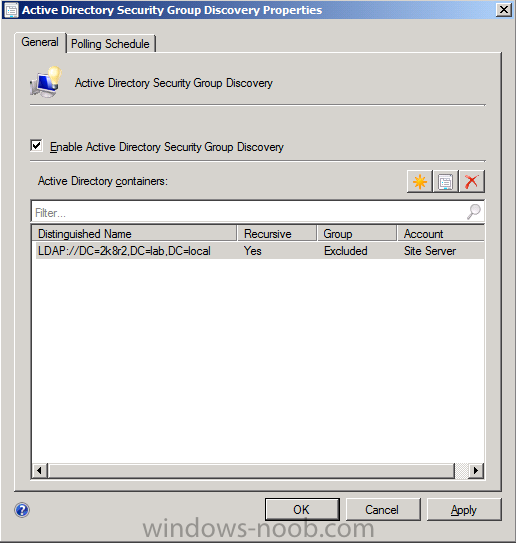
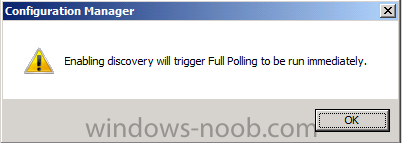
note that enabling discovery will trigger full polling to be run immediately
Step 2. Enable the other three Active Directory discovery methods
Repeat the above for the remaining discovery methods
- Active Directory System Discovery
- Active Directory System Group Discovery
- Active Directory User Discovery
The following Discovery Methods should now be Enabled
Step 3. Verify that discovery is working
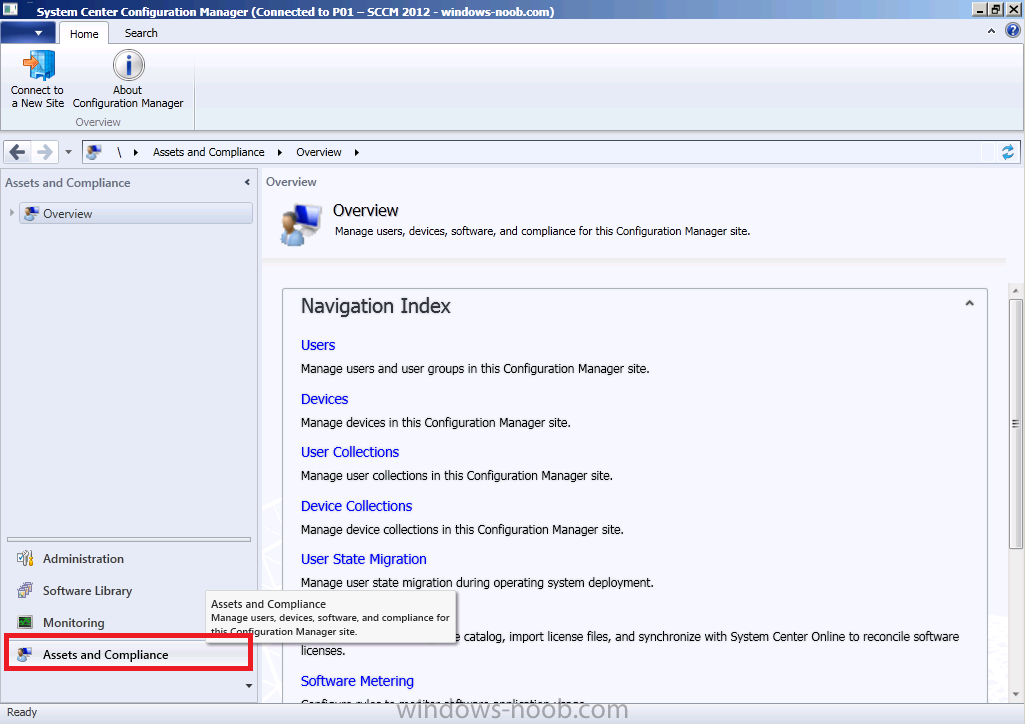
In the console, click on Assets and Compliance
Discovery of Computers
Click on Device Collections, then click on All Systems, you should now see both AD1 (was previously missing) and the vNext server listed.
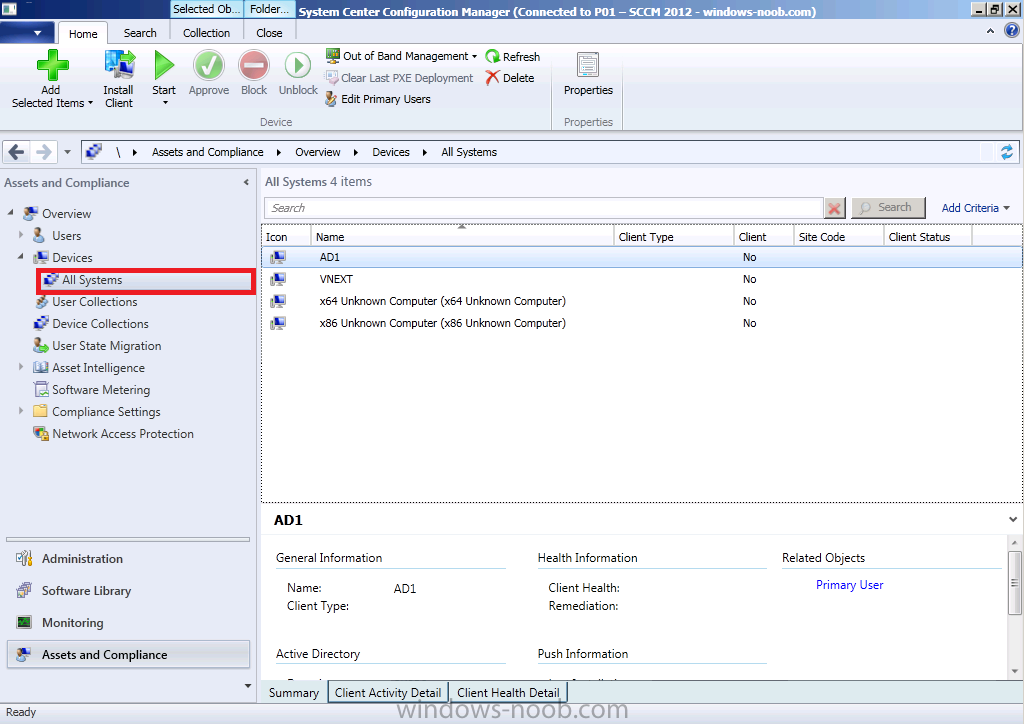
Double click on AD1 (your Domain controller computer) and you should see details about the system including discovery details (it was discovered using Active Directory System Discovery and Active Directory System Group Discovery).
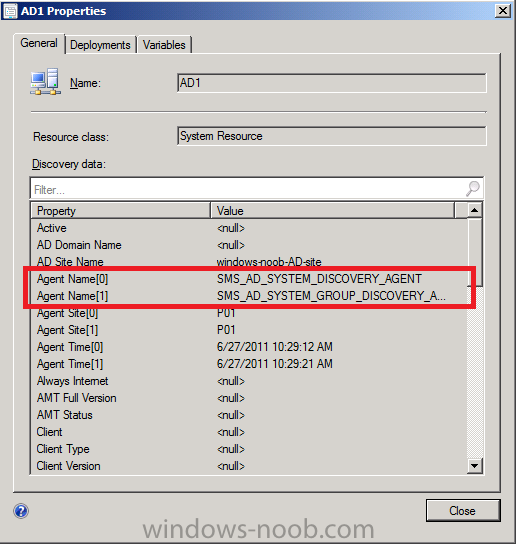
Click on Close.
Discovery of Users
Click on User Collections in the left pane, Click on All Users and in the Ribbon, click on Show Members
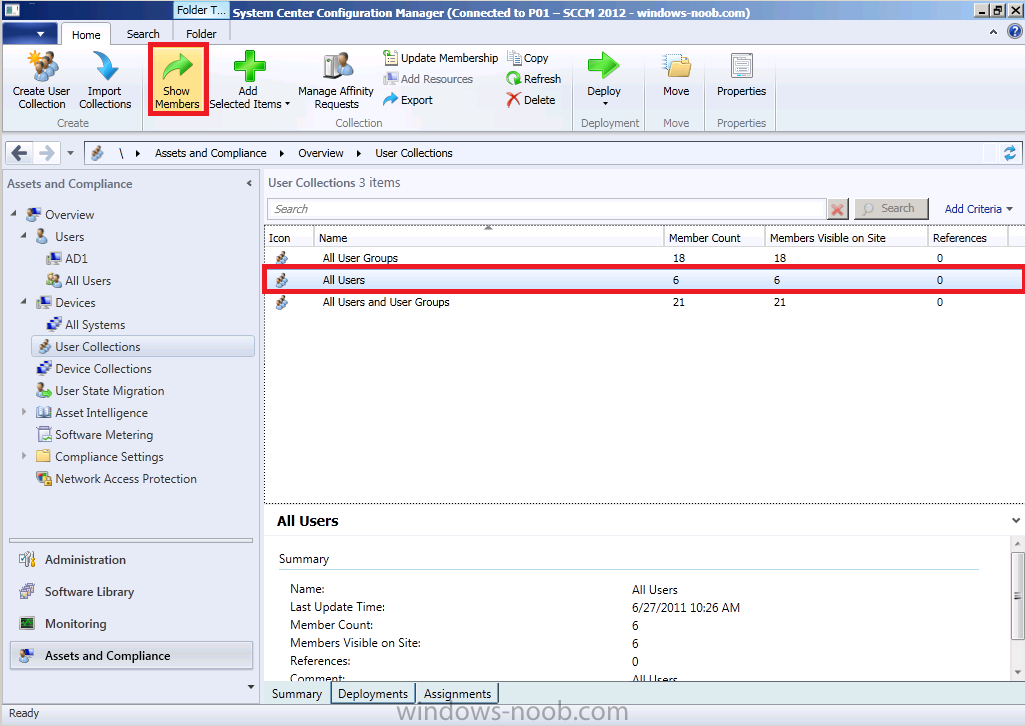
the contents of All Users are displayed (these are the users we created in Part 1 of this guide)
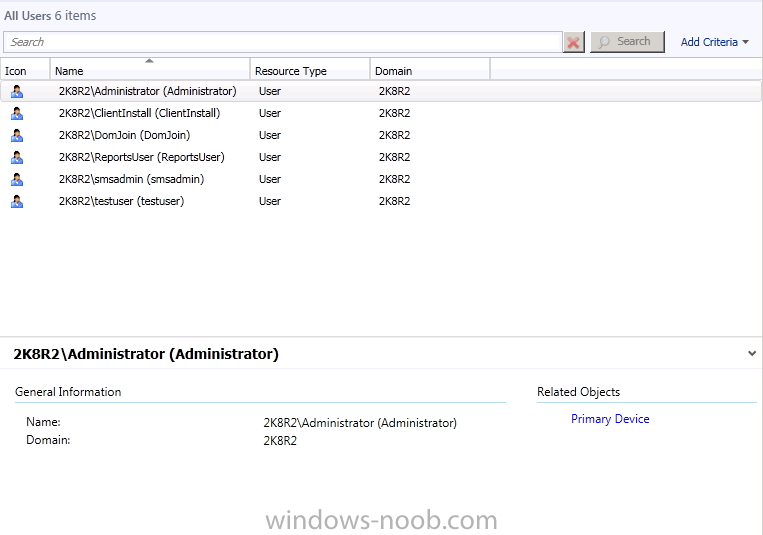
Double click on a user and you’ll see the discovery information listed, including discovery type (sms_ad_user_discovery_agent)
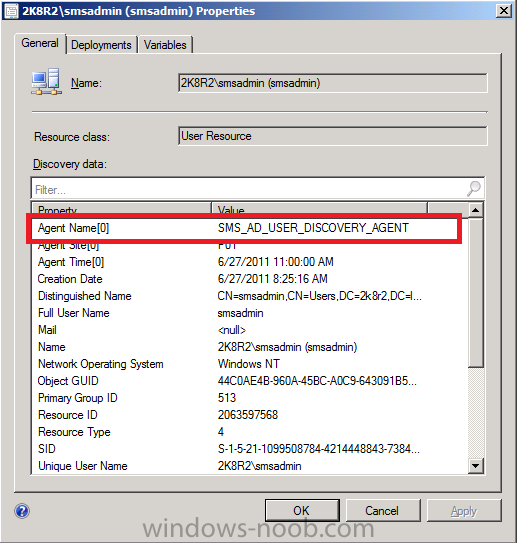
click ok to Close.
Using logs to verify discovery
In addtion to the visual verification we did above, you can browse the
Logs folder of where you installed SCCM 2012, eg: D:\Program
Files\Microsoft Configuration Manager\Logs
and find the following discovery logs
adforestdisc.log
adsgdis.log
adsysdis.log
adsysgrp.log
adusrdis.log
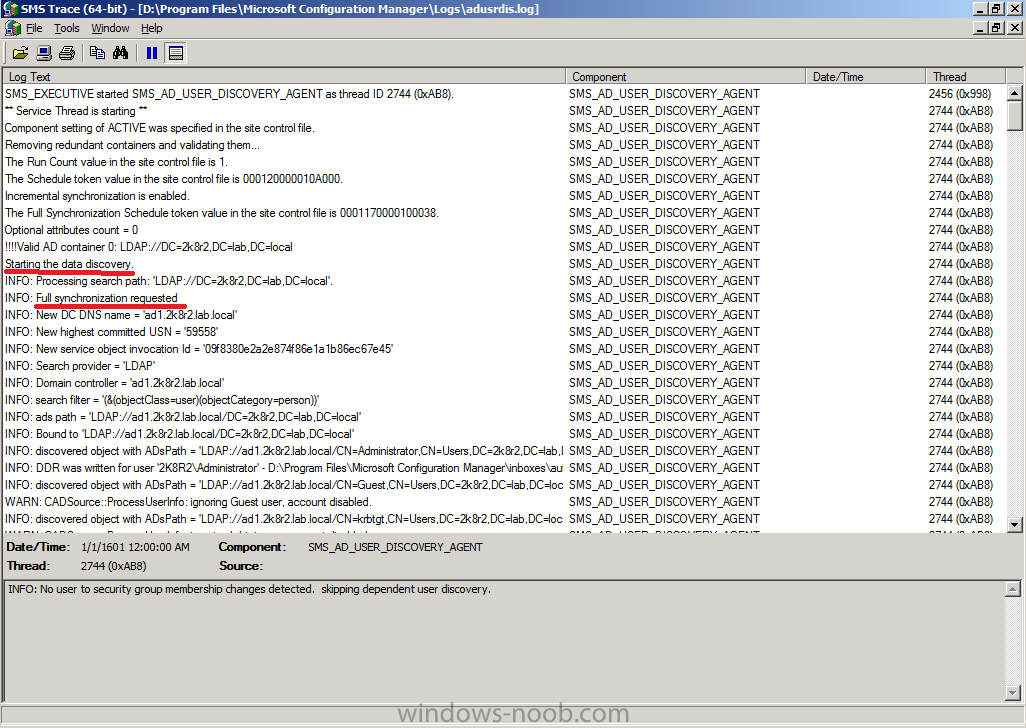
these log files can be opened with Trace64 and you’ll see lots of
interesting info in there such as starting the discovery and what type
of discovery it is (the below sample screenshot is from the first
discovery after enabling Active Directory User Discovery from
adusrdis.log)
Step 4. Add the Catalog Web Service Point and Catalog Web Site Point roles
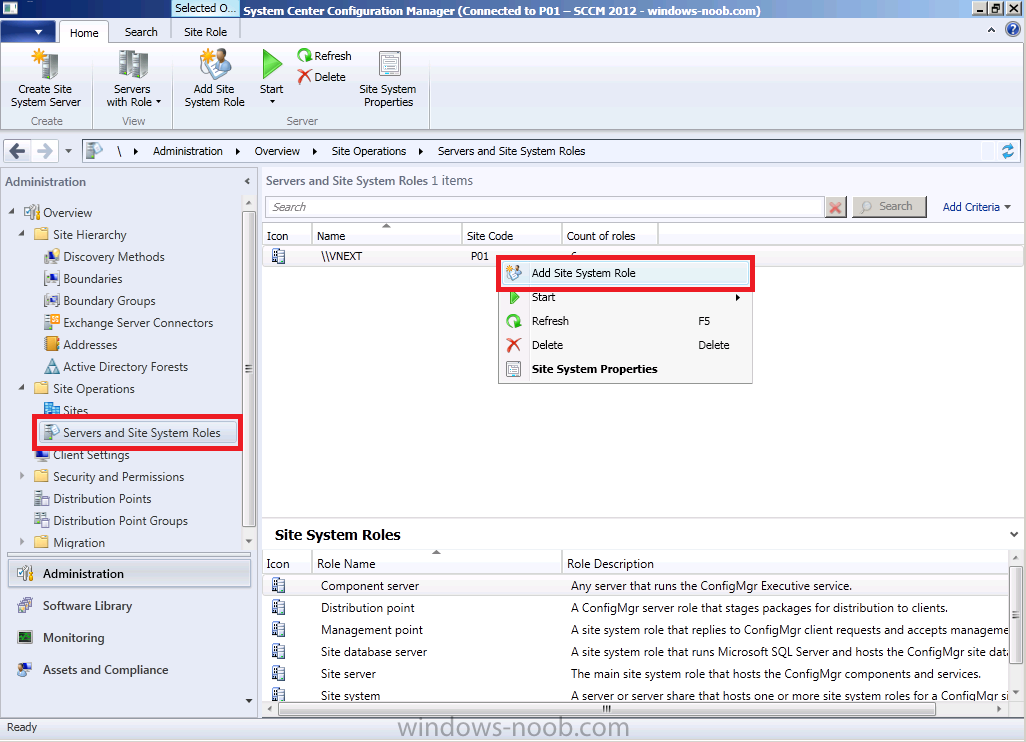
We will be setting some options in the next step which require certain roles to be installed, so in Administration, expand Site Operations, Servers and Site System Roles, right click on our site and choose Add site system role
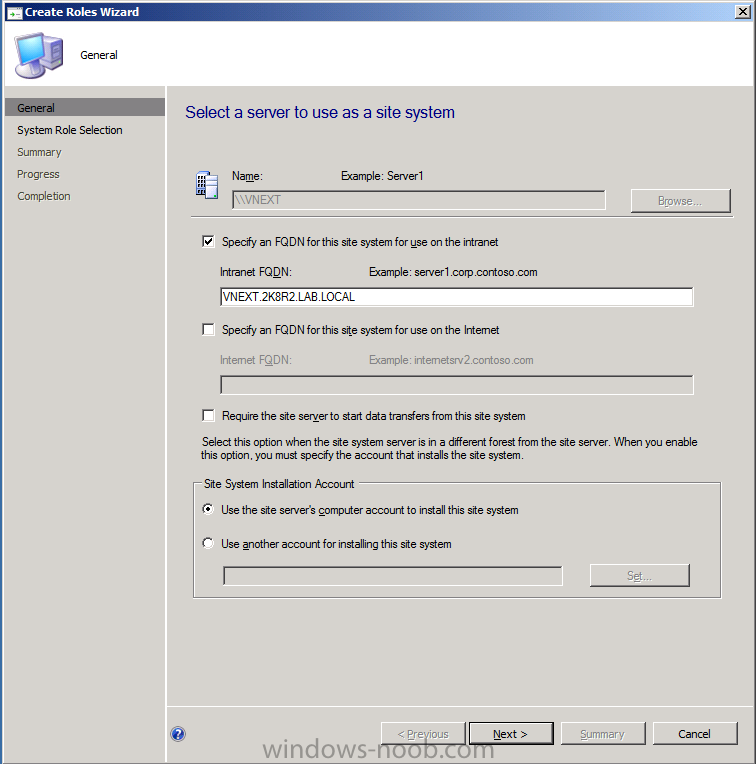
create roles wizard appears, click next
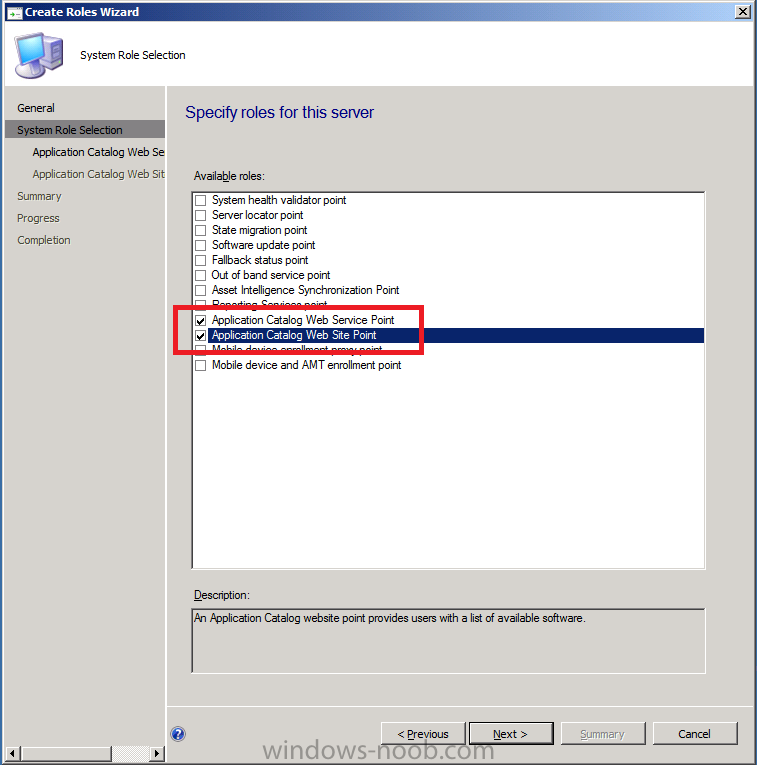
select the following roles
- Application Catalog Web Service Point
- Application Catalog Web Site Point
and click next
accept the default values for the application catalog web service point

and add your organization name to the application catalog web site point

click next at the summary and review the completion
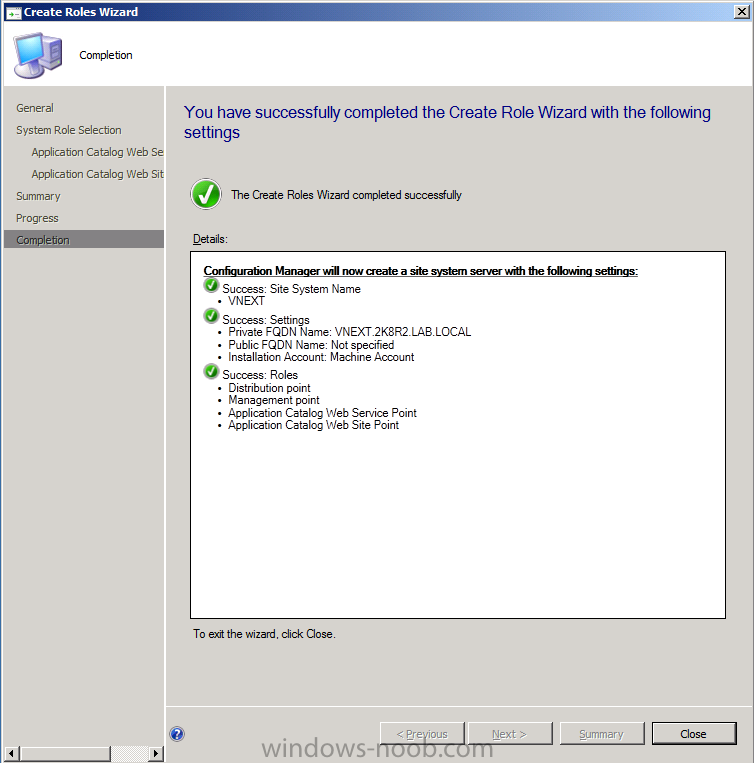
To read the entire post including screenshots, please see here on windows-noob.com
