
In Part 1 of this mini series we integrated Windows Intune with System Center 2012 R2 Configuration Manager. In Part 2 we added Support for iOS devices (Iphone, iPad). In Part 3 we learned the difference between App Package for iOS (*.ipa file) and applications from the Apple App Store. We learned how to deploy them to iOS devices and configured the deployment type so that the applications were made available to the user based on the iPhone or Ipad operating system version, in addition we also checked device Ownership information and deployed the application based on those requirements.
In Part 4 we learned how to use and configure compliance settings in order to enable or disable certain configurable features on iOS devices. We enforced a Password requirement and enforced a minimum password length as this is a common requirement for organizations. In Part 5 we enabled support for Windows 8.1 devices (both Windows RT 8.1 and Windows 8.1 Enterprise) so that they could be managed via System Center 2012 R2 Configuration Manager integrated with Windows Intune. In Part 6 we deployed Windows 8.1 apps (appx) to Windows 8.1 devices. In Part 7 we looked at how to make Windows 8.1 store apps available in the Company Portal and how to make them featured apps with their own categories.
In Part 8 we added support for Android and learned how to deploy mobile device settings to Android devices. We enforced a Password requirement and saw how to enable File encryption on Android devices and we used resource explorer to browse the phone properties and to see if the device was a Jailbroken or rooted device. In this Part, we will learn how to deploy native APK (Android application package file) apps and how to deploy apps from Google Play. We’ll learn that Available deployments to Users work but Available deployments to devices fail and we’ll see how to make our deployed app featured apps within the Company Portal and with their own categories.
Step 1. Create an App Package for Android (*.apk)
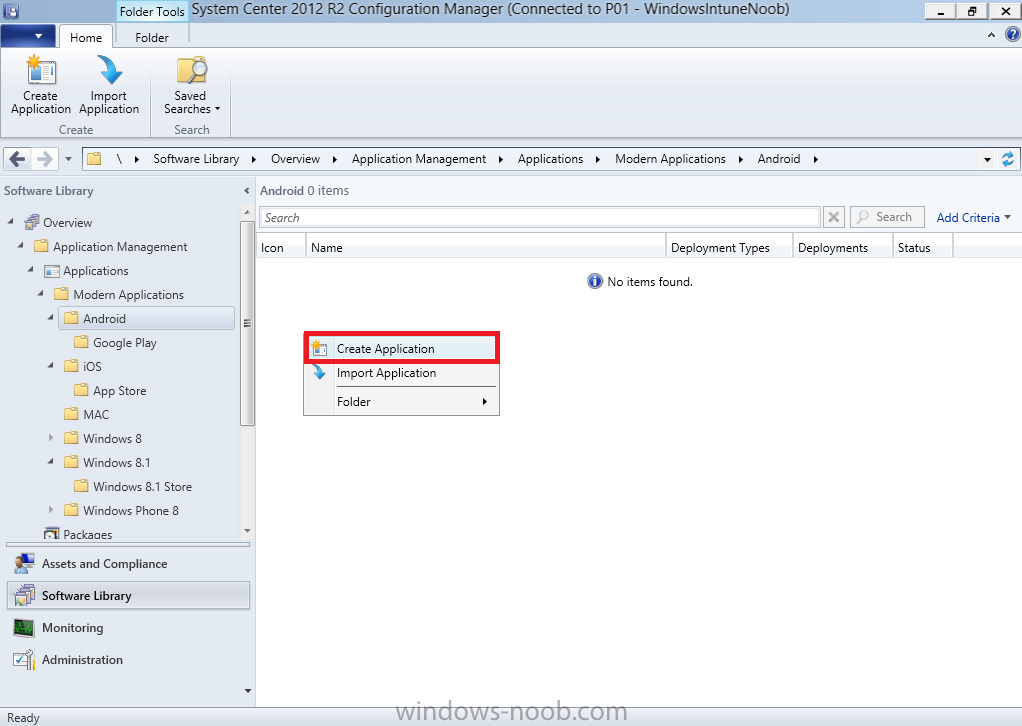
In the Configuration Manager console, select the Software Library, expand applications, and navigate to our previously created folders called Modern Applications (created in Part 3 of this series, you can download the powershell script in Step 1 here), and then to the subfolder called Android. Right click and choose Create Application as shown in the screenshot below:-
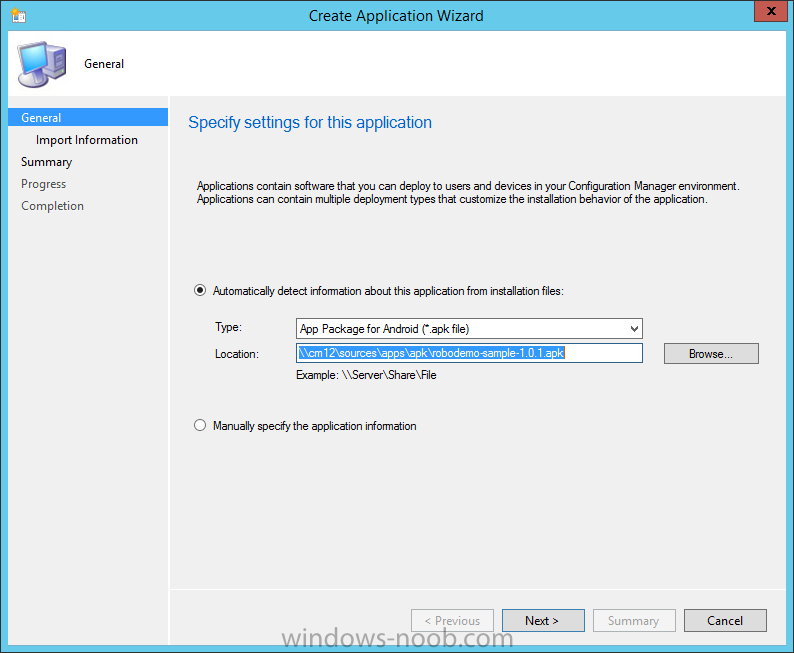
Select App Package for Android (*.APK files) from the Type drop down menu and then browse to the UNC path of where you have downloaded your Android App. I downloaded the following sample app which I found after doing a quick search.
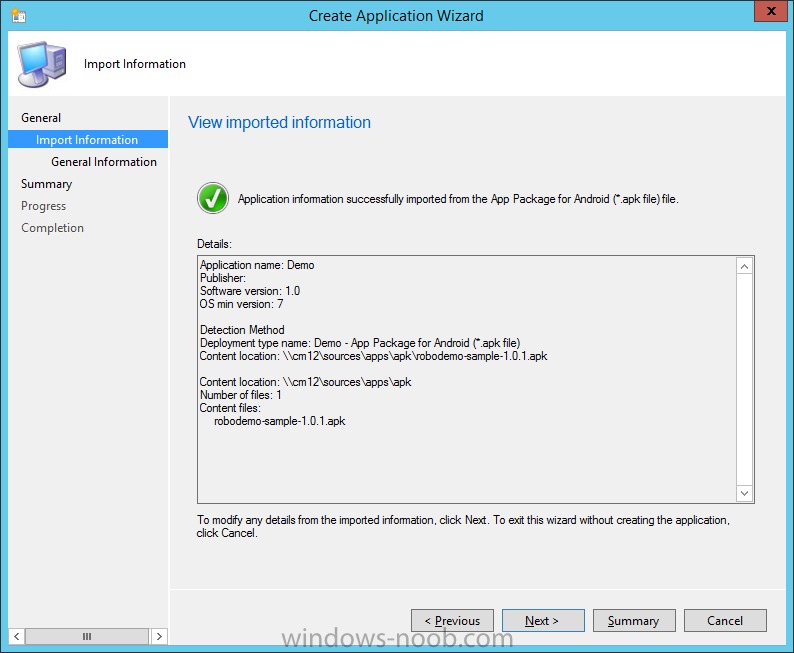
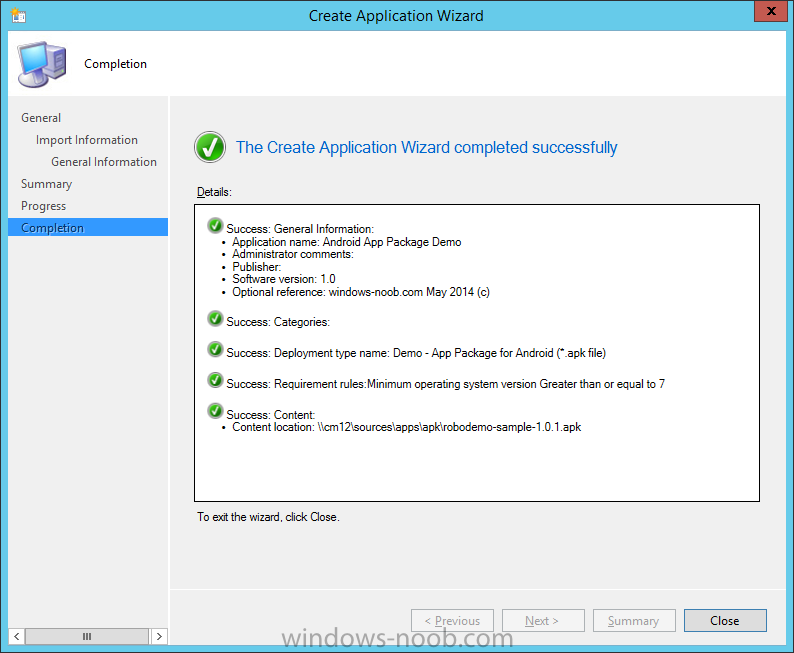
you’ll be informed that the wizard has successfully imported the App Package
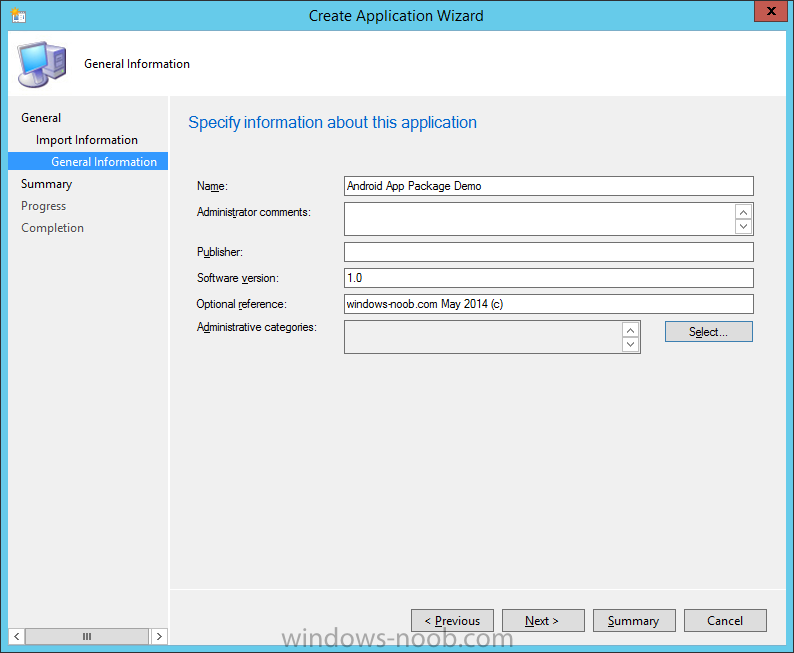
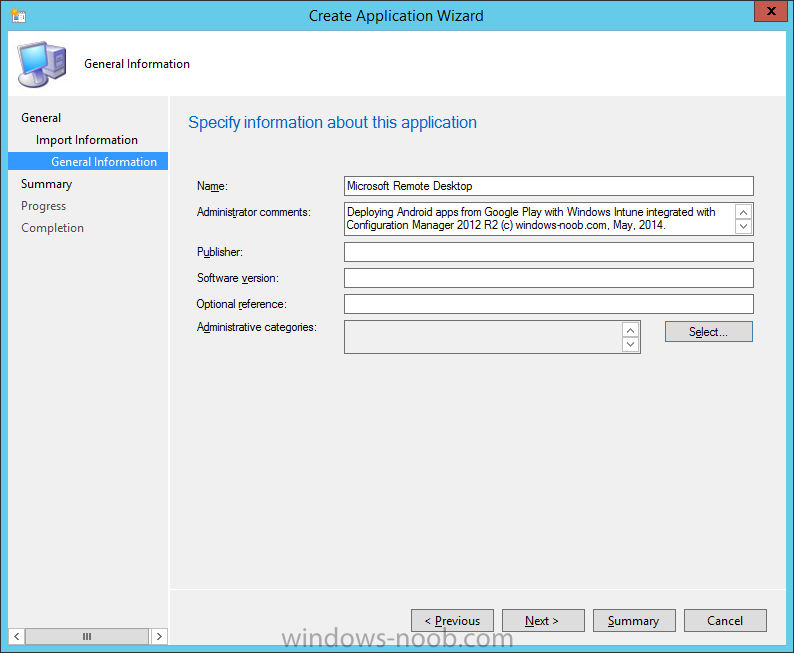
fill in some General Information about the App Package
and click your way through the rest of the wizard until completion
Step 2. Distribute our app to the cloud
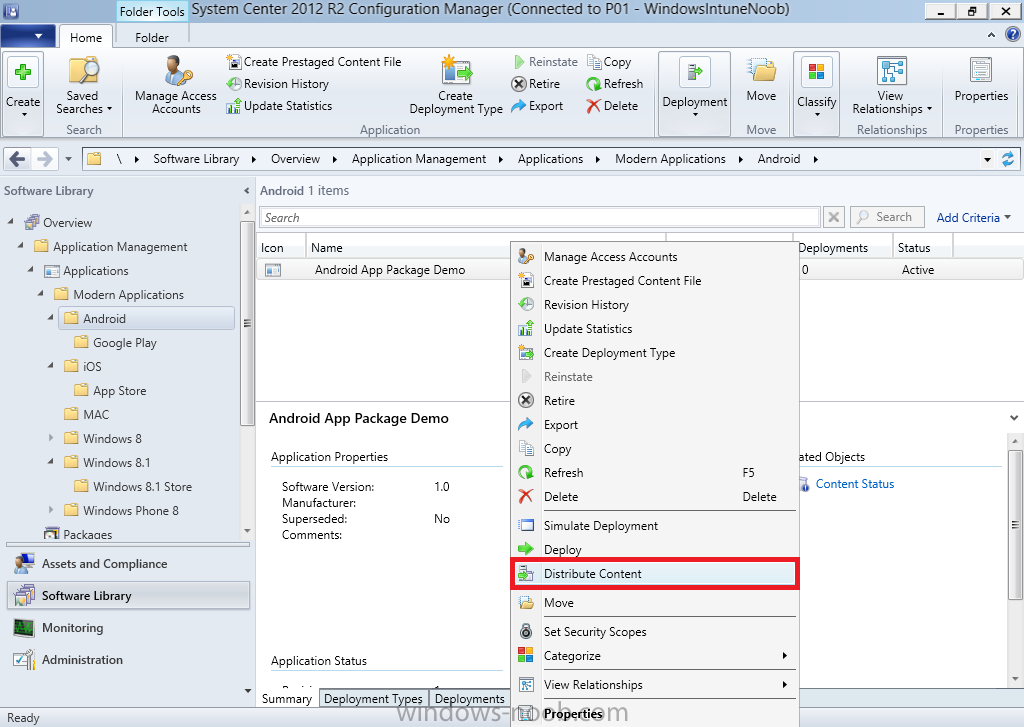
Now that we have created our app, we need to distribute it to our cloud Distribution Point (Windows Intune DP) so that our Intune Users can download the content. To distribute the app, right click it and choose Distribute Content.
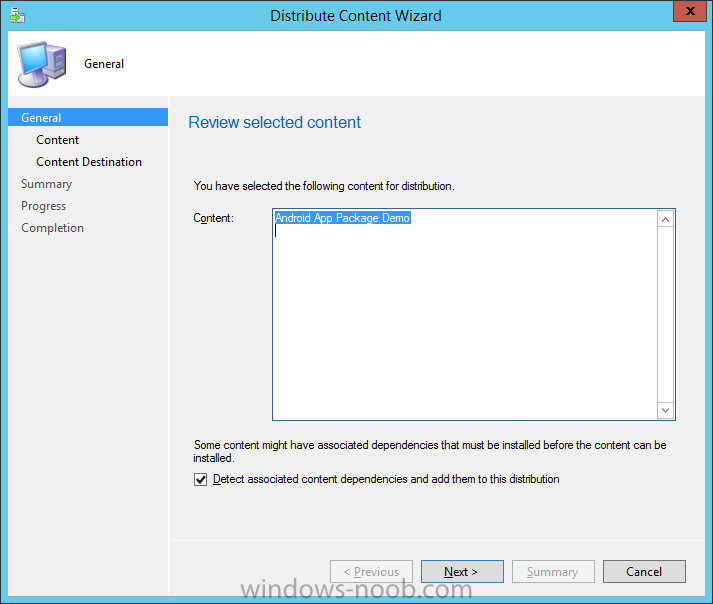
Review selected content
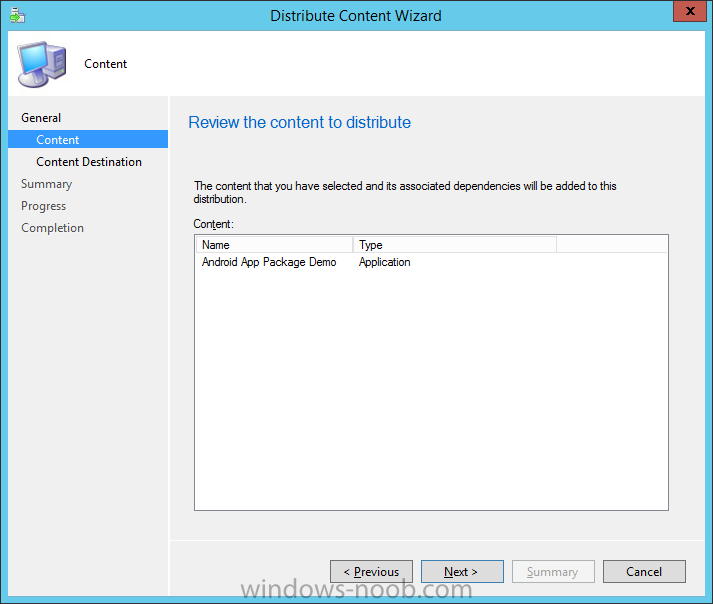
You’ll be shown what content is going to be distributed, it’s only one app, so that’s all you’ll see listed
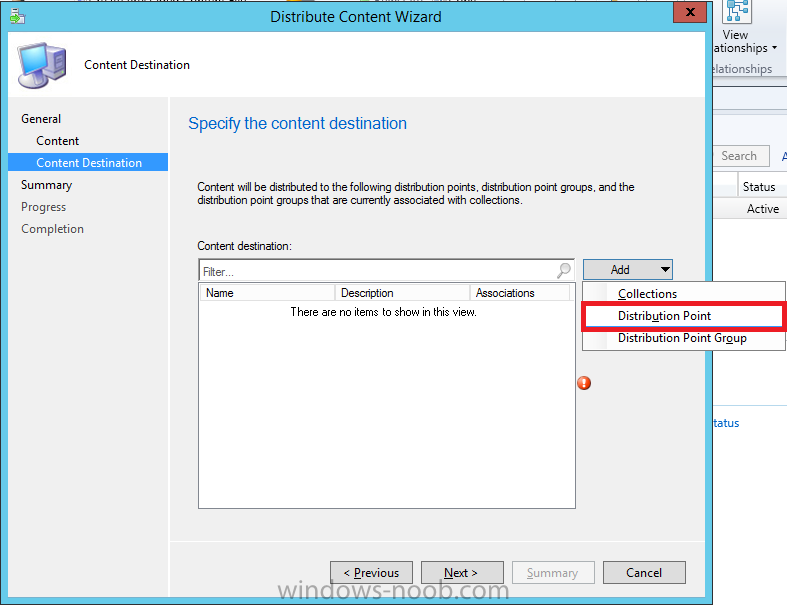
In the content destination screen, click the Add drop down and select Distribution Point from the choices available as in the screenshot below
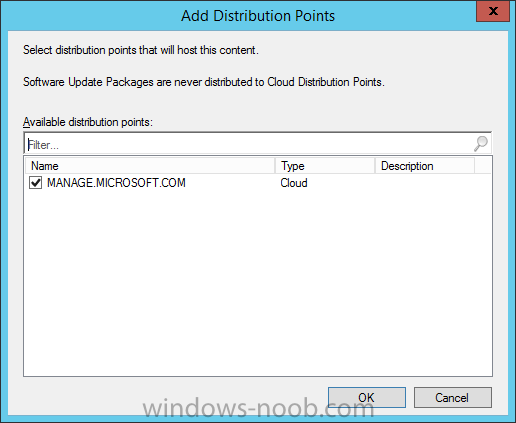
You’ll see that MANAGE.MICROSOFT.COM is already selected, click Ok.
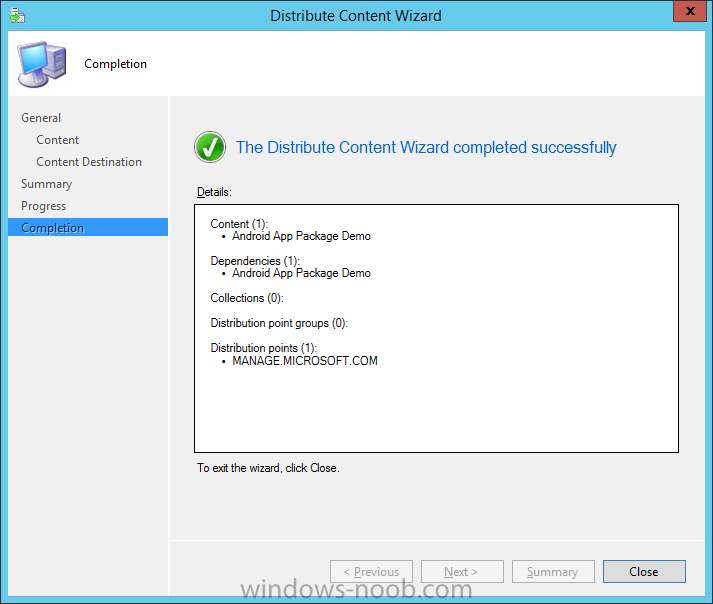
continue through the wizard until completion
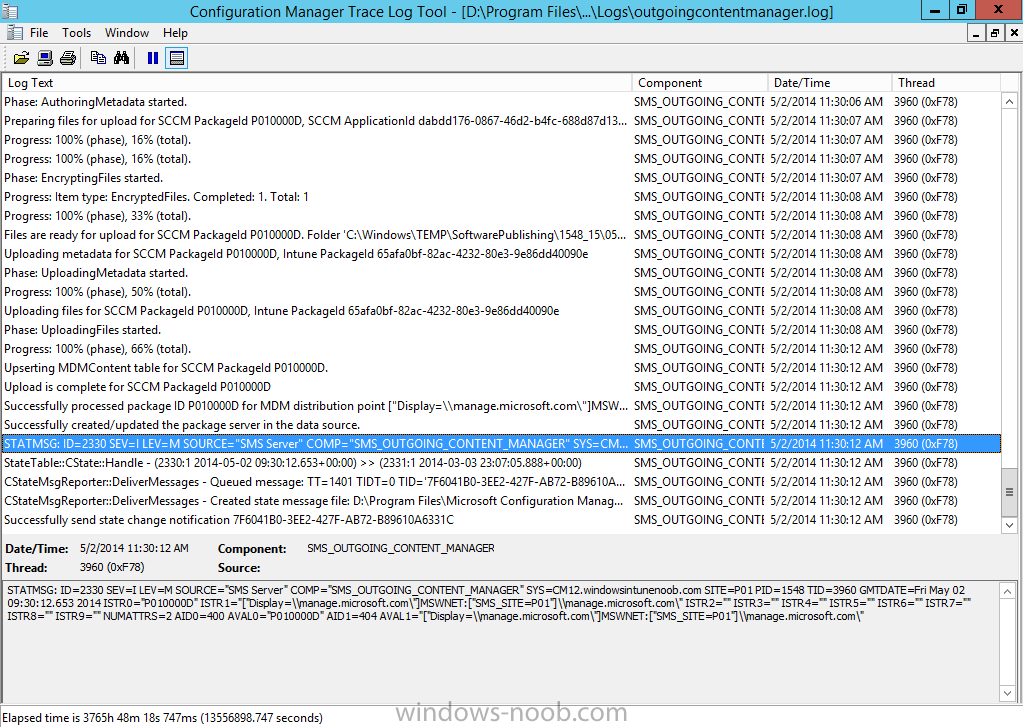
You can monitor the distribution of your App in DistMgr.log and also using the outgoingcontentmanager.log which records content uploaded to Windows Intune.
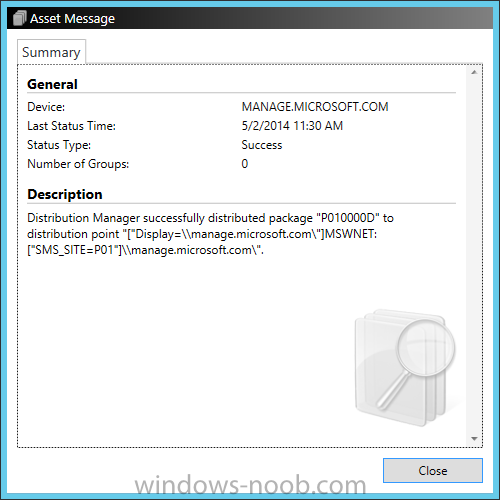
and in the Configuration Manager console, we can see that app’s content status in the Monitoring Node by right clicking on the Asset Details and choose More Details

which will give us details of that status
Once you have verified that the content has successfully distributed you can continue with the next step.
Step 3. Deploy the App
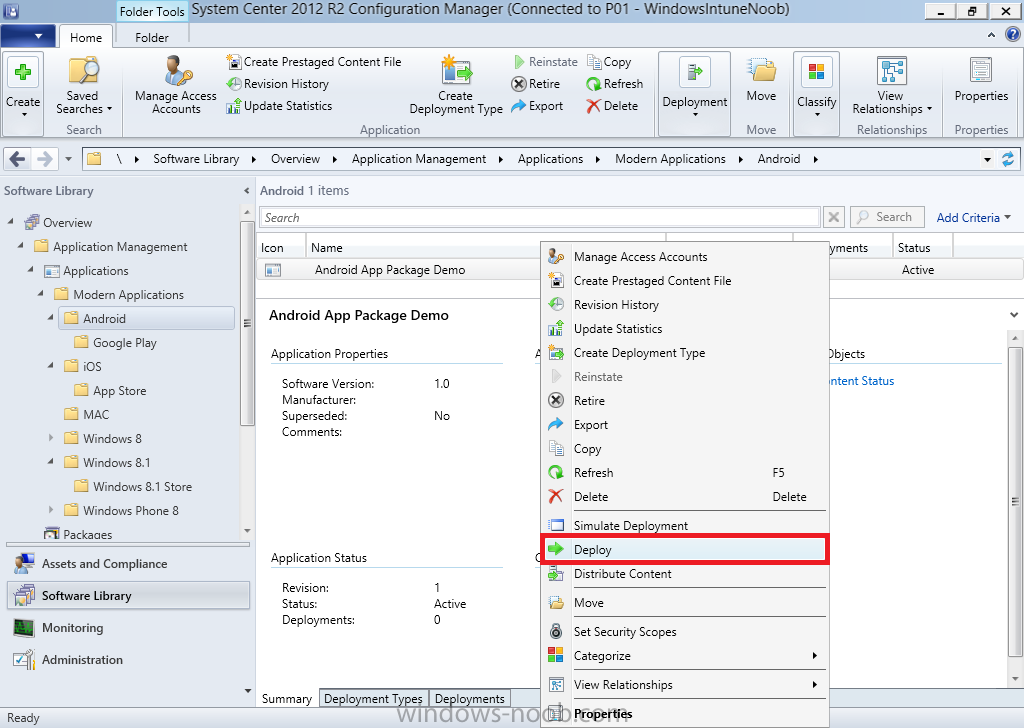
Now we want to make our Intune Users aware of the new app, to do so, we will deploy it. Right click on our Android app and choose Deploy
This brings up another wizard, for Target Collection click on browse, and select our previously created Windows Intune Users collection

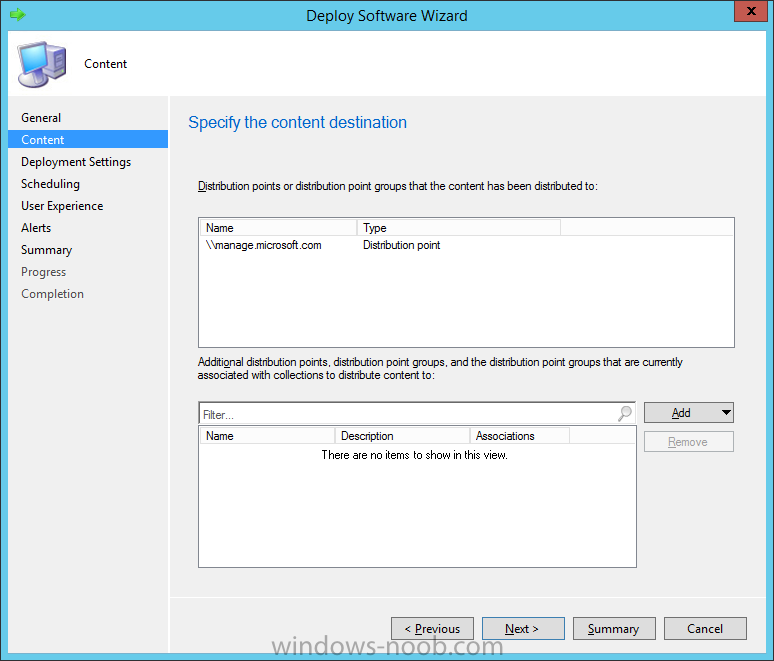
the content screen will show our previously distributed content,
and the next screen allows us to select the Action (install or uninstall) and purpose (Available or Required), if you want the user to have no choice, then select Required, or if you want the users to have a choice in installing this app choose a purpose of Available
Note: The way you deploy apps to mobile devices or mobile device users using Windows Intune Integration with Configuration Manager (hybrid scenario) will decide the outcome of the deployment (i.e. whether it works or not). For example, you can only deploy apps with an Available purpose to Users, however you can deploy apps with a Required purpose to Users and Devices. In other words, if you deploy an App with an Available purpose and target it to a Device collection then nothing will happen (the App will not appear in the Company Portal).

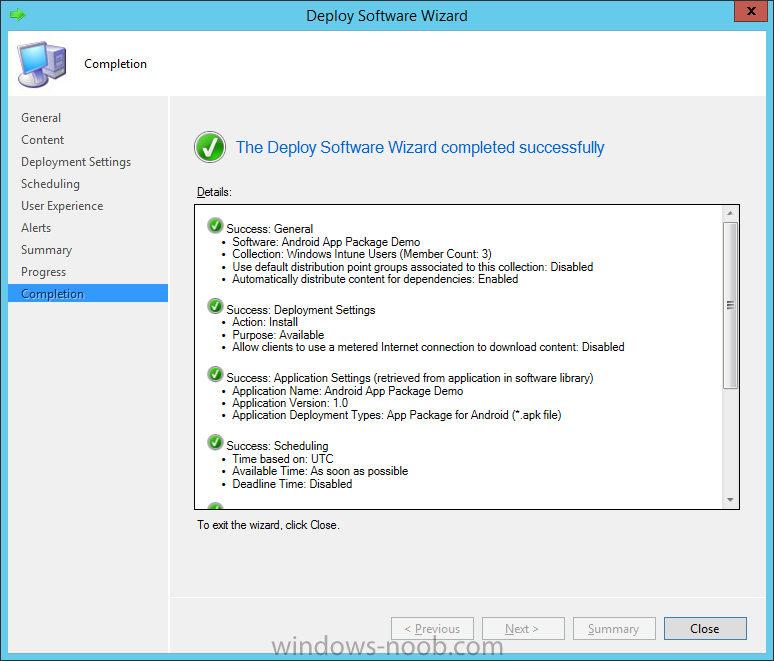
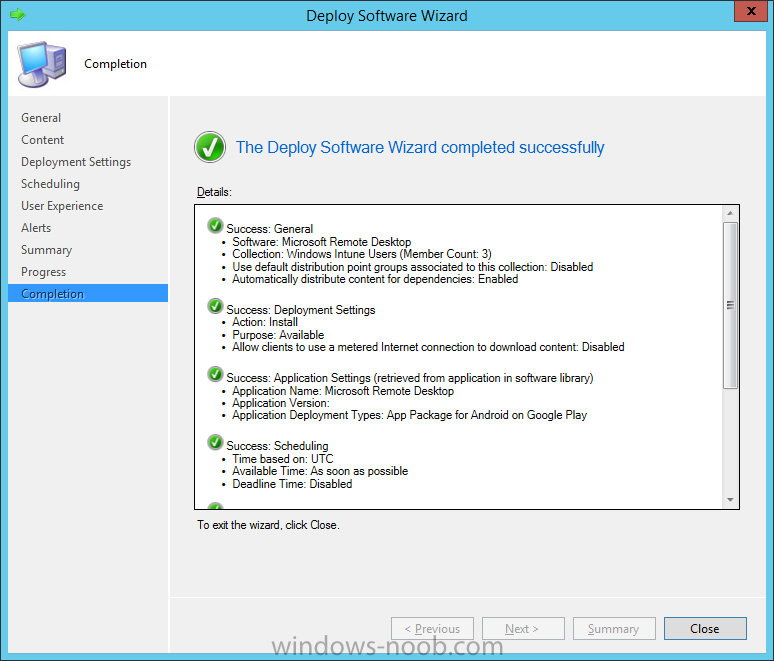
Click your way through the rest of the wizard until completion
Step 4. Create an App using Google Play
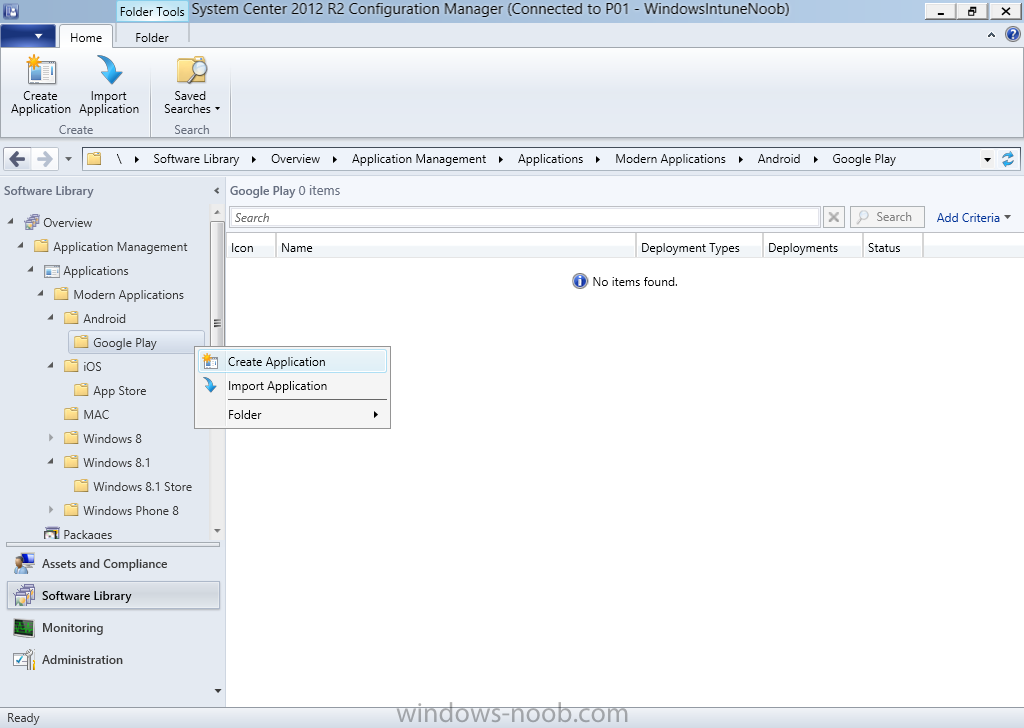
Apps from the App Store (Google Play) can also be made available in the Company Portal. To do so we once again start the Create Application Wizard. Navigate to our previously created folders called Modern Applications and then to the subfolder called Android, and to the subfolder within that called Google Play. Right click and choose Create Application as shown in the screenshot below:-
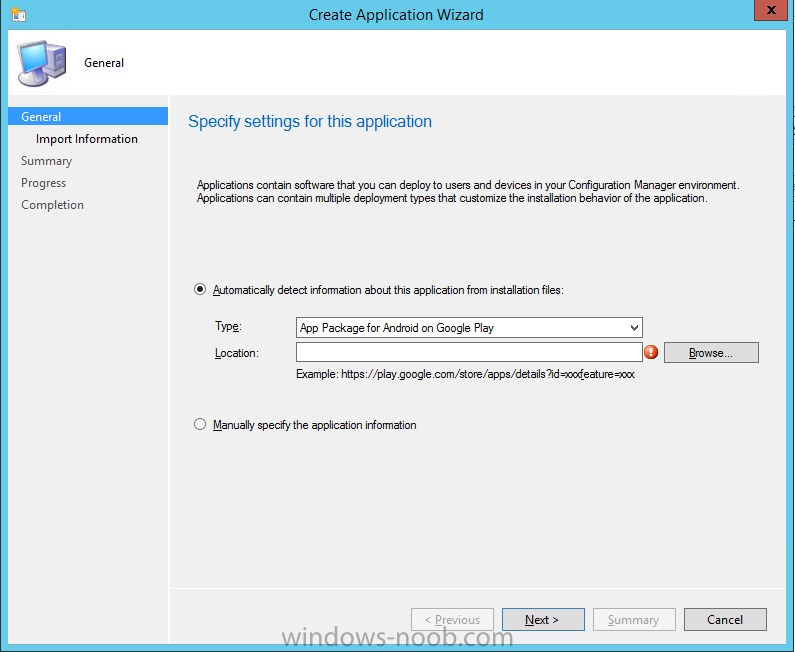
Select App Package for Android on Google Play in the Type drop down menu and then click browse
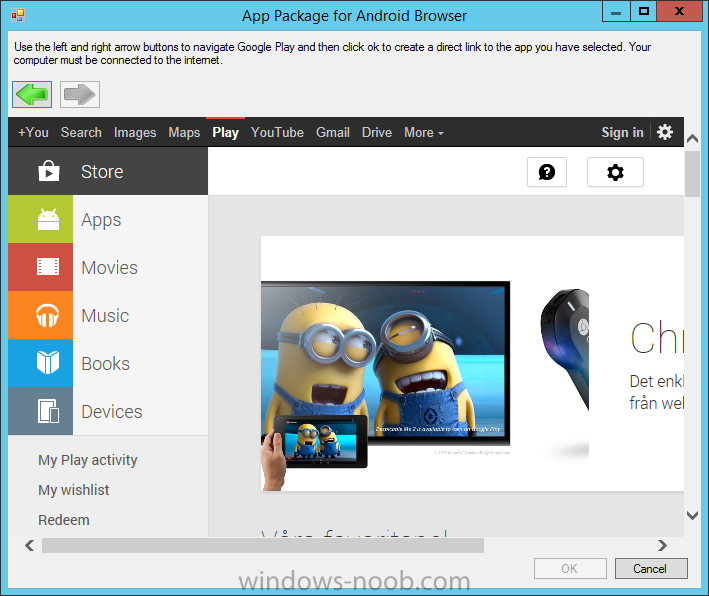
Google play should open, click on Apps on the left of the google play menu
In the Apps menu, browse via Category and select the Google Play app you want to make available to your Android users, I find it easier to find apps by maximizing the screen. In the screenshot below i’ve chosen Business as the Category and then selected Microsoft Remote Desktop from the list of available apps (many many apps).
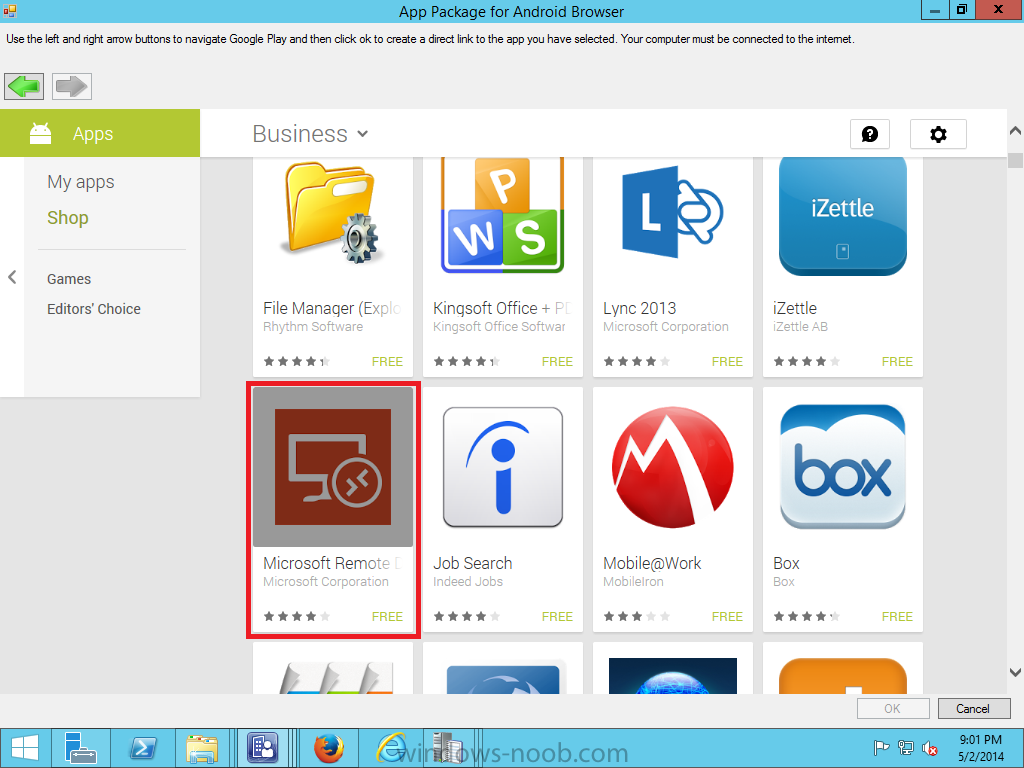
Select the app by clicking on it, it will bring up some additional options like Install and Add to wishlist, but you should not click on either, instead click on OK
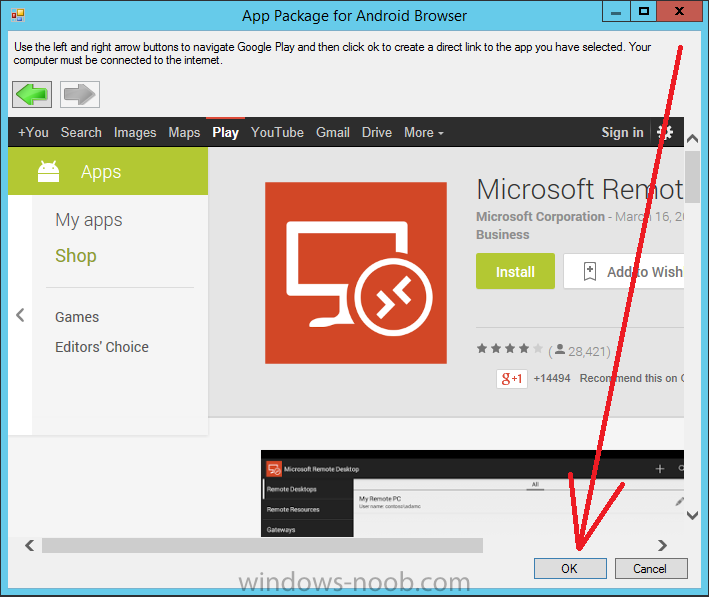
Now you should see the Google Play url for the app you selected has populated itself in the Location field

enter some details about the app…
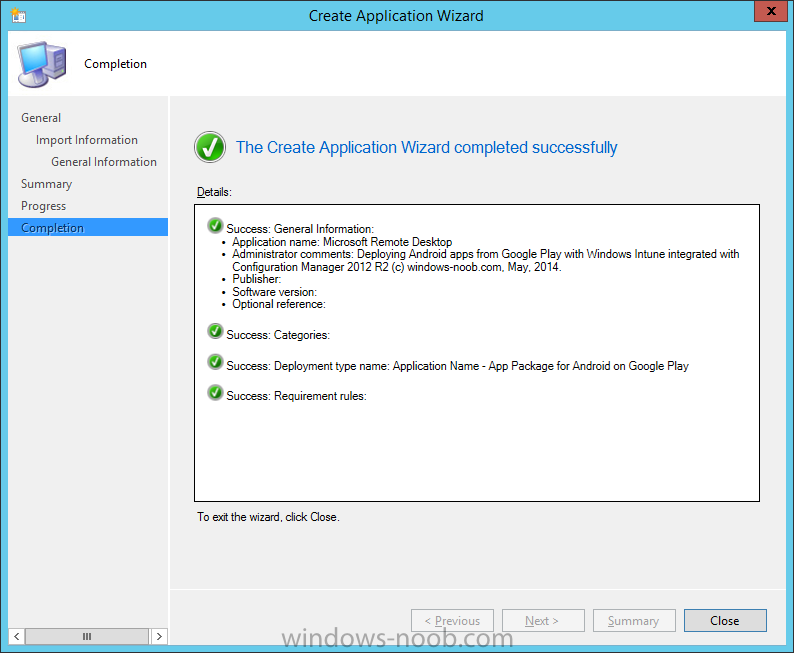
and continue to the end of that wizard.
Step 5. Deploy the Google Play Android App.
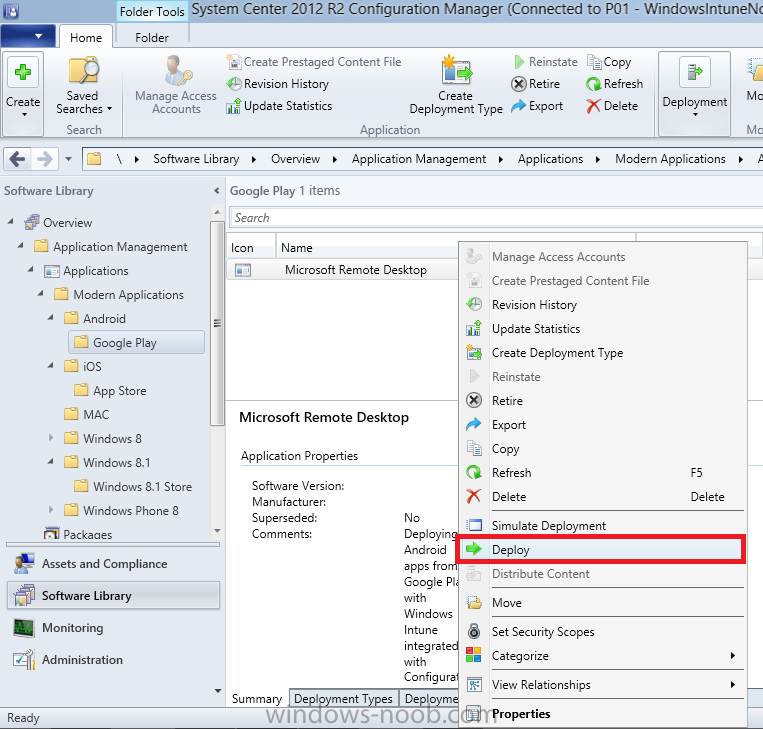
As Google Play apps are already distributed in Googles own ‘store’ there’s no need for us to distribute them to a distribution point, all we need to do is to Deploy the App, so let’s do that, same as step 3 above. Right click on the App, choose Deploy
Select the Windows Intune Users User collection and continue through the wizard until completion.
Step 6. Make the App a Featured App and Categorize it
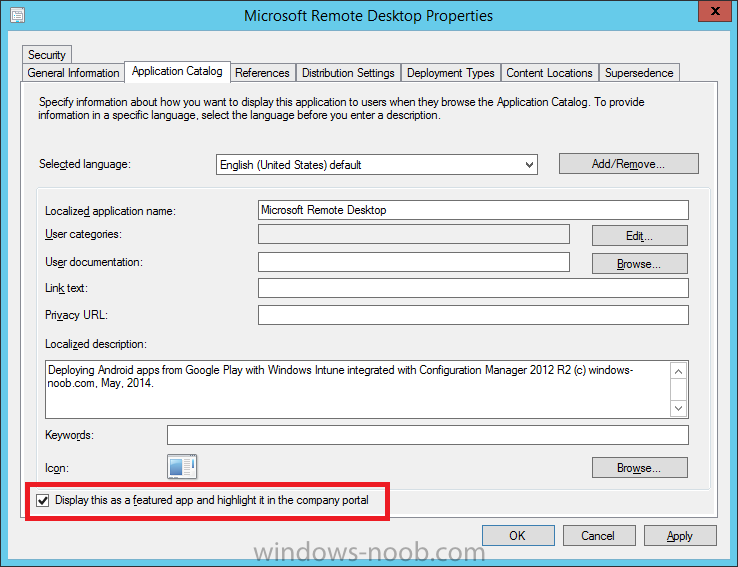
Select the Remote Desktop App we just added, right click it, and choose Properties, then select the Application Catalog tab, place a checkmark in the Display this as a featured app and highlight it in the Company Portal as shown below
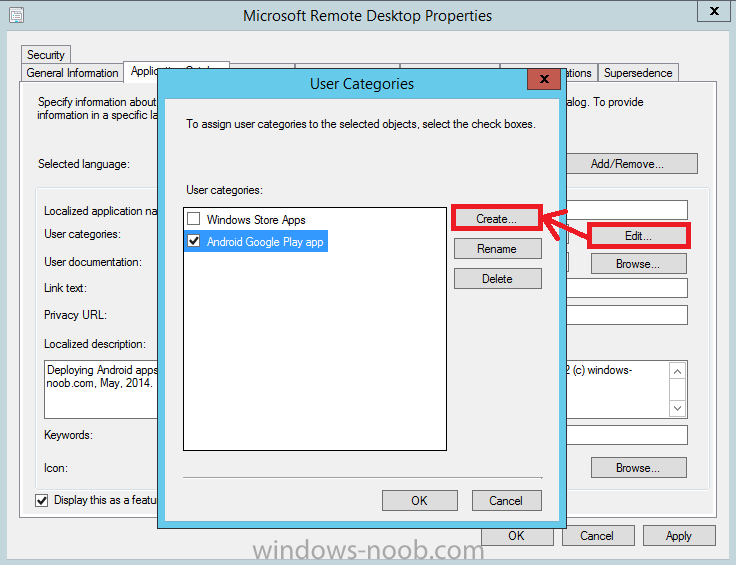
Next click on the Edit button to the right of User Categories and then click on Create to create a Category, give the new category a suitable name like Android Google Play app
Click Apply and then click OK to close.
Step 7. Verify the end user experience on an Android device
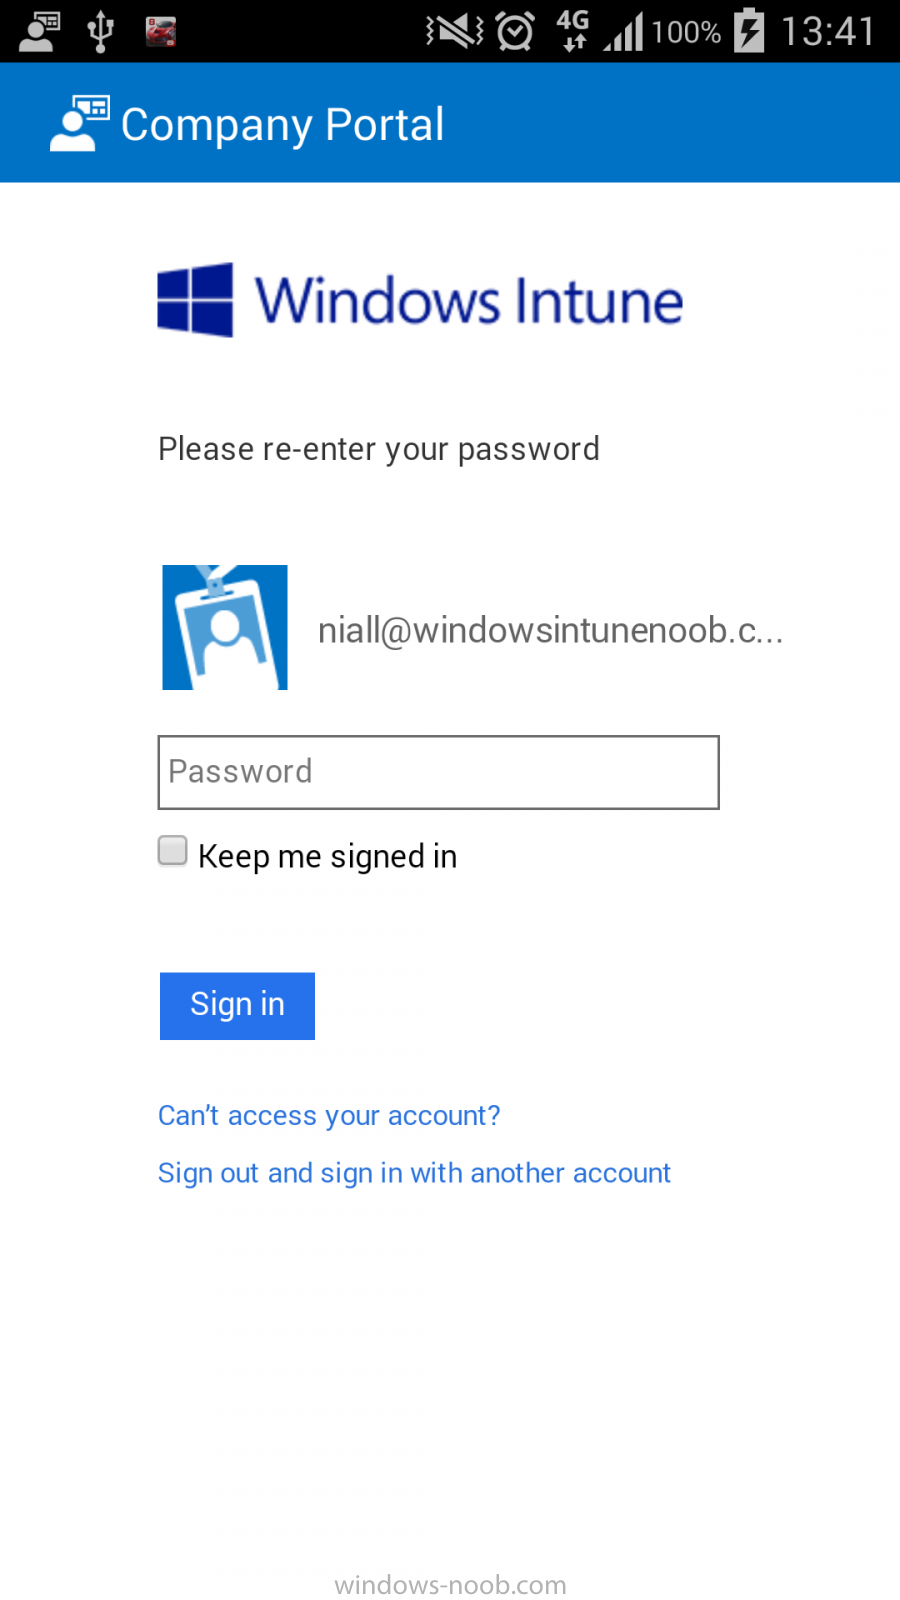
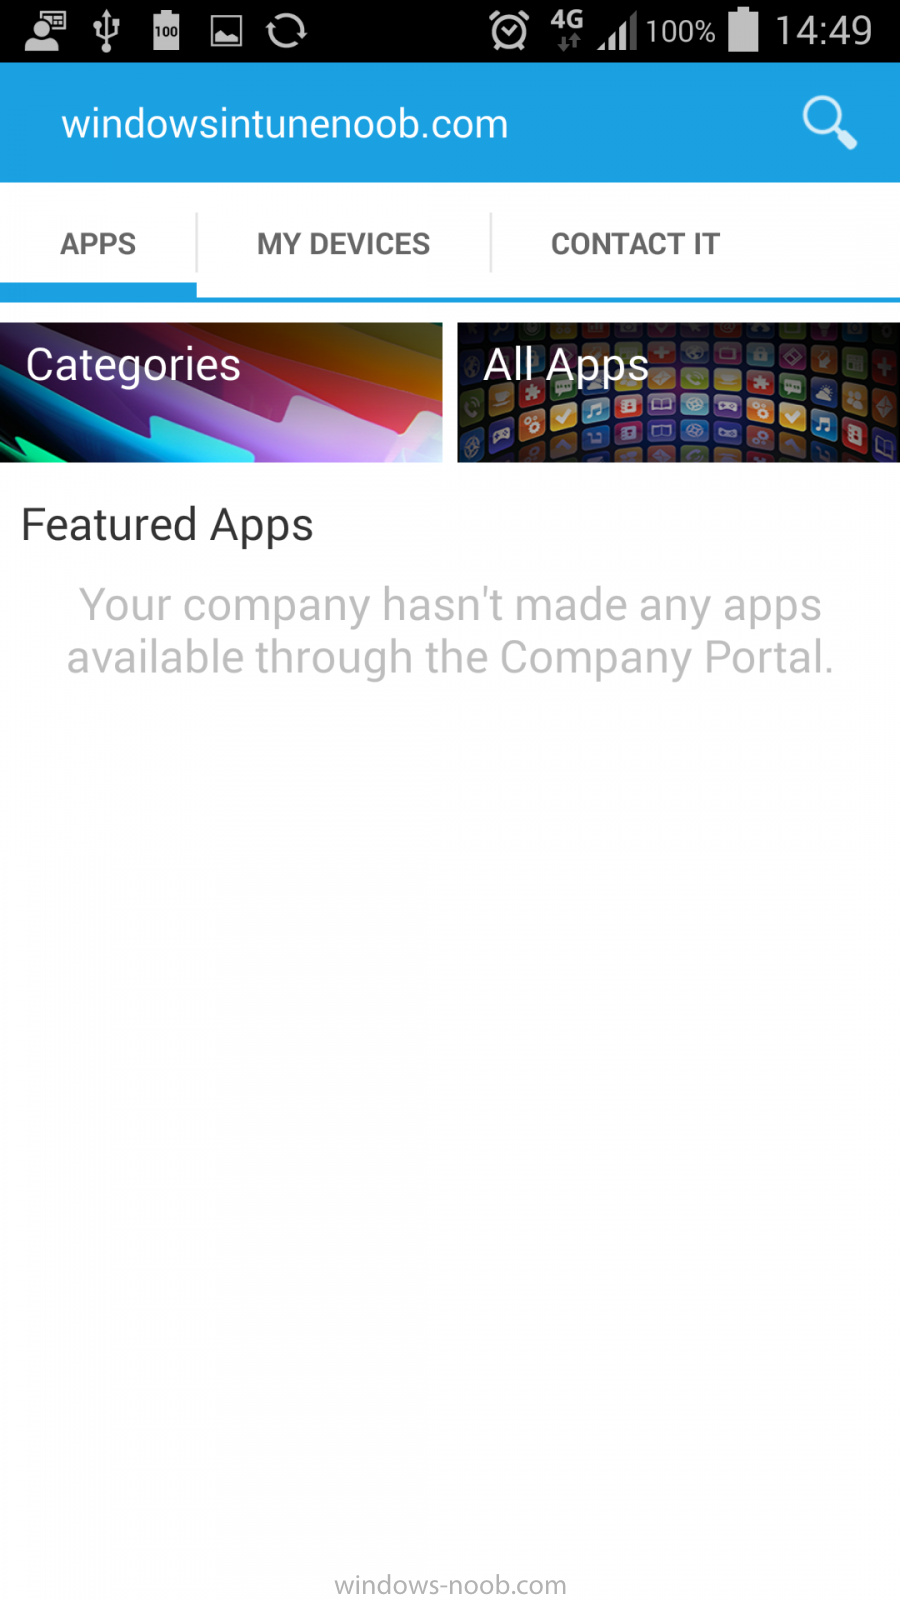
Now all the hard work is done, it’s time to see the fruits of our labor, log on to an Android Device, start up the company portal and enter your credentials when prompted
Once the Company Portal has loaded, it’s quite likely that the Android device will not have received any new policy yet, so the applications we deployed above won’t appear in the Company Portal (yet), if this is the case, wait and then try again.
After the policy has finally taken, your Deployed apps appear in the company portal
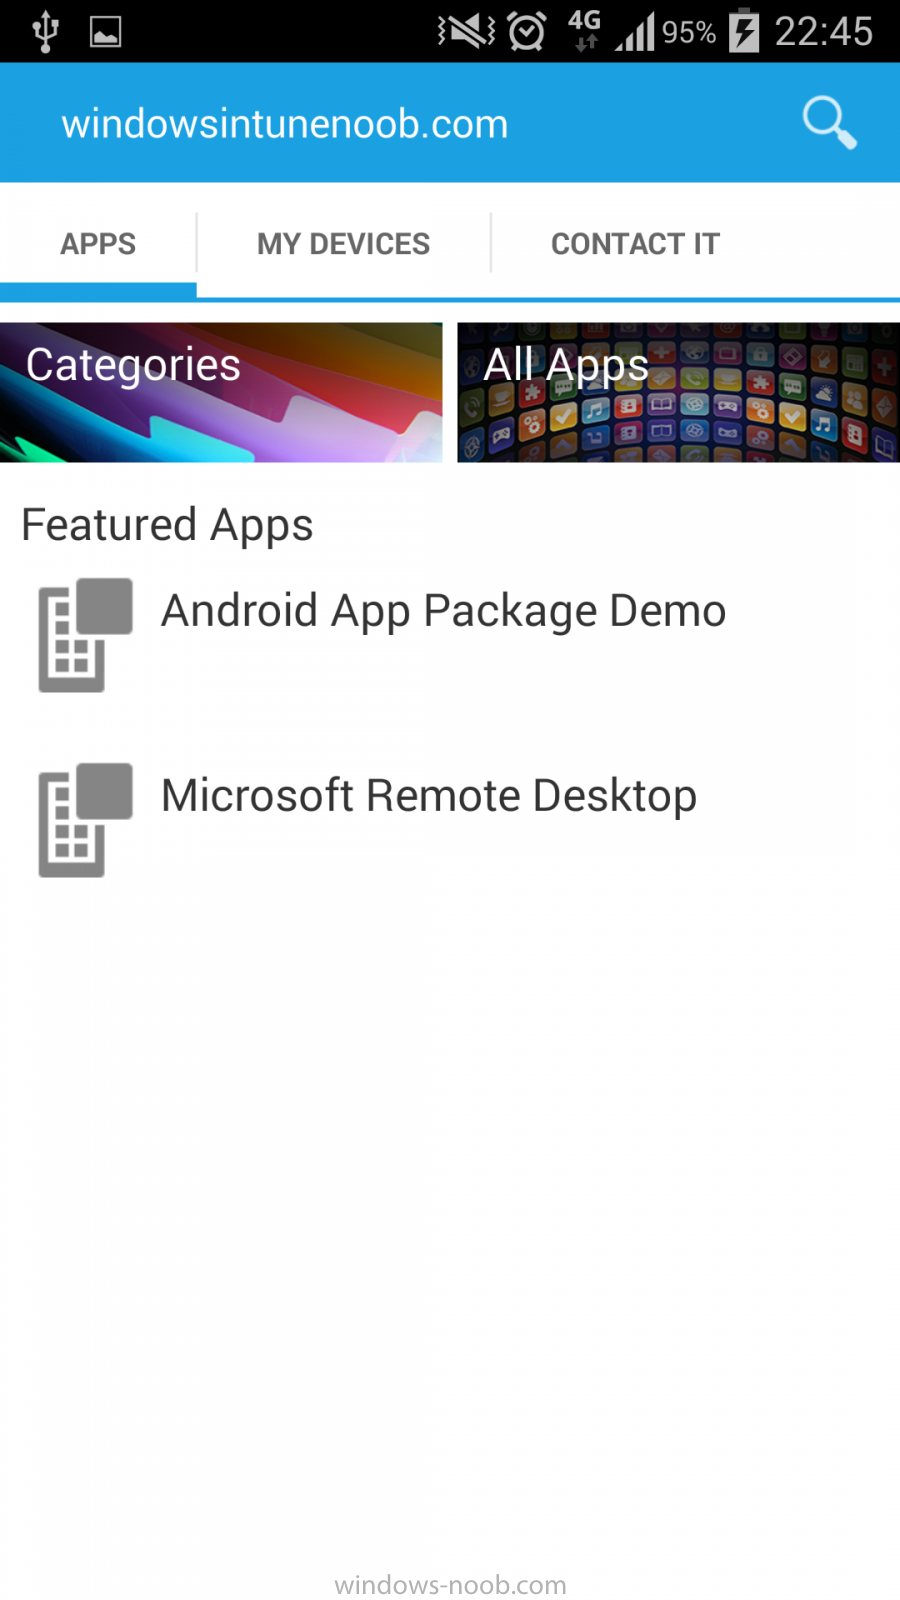
Success 🙂
Troubleshooting
If your apps are not installing please do read my note above in Step 3.
Recommended Reading
- CM12 in a Lab – How can I manage modern devices using System Center 2012 R2 Configuration Manager ? – Part 1
- CM12 in a Lab – How can I manage modern devices using System Center 2012 R2 Configuration Manager ? – Part 2
- CM12 in a Lab – How can I manage modern devices using System Center 2012 R2 Configuration Manager ? – Part 3
- CM12 in a Lab – How can I manage modern devices using System Center 2012 R2 Configuration Manager ? – Part 4
- CM12 in a Lab – How can I manage modern devices using System Center 2012 R2 Configuration Manager ? – Part 5
- CM12 in a Lab – How can I manage modern devices using System Center 2012 R2 Configuration Manager ? – Part 6
- CM12 in a Lab – How can I manage modern devices using System Center 2012 R2 Configuration Manager ? – Part 7
- CM12 in a Lab – How can I manage modern devices using System Center 2012 R2 Configuration Manager ? – Part 8
- Technical Reference for Log Files in Configuration Manager – http://technet.micro…y/hh427342.aspx
- How to Create and Deploy Applications for Mobile Devices in Configuration Manager – http://technet.micro…y/dn469410.aspx
Summary
Deploying applications (apk apps) to Android Devices is relatively easy to do using the Configuration Manager 2012 R2 with Windows Intune Integration.
Downloads
You can download a Microsoft Word copy of this guide here.
 How can I manage modern devices using System Center 2012 R2 Configuration Manager Part 9.zip 3.67MB
