
Introduction
I was browsing Twitter when I came across this post by well known Microsoft Senior Program Manager, Per Larsen.
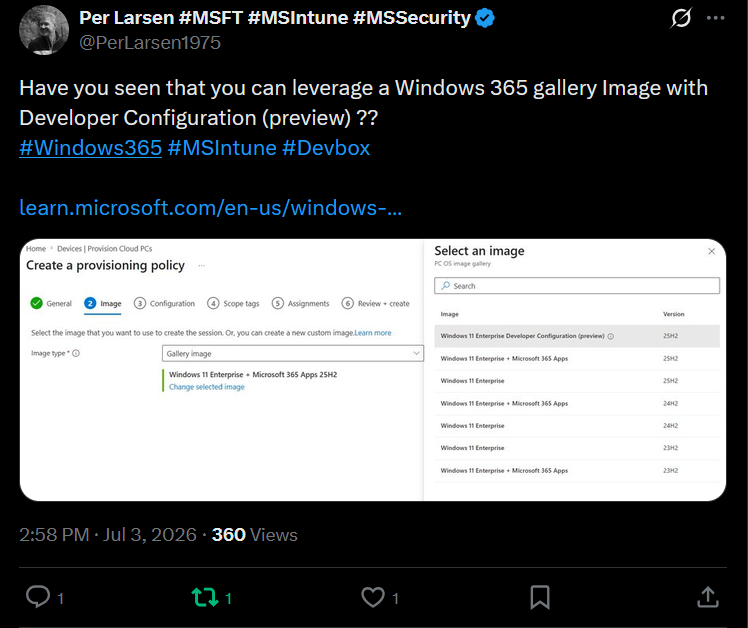
I clicked on the learn.microsoft.com link and saw the following info.
Image with Developer Configuration (preview): This image provides a consistent, ready-to-use developer environment by preinstalling essential development tools and applying the required configurations across Windows and WSL Ubuntu. This image is available for Windows 365 Enterprise and Windows 365 Flex Dedicated mode. By standardizing the image with the necessary tooling and setup, this approach reduces onboarding time, minimizes manual configuration, and ensures a reliable and productive developer experience from first sign-in.
There is more info about what’s included in the link, but it intrigued me enough to want to try it.
For those that don’t know there are two types of images in Windows 365, Gallery and custom. Custom images are those you create yourself and upload to Intune for use with your provisioning policies, and Gallery images are pre-defined images created by Microsoft.
But why would people be interested in this new release ? well the time to setup any computer let alone a Cloud PC with all these developer tools available and at the right version takes time and effort.
Development using those preinstalled tools also takes time, so anything that can speed up and automate that process is a win. Also, if you are targeting a team of developers with this image you know they are all starting from the same set of tools and settings so you are getting consistency.
Using the new gallery image
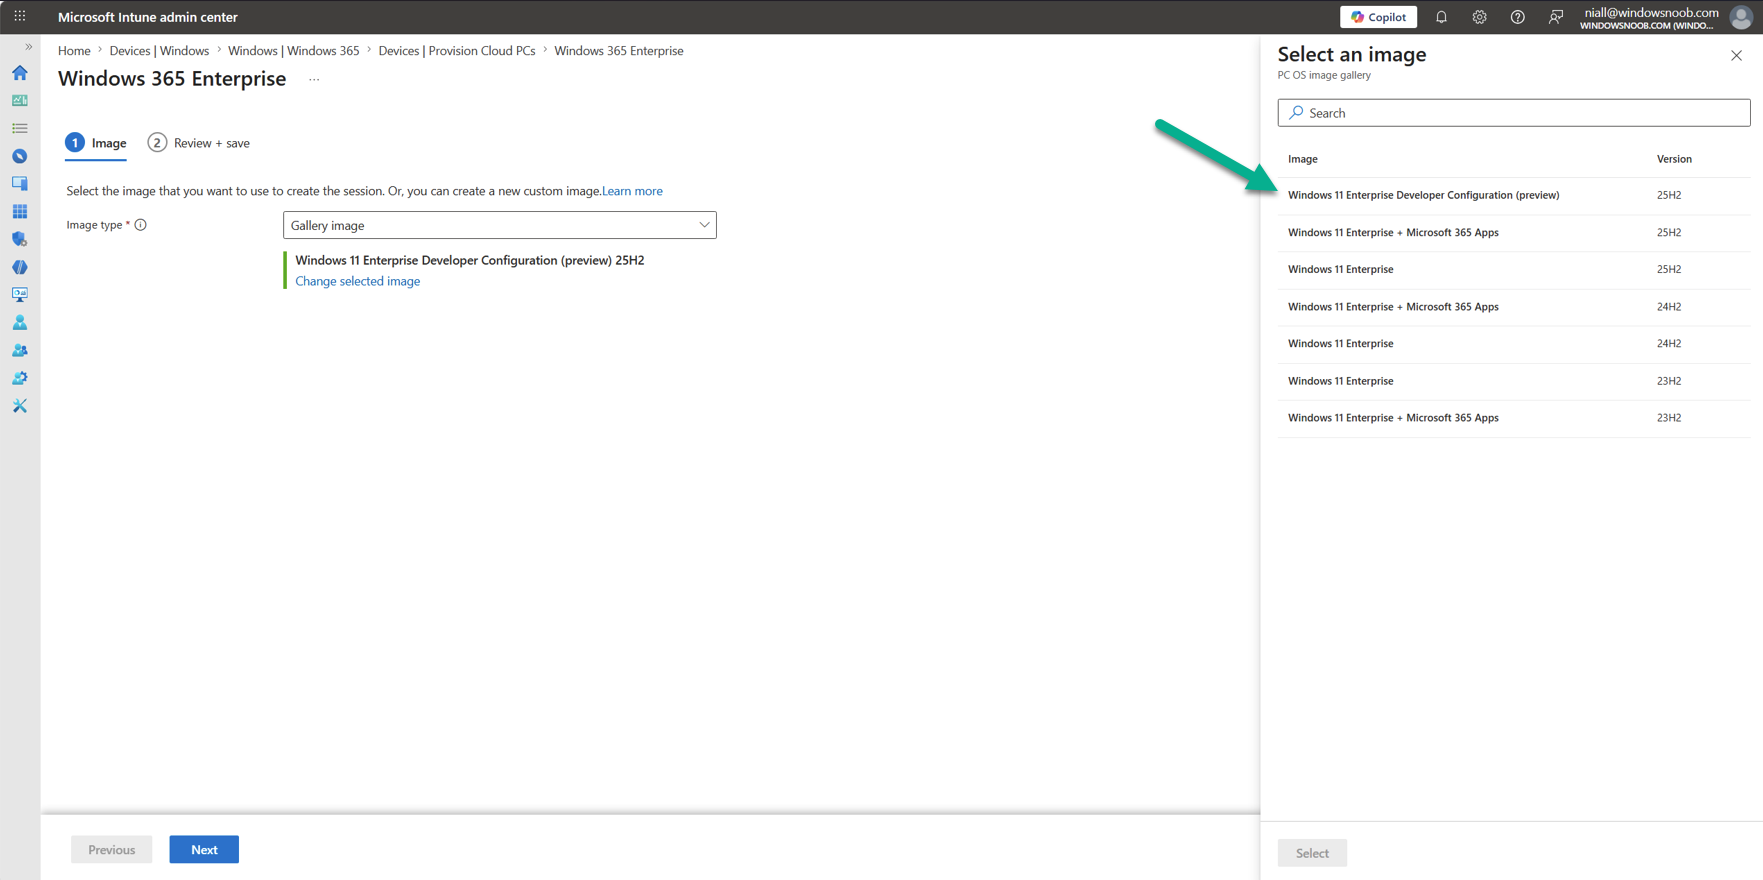
I decided to try it out. If you want to test it out too all you have to do is create a new provisioning policy and select the Image with Developer Configuration (preview) from the options or edit an existing policy (with the same Gallery image change) and reprovision one or more devices targeted by that policy. I went with the latter option and modified an already existing Windows 365 Enterprise policy.
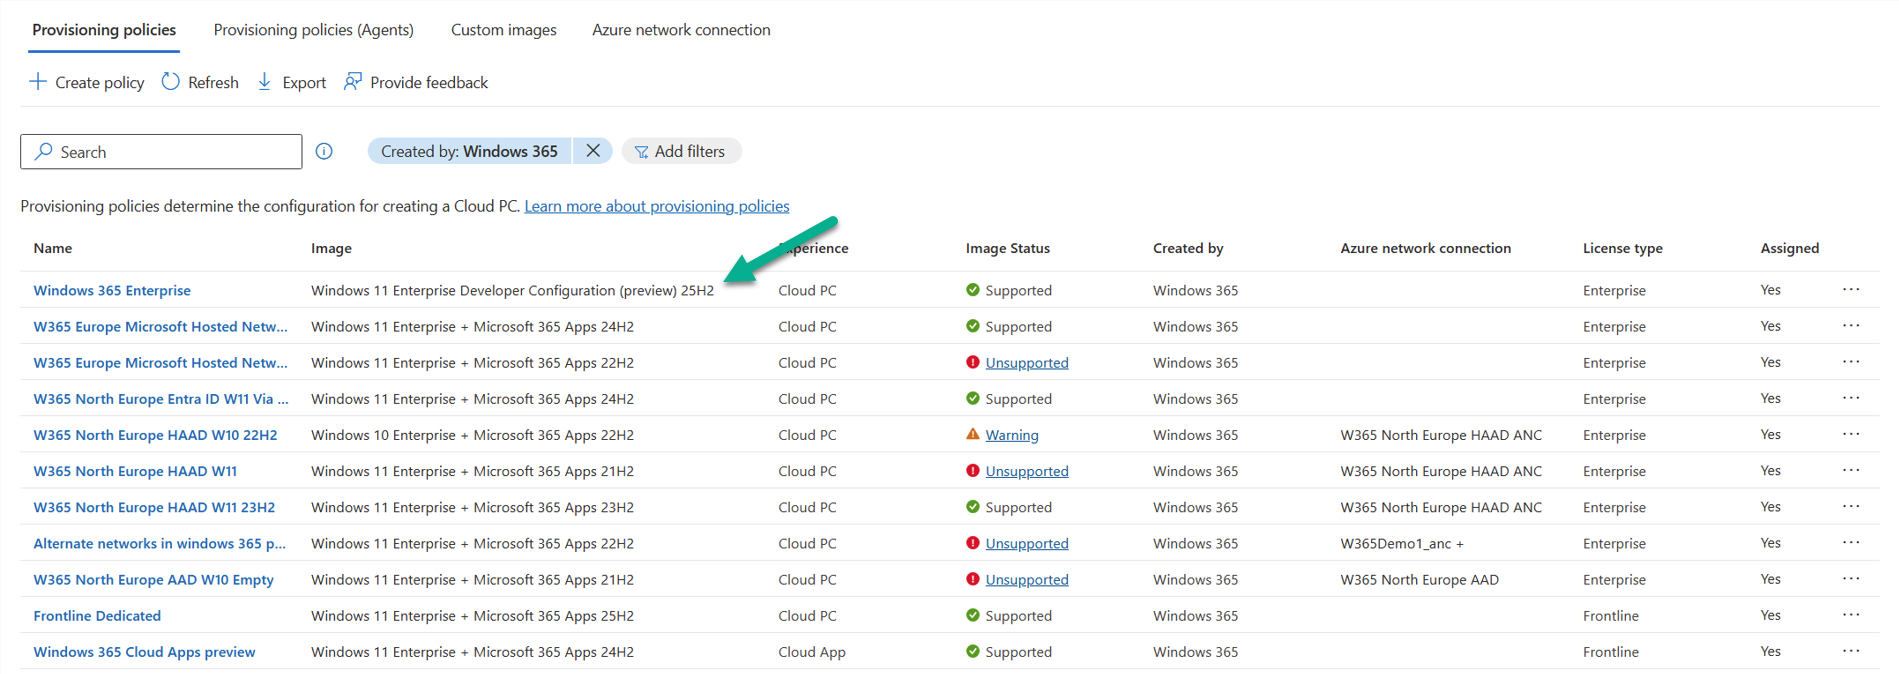
After applying the changes to your existing provisioning policy, simply reprovision a target Cloud PC (2vCPU is NOT supported and GPU is NOT supported) and wait until it’s ready. Below you can see the edited provisioning policy with the Gallery image applied.
And my Cloud PC is busy getting provisioned with the new Gallery image.

After a while provisioning is complete and you’ll see the correct Gallery image listed.

Looking at the developer features
Once provisioning is complete, login to the newly deployed Cloud PC to review what’s there in the box.
The image includes:
- Windows configuration and settings via registry.
- Desktop configuration settings
- File Explorer settings
- Taskbar settings
- Search and Start settings
- Service/features settings
- Developer tools installation, including PowerShell 7, Visual Studio Code (with extensions ms-vscode.powershell, ms-python.python, ms-vscode-remote.remote-wsl, github.vscode-pull-request-github, ms-edgedevtools.vscode-edge-devtools, and mspythondeprem.python-dependency-remediation), PowerToys, Python, Node.js, npm, nvm, git, GitHub, GitHub Copilot CLI (with Work IQ and Windows Dev Skills), Oh My Posh, UV tools, Azure CLI, .NET Runtime, .NET SDK, and WinApp CLI.
- Install and set up Windows Subsystem for Linux (WSL) with a WSL Ubuntu
- A bash script to configure the user environment in WSL Ubuntu
- Installation of the same developer tools within the WSL environment
- If an uninstall of the 3rd-party dev tools is desired, this script can be used to uninstall them.
Below you can see some screenshots of what I found on this developer Gallery image.
Initial login, nice dark theme, prompting you to login to your account.
The start menu has a Developer Tools category
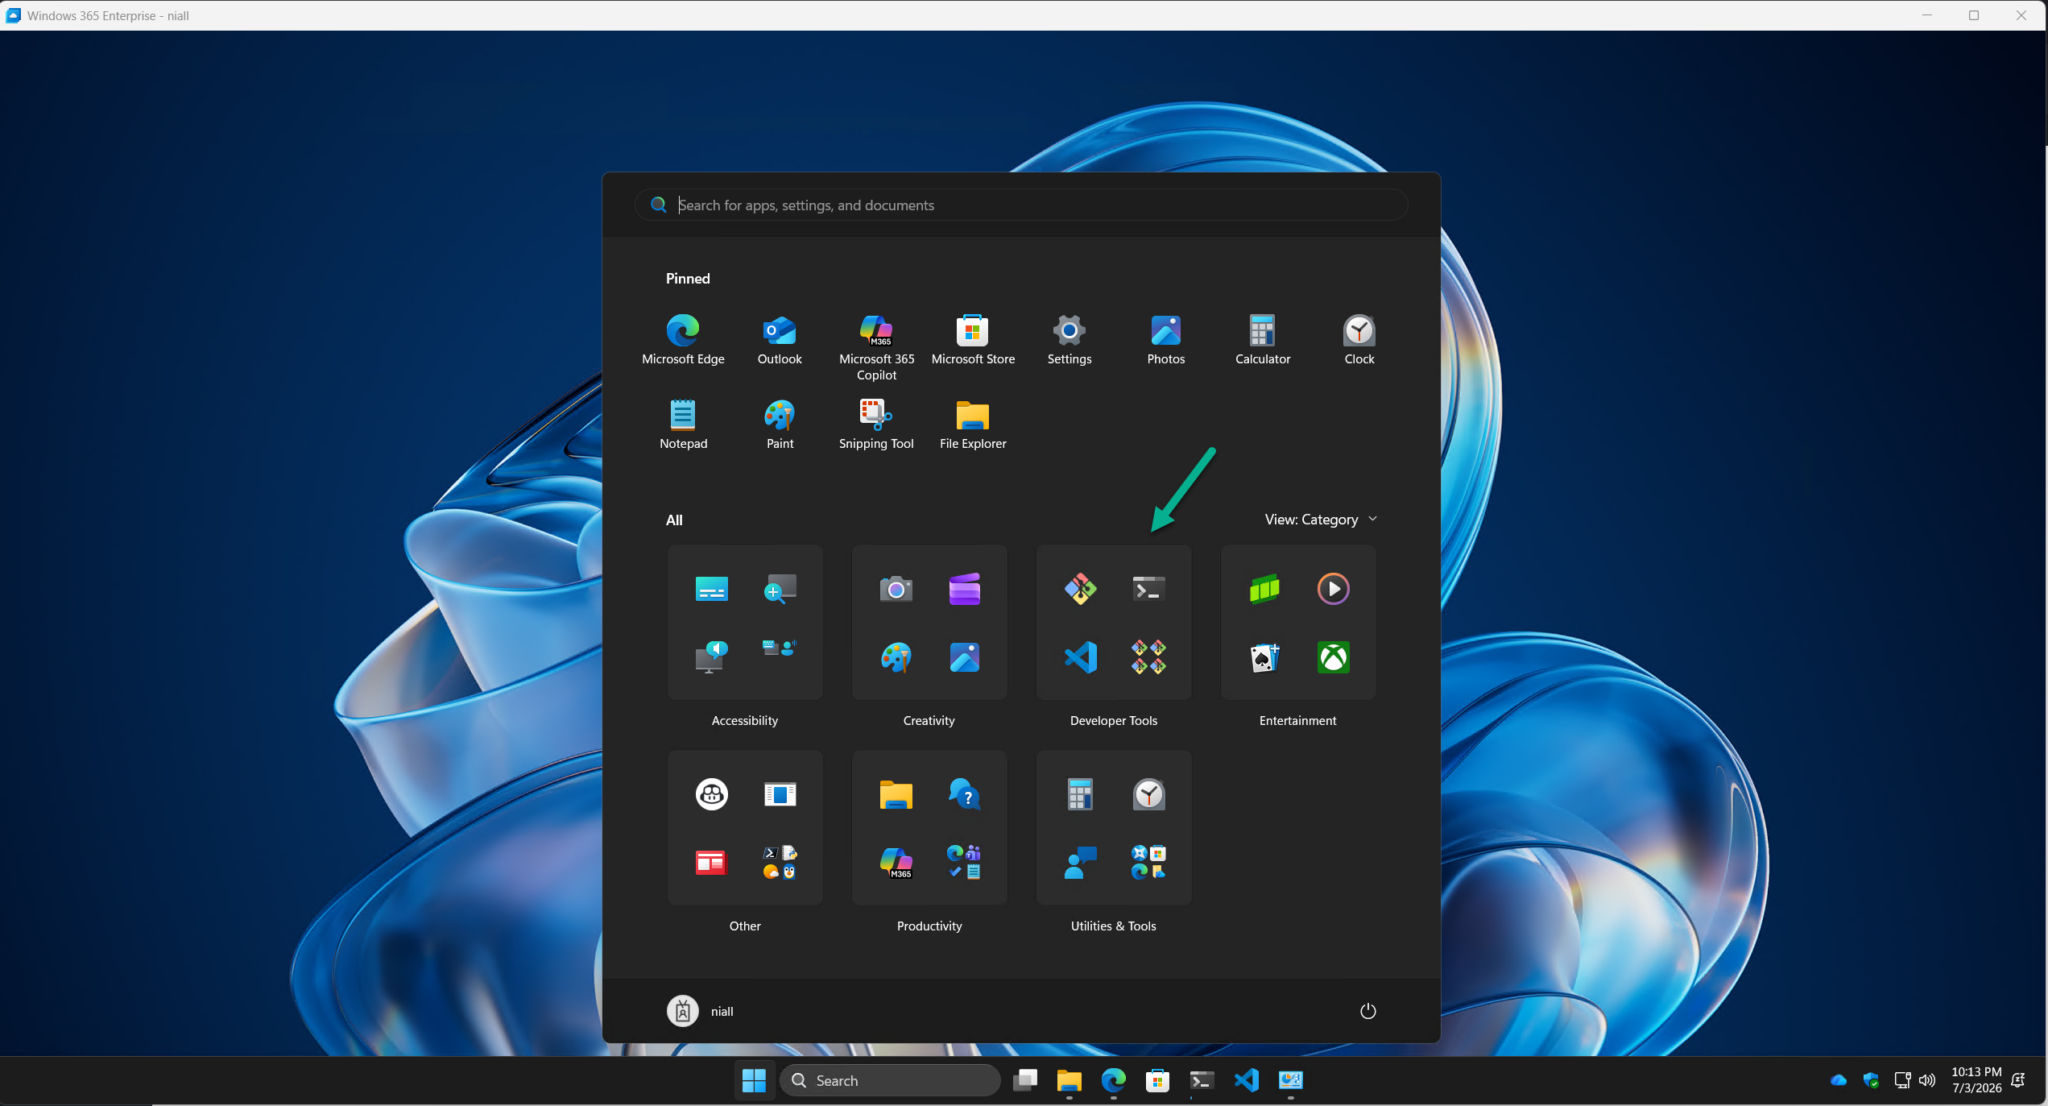
which contains Git, Terminal and Visual Studio Code.

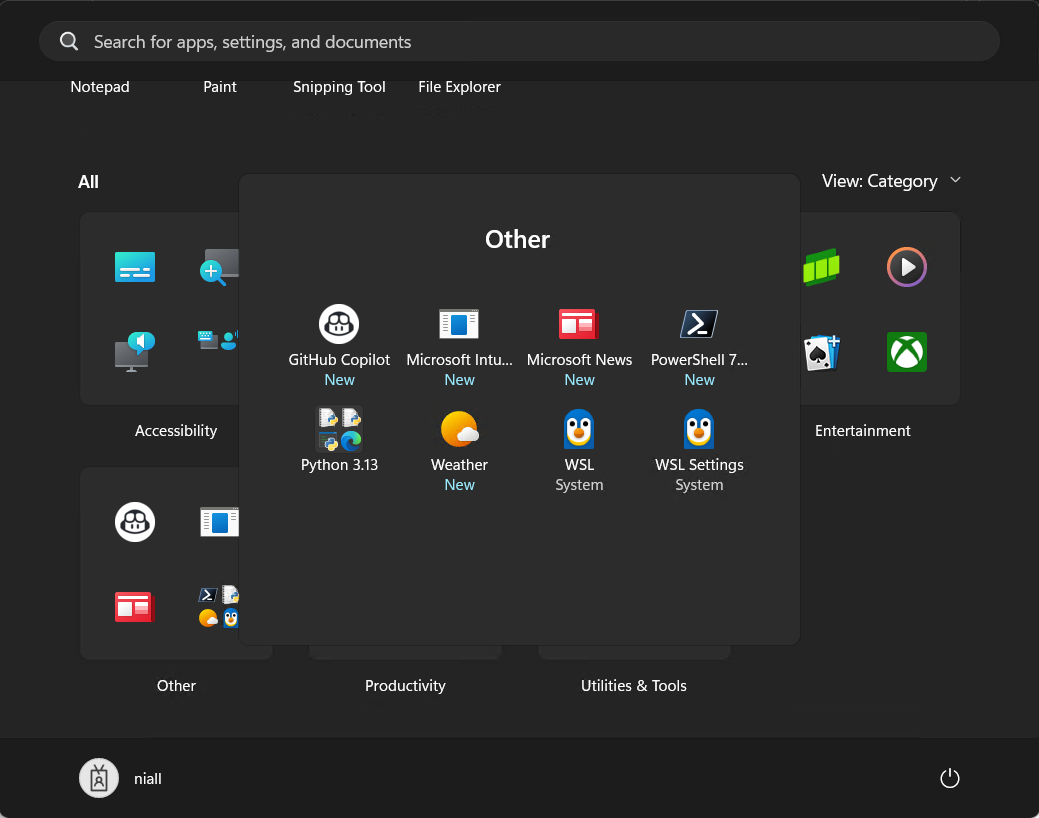
And the Other category…why the Weather widget and Microsoft News, and the Microsoft Intune Management extension are listed is anyones guess, but it would make sense to move all the other stuff to the Developer Tools category.
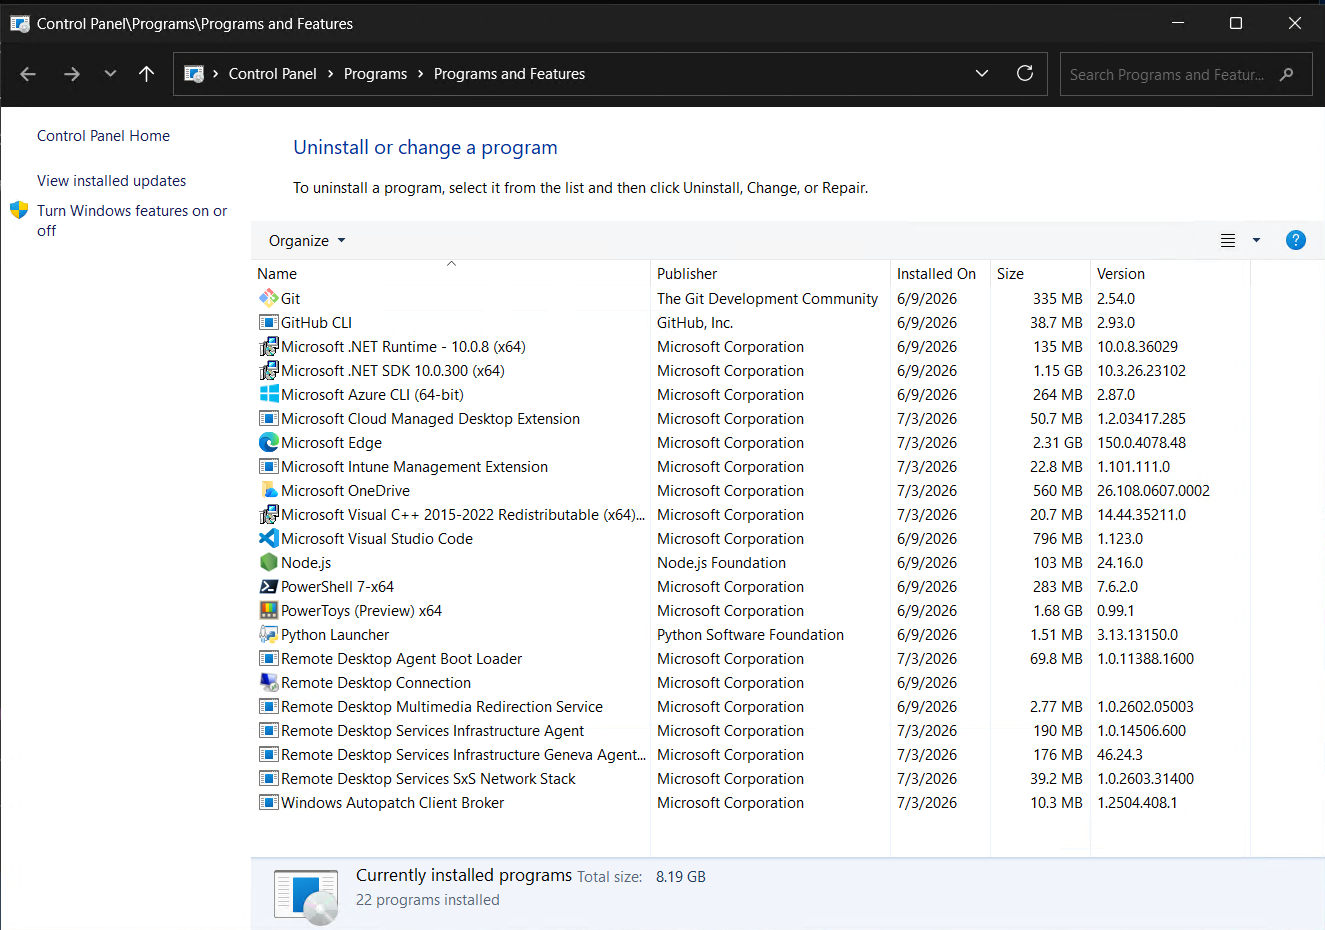
What’s installed..
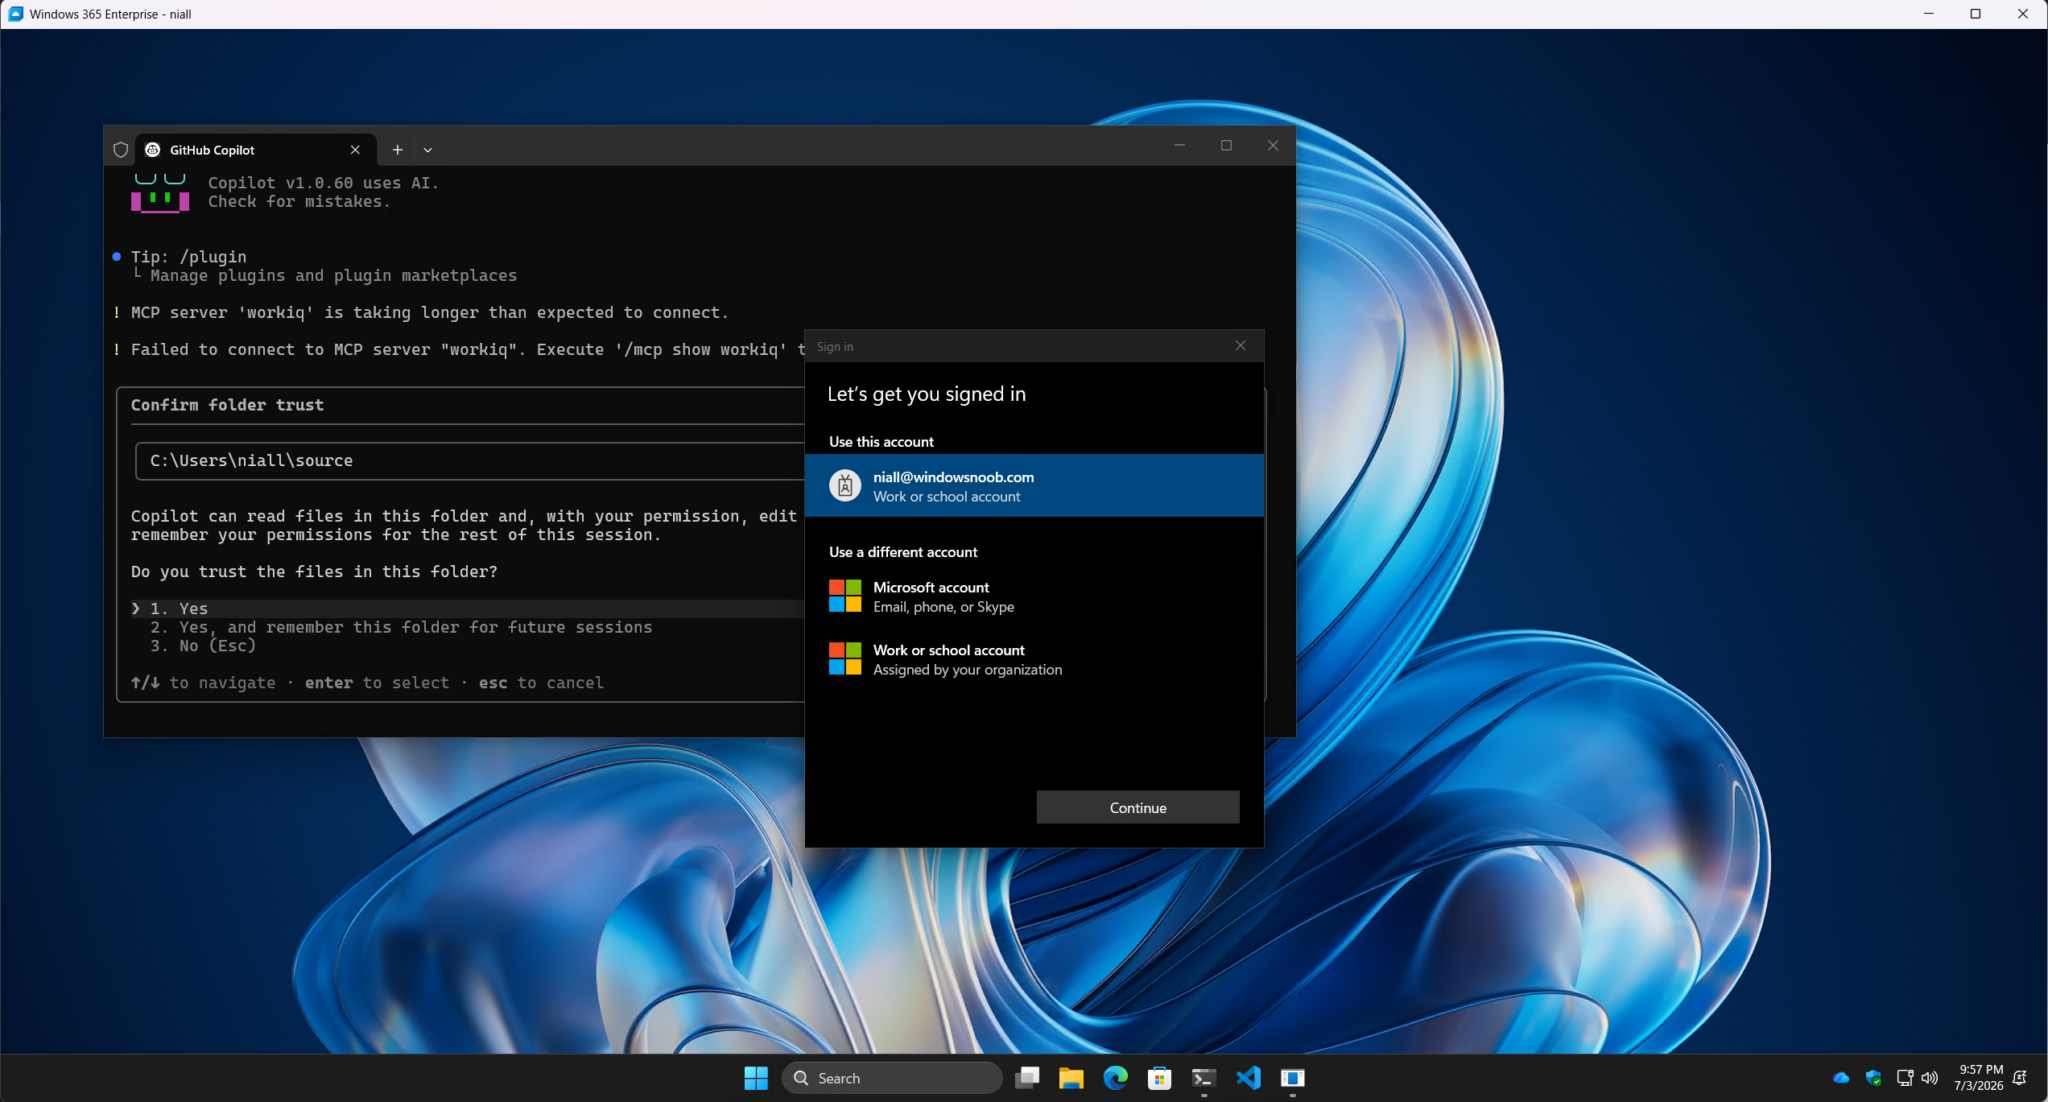
The Github Copilot terminal greeting you is waiting for your input, so go ahead and use it. You can decide to trust the source folder in your usernames path, and then /login to your Github account using the terminal (which will in turn launch Edge to complete the action).
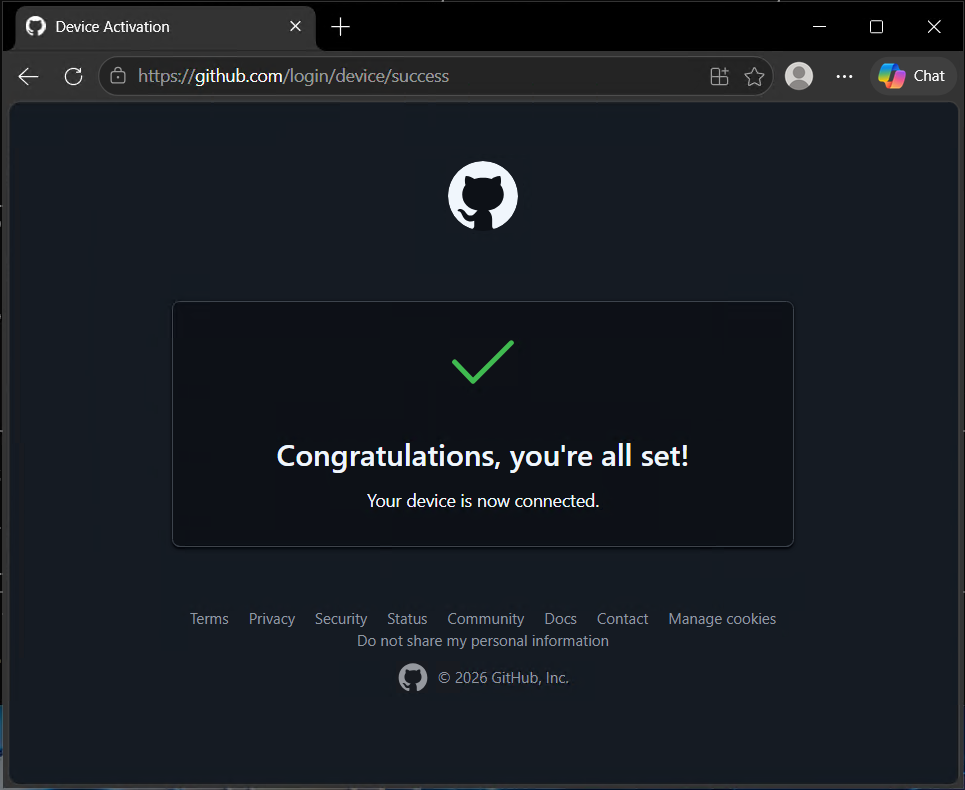
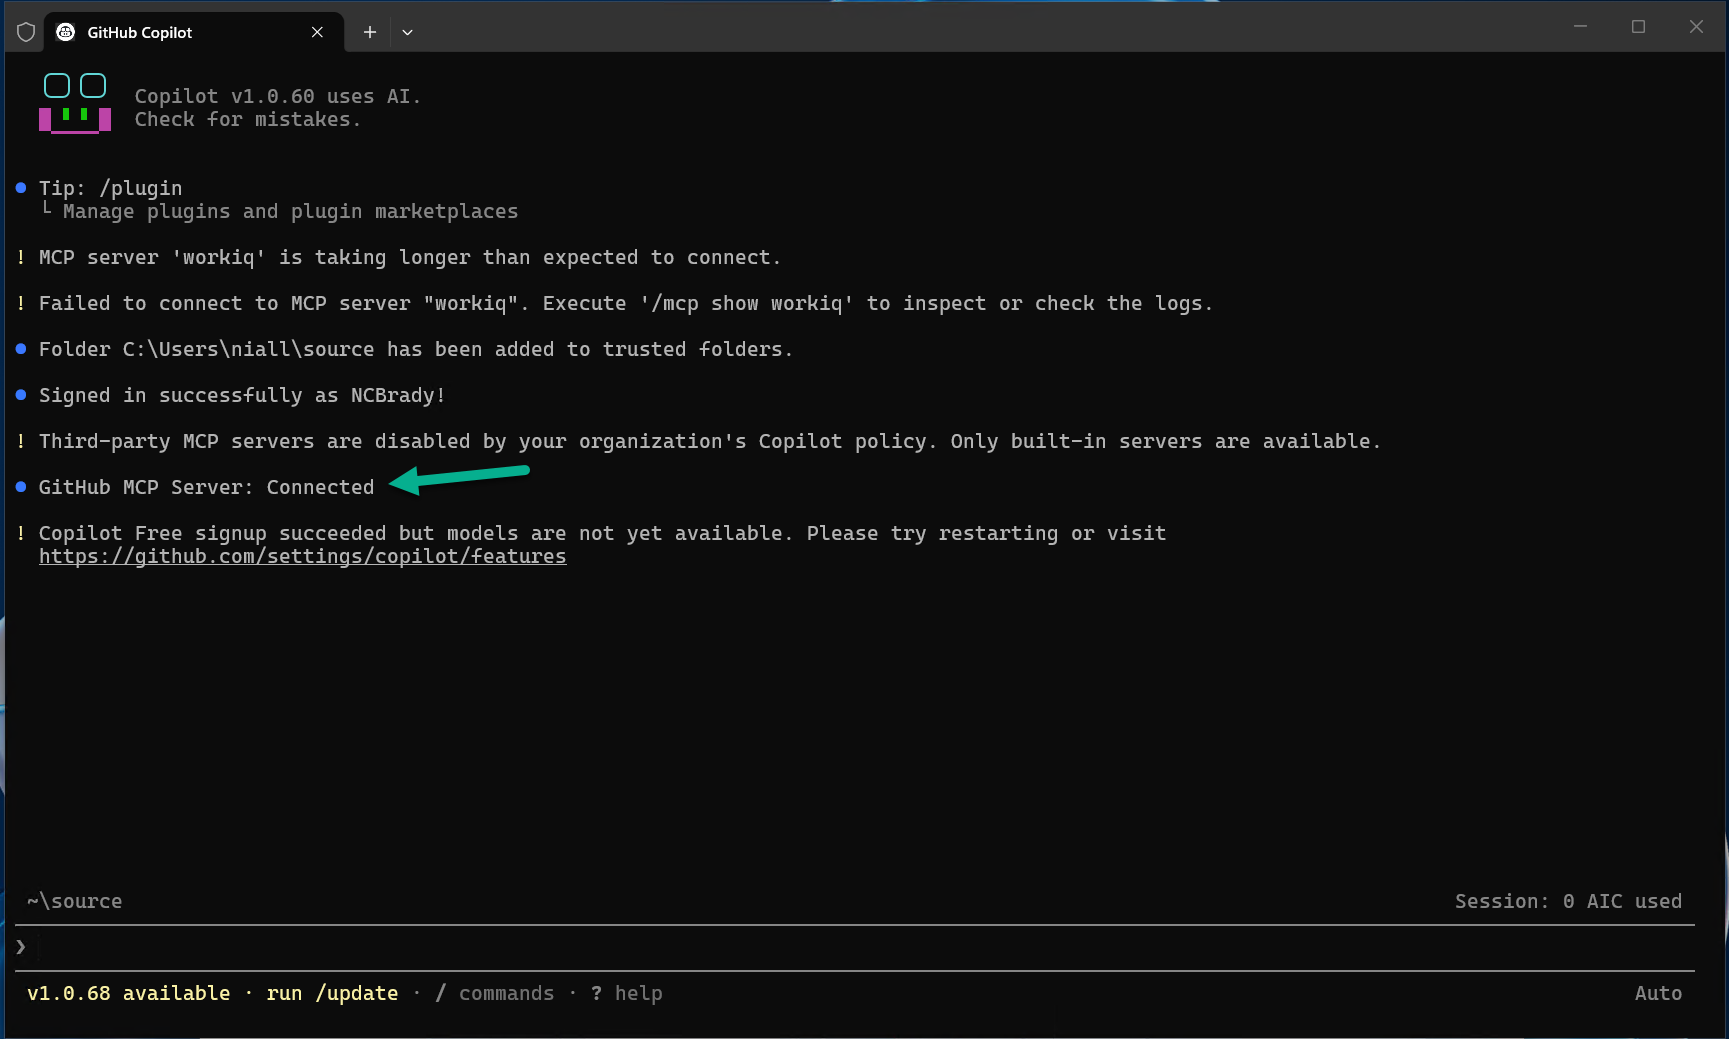
After that you can optionally connect Copilot and add a subscription or use the free version.
Running wsl –status reveals the Windows Subsystem for Linux installation.
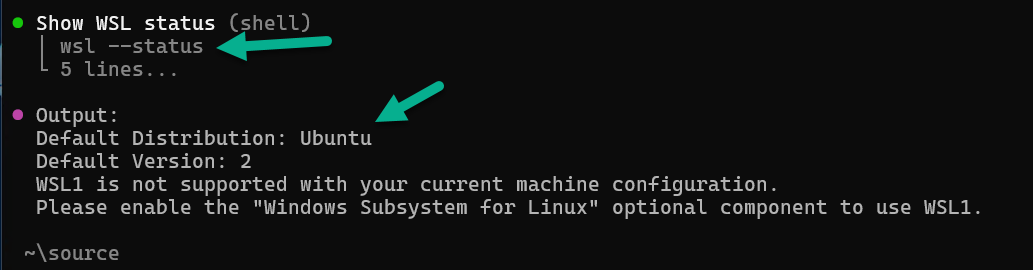
Cool!
Summary
This is actually a great release, having the ability to quickly spin up Windows 365 Cloud PC’s with Microsoft developer tools built-in is very nice indeed and means you as the Intune admin can target your developer teams with Cloud PC’s that provide them with the tools to do the job. If the team behind this could just spruce up the start menu categories to be more accurate, that would be nice, but from first looks, this is really a step in the right direction for getting your developers coding quickly.
