

You may want to capture an image of a
manually installed computer and Configuration Manager 2012 provides a
method of doing just that called Capture Media. This media is created as
an ISO file which you burn directly to cd/DVD or mount in a virtual
machine and use. But first you need to make sure that the image you want
to capture is in the right state, and that state is in a Workgroup, In
other words, the machine you want to capture the image from must not be
joined to a domain, if it is then remove it from the domain (join a
workgroup). In addition, you must have installed the Configuration Manager client on this computer before removing it from the domain.
Step 1. Join a Workgroup
Perform the following on the computer which you want to capture an image of as a local administrator.
Click on Start, Right click on Computer, choose properties, click on change settings to the right of the Computername

click on Change

type in the name of a workgroup to join and click ok

click ok to accept the computer name domain change

you’ll be welcomed to the windows-noob workgroup, click ok

and you’ll be told to restart, so restart..click ok to restart

Step 2. Create the Capture Media
Perform the following on the Configuration Manager server as a SMSadmin.
Open the ConfigMgr console, click on Software Library, Operating Systems, expand Task Sequences. In the ribbon click on Create Task Sequence Media
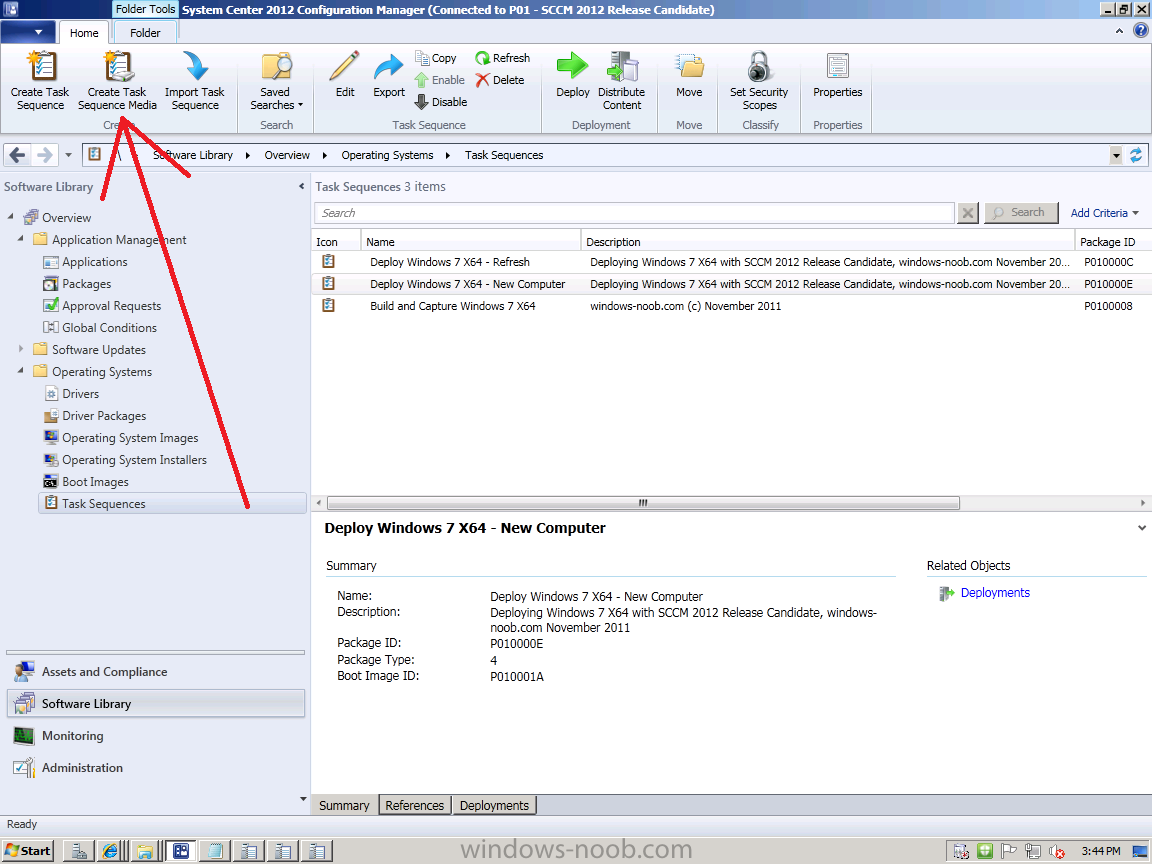
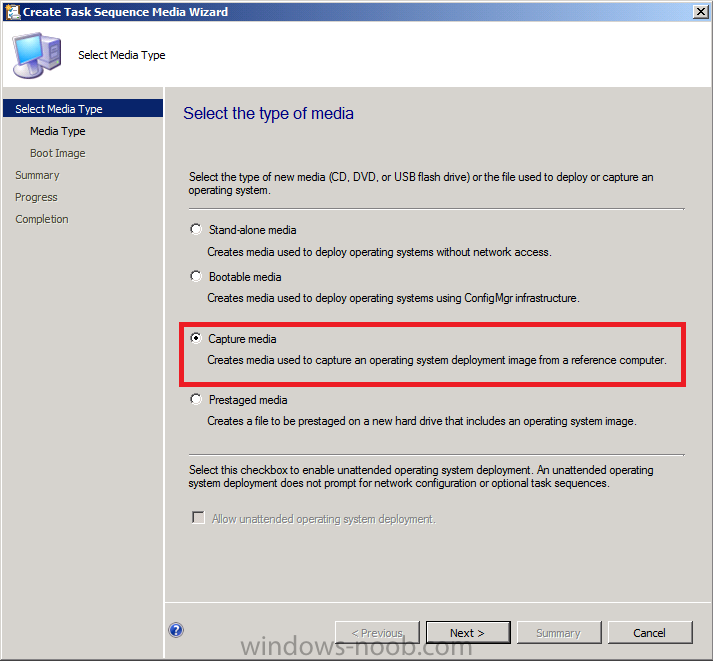
when the Create Task Sequence Media wizard appears click on Capture Media
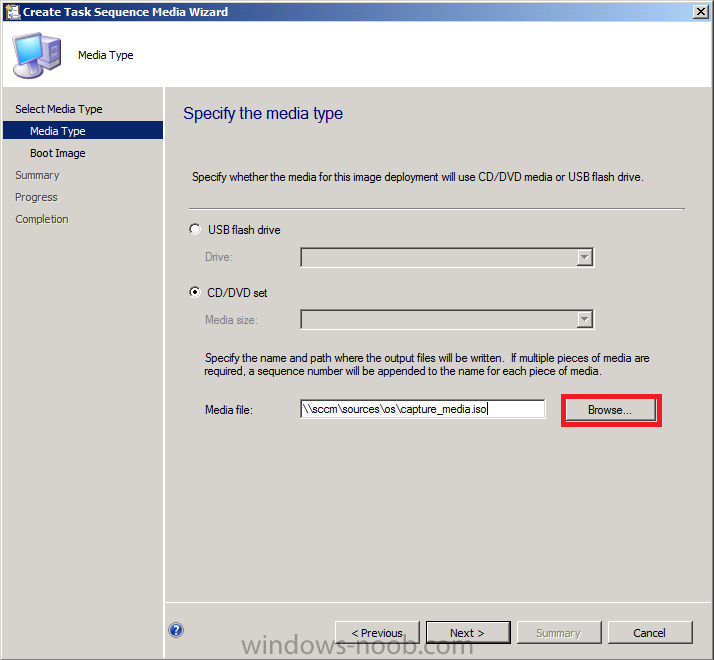
click next and browse to the path of where you want to store the ISO file, give it a name like capture_media.iso
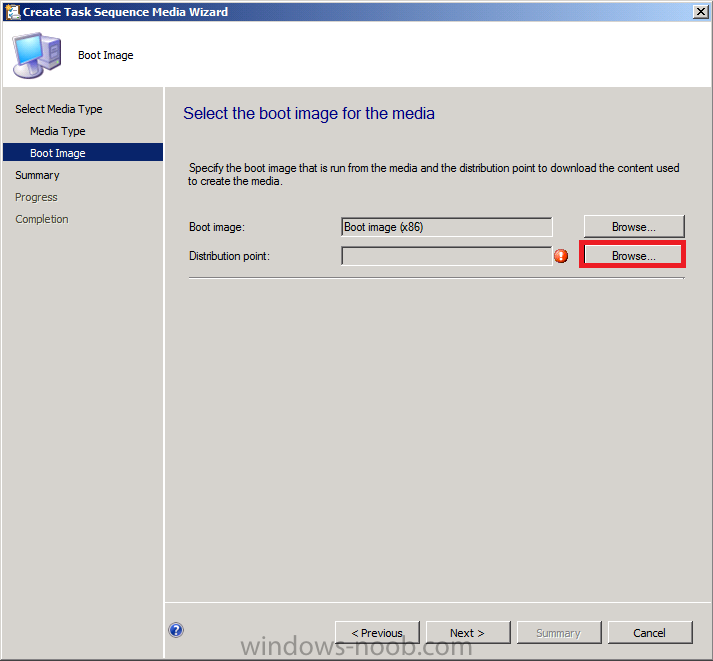
click next, then click on browse beside boot image
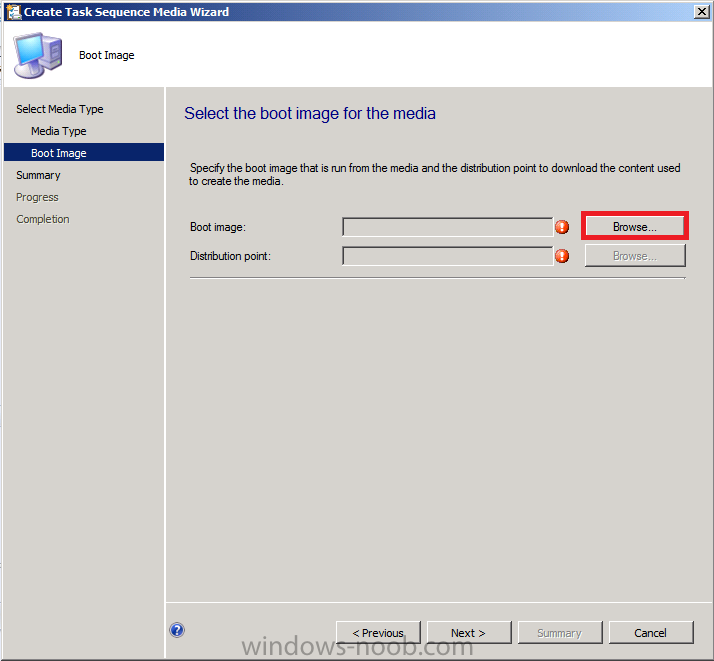
select your X86 boot image
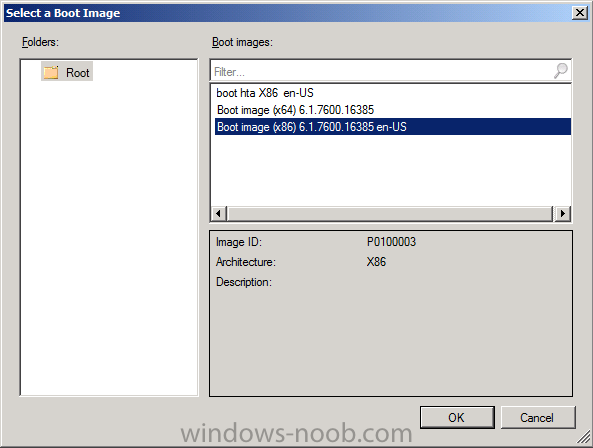
click ok, then click on Browse beside Distribution Point
select your distribution point
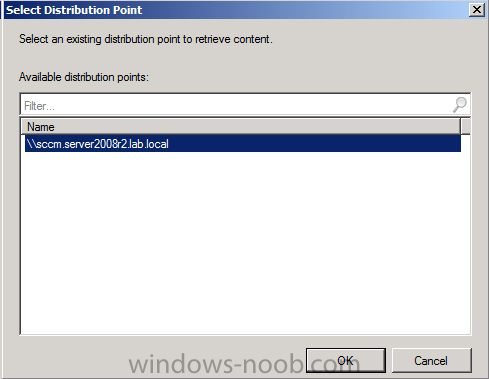
now your selected boot image and distribution point are listed, click next to continue through the wizard

if you get a UAC prompt accept it
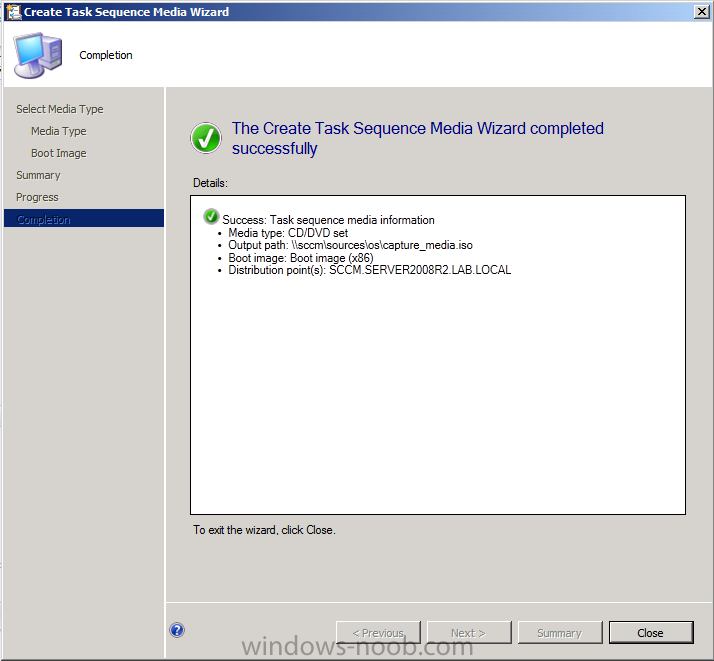
finally the media is done !
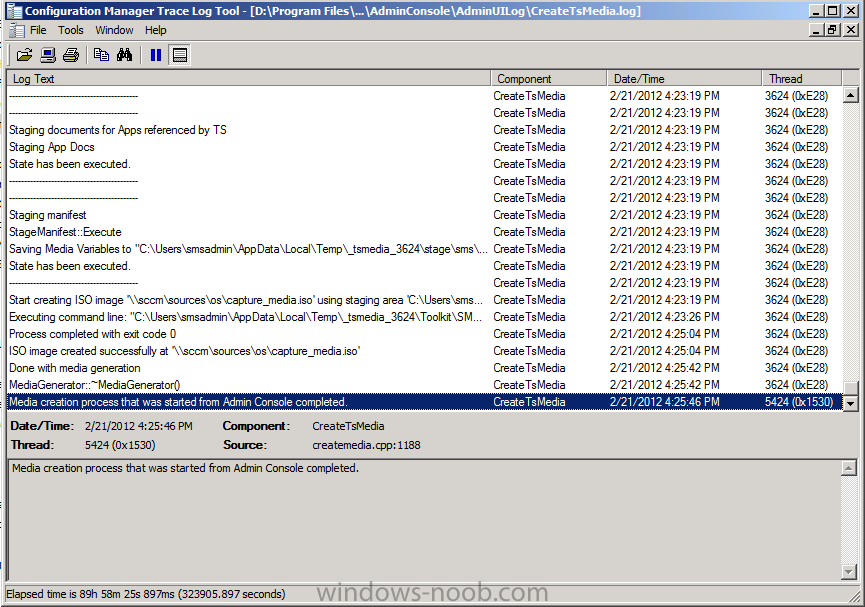
if you need to troubleshoot it’s creation look at the CreateTSMedia.log file in your confmgr LOGS dir. (D:\Program Files\Microsoft Configuration Manager\AdminConsole\AdminUILog)
Step 3. While in Windows, start the ISO/CD/DVD on the Workgroup Computer
Perform the following on the computer which you want to capture an image of as a local administrator.
if you are using virtual hardware (hyperv
or vmware) just mount the ISO on your workgroup computer (click on
Media, Insert Disc, browse to the ISO location), otherwise burn the ISO
to cd/dvd and insert that burned cd/dvd into the computer you need to
capture.
While still in Windows (do not try to boot from this ISO/CD/DVD) you should see the following
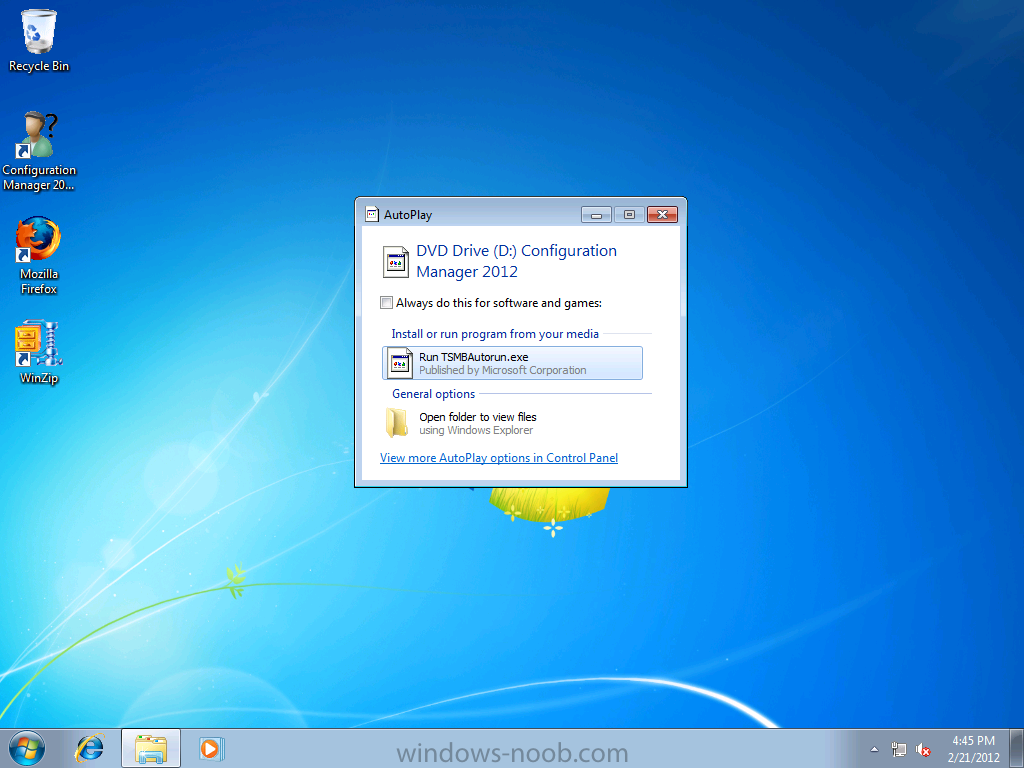
click on Run TSMBAutorun.exe
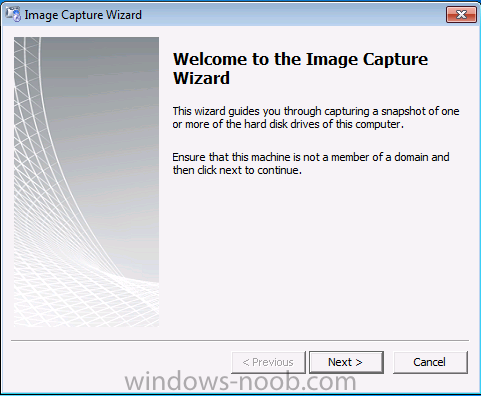
Welcome to the Image Capture Wizard appears, click next..
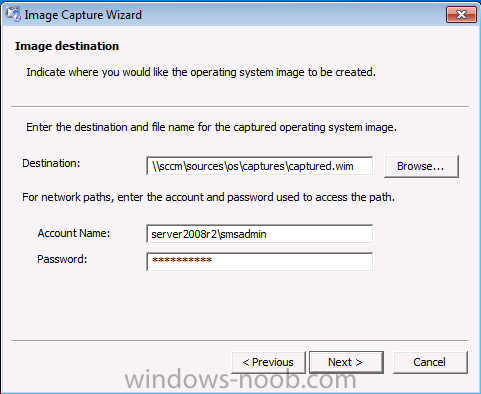
Enter a path and name for the WIM file, I chose \\sccm\sources\os\captures\captured.wim and then enter the credentials of a user with permissions to write to that location
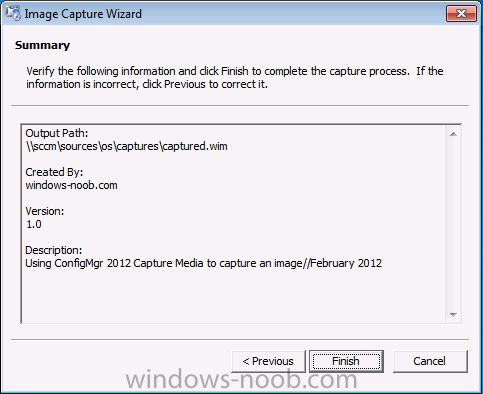
enter some Image Information

review the summary
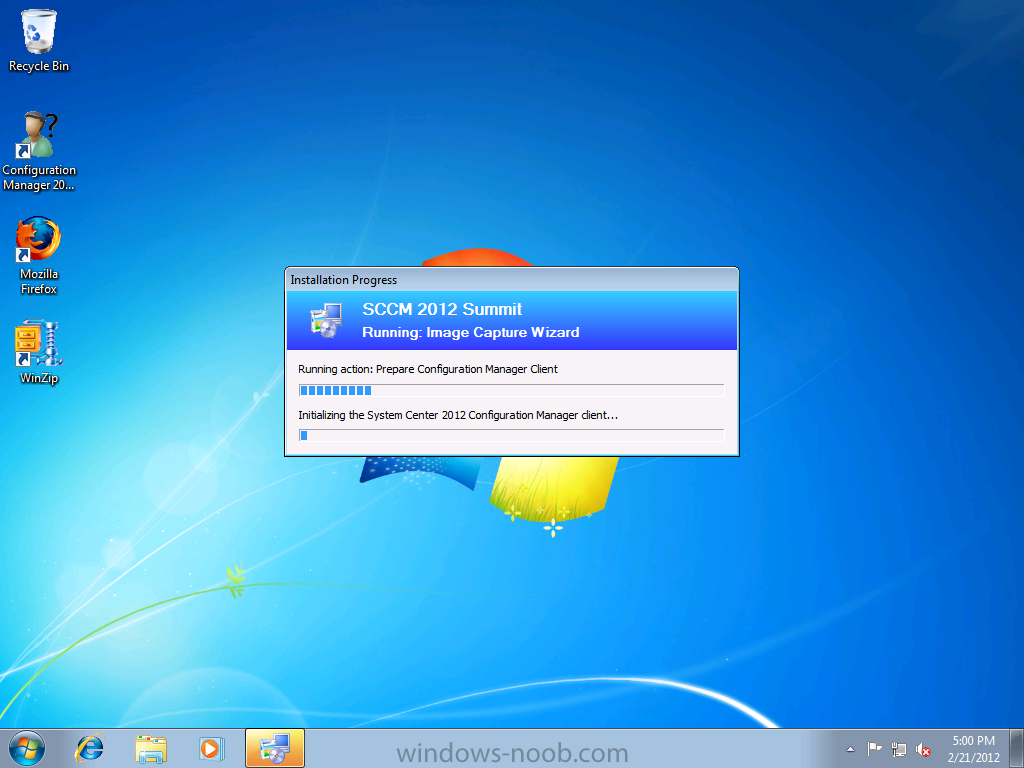
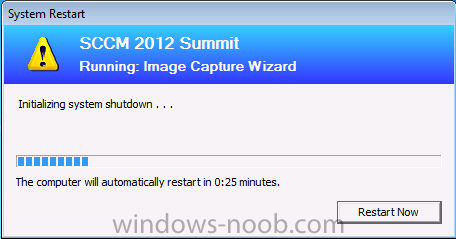
and click finish to start the capture process, notice how it prepares the config manager client
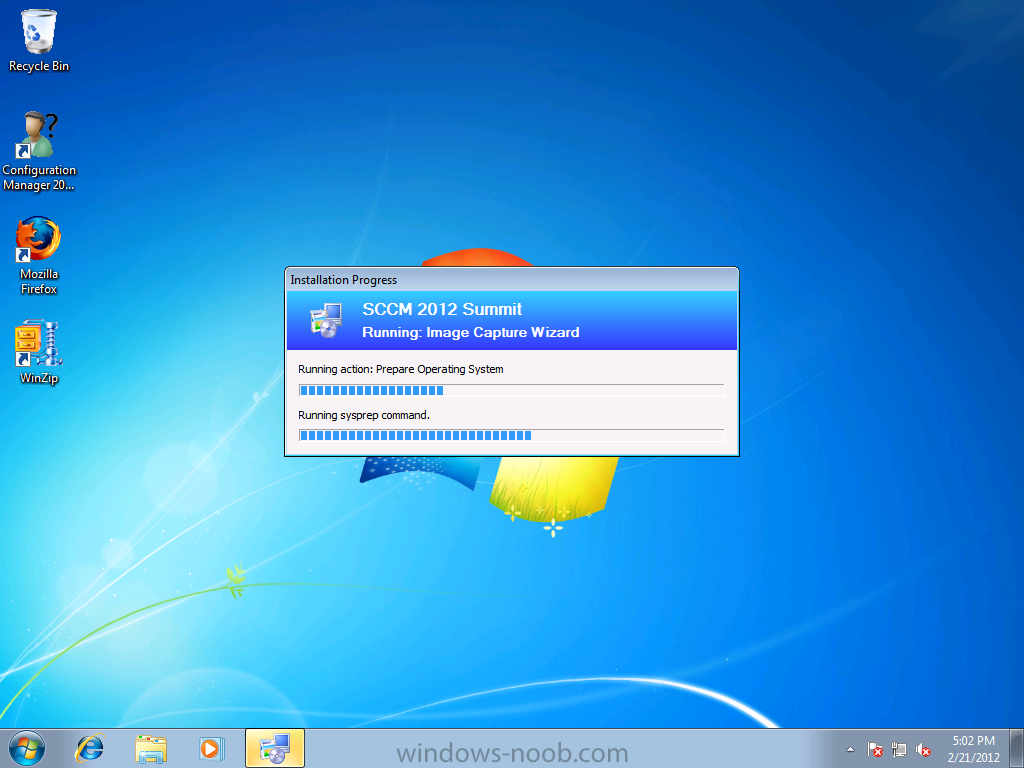
and then it syspreps
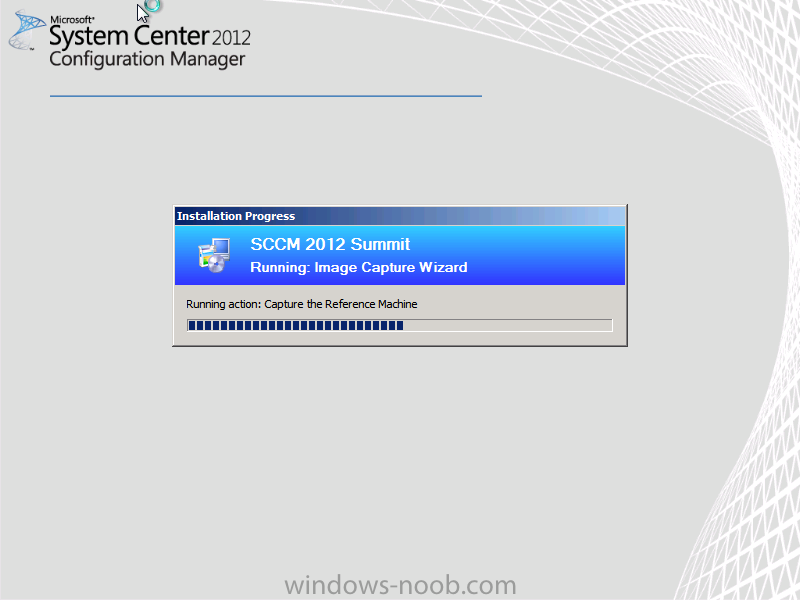
before rebooting into Windows PE to capture the system
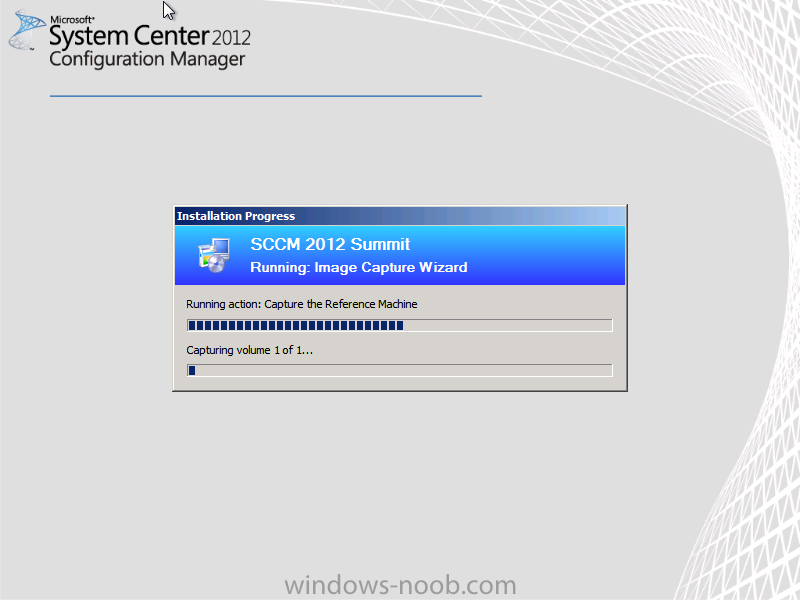
and the capture begins !
success !
The original post is here on windows-noob