
Introduction
This is part 8 in a series of guides about cloud attach in Microsoft Endpoint Manager, with the aim of getting you up and running with all things cloud attach. This part will focus on enabling the compliance policies workload. This series is co-written by Niall & Paul, both of whom are Enterprise Mobility MVP’s with broad experience in the area of modern management. Paul is 5 times Enterprise Mobility MVP based in the UK and Niall is 11 times Enterprise Mobility MVP based in Sweden.
In part 1 we configured Azure AD connect to sync accounts from the on premise infrastructure to the cloud. In part 2, we prepared Azure resources for the Cloud Management Gateway, in part 3 we created the cloud management gateway and verified that everything was running smoothly. In part 4 we enabled co-management. With co-management, you retain your existing processes for using Configuration Manager to manage PCs in your organization and you gain the additional advantage of being able to transfer workloads to the cloud via Endpoint Manager (Intune). In part 5 we enabled the compliance policies workload and reviewed how that affected a co-managed computer. In this part we will enable conditional access and see how that can be used to deny access to company resources. In part 6 we configured conditional access and used it to deny access to company resources unless the device was encrypted with BitLocker. In part 7 we showed you how to co-manage Azure AD devices. In this part we’ll enable Tenant Attach and take a brief look at it’s features.
- Cloud attach – Endpoint Managers silver lining – part 1 Configuring Azure AD connect
- Cloud attach – Endpoint Managers silver lining – part 2 Prepare for a Cloud Management Gateway
- Cloud attach – Endpoint Managers silver lining – part 3 Creating a Cloud Management Gateway
- Cloud attach – Endpoint Managers silver lining – part 4 Enabling co-management
- Cloud attach – Endpoint Managers silver lining – part 5 Enabling compliance policies workload
- Cloud attach – Endpoint Managers silver lining – part 6 Enabling conditional access
- Cloud attach – Endpoint Managers silver lining – part 7 Co-managing Azure AD devices
- Cloud attach – Endpoint Managers silver lining – part 8 Enabling tenant attach
Tenant attach first showed up in Technical Preview 2002.2, but was released in ConfigMgr 2002 which you can read about here. You can think of tenant attach as being a way to give your Endpoint Manager admins access to ConfigMgr actions/data via the MEM console (login to your tenant at https://aka.ms/memac) without needing to do it via the ConfigMgr console.
The prerequisites
The user account needs to be a synced user object in Azure AD (hybrid identity). This means that the user is synced to Azure Active Directory from Active Directory.
- For Configuration Manager version 2103, and later:
- Has been discovered with either Azure Active Directory user discovery or Active Directory user discovery.
- For Configuration Manager version 2010, and earlier:
- Has been discovered with both Azure Active Directory user discovery and Active Directory user discovery.
- The Initiate Configuration Manager action permission under Remote tasks in the Microsoft Endpoint Manager admin center.
- For more information about adding or verifying permissions in the admin center, see Role-based access control (RBAC) with Microsoft Intune.
Note: In case it’s not clear above, you need to configure Azure AD Connect to sync your on-premise users to the cloud for the user actions to succeed. You also need to go through the Azure services in ConfigMgr and configure cloud management to sync Azure Active Directory User Discovery.
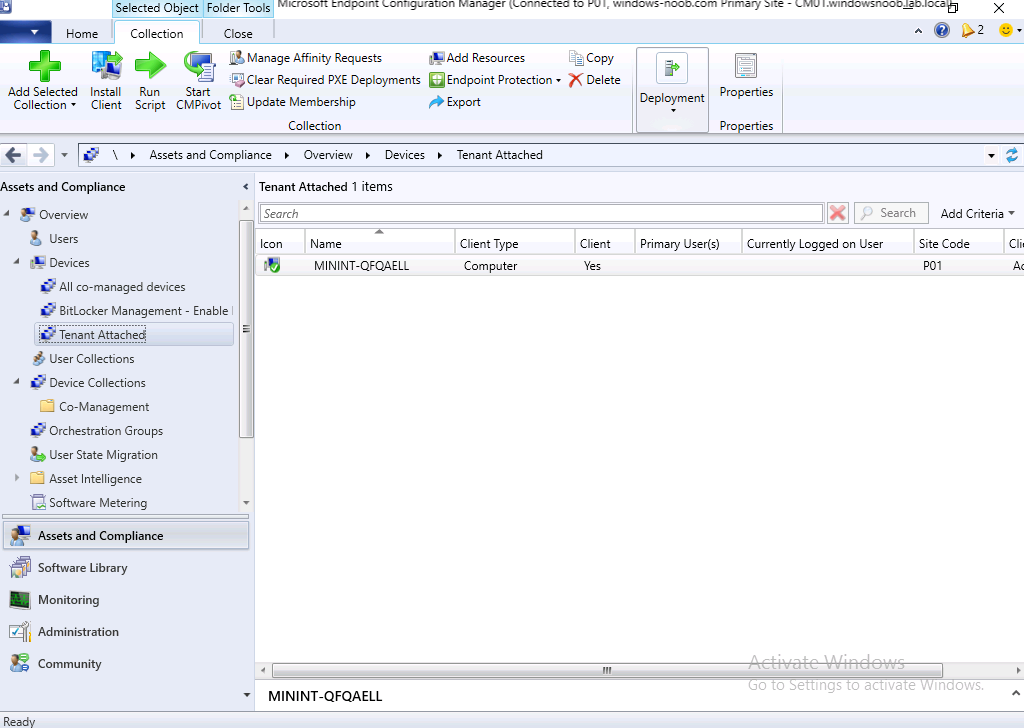
Step 1. Create a collection
This is an optional step, but helps you to keep track of which devices are Tenant Attached. Create a collection called Tenant Attached, you will use that collection to populate your tenant attached devices. Once created, place one or more devices into the collection.
Step 2. Enable tenant attach
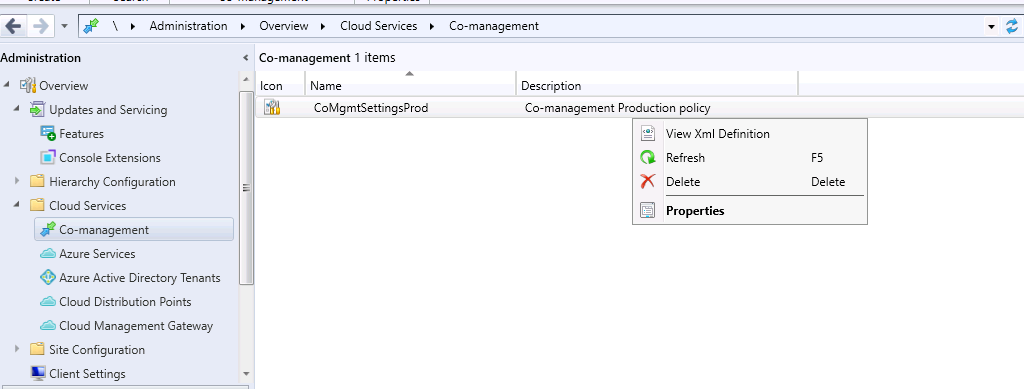
In the ConfigMgr console, select the Administration node and expand cloud services, select Co-management (2103 or earlier) or based on what we saw in the recent technical preview (Technical Preview 2106) select Cloud Attach (2107 or later). Select CoMgmgtSettingsProd, right click and bring up the properties.
In Co-management properties, click on the Configure upload tab.
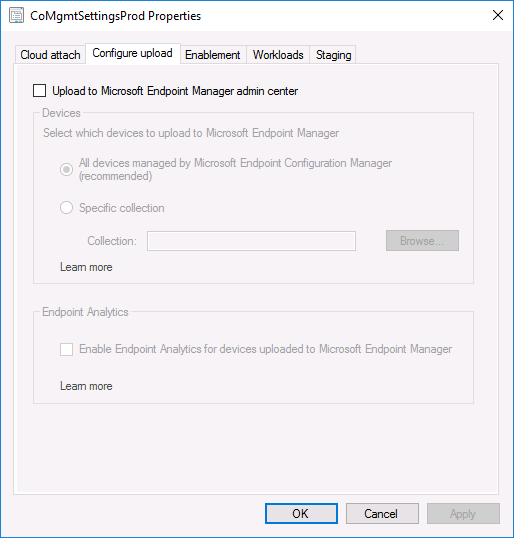
Next, place a check in the Upload to Microsoft Endpoint Manager admin center checkbox, and select a collection, for example use the Tenant Attached collection we created in step 1,
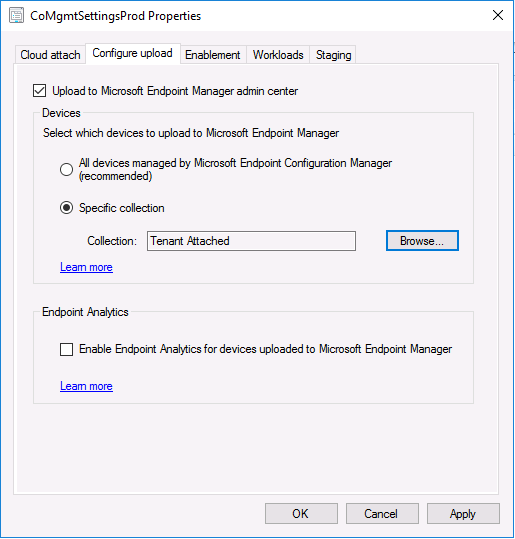
Note: If you select All devices managed by Microsoft Endpoint Configuration Manager then all devices (including servers) will show up in the MEM console.
Next, deselect the Enable Endpoint Analytics for devices upload to Microsoft Endpoint Manager. And finally click Apply. When prompted to authenticate to Azure services, enter the credentials of your Global Admin account for the applicable tenant.
After correctly entering your credentials, the changes will be applied and you can review the success or failure of your actions via the CMGatewaySyncUploadWorker.log
continue reading the rest of this blog post here
