
In part 1 of this series, you configured your LAB for a 2 tier PKI hierarchy running on Windows Server 2016. You used PowerShell to create some virtual machines, and then installed Windows Server 2016, Windows 10 Enterprise version 1803 and optionally Smoothwall 3.1 before configuring the IP address scheme and Computer Names on the virtual machines. Finally you configured ADDS on DC01 so that you have a working Domain Controller for the rest of this LAB. In part 2 you installed and did the initial configuration on the Standalone Offline Root CA. In part 3 you prepared the HTTP Web Server for CDP and AIA Publication and you created a DNS record for the publicly available web server.
In part 4 you performed post configuration on the Standalone Offline Root CA to set certificate revocation list (CRL) period registry settings using CertUtil, and then enabled object access Auditing and finally, you configured three locations for the Authority Information Access (AIA) and four locations for the Certificate revocation list Distribution Point (CDP), again using CertUtil. In this part you will install and do initial configuration on the Enterprise Issuing CA. This is a long blog post so make sure you’ve got lots of coffee or beer handy (depending on your preference).
Step 1. Add EntAdmin user to groups
We’ll be using a special user called EntAdmin (an Enterprise Admin and a member of Cert Publishers) for some tasks on the IssuingCA computer, but before doing so, we need to add that user as a member of the Enterprise Admins group and the Cert Publishers on the domain controller. You could do so simply by issuing the following in Windows PowerShell ISE on DC01.
Import-Module ActiveDirectory
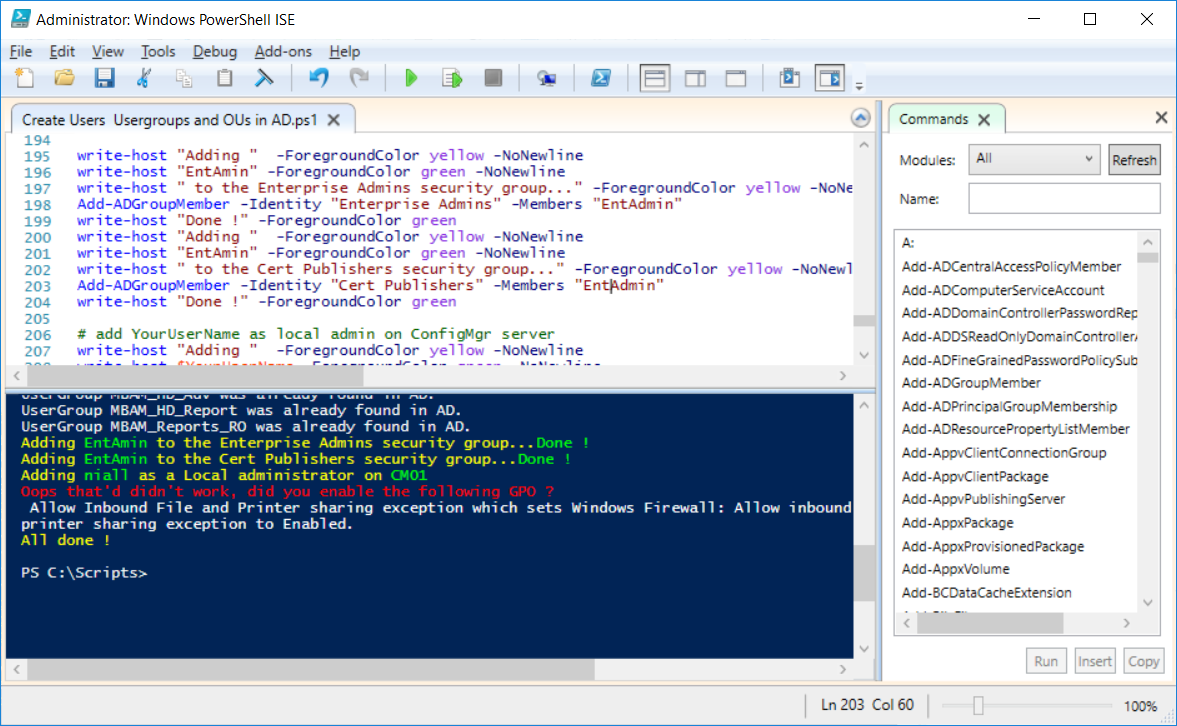
Add-ADGroupMember -Identity "Enterprise Admins" -Members "EntAdmin"
Add-ADGroupMember -Identity "Cert Publishers" -Members "EntAdmin"
Alternatively you can run this script in Windows PowerShell ISE as windowsnoob\Administrator on DC01.
Create Users Usergroups and OUs in AD.ps1
Step 2. join IssuingCA to the domain
When you installed the Issuing CA virtual machine (#11_IssuingCA) in part 1, it was workgroup joined. To join the domain do as follows. Logon to the web server virtual machine as Administrator. In Windows File Explorer, right click on This PC and choose Properties. Click on Change Settings beside Computer name, domain and workgroup settings. You can follow the instructions in Part 3, Step 1 for how to join a domain manually or use the JoinDomain.ps1 PowerShell script here.
1. Copy the script to C:\Scripts on the IssuingCA server.
2. Edit the variables (lines 16-18) as desired before running.
3. Start Windows PowerShell ISE as Administrator and run the script by clicking on the green triangle.
Note: After running the script, the computer will restart automatically.
Continue reading the rest of this long post here on windows-noob.com.
