
Introduction
In a previous guide I showed you how to install System Center Configuration Manager version 1606 (Current Branch) on Windows Server 2016. This guide will show you how to quickly install the latest and greatest baseline version, System Center Configuration Manager version 1702 (Current Branch) on Windows Server 2016 using SQL Server 2016. The concept behind this long and detailed post is to guide you through all the steps necessary to get a working ConfigMgr Primary site installed using manual methods or automated using PowerShell.
This is not a hydration kit, there are many examples out there. Take a look at Johans excellent hydration kits for example. This, on the other hand gives you the power to automate the bits that you want to automate, and manually do other tasks if deemed appropriate.
PowerShell knowledge is desired and dare I say it required (if you are in any way serious about ConfigMgr).I will show you how to do most steps via two methods shown below, it’s up to you to choose which method suits you best but I highly recommend using PowerShell.
- Method #1 – Do it manually
- Method #2 – Automate it with PowerShell
Assumptions
In this guide I assume you have already installed two workgroup joined servers running Windows Server 2016 (choose Windows Server 2016 Standard (Desktop Experience)) as listed below, and that you’ve configured the network settings. The network settings I am using for this lab are shown below.
Server name: AD01
Server function: Domain Controller
Server status: Workgroup joined
- IPv4 Address: 192.168.7.1
- Subnet Mask: 255.255.255.0
- Default Gateway: 192.168.7.199
- DNS: 192.168.7.1
Server name: CM01
Server function: Configuration Manager Primary site
Server status: Workgroup joined
- IPv4 Address: 192.168.7.2
- Subnet Mask: 255.255.255.0
- Default Gateway: 192.168.7.199
- DNS: 192.168.7.1
Server name: Smoothwall
Server function:Linux firewall
Server status: 2 legacy nics
eth0: 192.168.7.199
eth1: x.x.x.x (internet facing ip)
Scripts used in this guide
The scripts used in this guide are available at the bottom of the guide in the Downloads section, download them before beginning and extract them to C:\scripts on your destination server(s).
Step 1. Configure Active Directory Domain Services (ADDS)
Note: Perform the following on the AD01 server as Local Administrator.
To setup Active Directory Domain Services you could manually click your way through the appropriate wizard in Server Manager or automate it using PowerShell. For your benefit I’ll show you both methods below, all you have to do is choose which one suits you.
Method #1 – Do it manually
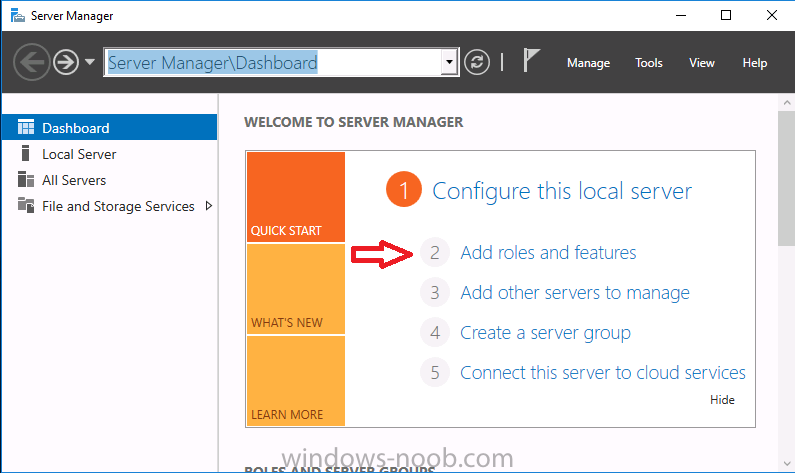
1. To manually setup ADDS, in the start screen search for Server Manager. Click on Add roles and features
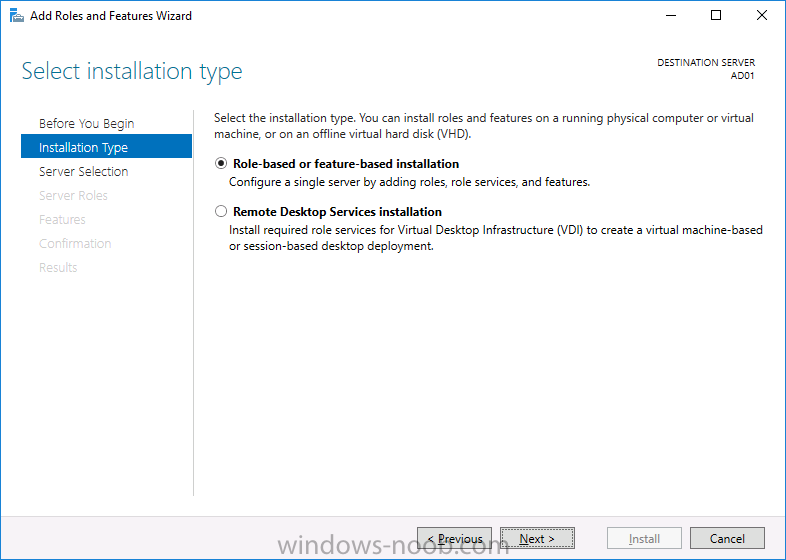
2. For Installation Type choose Role-based or Feature-based installation
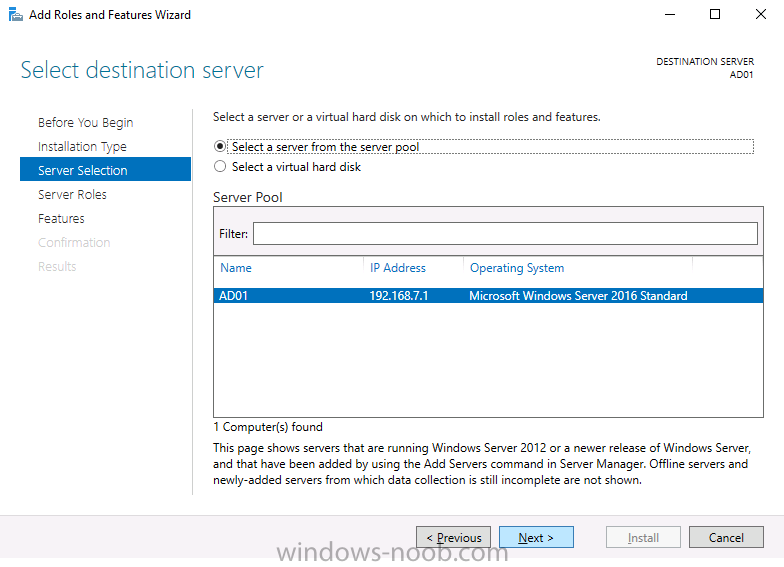
3. For Server Selection choose the local server (AD01)
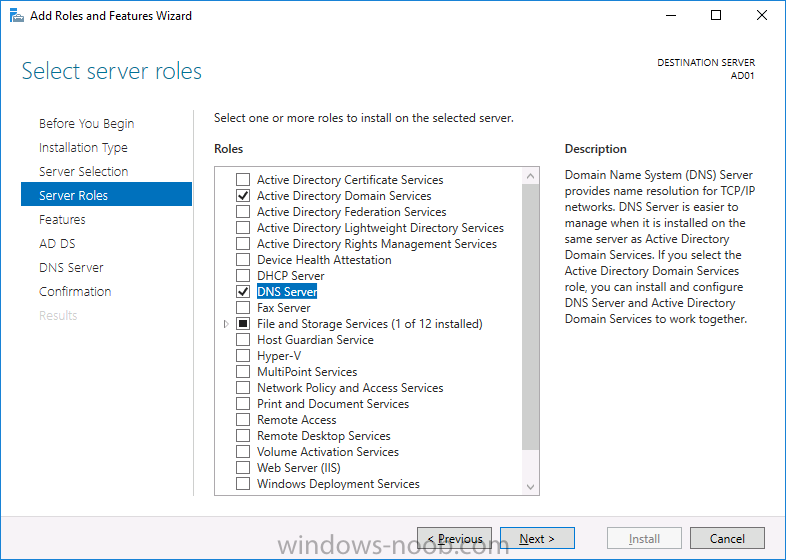
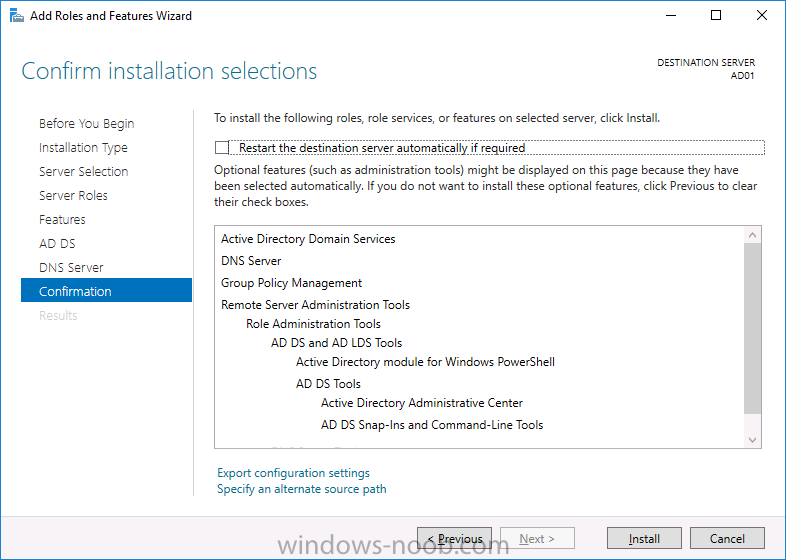
4. For Server Roles select Active Directory Domain Services and DNS Server, when prompted to install any packages accept the changes.
5. Continue the the wizard and click Install
6. Click Close to complete the wizard.
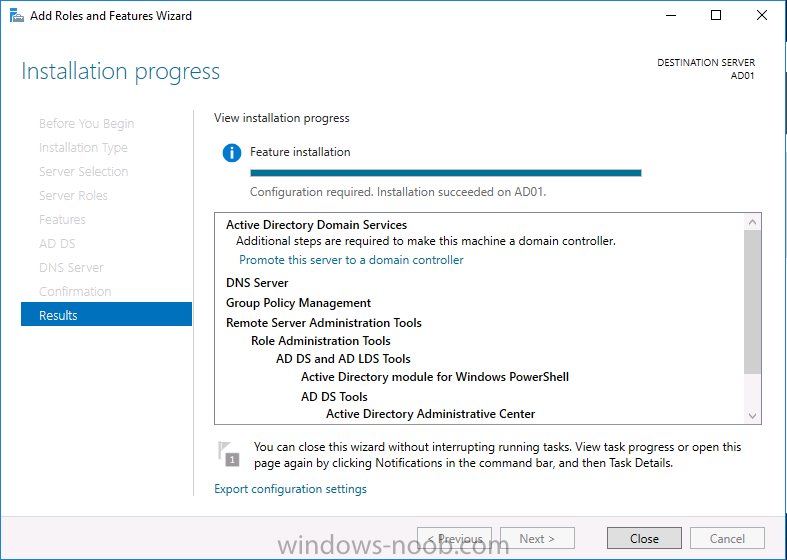
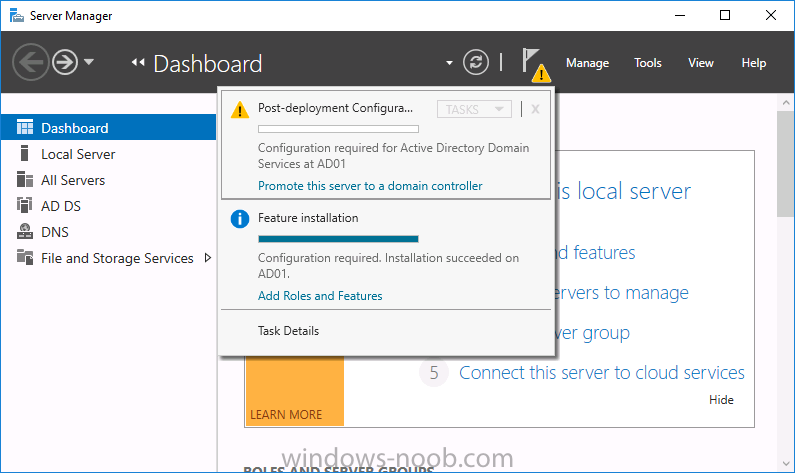
7. After it’s finished, perform the Post Deployment Configuration by clicking on Promote this server to a domain controller
select the Add a new forest option, give it a root domain name such as windowsnoob.lab.local and click through the wizard, when prompted for a password use P@ssw0rd.
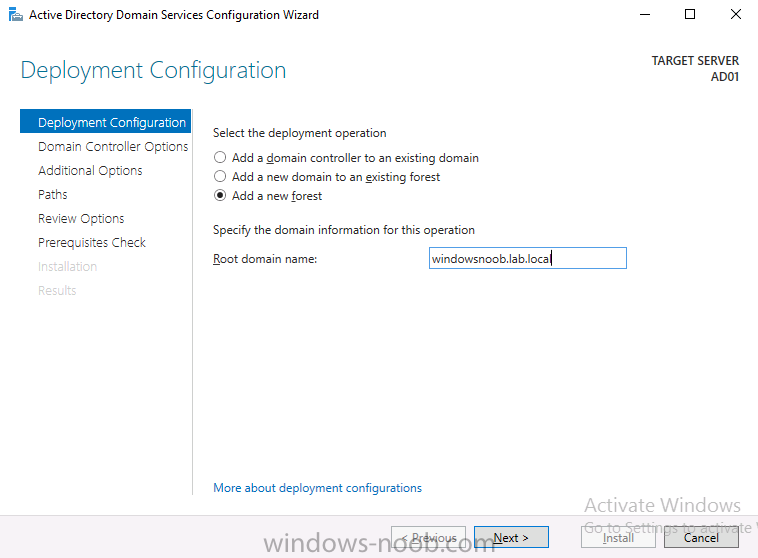
and click your way through to completion.
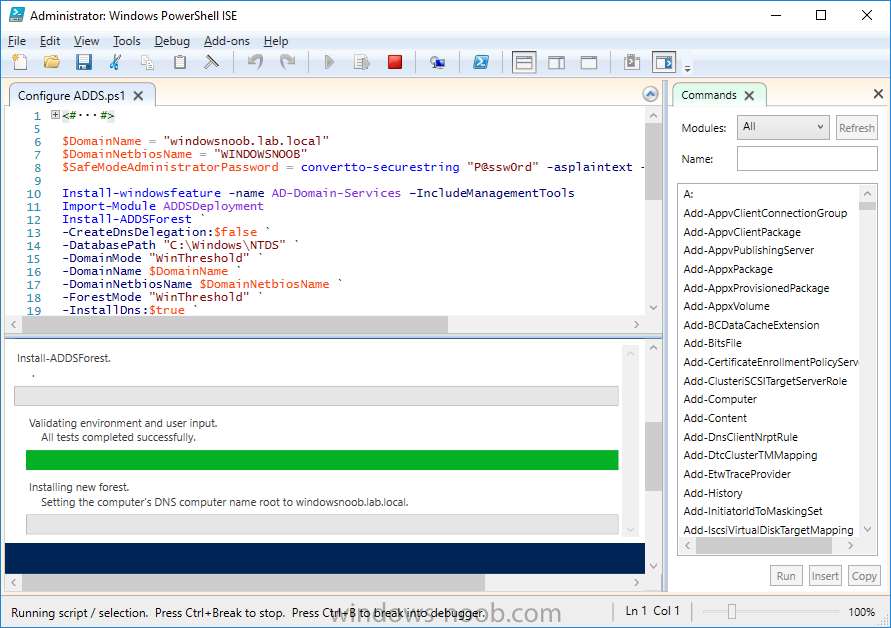
Method #2 – Automate it with PowerShell
To configure ADDS and DNS automatically, use the ConfigureADDS.ps1 PowerShell script.
1. Copy the script to C:\scripts.
2. Edit the variables as desired before running.
3. Start Windows PowerShell ISE as Administrator and run the script by clicking on the green triangle.
Step 2. Join CM01 to the domain
Note: Perform the following on the ConfigMgr server (CM01) as Local Administrator
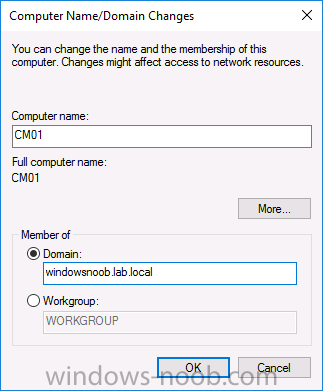
Method #1 – Do it manually
To join the domain manually, bring up the computer system properties. Click on Change settings beside the computer name, click Change and enter the appropriate domain join details, reboot when done.
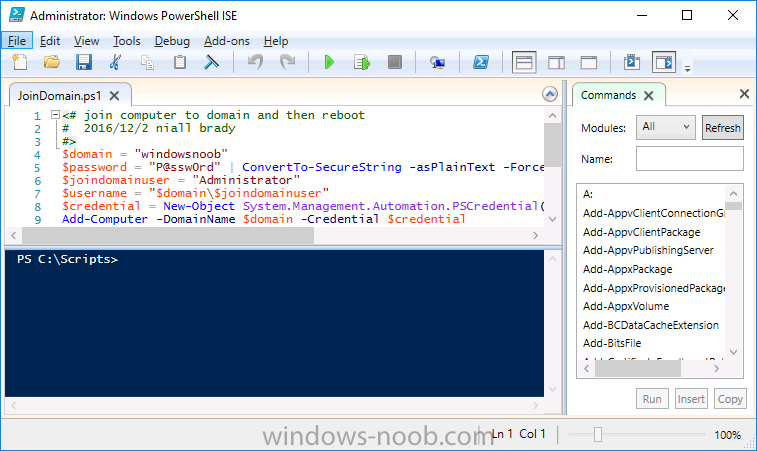
Method #2 – Automate it with PowerShell
To join the domain automatically, use the joindomain.ps1 PowerShell script.
1. Copy the script to C:\scripts.
2. Edit the variables as desired before running.
3. Start Windows PowerShell ISE as Administrator and run the script by clicking on the green triangle.
You can read the rest of this post on windows-noob.com here.
