
In a previous post I showed you how you can upgrade System Center 2012 R2 Configuration Manager to System Center 2012 R2 SP1 Configuration Manager with MDT 2013 Update 1 integrated. If you haven’t upgrade ConfigMgr yet then I urge you to do so before starting this post.
In this post I’ll show you how you can deploy a clean build of Windows 10 Enterprise x64 by using the official media from Microsoft in a MDT integrated task sequence in ConfigMgr. Before we can do that however we need to create a bunch of new MDT content by creating a new MDT 2013 Update 1 task sequence and choosing from the available options to create the new MDT Toolkit and MDT Settings packages. In addition, we will create a new MDT 2013 Udpate 1 boot image (x64).
Note: I should point out that there are some bugs in this release of MDT 2013 Update 1, which are excellently documented by Johan here. Please read his post so that you don’t end up getting too frustrated when things don’t go as planned.
Step 1. Get the Windows 10 Enterprise x64 media
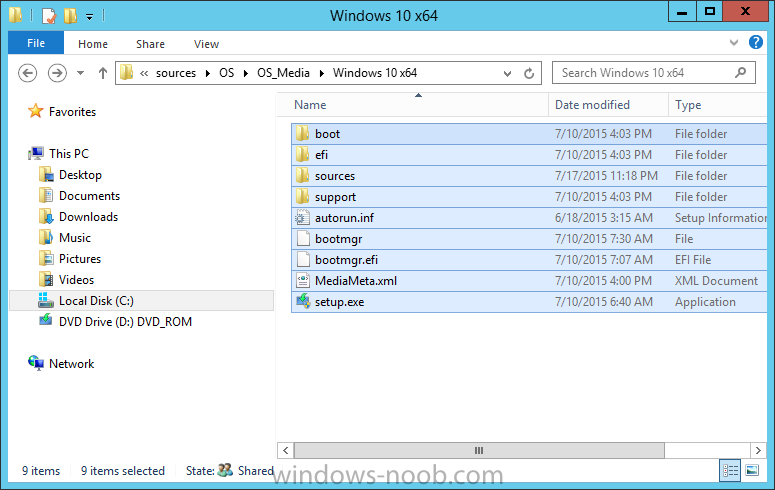
I used the Windows 10 Enterprise x64 media from MSDN available here which i then mounted in Windows File Explorer. After mounting the ISO, copy the contents to somewhere useful like \\server2012\sources\os\os_media\windows 10 x64
Step 2. Add a Windows 10 x64 image
To add the operating system do as follows. In the ConfigMgr console, select Software Library, then Operating Systems then Operating System Images. Right click and choose Add Operating System Image.
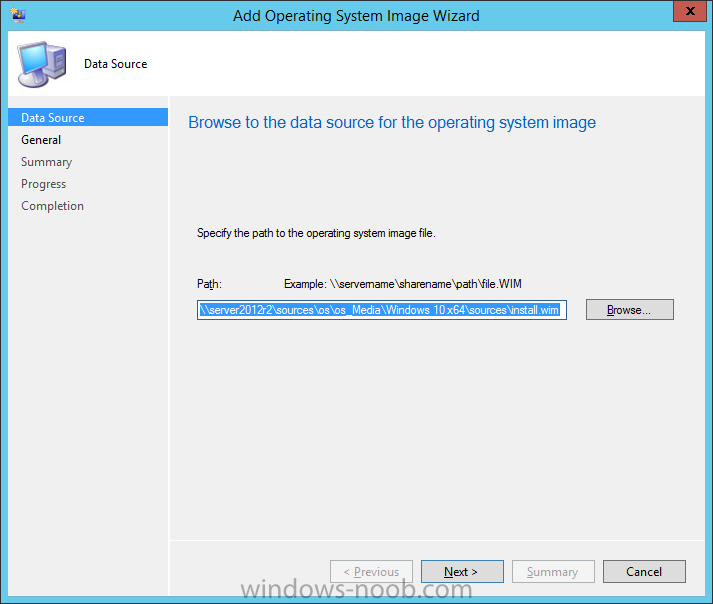
Point it to the install.wim file in the sources folder of the Windows 10 Enterprise x64 media you added in Step 1.
\\server2012r2\sources\os\os_Media\Windows 10 x64\sources\install.wim
and fill in some details about the image and continue through the wizard until completion.
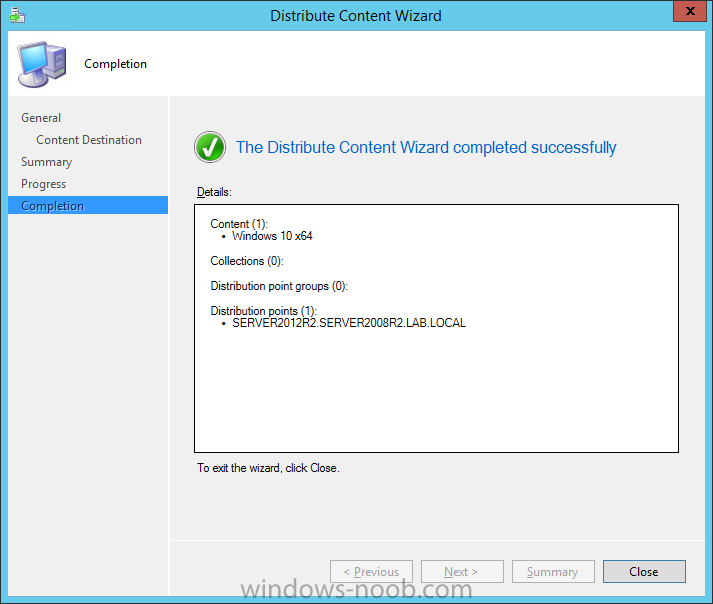
Step 3. Distribute the Windows 10 image to your dps
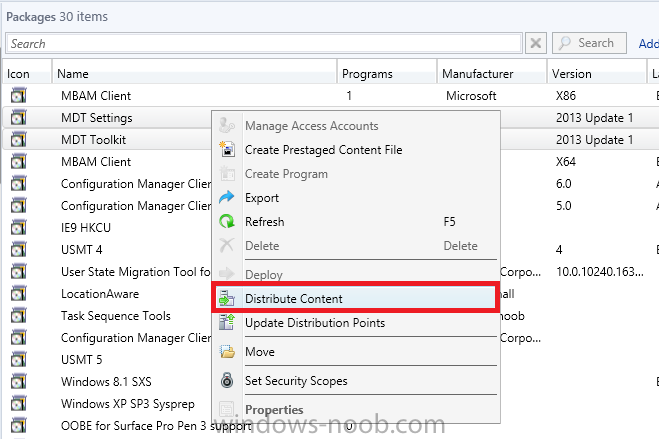
Right click the newly added image, choose Distribute Content, and continue through that wizard.
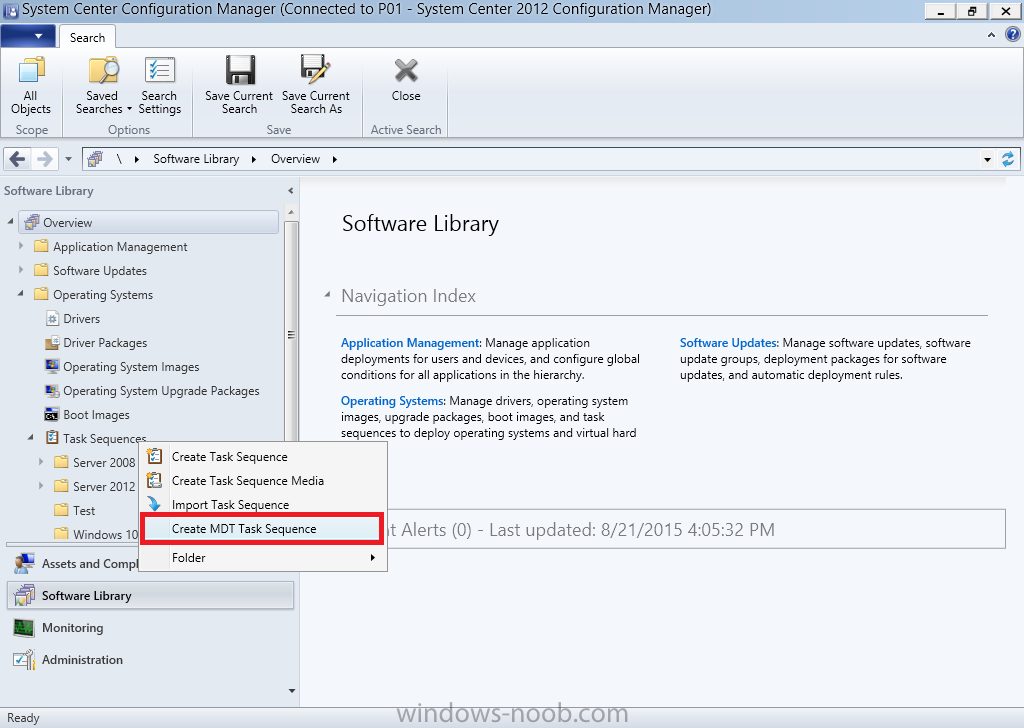
Step 4. Create MDT Task Sequence
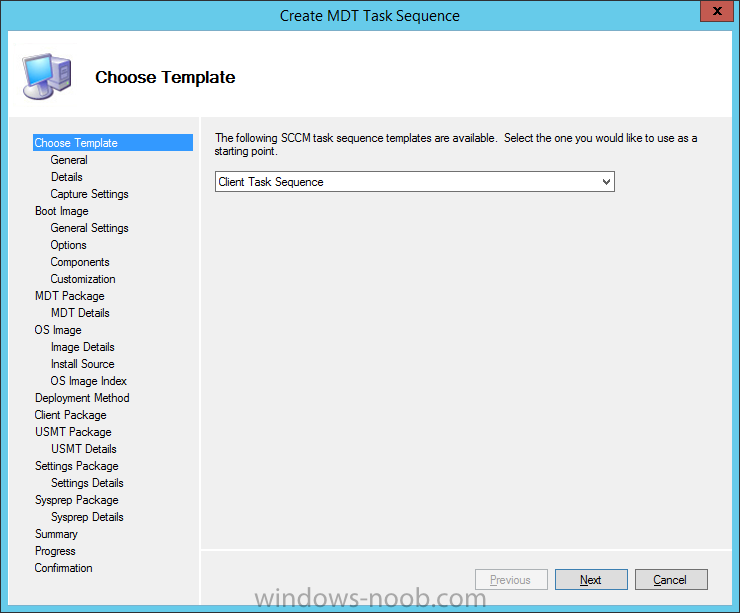
In order to create our new packages (MDT Toolkit and MDT Settings) we need to go through the Create new mdt task sequence wizard. To start that, in the ConfigMgr console click on Software Library, Operating Systems, Task Sequences, right click and choose Create MDT Task Sequence.
Choose Client Task Sequence from the list of available options
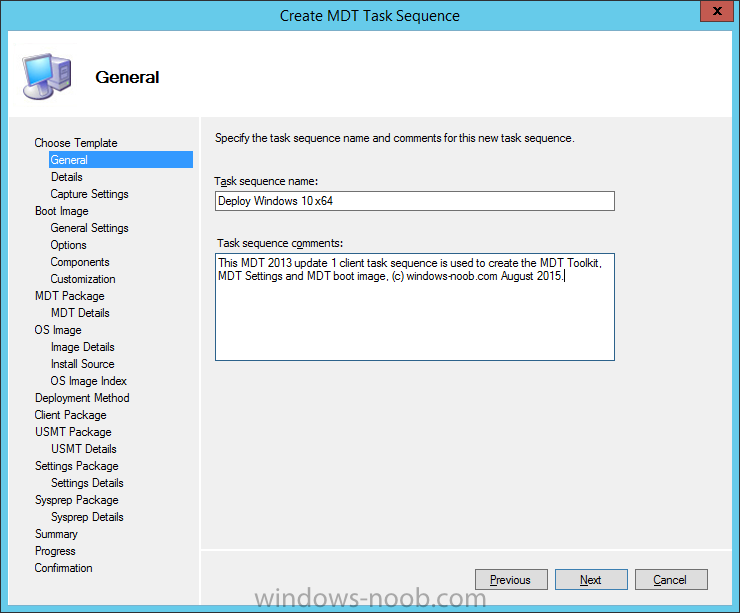
For task sequence name, use Deploy Windows 10 x64
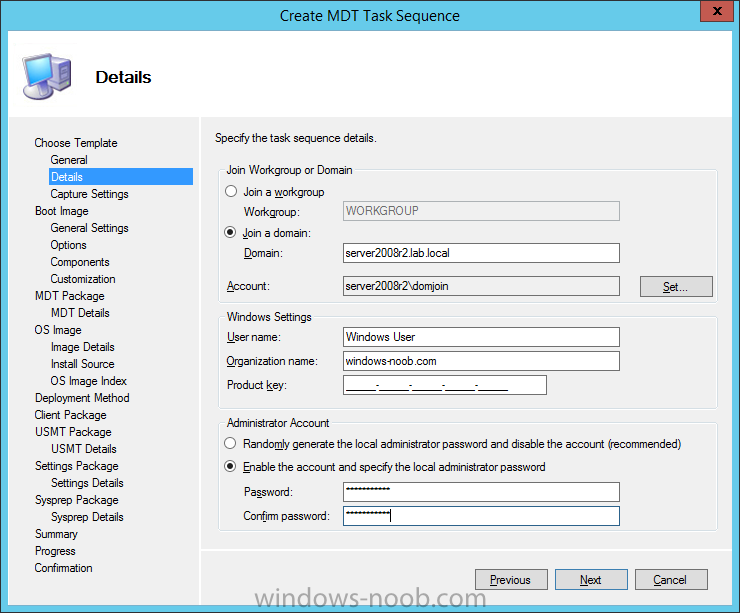
For Details, enter the domain join details, then enter any Windows settings, and lastly enter a Local administrator password in case you decide to deploy this task sequence later and it fails before joining the domain.
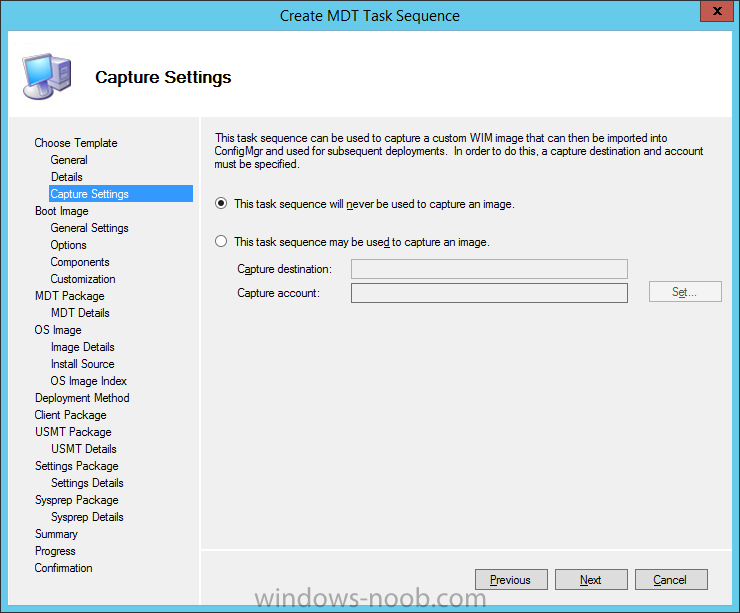
For Capture Settings, select This task sequence will never be used to capture an image
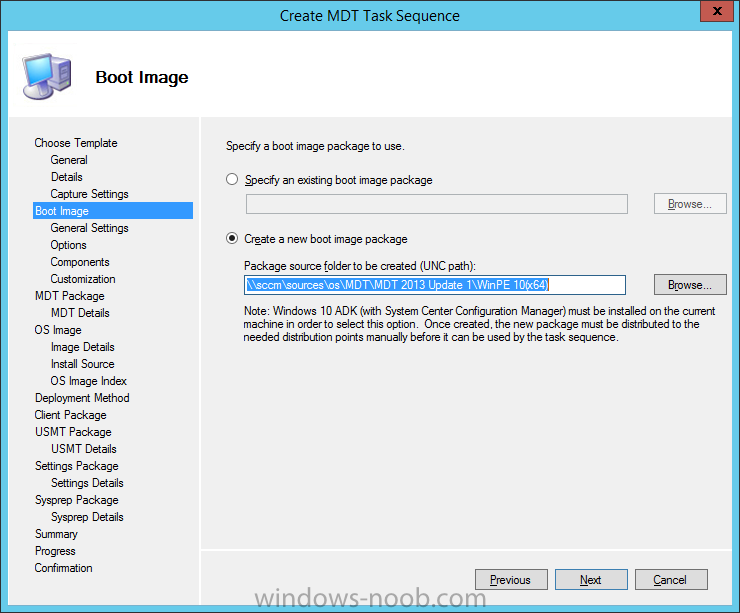
For Boot Image select the second option, this will allow you to create one of the two architecture MDT boot images, specify a suitable source such as \\sccm\sources\os\MDT\MDT 2013 Update 1\WinPE 10(x64) which will be created later by this wizard.
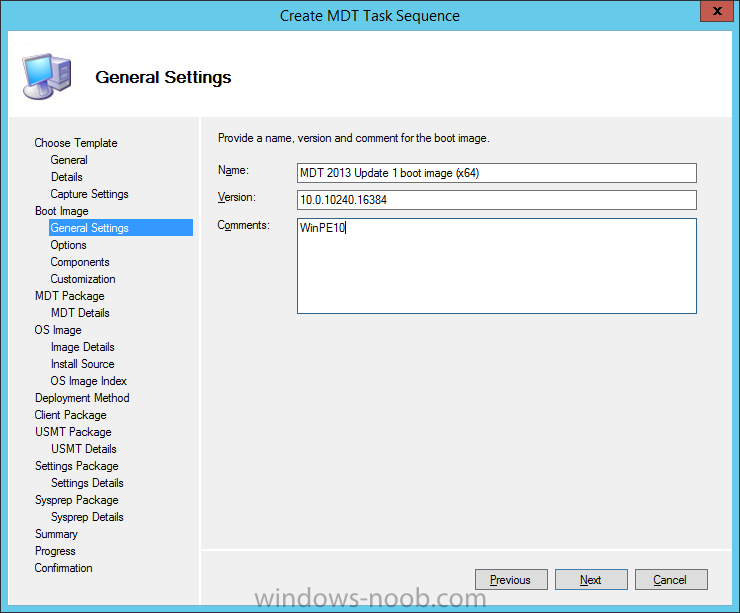
for the Boot Image General Settings use the following values:
- Name: MDT 2013 Update 1 boot image (x64)
- Version: 10.0.10240.16384
- Comment: WinPE10
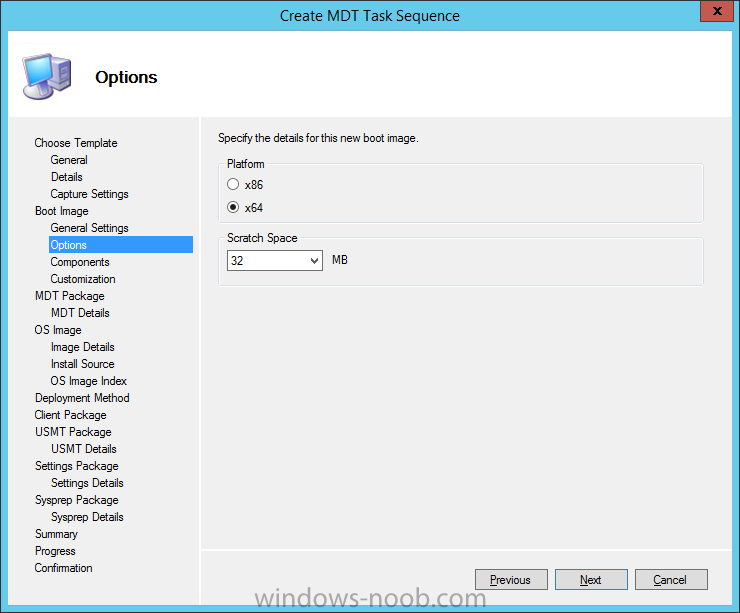
select x64 architecture
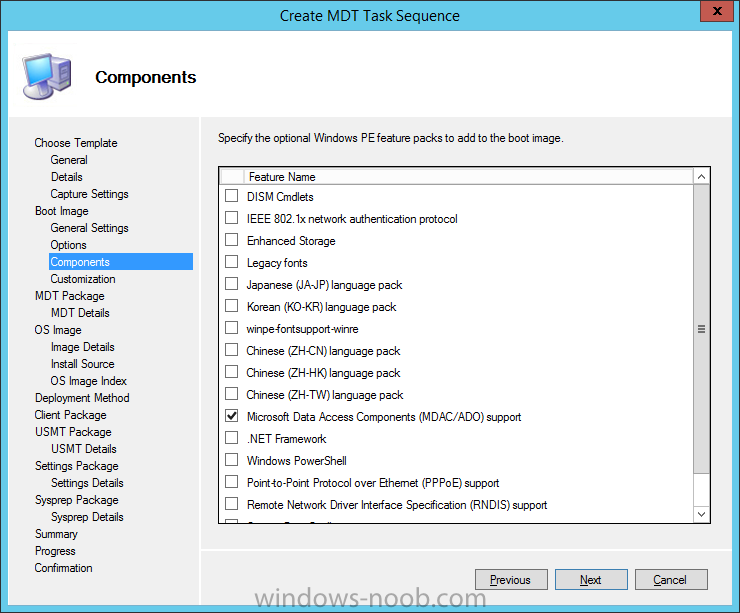
for Components, leave the selection as is (there is a bug related to this)
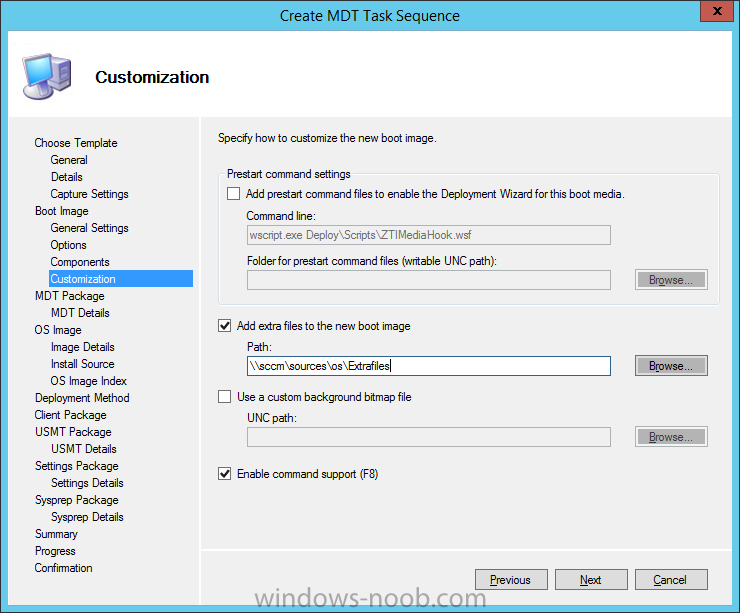
For the Customization step let’s point it to some preconfigured Extrafiles, basically in the extrafiles folder we create a folder called Windows and in that folder place a text file called smsts.ini which has the following contents
[Logging]
LOGLEVEL=0
LOGMAXSIZE=524288000
LOGMAXHISTORY=3
DEBUGLOGGING=1
CCMDEBUGLOGGING=1
this will enable better logging in WinPE as per this blog post.
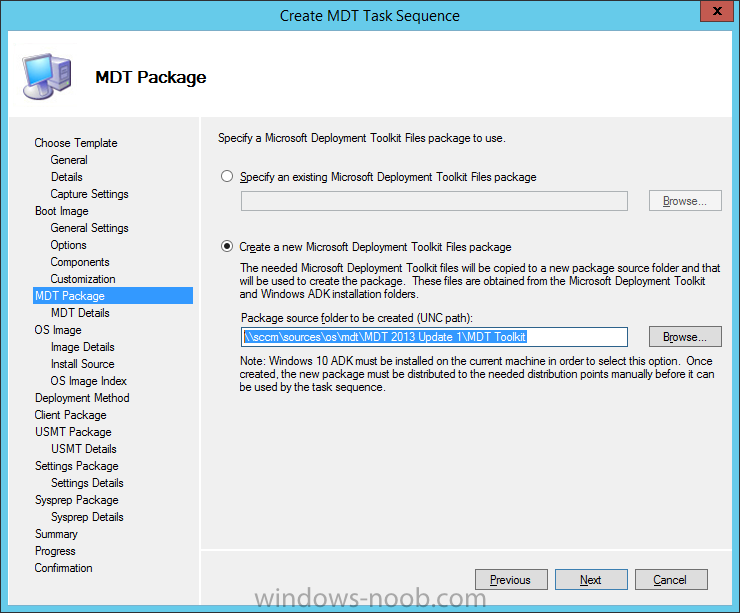
For the MDT Package step, not you have the ability to create the new MDT 2013 Update 1 MDT Toolkit Package, by selecting the Create a New Microsoft Deployment Toolkit Package option. For the Package source option use something like
\\sccm\sources\os\mdt\MDT 2013 Update 1\MDT Toolkit
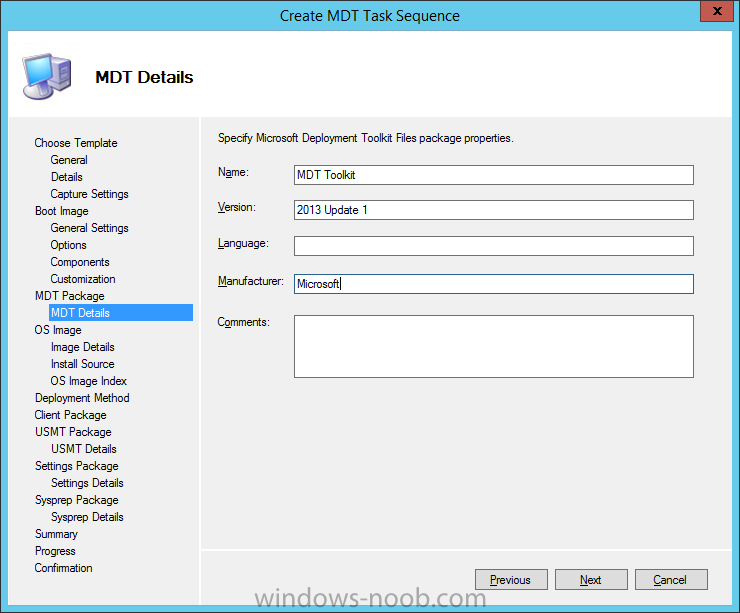
for MDT Details use the following settings:
- Name: MDT Toolkit
- Version: 2013 Update 1
- Language
- Manufacturer: Microsoft
- Comments
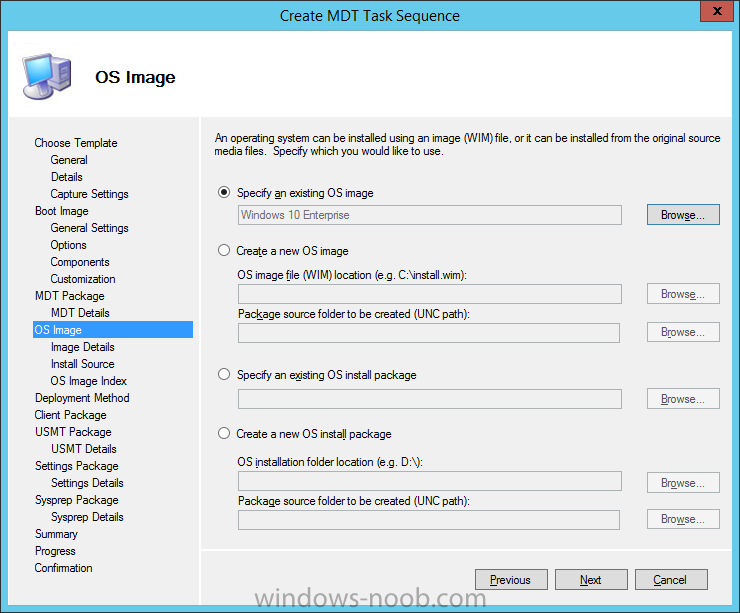
For OS Image, select Specify an existing OS image and browse to the previously added Windows 10 Enterprise x64 image.
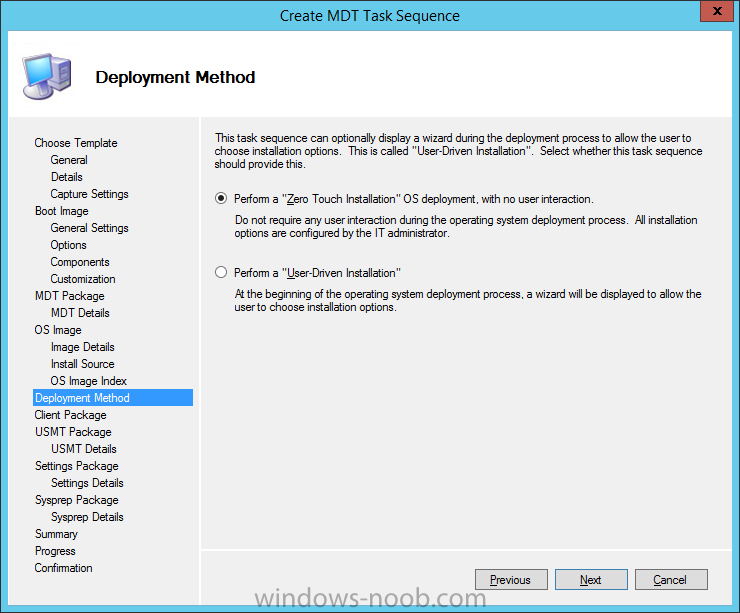
For Deployment Method you get to choose the type of task sequence interaction will be used, if you want your users to have choices then select the UDI option, otherwise select the Zero Touch option to remove choices from the task sequence. In this guide we will select Perform a Zero Touch Installation OS Deployment with no user interaction.
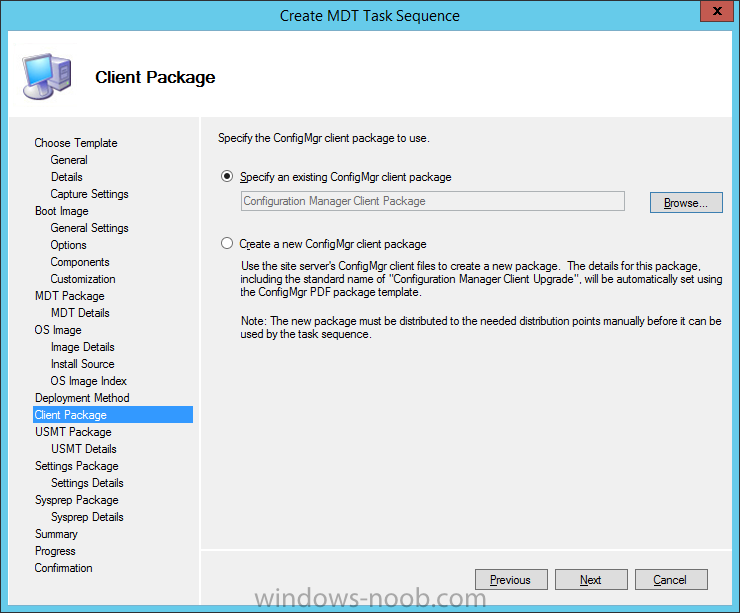
for Client Package, select Specify an existing ConfigMgr client package and browse to the one you wish to use.
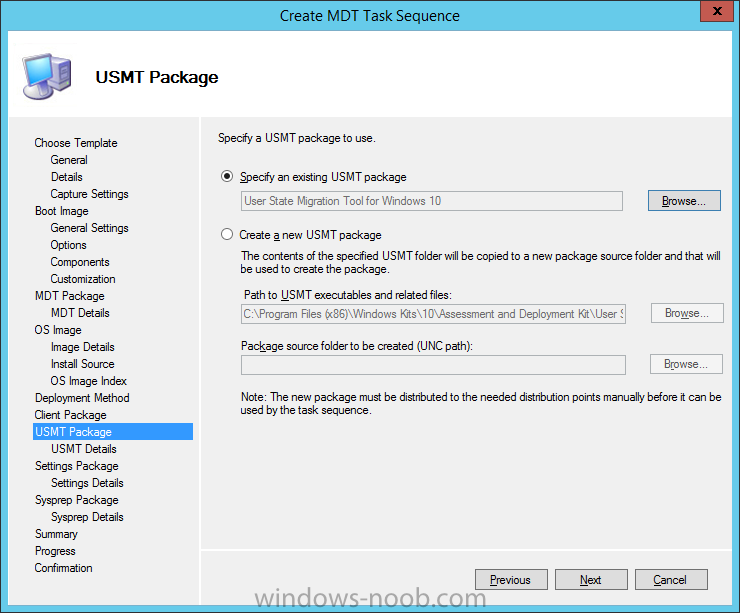
for USMT Package select the User State Migration Tool for Windows 10 package which we renamed in this post.
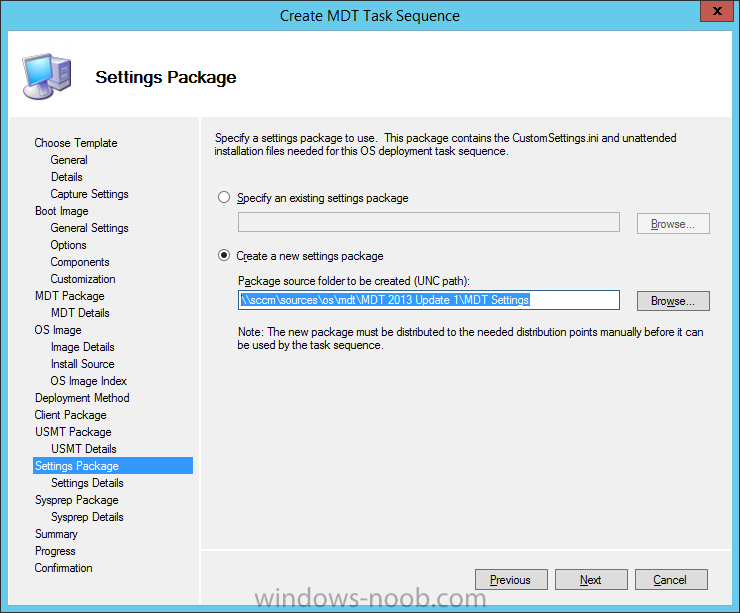
For Settings Package, we need to create our new MDT 2013 Update 1 settings package, therefore select the second option. You only have to do this once, and that is when you upgrade to a new version of MDT. Select Create a new settings package and fill in the path to be created as shown below something like \\sccm\sources\os\mdt\MDT 2013 Update 1\MDT Settings
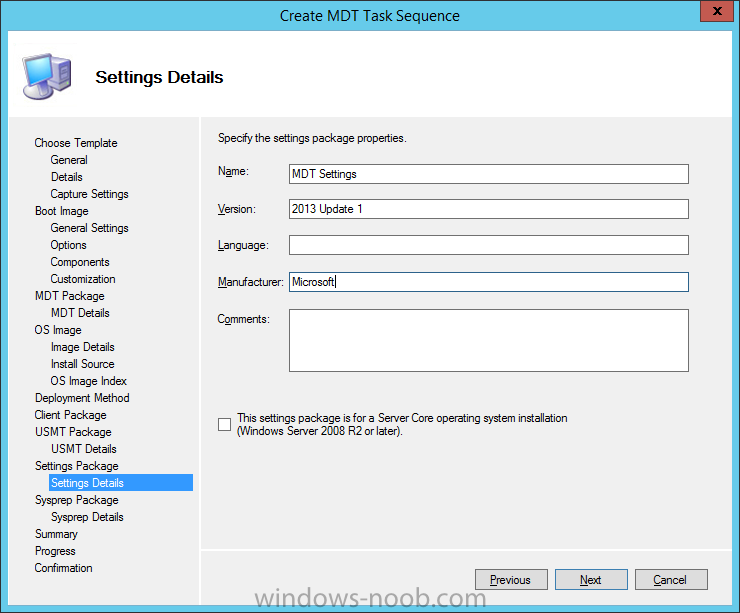
for Settings Details use the following settings:
- Name: MDT Settings
- Version: 2013 Update 1
- Language
- Manufacturer: Microsoft
- Comments
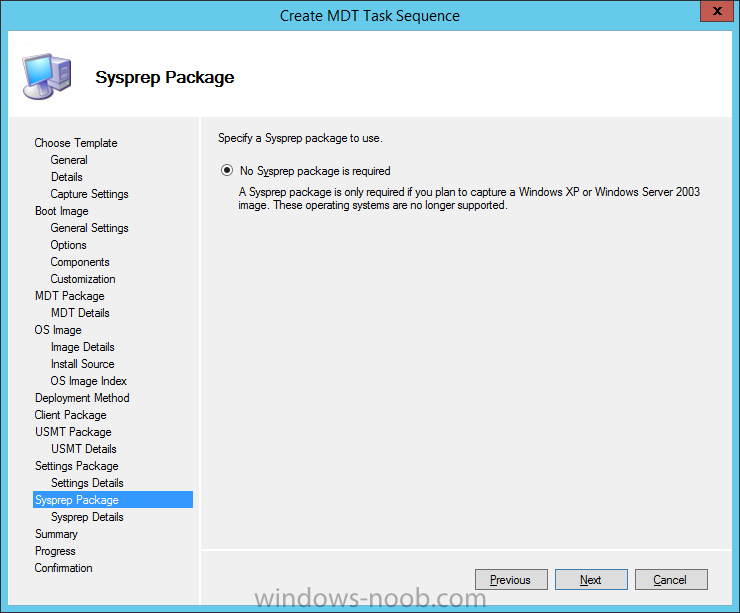
for Sysprep Package, set No sysprep package to use and continue through to the end of the wizard.
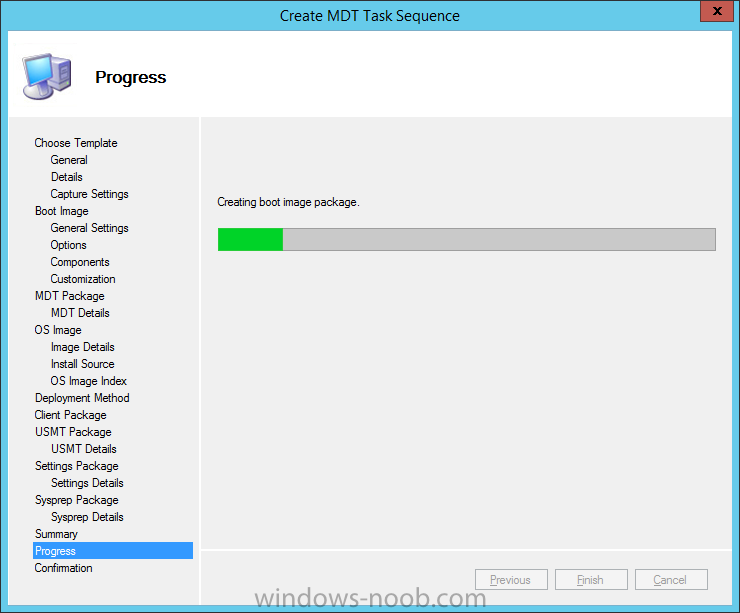
off it goes creating the Boot Image
and after a while you’ll get a process completed successfully message (hopefully).
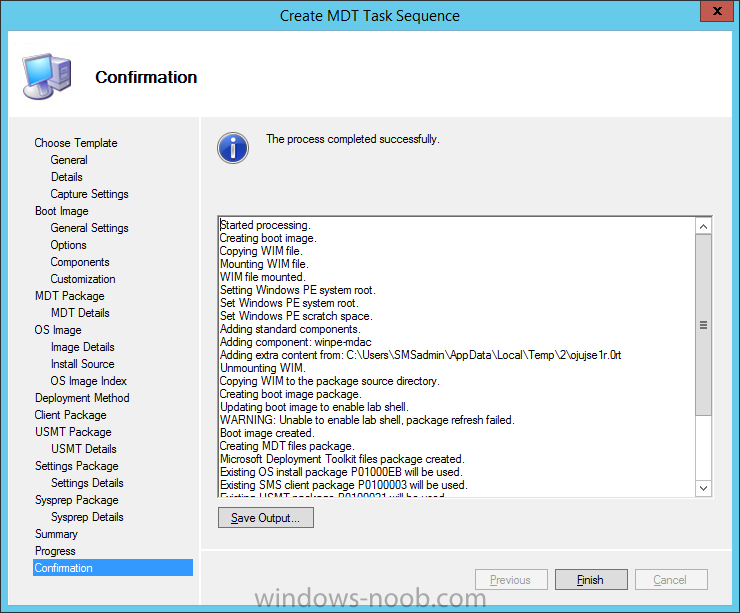
close the wizard.
Step 5. Distribute the new MDT Toolkit and MDT Settings packages
Note: Before doing this step, remember to make a backup copy of the Unattend.xml file, and then edit it as specified in Johans post here and remove the AutoLogon and FirstLogonCommands sections.

Open the ConfigMgr console, and press F5 or refresh the view to see the newly created packages. Select both of the MDT packages, right click and choose distribute content, continue through that wizard until completion.
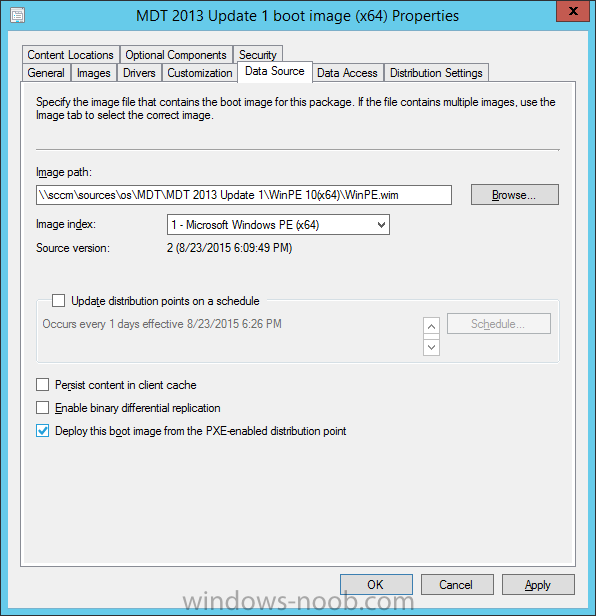
Step 6. Edit the boot image settings.
Browse to Software Library, Operating Systems, Boot images and select the MDT 2013 Update 1 boot image x64. Right click and choose Properties, and select the Data Source tab. Place a checkmark in Deploy this boot image from a PXE enabled distribution point.
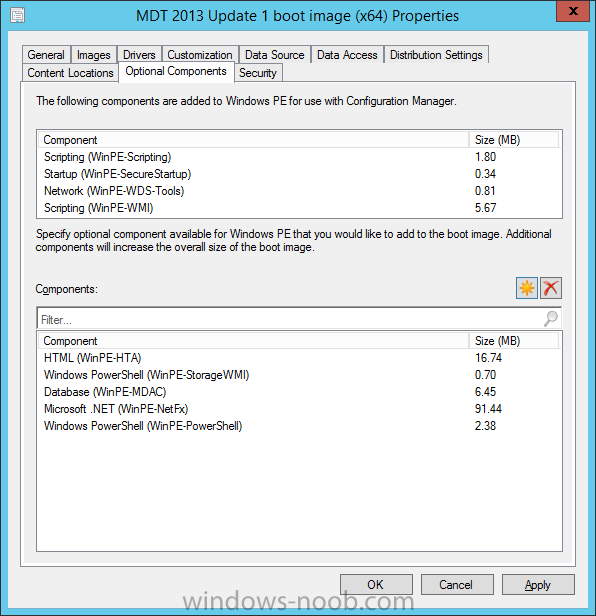
Next select the Optional Components tab and select the yellow starburst to add any new Optional Components that you want in the boot wim including Database (WinPE-MDAC) which was not included due to a bug.
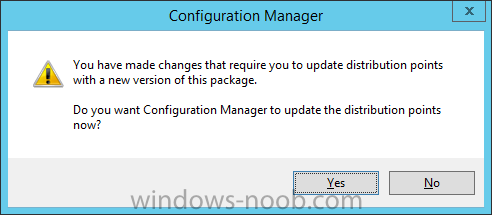
click Apply and answer no to the Distribute content to dp’s now question
close the wizard when done.
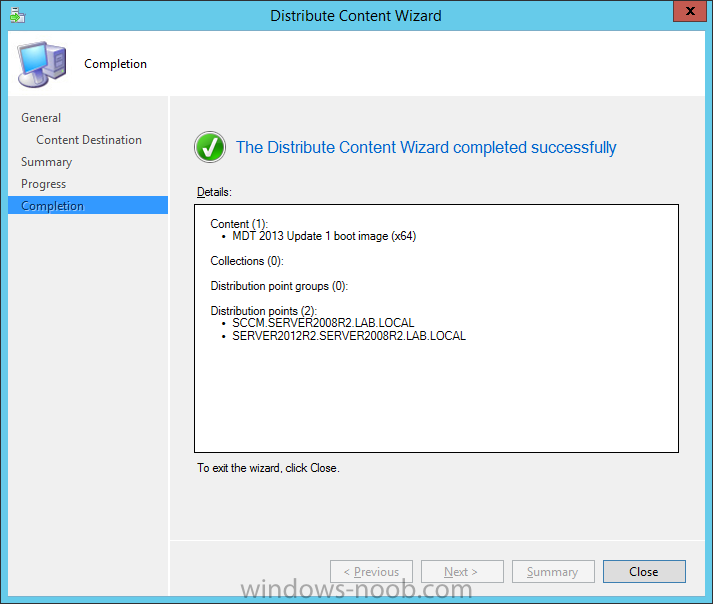
Step 7. Distribute the new MDT 2013 Update 1 boot image
Browse to Software Library, Operating Systems, Boot images and select the MDT 2013 Update 1 boot image x64. Right click and choose Distribute Content, continue through that wizard until completion.
Step 8. Deploy the task sequence
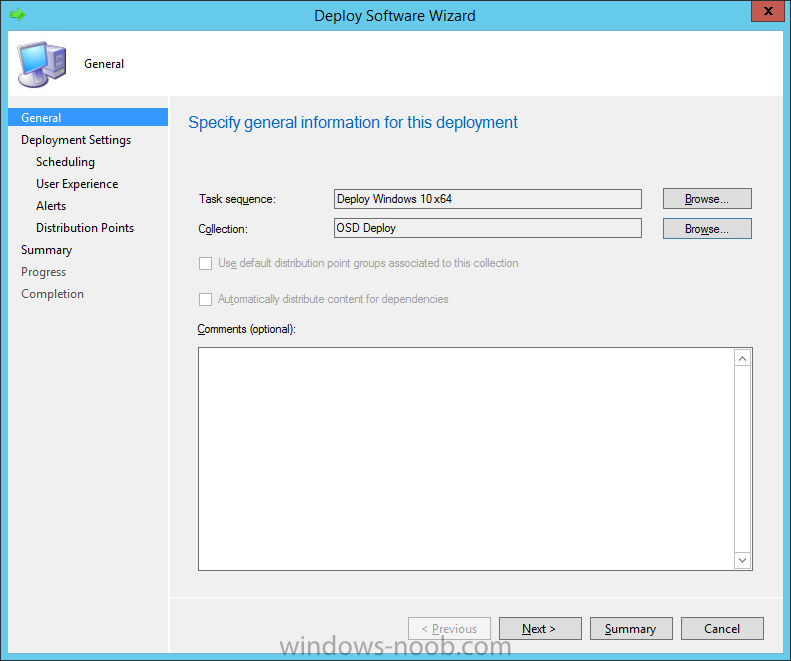
Browse to Software Library, Operating Systems, Task Sequences and select the Deploy Windows 10 x64 task sequence. Right click and choose Deploy and use the following settings
For the General screen choose a suitable OSD Deploy collection
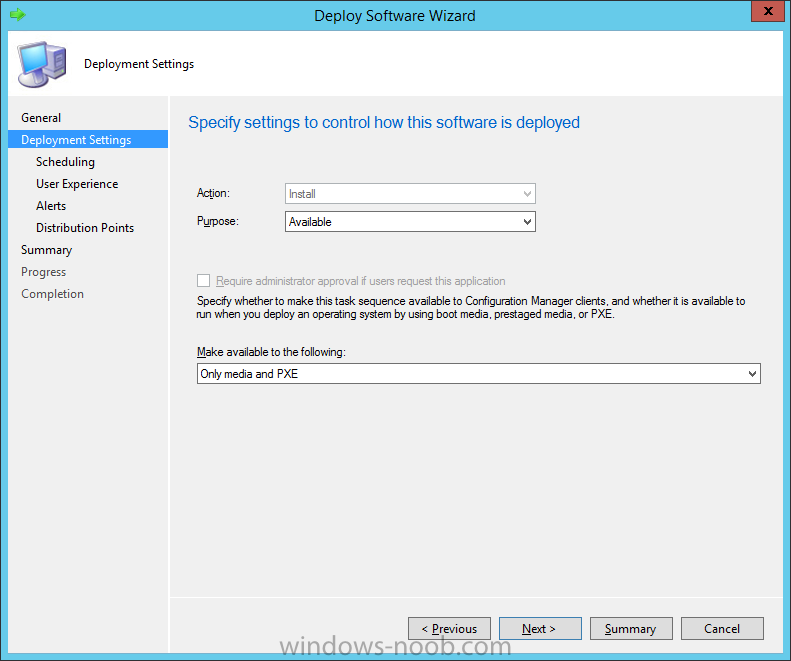
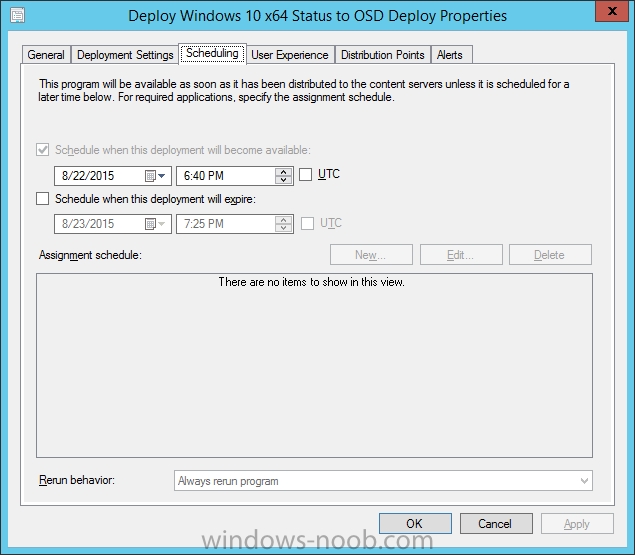
for Deployment Settings make sure it is set to Available and deployed to Only media and PXE
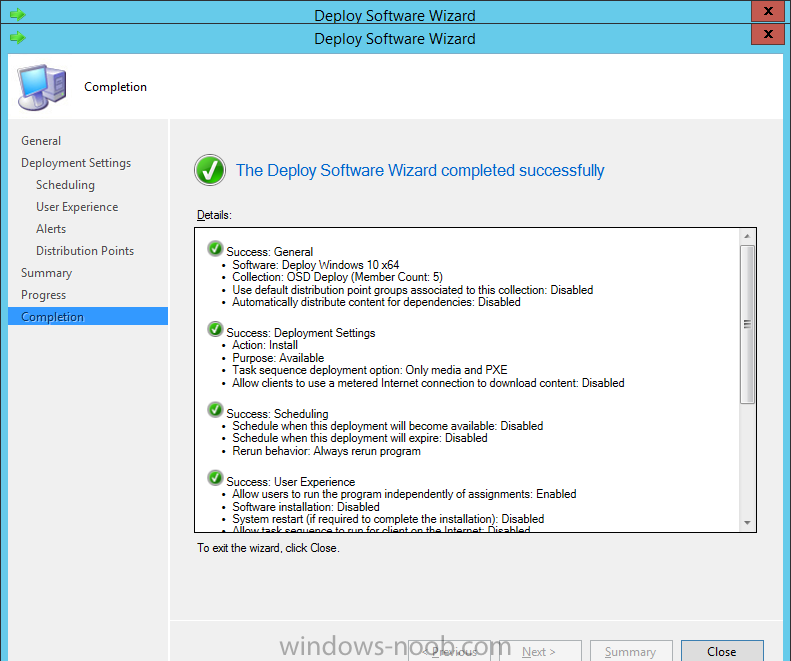
continue through the rest of the wizard until completion
Note: Once you’ve deployed the task sequence, you may have to set the Deployment available date back a day otherwise it won’t show up due to a bug. This ConfigMgr bug is set to be fixed in CU2.
Step 9. PXE boot a VM to experience the changes
Now everything is in place for testing a deployment of Windows 10 using an MDT 2013 Update 1 integrated task sequence in Configuration Manager. Simply PXE boot a computer that is a member of the OSD Deploy collection.
While PXE booting, you can verify that the WIM file it’s pulling down is indeed your newly created MDT 2013 update 1 boot image by looking at the boot image package id.

It should match the Image ID column beside your new boot wim

if it doesn’t then you are probably booting from a different task sequence or there are problems with the content of the MDT boot image.
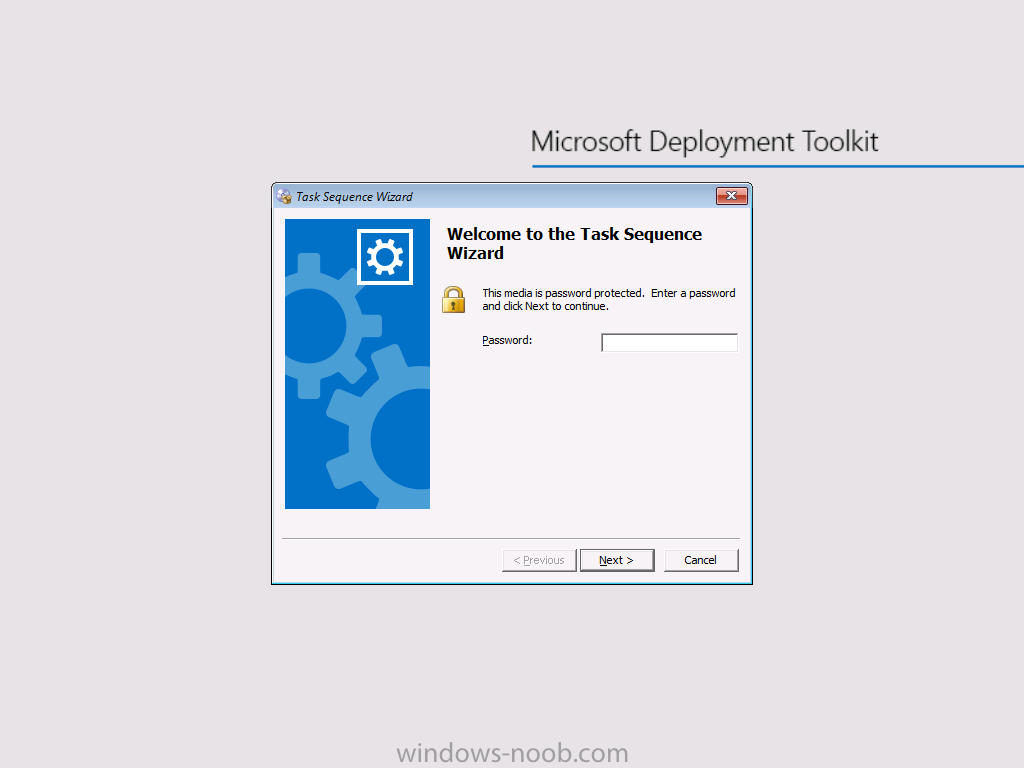
Once the boot image has loaded you’ll see the new Microsoft Deployment Toolkit background, and the new Windows PE 10 PXE password prompt
and you see the list of Task Sequences, if your’s doesn’t show up, verify the deployment scheduling date as mentioned above.
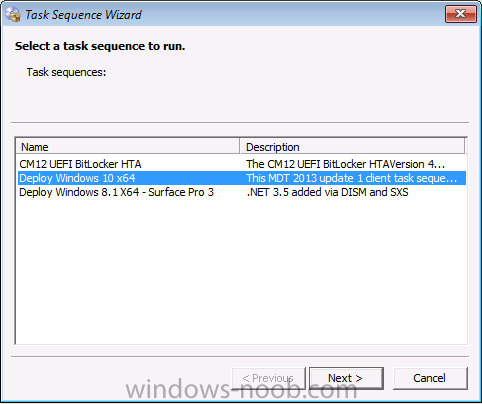
select the Deploy Windows 10 x64 and click next
and off it goes…
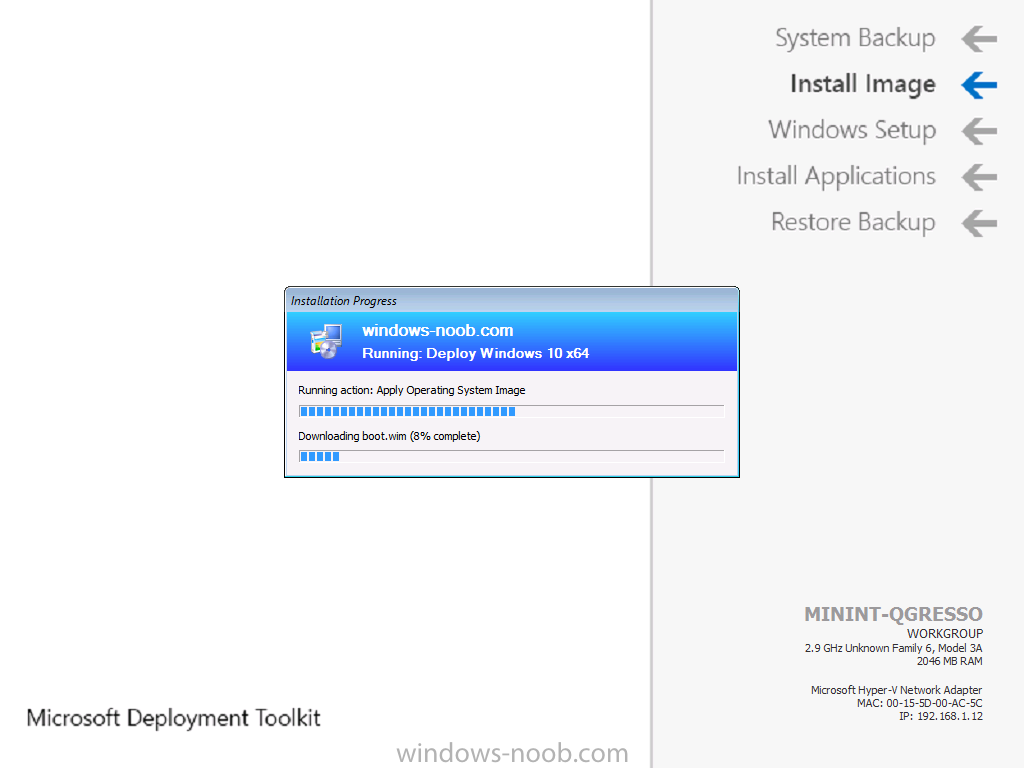
running Windows Setup
And we are done.
In a later post i’ll guide you through adding drivers to the task sequence, until next time adios.
