
In Part 1. of this series we Installed vNext.
In Part 2., we then Configured vNext to use the New AD Site as a boundary and Configured Discovery Methods in vNext.
In Part 3, we installed the Reporting Point Role along with some additional roles and configured them.
Now we will configure the Client Agents and install the client on our Lab systems.
Perform the following on the vNext server as SMSadmin
Step 1. Configure Default Settings for the Computer Agent
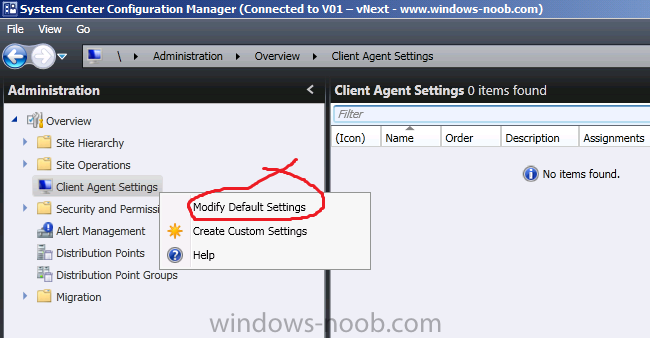
In the vNext console, click on Administration, and then right click on Client Agent Settings choose Modify Default Settings.
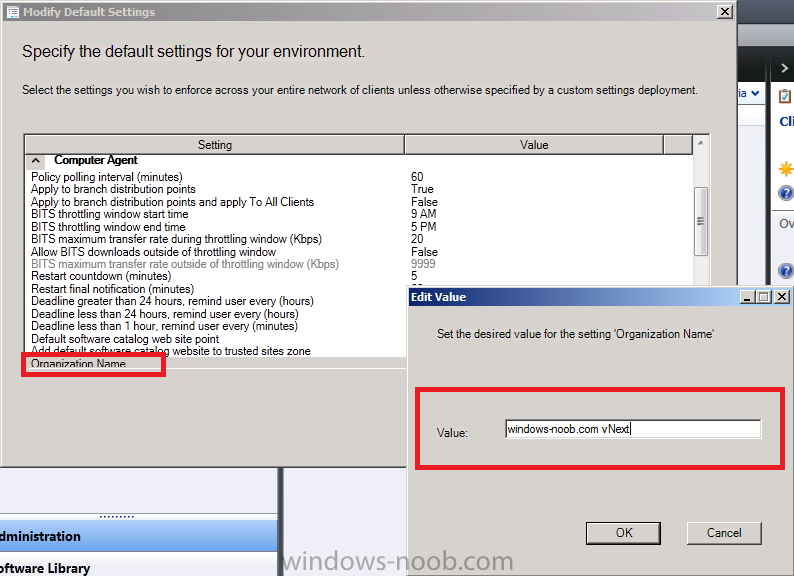
Scroll down to Computer Agent and select Organization Name, change it to your organisation name
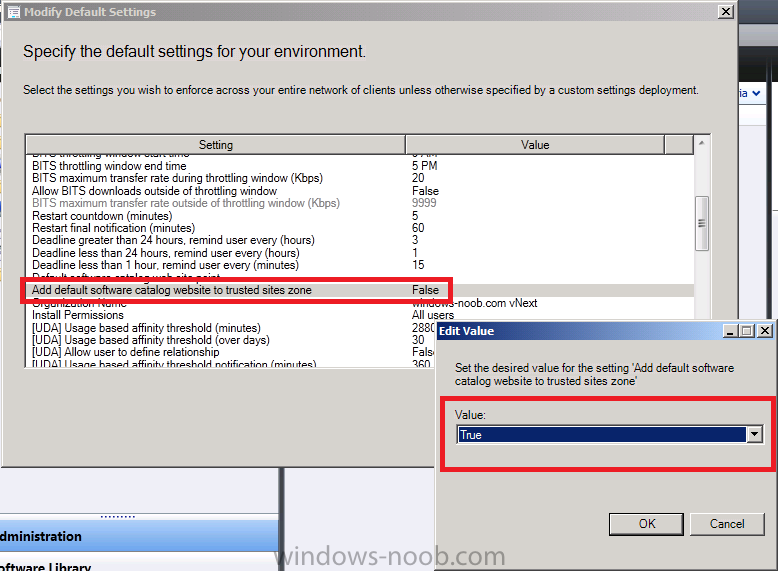
While we are there let’s add the default software catalog website to trusted sites zone, double click on it and change false to true
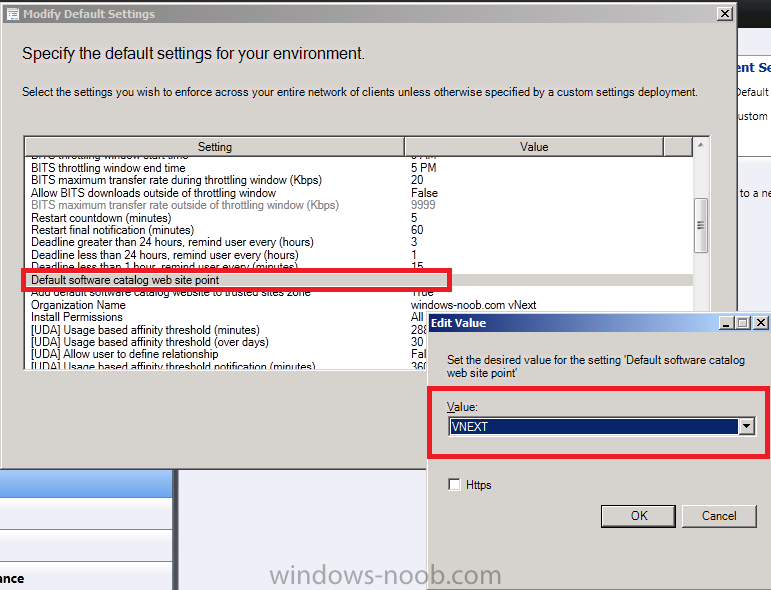
and let’s select the default software catalog web site point, double click on it and change the drop down menu to VNEXT
Click Ok when done.
At this point you can startup Internet Explorer and browse to your Vnext Software Catalog Web Site Point http://vnext/CMSoftwareCatalog/
To view the rest of the post (with screenshots) click here
