
In Part 1 of this series we created our new LAB, we got the System Center 2012 Configuration Manager ISO and extracted it, then copied it to our Active Directory server. We then created the System Management container in AD, delegated permissions to the container, extended the Schema for Configuration Manager. We then opened TCP ports 1433 and 4022 for SQL replication between sites, installed some prerequisites like .NET Framework 4.0, added some features and then downloaded and installed SQL Server 2008 R2 SP1 CU6. We then configured SQL Server using SQL Server Management Studio for security and memory configurations prior to running the Configuration Manager 2012 setup to assess server readiness. Finally we installed a central administration site (CAS) and will now install our primary server.
The primary server will be called P01 (P for primary, 01 as it’s the first primary, if you were to have more primaries connected to your CAS, you could call the next one P02 and so on). Prior to installing our primary server I want you to set this server up the same way as you did the CAS, install the pre-reqs including .NET Framework 4.0, install SQL Server 2008 R2 SP1 CU6 and configure it (security and memory) before doing anything else. You do not need to extend the schema again that is a one time operation. The primary server (p01.server2008r2.lab.local) should therefore now have SQL installed and you should have copied the Configuration Manager 2012 source files from our active directory server AD1 to C:\Temp\CM12RTM before starting step 1 below.
Note: Determine Whether to Install a Primary Site – The below is from Technet
Use primary sites to manage clients. Consider installing a primary site for any of the following reasons:
- To manage clients directly.
- To increase the number of clients to manage. Each primary site can support up to 100,000 clients.
- To provide a local point of connectivity for administration.
- To meet organizational management requirements. For example, you might install a primary site at a remote location to manage the transfer of deployment content across a low-bandwidth network.
Use the following information to help you plan for primary sites:
- A primary site can be a stand-alone primary site or a member of a hierarchy.
- A primary site only supports a central administration site as a parent site.
- A primary site only supports secondary sites as child sites and can support one or more secondary child sites.
- A primary site cannot change its parent site relationship after installation.
- Primary sites are responsible for processing all client data from their assigned clients.
- When a primary site is installed, it automatically configures database replication with its designated central administration site.
- Primary sites use database replication to communicate directly to their central administration site.
- You can install typically used site system roles when you install a primary site. For a list of site system roles that are supported on primary sites, see Planning Where to Install Sites System Roles in the Hierarchy.
Hardware Requirements
Note: For detailed hardware requirements for site servers both standalone and in a hierarchy please see the following page on Technet. The below information is summarised from Technet and should be used as a reference in planning for your Primary site hardware requirements.
Primarysite in a hierarchy (Local SQL Install)
- Up to 50,000 clients
- SQL Server is installed on the site server computer
The suggested hardware for the above is as follows:-
- 4 cores (Intel Xeon 5140 or comparable CPU)
- 16 GB of RAM
- 300 GB of hard disk space for the operating system, Configuration Manager, SQL Server, and all database files.
Primarysite in a hierarchy (Remote SQL Install)
- Up to 100,000 clients
- SQL Server is remote from the site server computer
Site Server:
- 4 cores (Intel Xeon 5140 or comparable CPU)
- 8GB of RAM
- 200 GB of disk space for the operating system and Configuration Manager.
Remote SQL Server:
- 8 cores (Intel Xeon E5504 or comparable CPU)
- 32 GB of RAM
- 550 GB of hard disk space for the operating system, SQL Server, and all database files.
Step 1. Start the System Center 2012 Configuration Manager setup
Note: Perform the following on the Primary server (P01) as SMSadmin
It is important to note that the user you use to run the Configuration Manager setup wizard has the correct rights assigned, if you are using the domain user, SMSadmin then you should be ok. We added this user as a Local Administrator of both the CAS and P01 servers in Step 1 of Part 1. If you try to run the setup wizard as a user that doesn’t have the correct rights or if you are logged onto this computer as the local administrator and not a domain user, you may see all sorts of warnings in the server readiness check including Active Directory Schema warnings even though you’ve extended the schema. Therefore please take note of the following requirements for the user prior to running setup and login as that domain user (server2008r2\SMSadmin).
Verify the user that runs Setup has the following security rights:
- Local Administrator rights on the central administration site server.
- Local Administrator rights on the remote site database server for the central administration site, if it is remote.
- Sysadmin rights on the site database of the central administration site.
- Local Administrator rights on the primary site computer.
- Local Administrator rights on the remote site database server for the primary site, if it is remote.
- User name associated with the Infrastructure Administrator or Full Administrator security role on the central administration site.
Note: The hotfix described in KB2552033 must be installed on site servers that run Windows Server 2008 R2 when client push installation is enabled. As we will configure client push on this primary, you must install that hotfix.
Browse to C:\Temp\CM12RTM on your Primary server, and double click on splash.hta
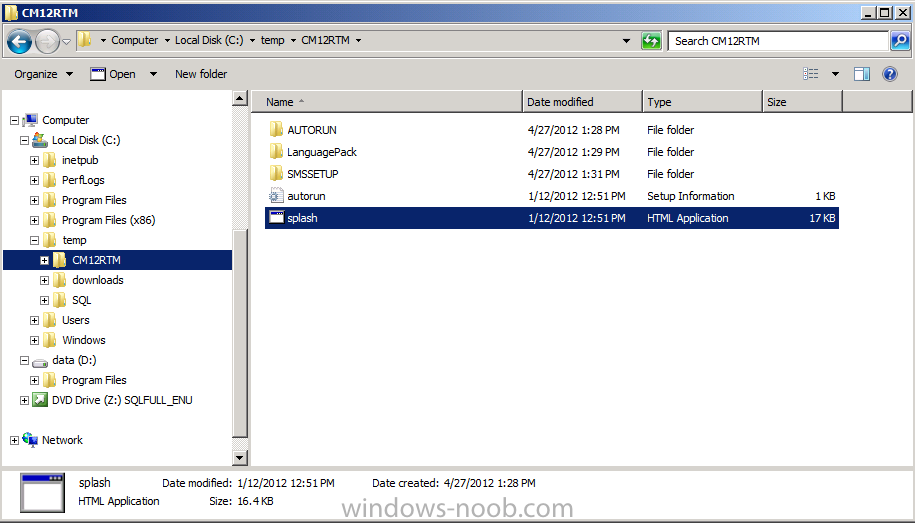
the System Center 2012 Configuration Manager Setup screen appears.
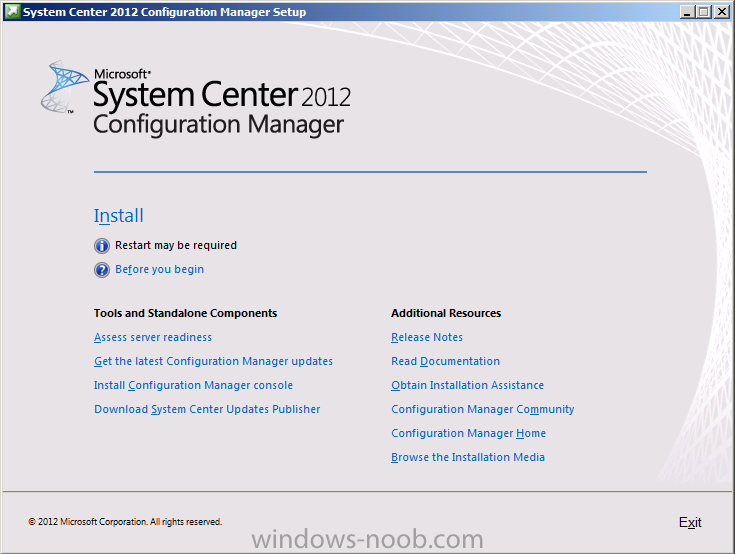
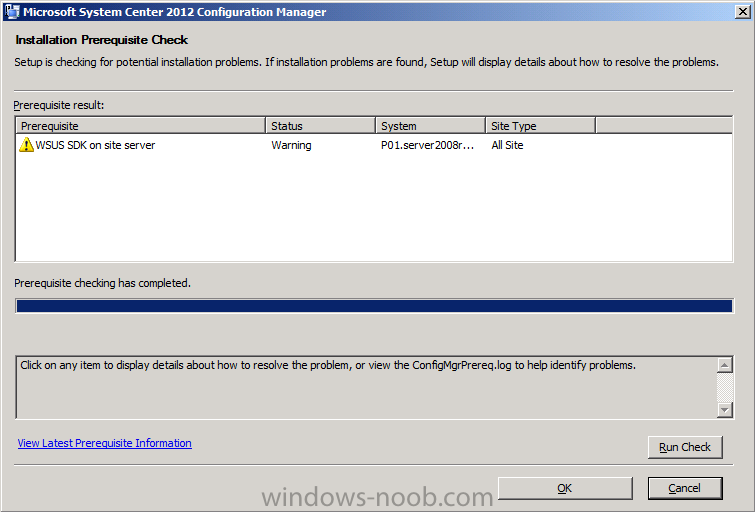
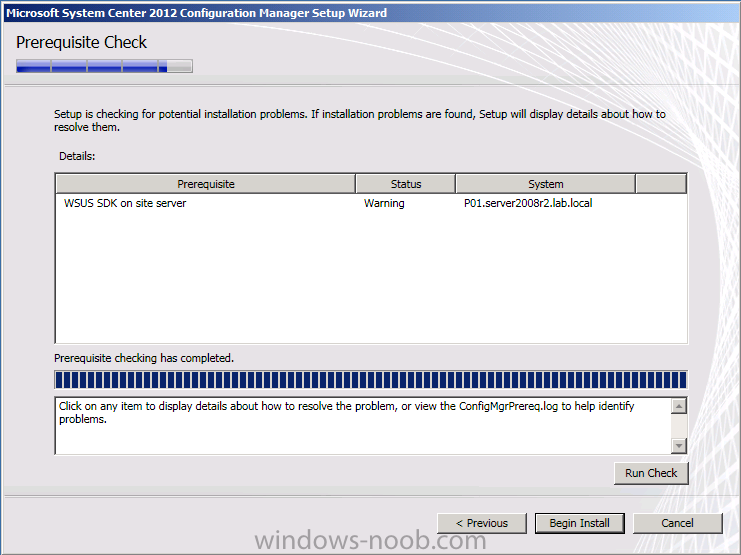
click on Assess Server Readiness, if you did everything outlined above then the only warning (in yellow, errors are in red) you’ll see is about WSUS SDK on site server, and that is ok to ignore as we’ll be installing it later on in this series.
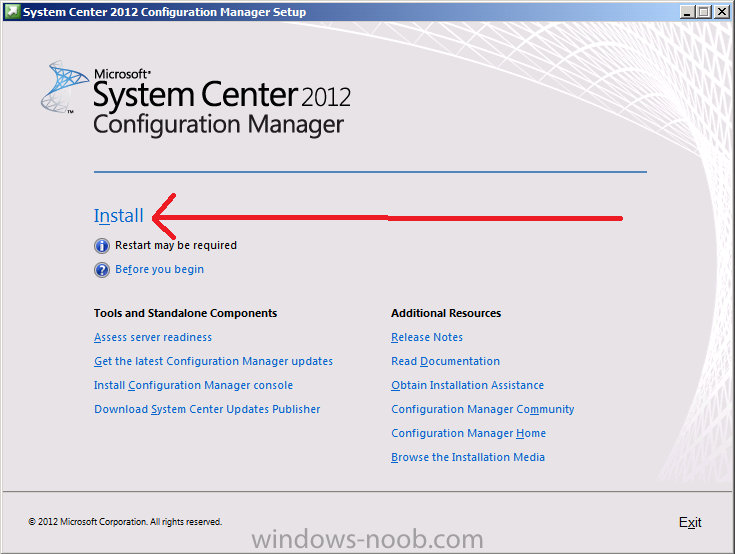
click Ok and then click on Install to start the setup wizard, answer yes to any UAC prompts..
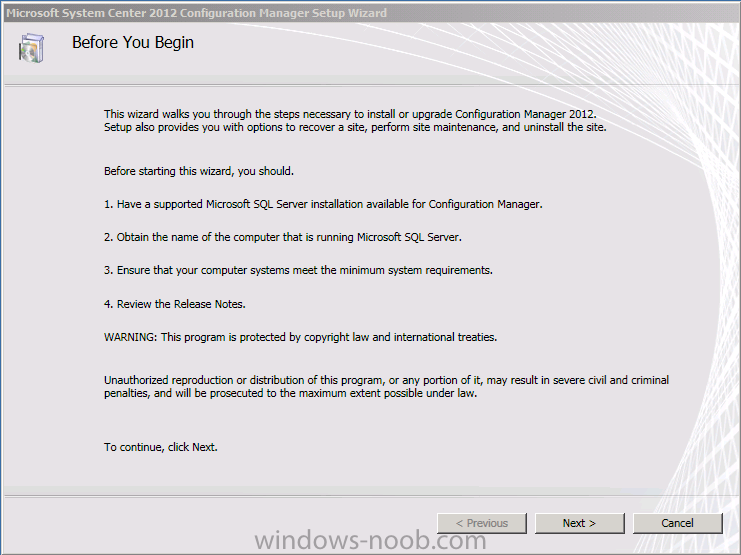
review the wizard Before you Begin page…and click next
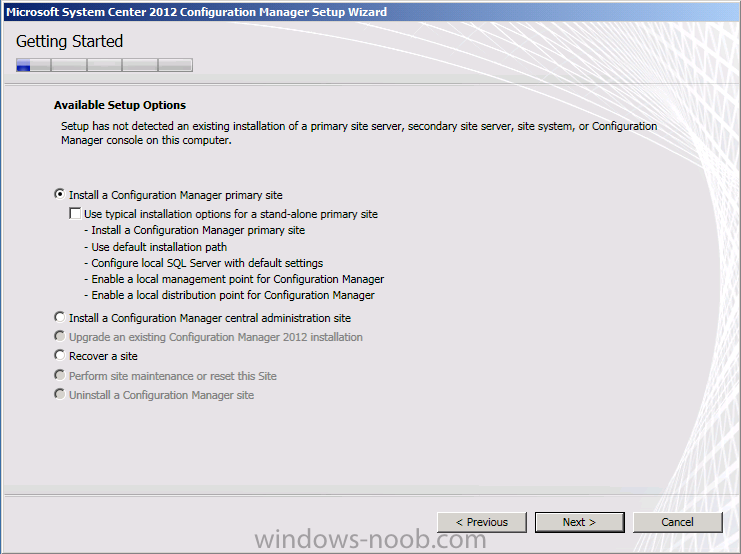
The option we need will already be selected (Install a Configuration Manager primary site), do NOT place a checkmark in the box below as this will install a standalone site instead of allowing us to join our Primary to our Central Administration Site server. If you want to install a standalone primary then read this guide instead.
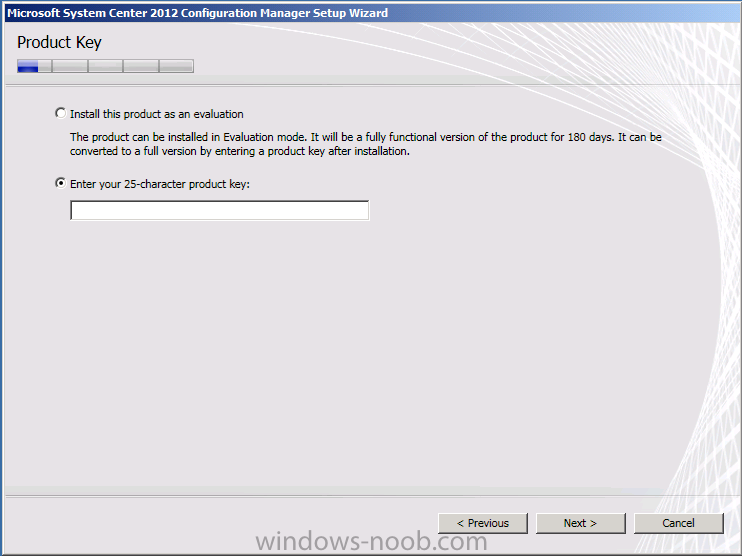
enter your Product Key or choose the evaluation option, yes you can upgrade from evaluation to full version (read this post from Ronni).
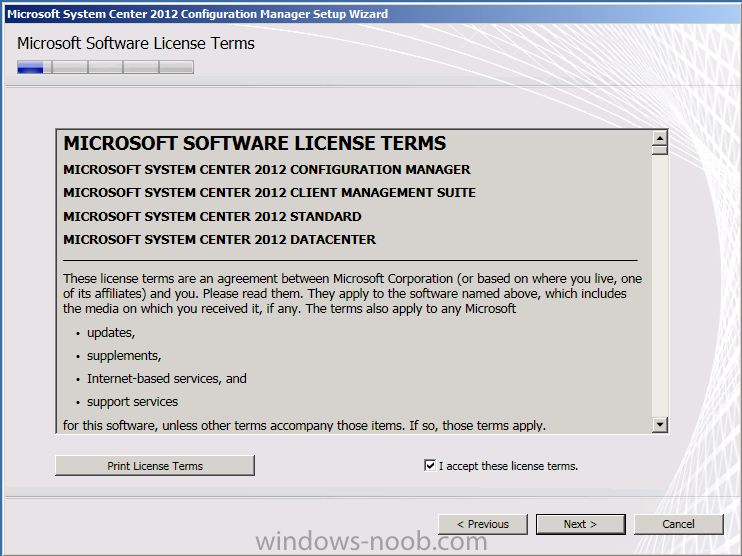
Accept the Microsoft Software License Terms
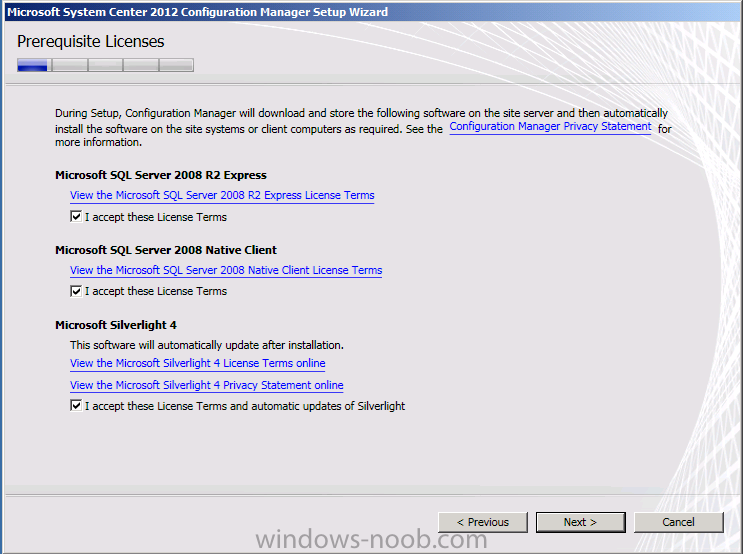
followed by the Prerequisite Licenses
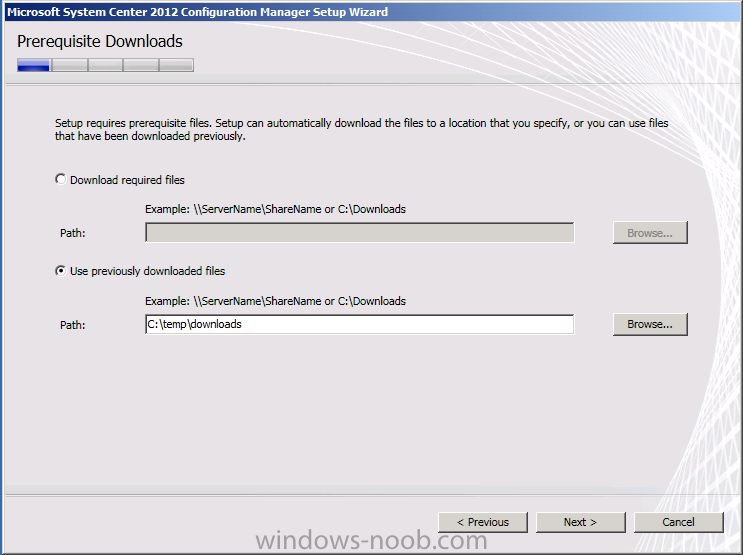
The Prerequite Downloads screen offers you the choice to use previously downloaded files, as we already downloaded them when installing our CAS I copied these files to C:\Temp\downloads
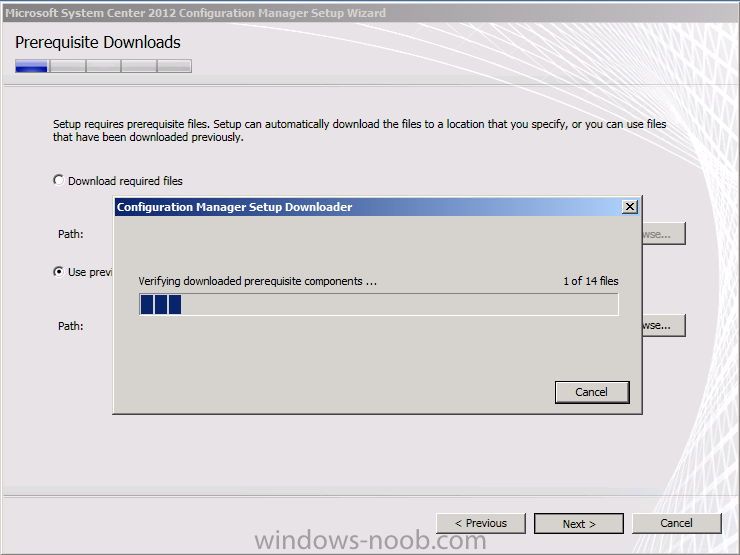
click next and they’ll be verified..
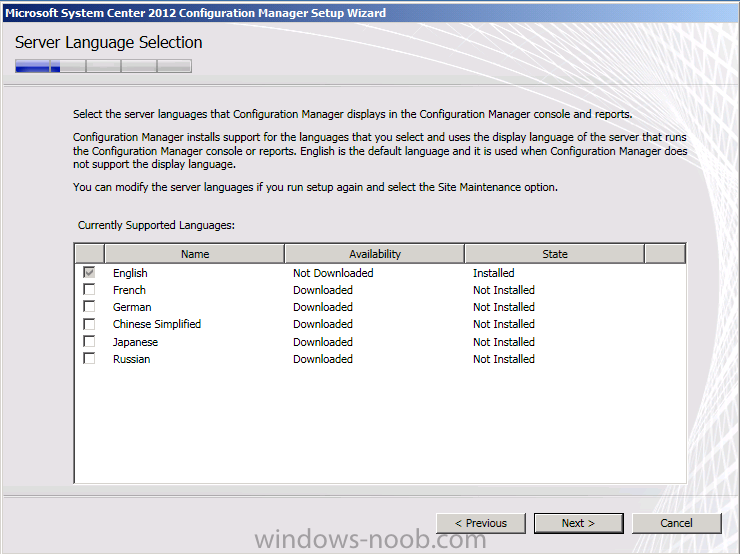
and you get to see the Server Language Selection
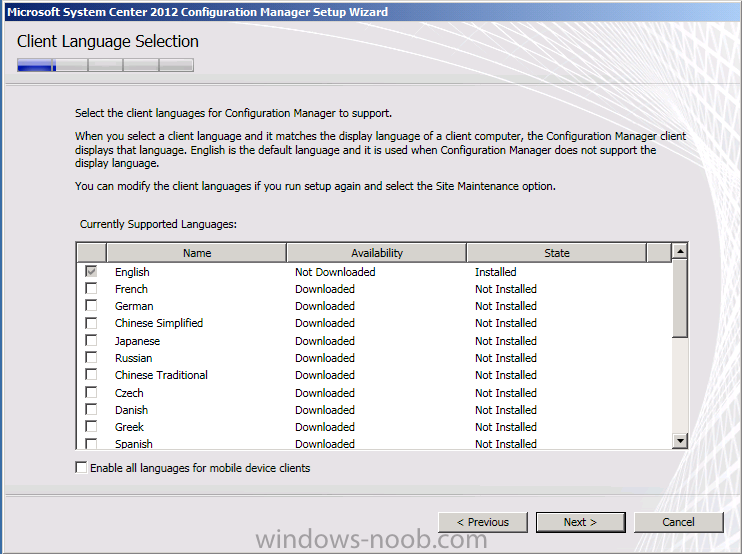
closely followed by the Client Language Selection, choose the language that you want displayed on the display language of the client computer (eg: if your client computers are in Swedish, choose Swedish). You can always modify these options later by running Setup again and choosing Site Maintenance.
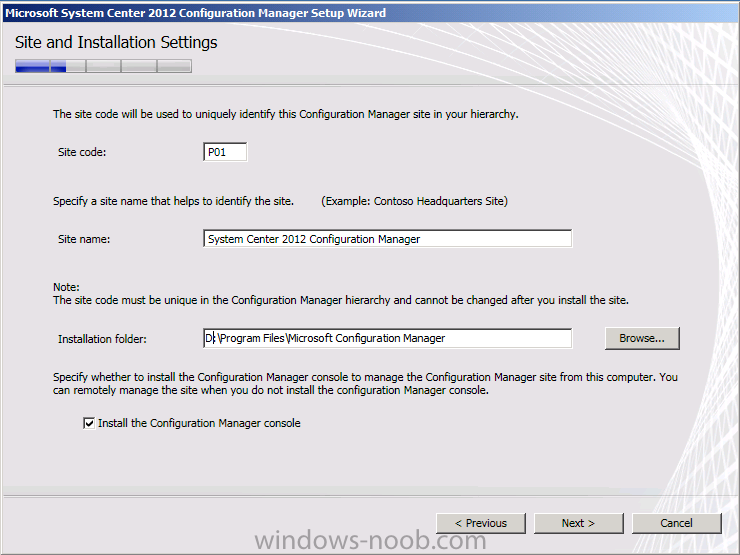
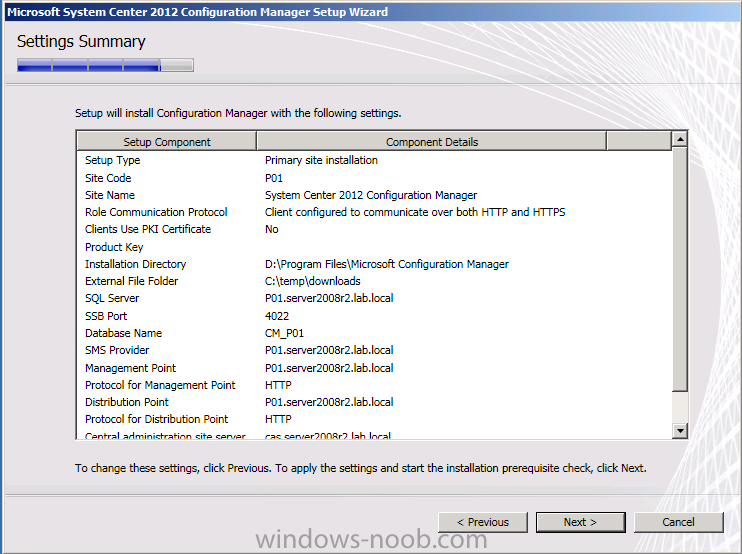
for Site and Installation Settings fill in your desired Site Code (P01) and name, and install it to D:\, make sure you are happy with the choices as you can’t change them later…
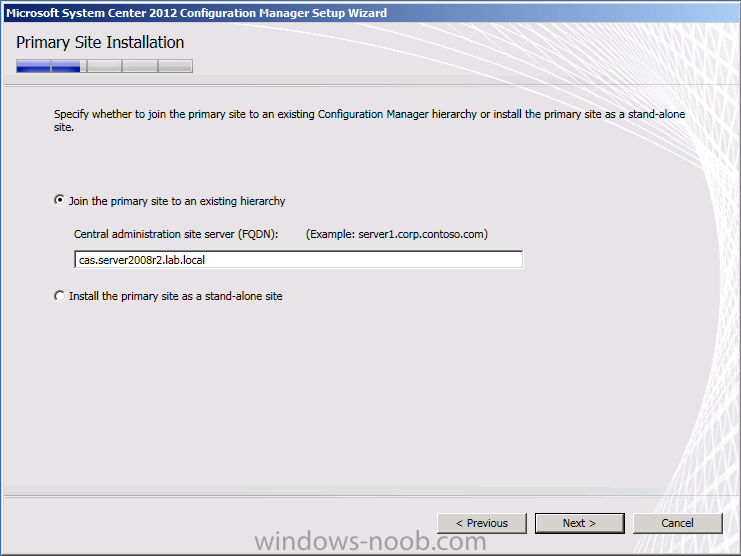
now you get to join it to our CAS in the Primary Site Installation screen, type in the FQDN of your CAS server (if you want it to be a standalone you could choose that option now…)
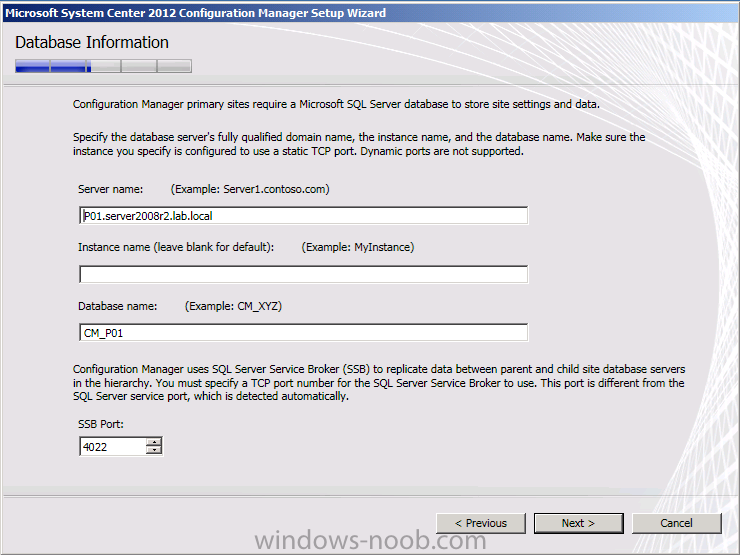
next we have the Database Information, it should auto populate
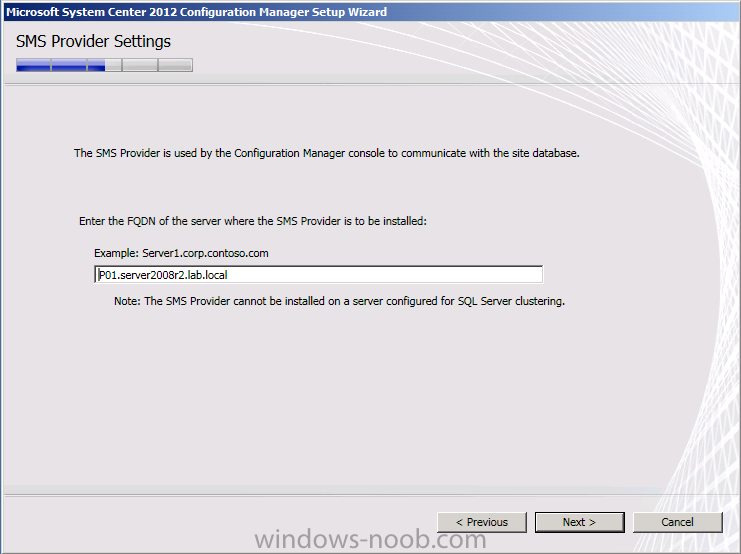
followed by the SMS Provider settings, you can have multiple SMS Providers depending on your needs but we will just be using one in this LAB
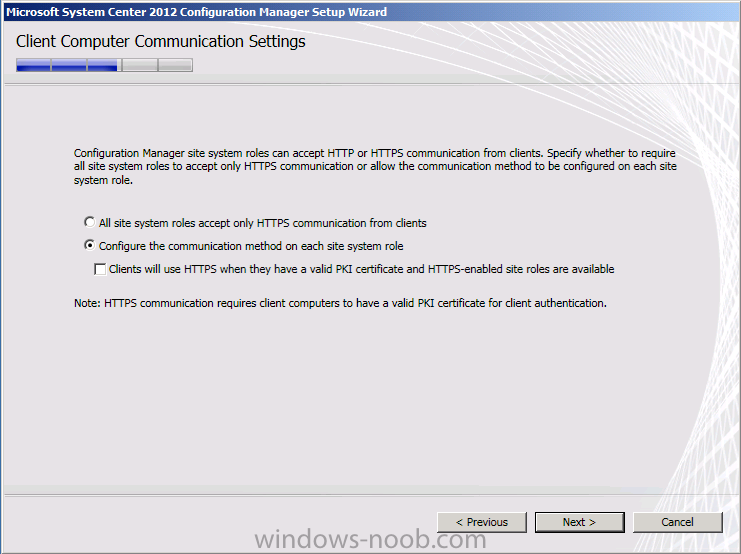
next we get to configure Client Computer Communication Settings (HTTP or HTTPS). Select Configure the communication method on each site system role.
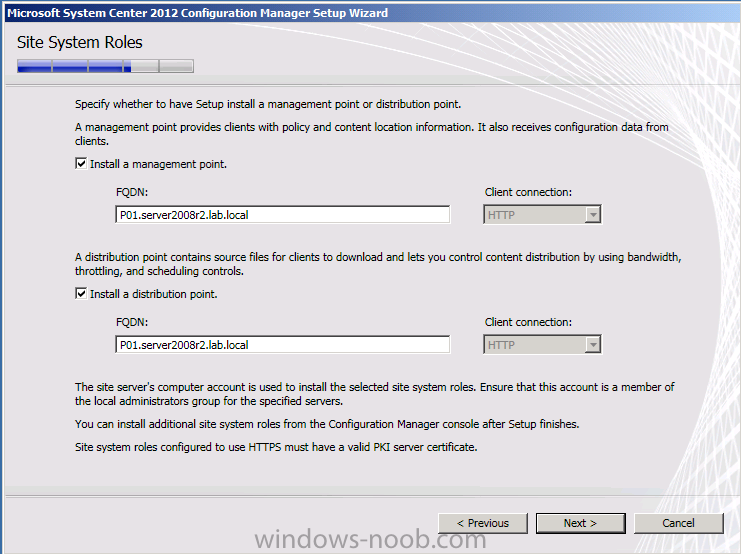
and the Site System Roles screen appears, note that the site server Computer Account must be a member of the Local Administrators Group in order to install these roles.
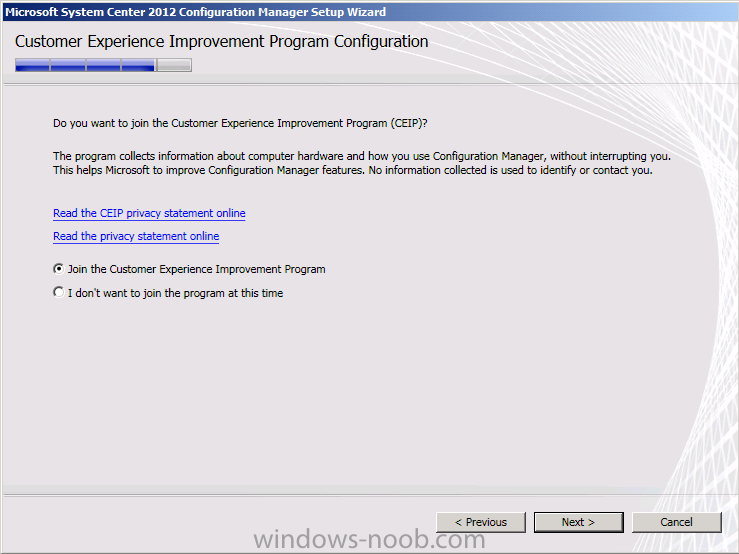
and next you get the Customer Experience Improvement Program Configuration options
review the Settings Summary
before seeing our Prerequisite Check being performed again, click Begin Install to start installing our Primary Server
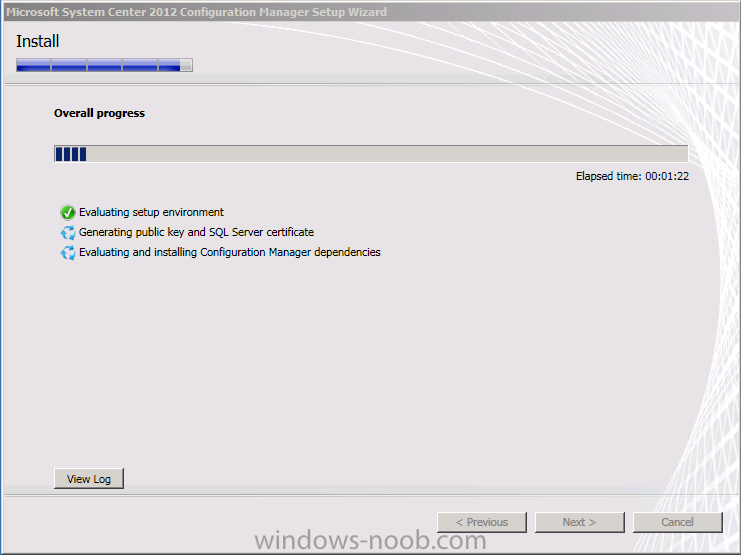
and off it goes !
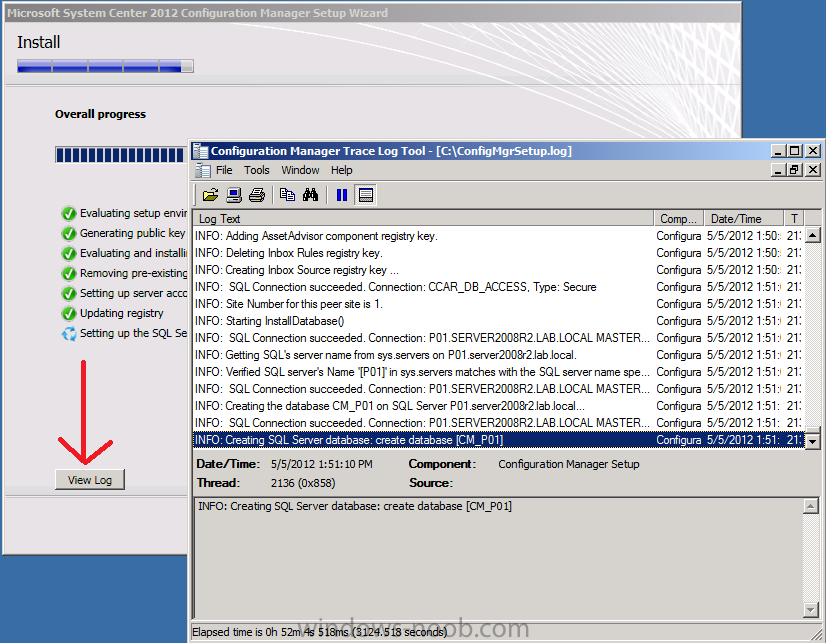
Tip: click on View Log to see the C:\ConfigMgrSetup.log file scrolling by in real time. CMTrace should be run once first to associate itself with log files. You can find CMTrace in the ConfigMgr media which you copied to C:\Temp\CM12RTM\SMSSetup\Tools\
Core setup will be done in approx 37 minutes on reasonable hardware (read: a nice laptop) but you want to wait until all the components listed are green before patting yourself on the back for a job well done and that takes considerably longer. Note that the time doesn’t progress after core setup, you can review the log for details of what was actually done.
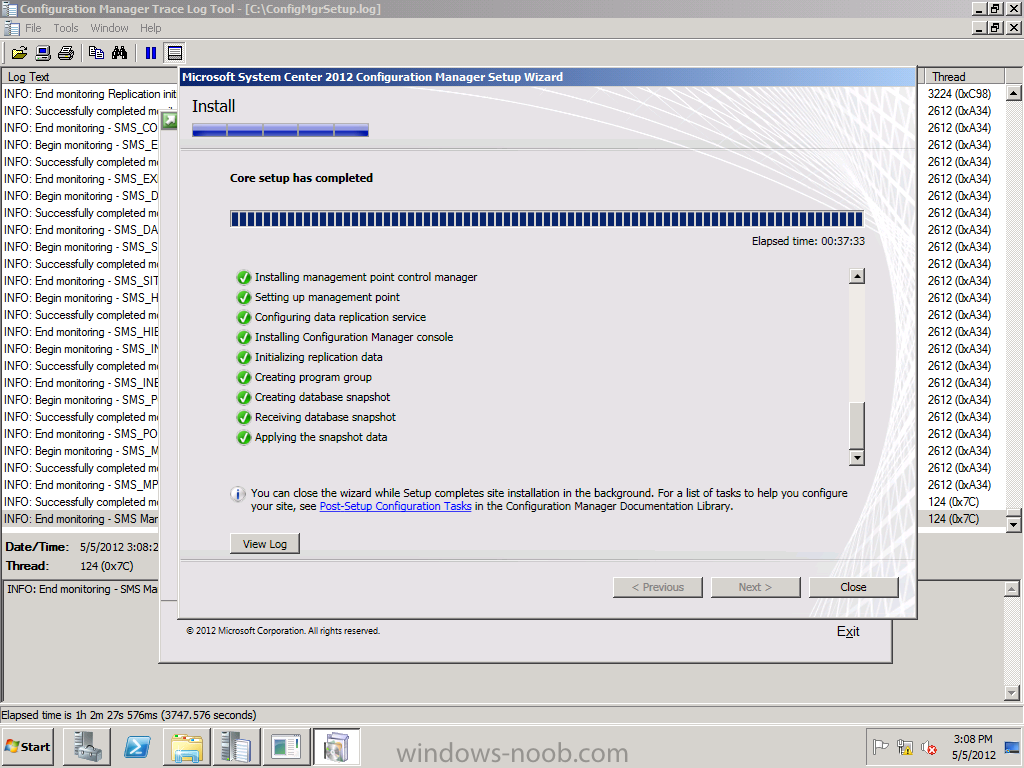
After that you can close the wizard and start the Configuration Manager console on your newly installed primary.
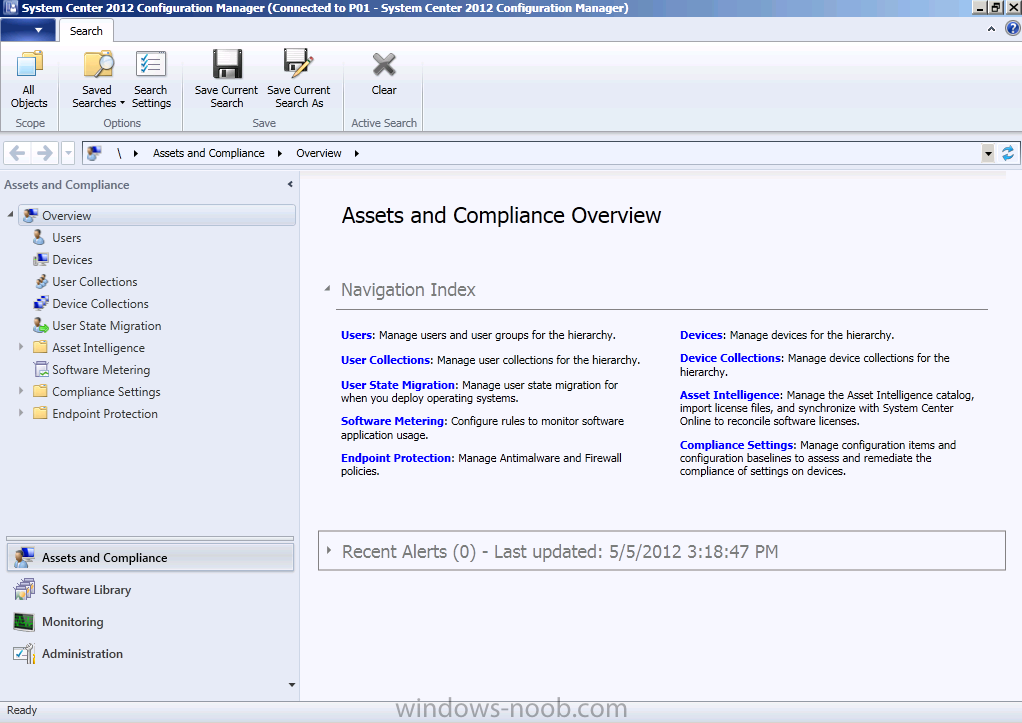
navigate to Monitoring and Site Heirarchy in the console,
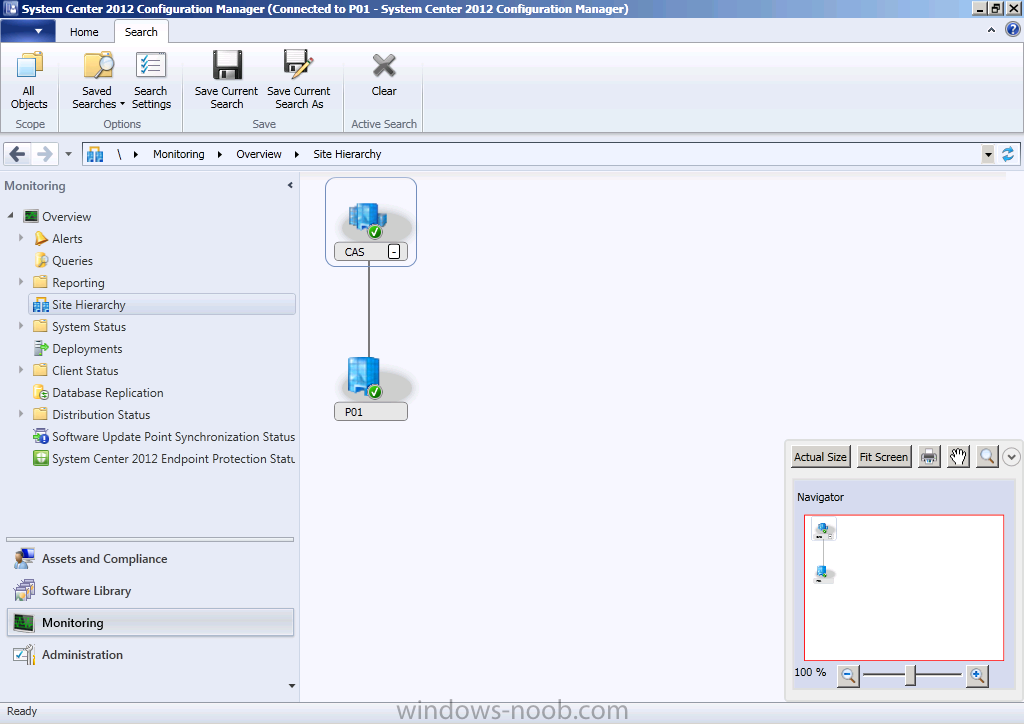
Tip: you can move your mouse cursor on the link between CAS and P01, or point it directly to either of the site servers to see how replication is going. You can also review the SMS_REPLICATION_CONFIGURATION_MONITOR component status or review the rcmctrl.log to get more details of how replication is progressing.
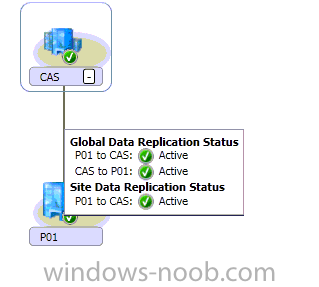
congratulations, you now have a System Center 2012 Configuration Manager 2012 hierarchy !
In the next part we configure Discovery methods and Boundaries.
The original post is here on windows-noob.com
