
Introduction
I use Hyper-V in my home and work labs to test a wide variety of things including PKI, SCCM, Intune mangement, Windows Autopilot, Windows 365 Cloud PC and more. My current home lab is in need of a backup solution that I can rely on, because I normally backup manually to an external USB hard disc, and that takes time, and I have to remember to do it. I felt it was time to take a look at VM Backup 9 from Hornetsecurity. I wanted to put it through its paces to see what’s changed when I last reviewed the product back in 2018.
So, what’s new and improved since version 8? The most important new feature is immutability.
Ransomware Protection leveraging Immutable Cloud Storage. VM Backup (formerly Altaro VM Backup) leverages immutable cloud storage assuring data cannot be erased, modified, or deleted by anyone for a set duration.
And if you don’t know what immutable is, don’t feel too bad, neither did I until I looked it up. Long story short, this is applicable to Ransomware attacks as it keeps your offsite (cloud) backup in an untouched/unchanged state, meaning you have something to restore from in case everything on-premises is encrypted by the Ransomware.
This one feature alone is a very very good reason to upgrade (or purchase) this version of VM Backup. Don’t believe me? Take a look at this recent case of a company in the Nordics called CloudNordics, which had all their data (and customers data) encrypted for extortion. If they had used VM Backup 9 and used the offsite immutable features, they’d have saved themselves a lot of time and money and better yet, they would have lived up to their self-proclaimed “Nordic Cloud Experts” title.
Below are the different parts in the blog post
- Introduction
- Download the free trial
- Installing the software
- Configuring VM Backup 9
- Selecting backup location
- Select VM’s to backup
- Using Live Chat
- Taking an on-demand backup
- Taking a scheduled backup
- retention policy
- Restoring a backup
- Configuring immutable backups
- Prepare the Storage Account
- Configure Offsite Location
- Reports
- Exporting report data
- Should you buy it ?
- Recommended reading
- Conclusion
Download the free trial
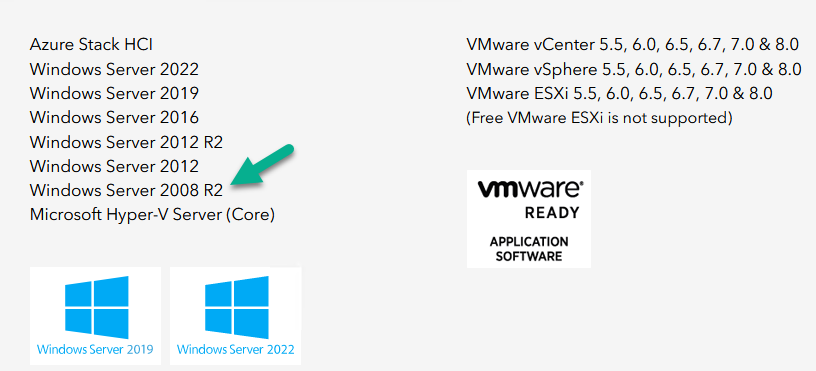
Signing up for a trial was easy to do, just browse to here and click on the Download your free trial button, within minutes I received clear instructions for getting started, could it really be so easy. I chose the full featured 30-day trial of VM Backup – Unlimited Plus Edition and my goal was to install it and use it for backing up one or more of my virtual machines in my Windows Server 2022 Hyper-V host machine. Interestingly the software still supports Windows Server operating systems back to Windows Server 2008R2, but I really hope no one is still using those unsupported Server operating systems anymore, and for the VMWare fans there is support for those platforms too (except for free VMWARE ESXi).
After downloading I got emails informing me how to get started.
- Step 1: Install and activate your trial right away. Download the installer again here if needed.
- Step 2: After installing, select your hosts and VMs to be backed up.
- Step 3: Select Backup destination and start your first backup job. Done. Easy!
So, let’s see is it really that easy.
Installing the software
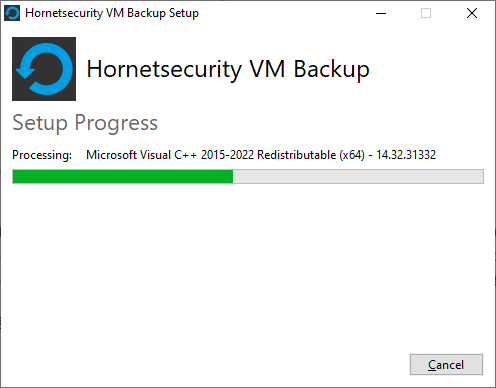
I located the download and double clicked, after accepting the license terms off it went.
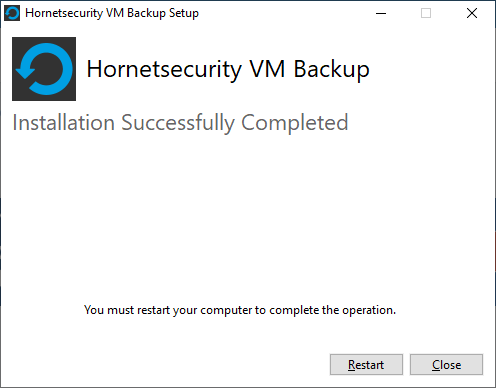
One thing to note, after installing the software you need to restart your Hyper-V or VMWare ESXi or VMWare vCenter host.
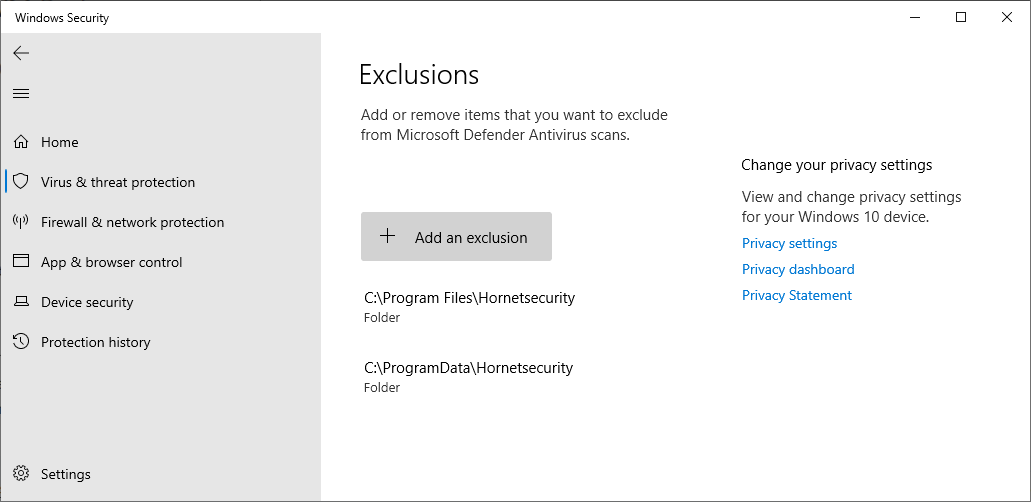
When the host restarted I took a look at the copious online help, including preparation documents which listed things like what ports to use for Offsite Backup Server and Antivirus Exclusions. I added the exclusions to my Hyper-V host Antivirus solution (built in Windows Security)
Configuring VM Backup 9
Next, I launched the VM Backup, and by default it’s pretty plain until you’ve configured the software.

The first thing it wanted me to do was to enter credentials to connect to a VM Backup instance. After doing that and clicking the green Connect button, I was presented with a more feature rich dashboard, and it reminded me that my trial would expire in 30 days.
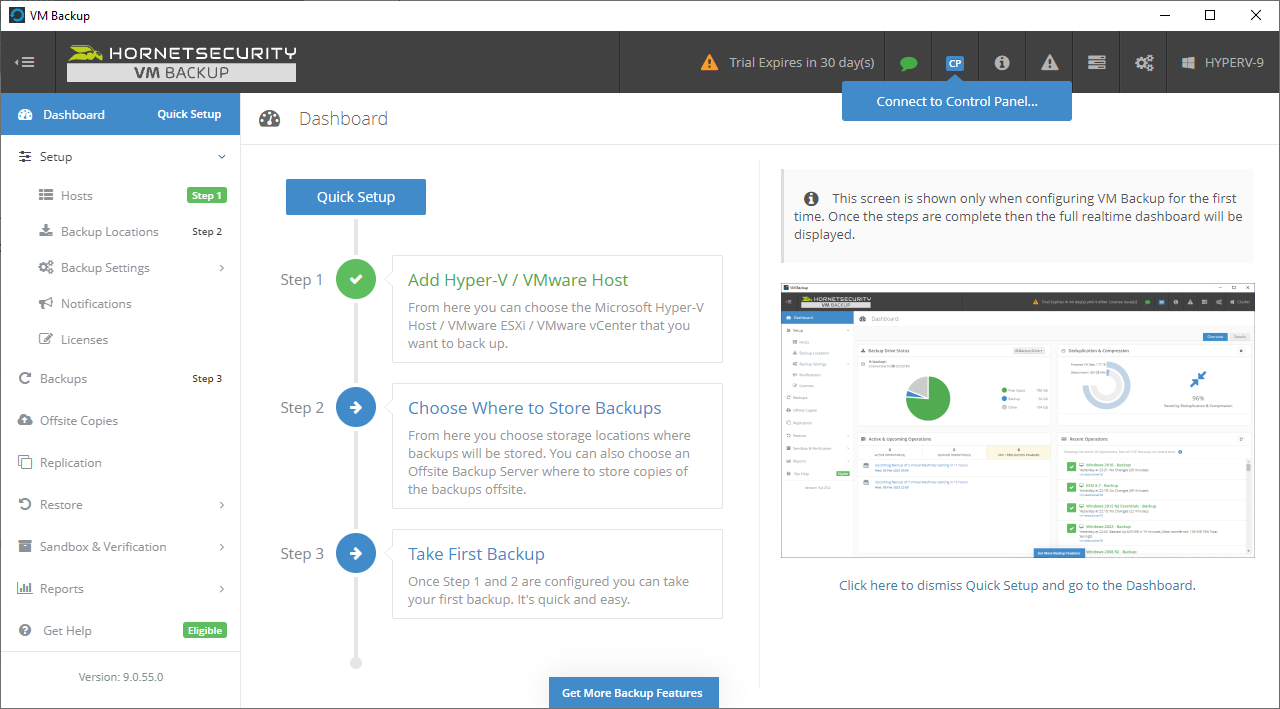
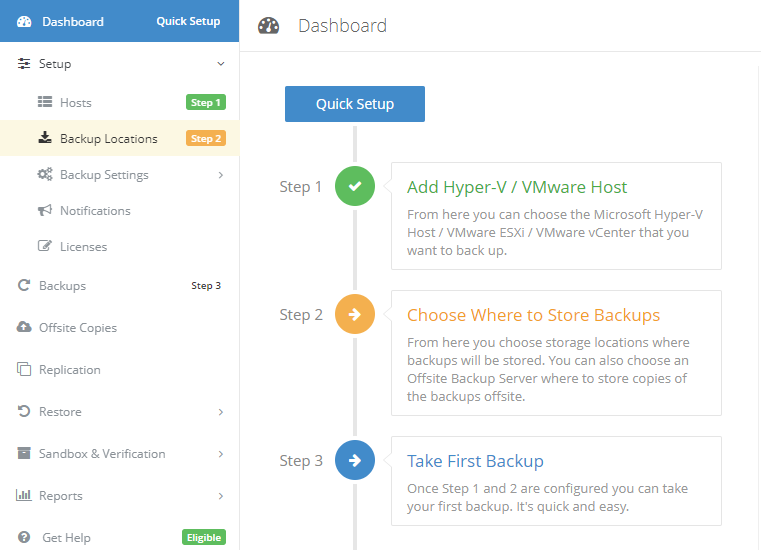
Remember those initial 3 steps in the welcome email? well if you look closely in the left (and more obviously in the middle) node of the dashboard they are highlighted. I’ve already configured step 1, so let’s choose where to store the backups (step 2). These quick steps are designed to get you up and running quickly but if you want more advanced features click on the Get More Backup Features button in the bottom of the dashboard.
I like the colour scheme in the dashboard as it’s clear what is completed (in green), what is not yet completed (in blue) and what is currently highlighted (in orange). Whoever programmed this user interface was thinking about making everything as clear as possible, well done.
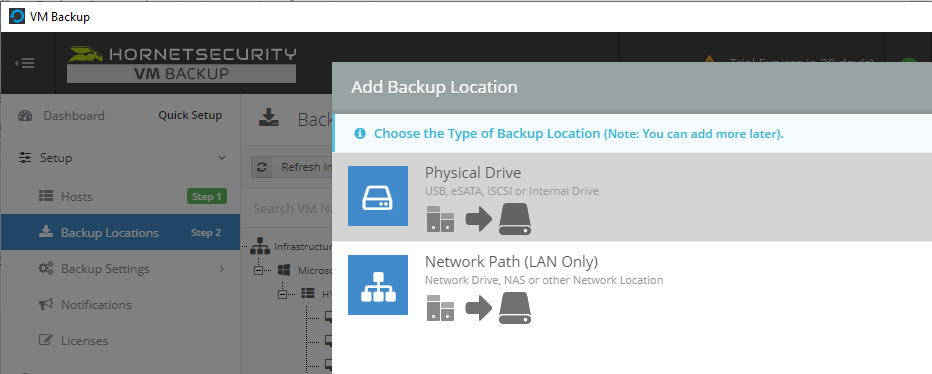
Next, I chose step 2 and for my first test backup, I would backup to an external USB NVMe drive, so I selected Physical Drive from the choices available (you can add more later).
scrolling down and clicking Next, I chose the external USB based NVMe drive, created a folder and was done.
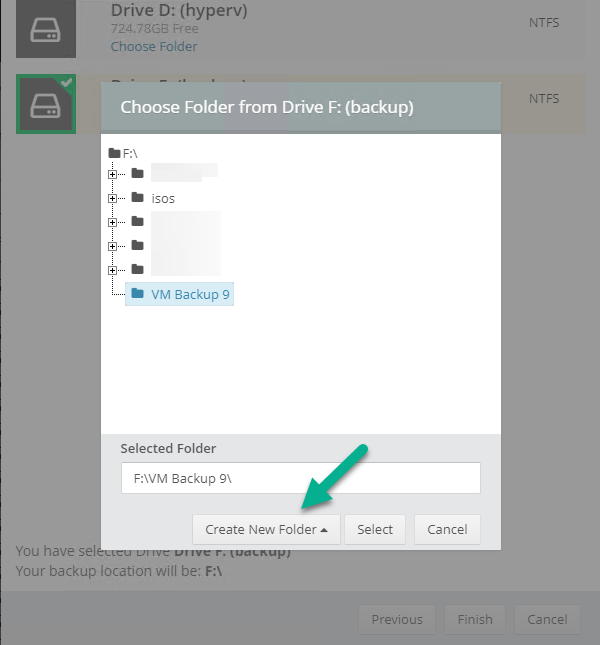
My new backup location was now confirmed by clicking on Finish.

Next, in addition to adding my VM’s by dragging and dropping them to the backup location, I could see that the user interface was giving me good advice about being able to store backups at up to two more offsite locations for disaster recovery purposes and those backup locations support a variety of WAN/Internet based solutions such as:
- Microsoft Azure storage accounts
- Amazon S3
- Wasabi cloud storage
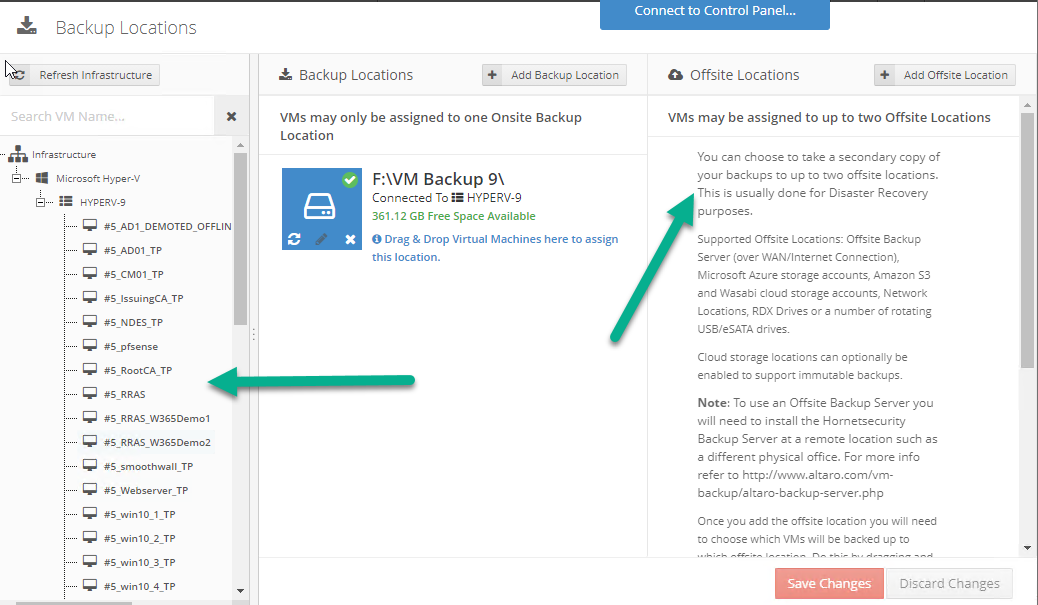
We’ll cover offsite backups further down in this blog.
I selected a few virtual machines for my first test and clicked Save Changes. But initially the VM’s I selected and dragged to the white space location under my backup location didn’t do anything.
To read the rest of this long post click here.
