
Introduction
At the start of this series of step by step guides you installed System Center Configuration Manager (Current Branch), then you configured discovery methods. Next you configured boundaries to get an understanding of how automatic site assignment and content location works. After that you learned how to update ConfigMgr with new features and fixes using a new ability called Updates and Servicing and you learned how to configure ConfigMgr to use Updates and Servicing in one of these two modes:
To prepare your environment for Windows 10 servicing (this guide) you learned how to setup Software Updates using an automated method (via a PowerShell script) or manually using the ConfigMgr console. Next you used a PowerShell script to prepare some device collections, then you configured client settings for your enterprise and finally you’ll deployed the ConfigMgr client agent using the software updates method which is the least intensive method of deploying the Configuration Manager client agent.
As System Center Configuration Manager (current branch) is being delivered as a service now, version 1602 was made available (March 11th, 2016) and you used Updates and Servicing to do an in-place upgrade to that version as explained here. Next you learned about how to use the Upgrade task sequence to upgrade your Windows 7, Windows 8 (and 8.1) and even your Windows 10 devices to a later build of Windows 10.
You then learned about the new Windows 10 servicing features which use Servicing Plans in ConfigMgr (Current Branch). Next you integrated MDT 2013 update 2. MDT integration with ConfigMgr is useful as it provides additional functionality for operating system deployment scenarios such as Offline Language Package installation or User Driven Integration (UDI).
Next you learned how to deploy Language Packs offline for Windows 10. To assist with Windows 10 servicing and for applying appropriate software updates to your Windows 10 devices, you used PowerShell to add queries to the various Windows 10 collections.
In this post you’ll take a deeper look at the Windows 10 Upgrade task sequence, and see one way of dealing with potential upgrade issues. The idea here is to keep track of any upgrade failures, capture the logs that matter, capture the computer name and hardware type. If you see repeated ‘common’ failures you can add those error codes to the Windows Setup compatibility scan PowerShell script. This way your users that do experience failures will not get cryptic error messages, and you’ll have the logs to fix things.
Step 1. Create a share to store failed upgrade log files
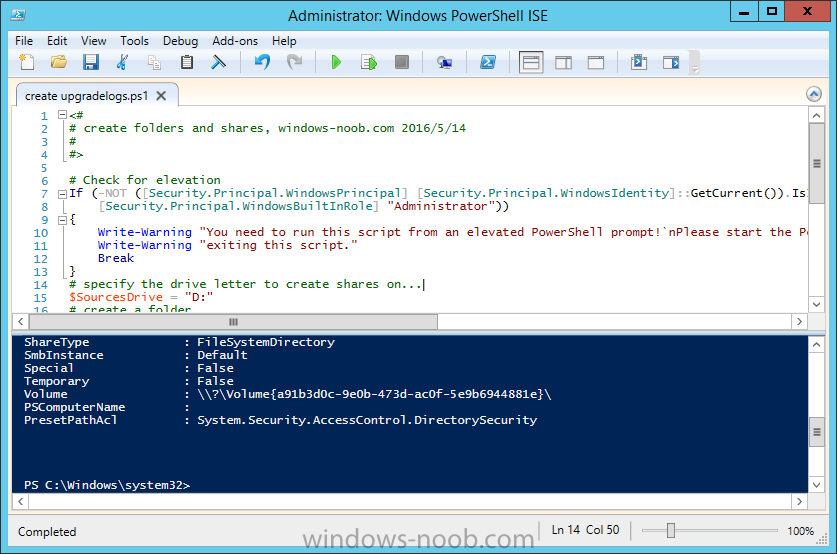
As you’ll want to keep track of potential problems, create a hidden share to store log files. On your configuration manager server, start Windows PowerShell ISE as Administrator, and run the create upgradelogs.ps1 PowerShell script available in the downloads section at the end of this guide.
Step 2. Create a package
On your ConfigMgr server, in the sources share, create a folder called Windows setup compatibility scan results and place the WindowsSetupCompatibilityScanResults.ps1 PowerShell script in the folder. Locate, select and copy both windowhide.exe and ServiceUI.exe from the Sources\OSD\MDT\MDT2013u2\Toolkit\Tools\x64 folder as shown below.

paste those files into the Windows setup compatibility scan results folder.

In the ConfigMgr console, Software Library, select Packages and right click, choose Create Package. Fill in the following details.
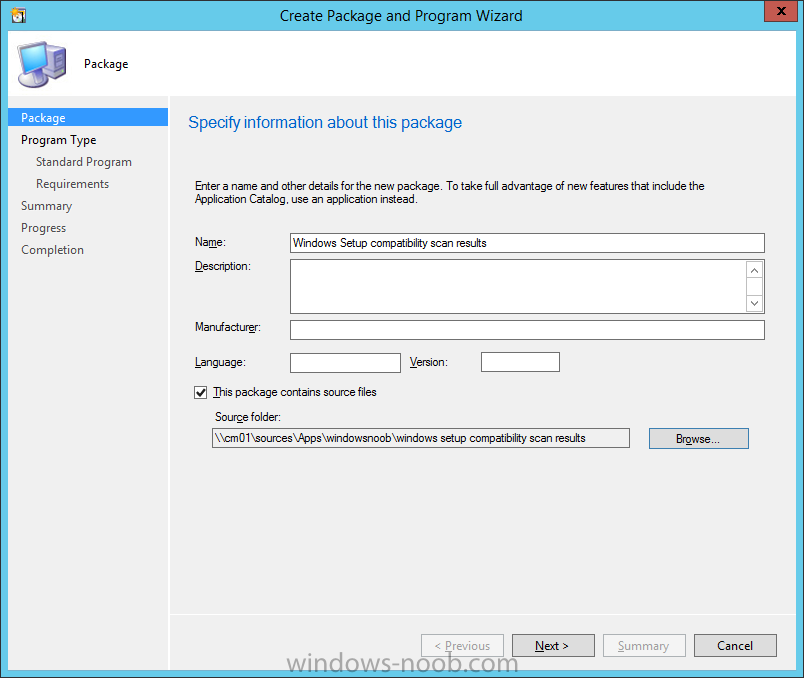
Choose Do not create a program and then continue through the wizard until completion.

Step 3. Distribute the package
Right click the package and choose Distribute Content. Distribute the package to your distribution points.
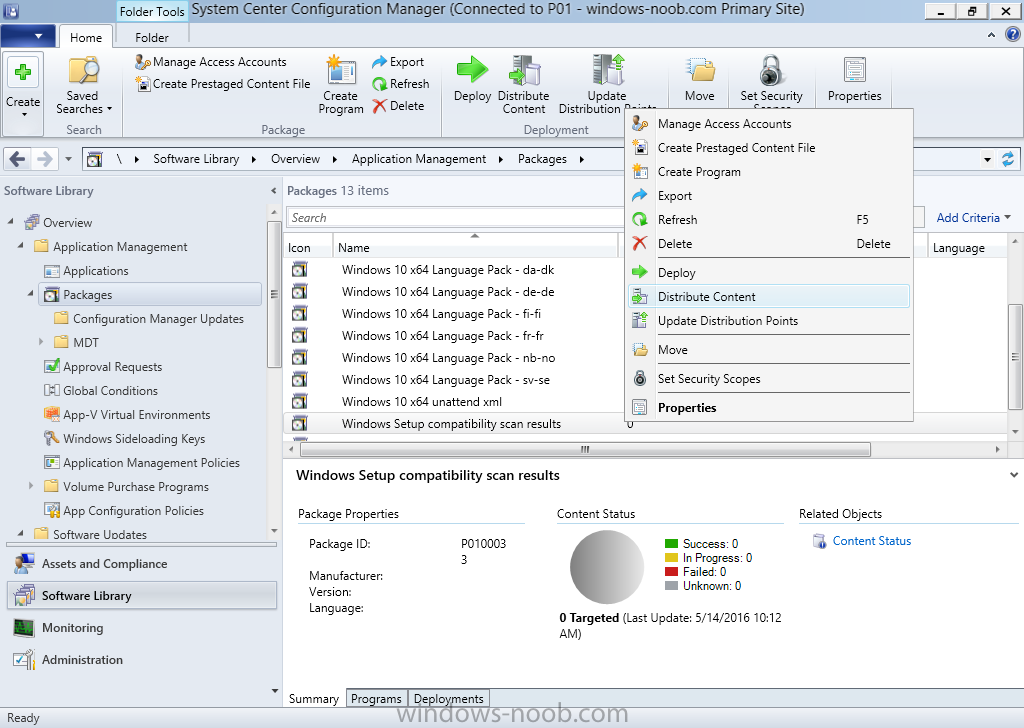
continue through that wizard until completion.
Step 4. Edit the existing upgrade task sequence
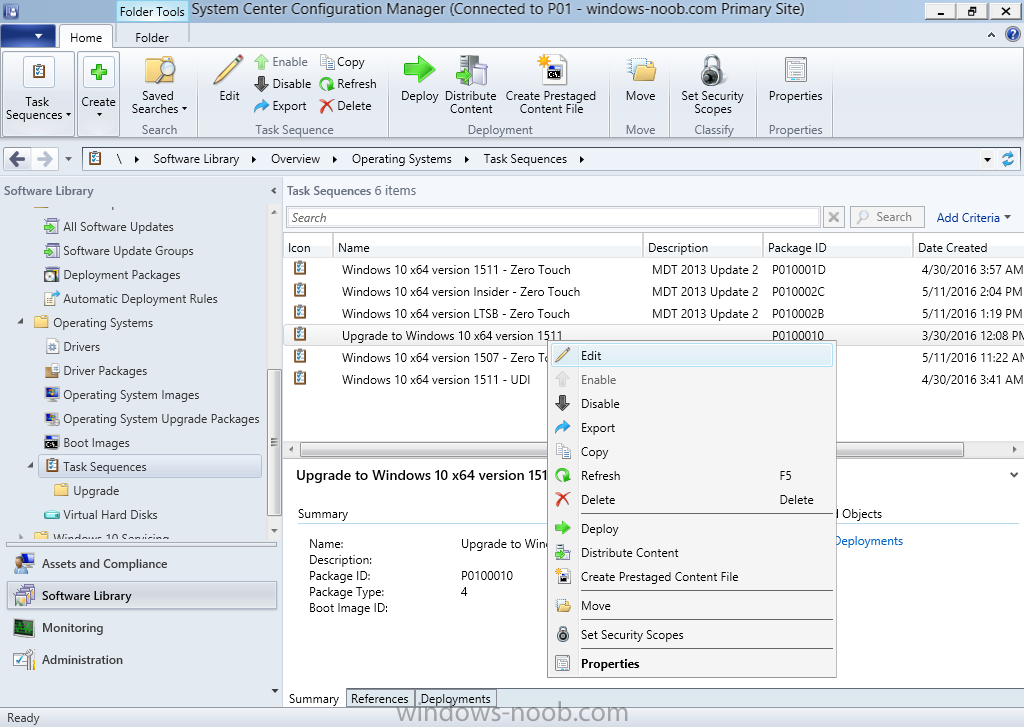
In a previous guide you created the Upgrade task sequence, now it’s time to add additional functionality to that task sequence. In the ConfigMgr console, locate the Upgrade to Windows 10 x64 version 1511 task sequence, right click on it and choose Edit.
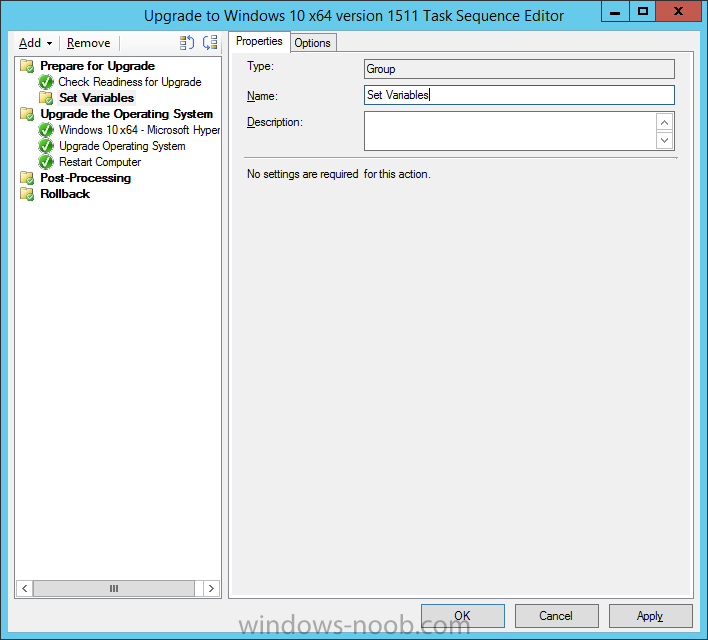
In the Prepare for Upgrade group select the Check Readiness for Upgrade step and click on Add then select New Group, name the new group Set Variables.
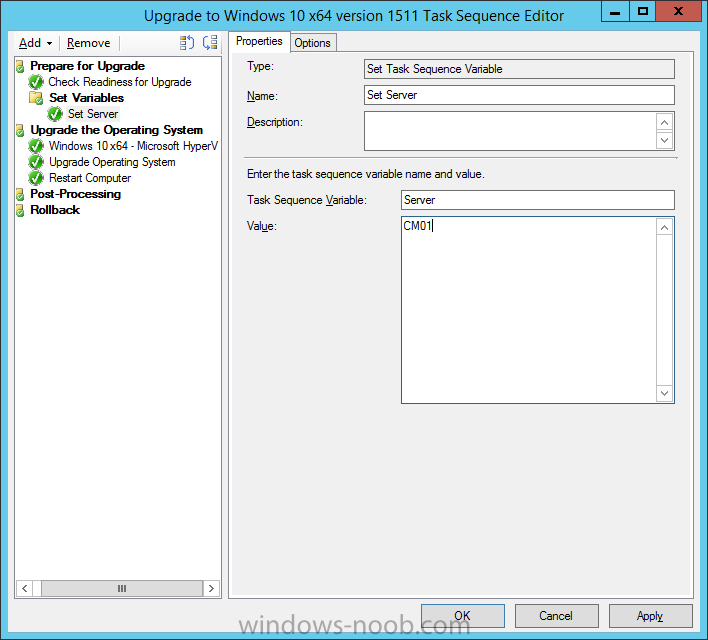
Create a new Set Task Sequence Variable step called Set Server as follows:
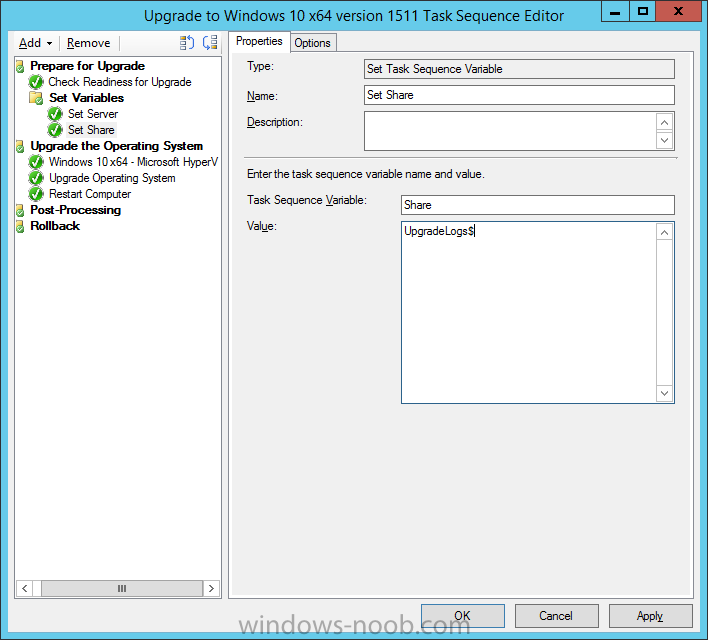
Create a new Set Task Sequence Variable step called Set Share to UpgradeLogs$ as follows:
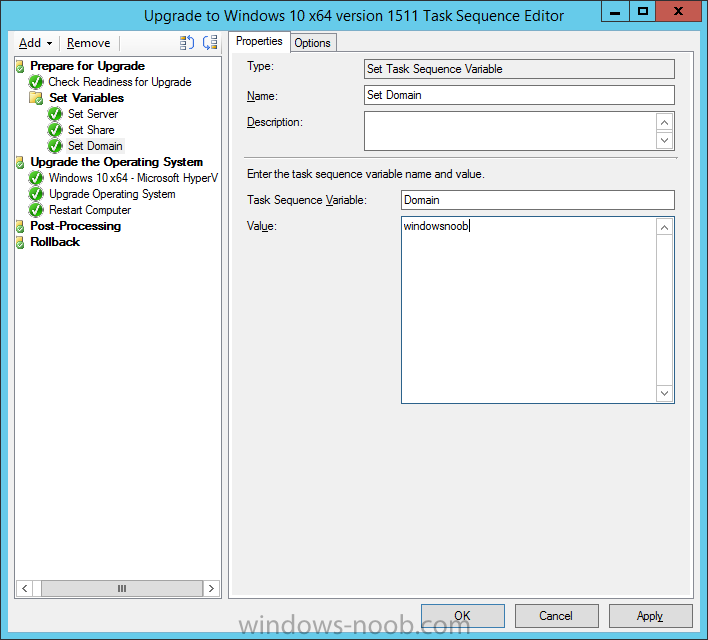
Create a new Set Task Sequence Variable step called Set Domain (fill in your domain name) as follows:
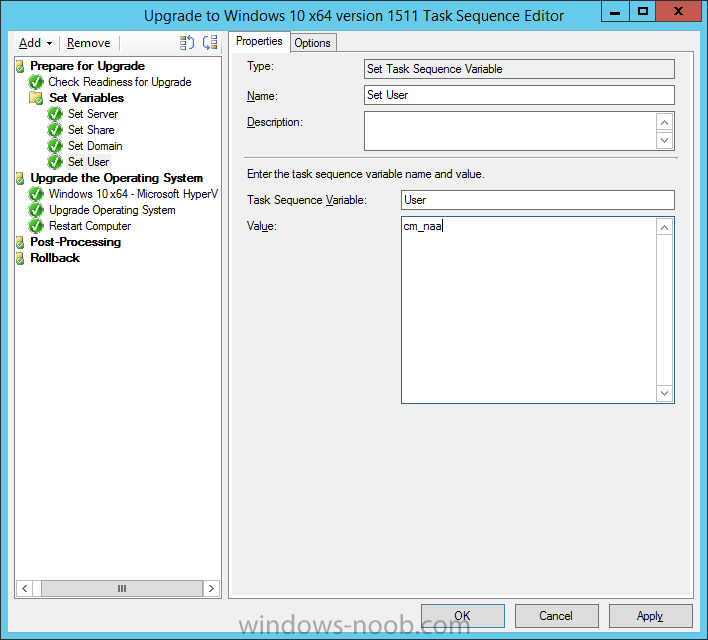
Create a new Set Task Sequence Variable step called Set User and enter a username that will be used to connect to the share as follows:
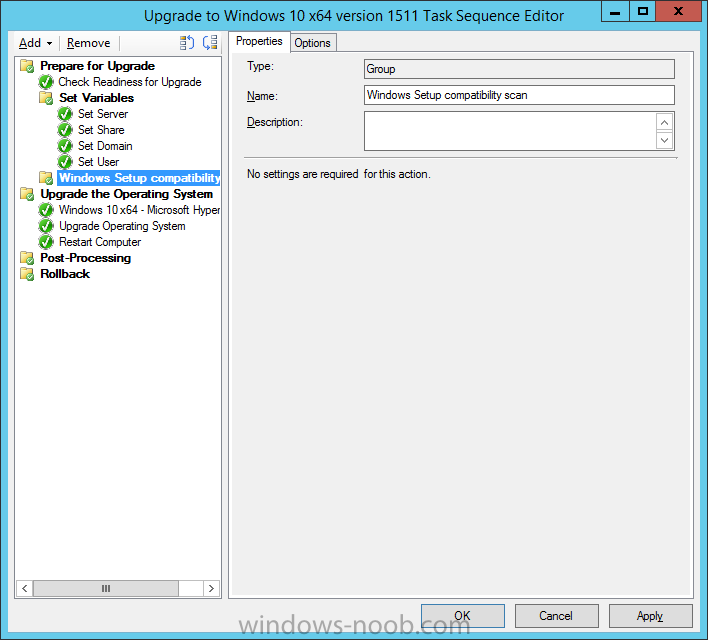
Next create another New Group and call it Windows Setup compatibility scan
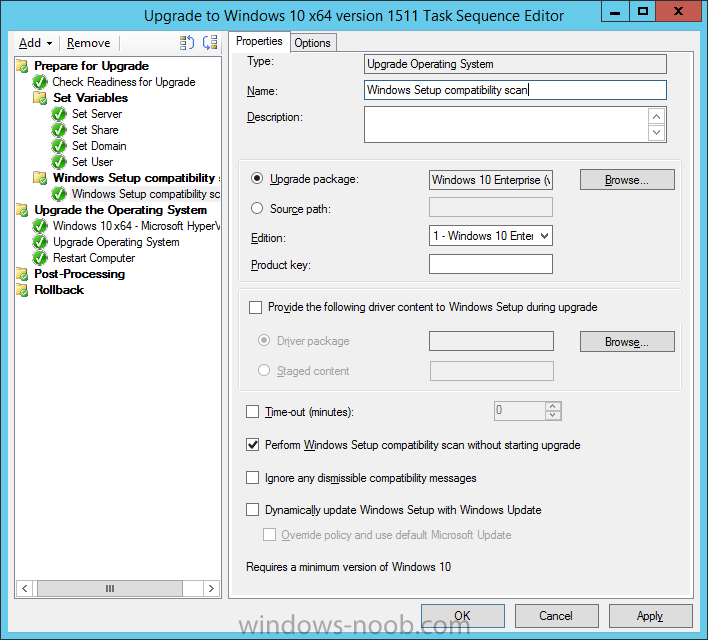
Next click on Add, choose Images, then Upgrade Operating System and name the step Windows Setup compatibility scan. Select the Perform Windows Setup compatibility scan without starting upgrade option.
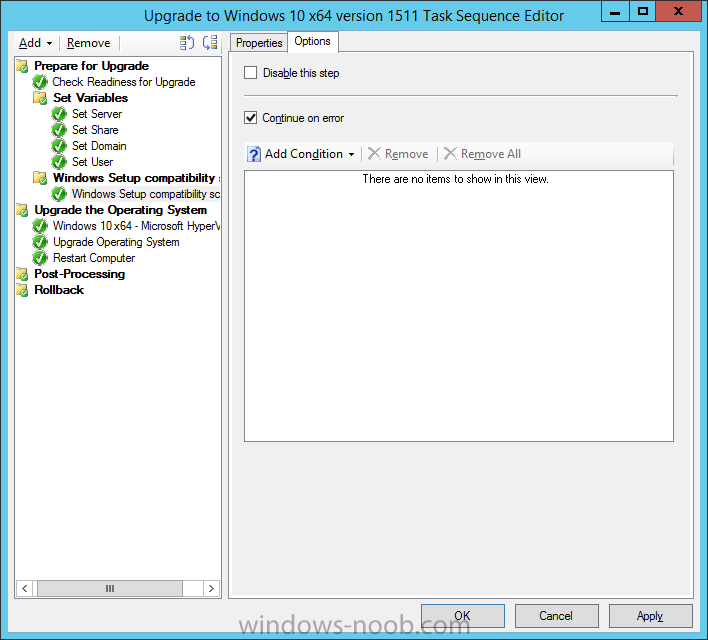
On the Options tab, select the Continue on Error option.
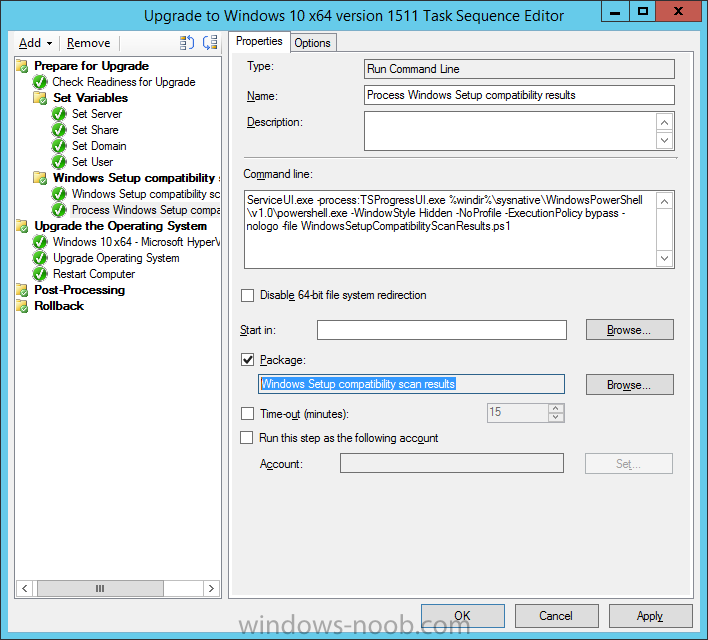
Click Add and choose Run Command Line, name the step Process Windows Setup compatibility results and paste in the following:
ServiceUI.exe -process:TSProgressUI.exe %windir%\sysnative\WindowsPowerShell\v1.0\powershell.exe -WindowStyle Hidden -NoProfile -ExecutionPolicy bypass -nologo -file WindowsSetupCompatibilityScanResults.ps1
For Package, select the Windows Setup compatibility scan results package created above.
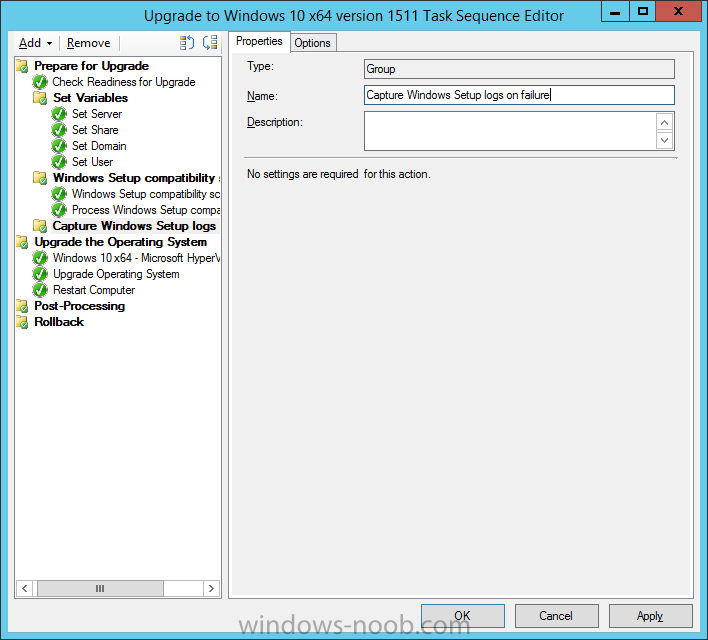
Create a New Group called Capture Windows Setup logs on failure
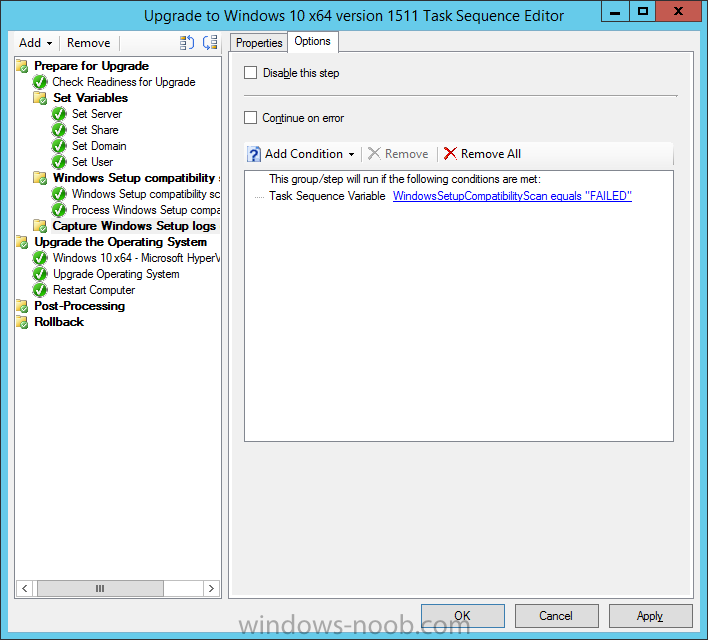
On the Options tab, check if the following Variable WindowsSetupCompatibilityScan = Failed as shown below
Next create a Connect To Network Folder step and populate it as below
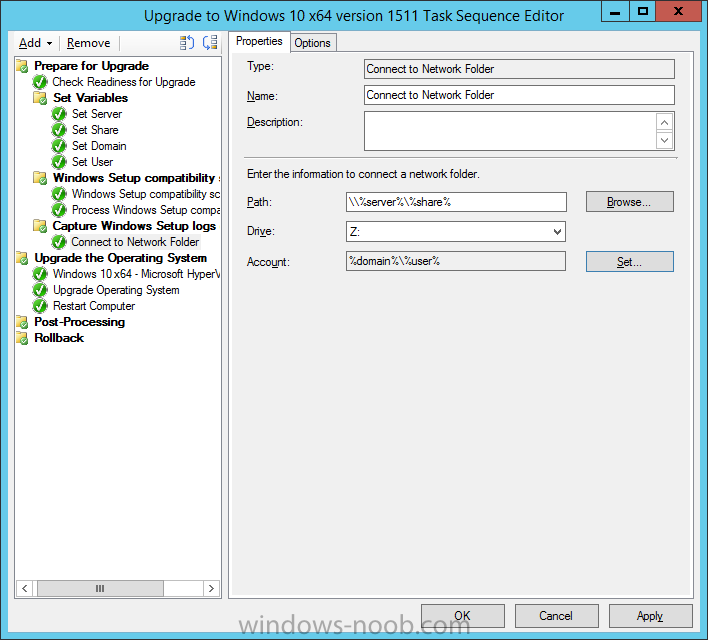
when prompted for Windows User Account enter the Password for the account you added in the Set User step

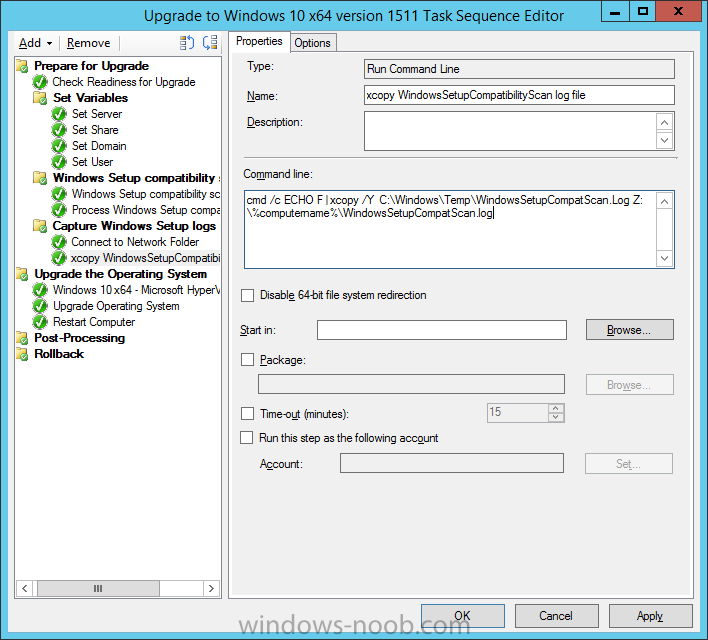
Create a new Run Command Line step called xcopy WindowsSetupCompatibilityScan log file and paste in the following:
cmd /c ECHO F | xcopy /Y C:\Windows\Temp\WindowsSetupCompatScan.Log Z:\%computername%\WindowsSetupCompatScan.log
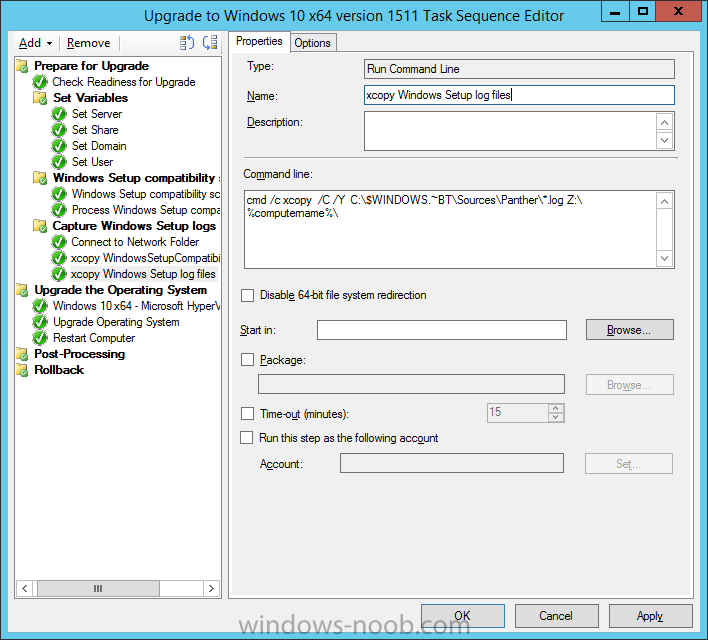
Create a new Run Command Line step called xcopy Windows Setup log files and paste in the following:
cmd /c xcopy /C /Y C:\$WINDOWS.~BT\Sources\Panther\*.log Z:\%computername%\
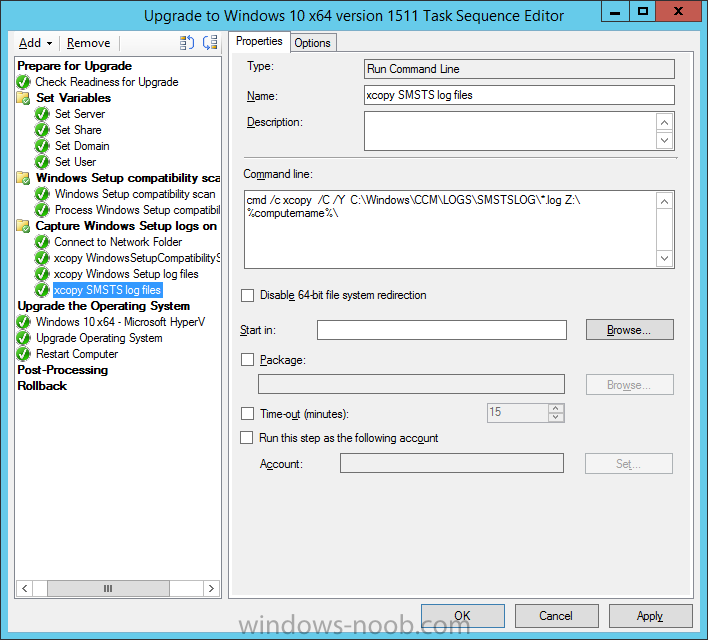
Create a new Run Command Line step called xcopy SMSTS log files and paste in the following:
cmd /c xcopy /C /Y C:\Windows\CCM\LOGS\SMSTSLOG\*.log Z:\%computername%\
Create a new Run Command Line step called del network connection and paste in the following:
cmd.exe /c "net use * /del /yes"

On the Upgrade Operating System group, click on the Options tab and set the variable WindowsSetupCompatibilityScan = OK

Apply the changes and close the Task Sequence editor.
Step 5. Review the new functionality
Tip: To induce a failure you can temporarily disable the Check Readiness for Upgrade step and use a Virtual Machine with only 1.5GB of RAM. This does not meet the requirements as stated here and will cause the Windows Setup compatibility scan step to report a failure.
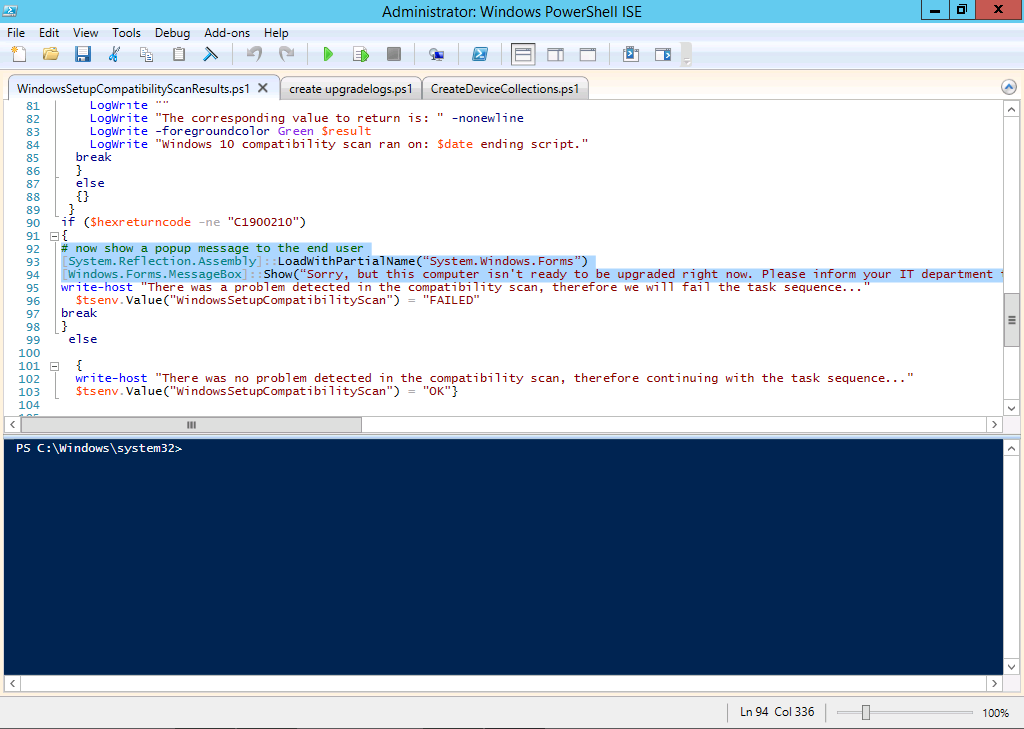
Once an Upgrade failure takes place you’ll see something similar to the following, note that you can always rem out this message so no popup occurs for the end-user if you’d prefer, the relevant section is highlighted in the PowerShell script below this screenshot
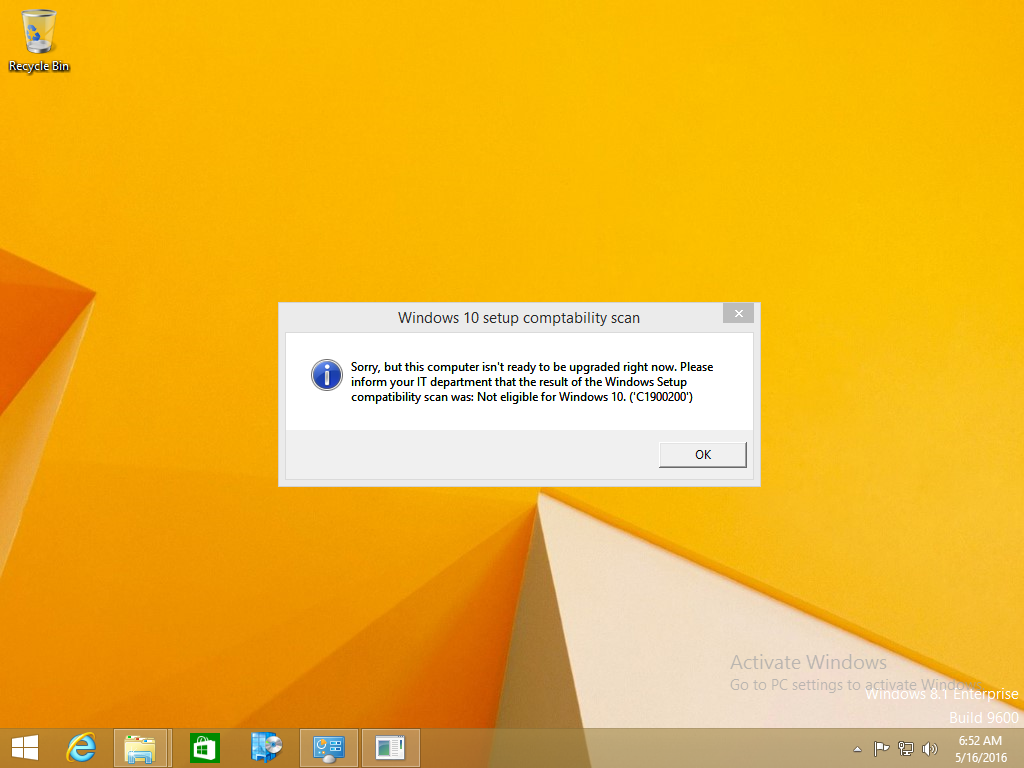
here’s the section of the PowerShell script which you can edit to hide the popup
after clicking OK the task sequence will jump to the end without any further communication to the end user. At this point (or whenever it’s convenient) check the UpgradeLogs$ share for new content. For every failure that occurs, a folder matching the Computer Name will be created.
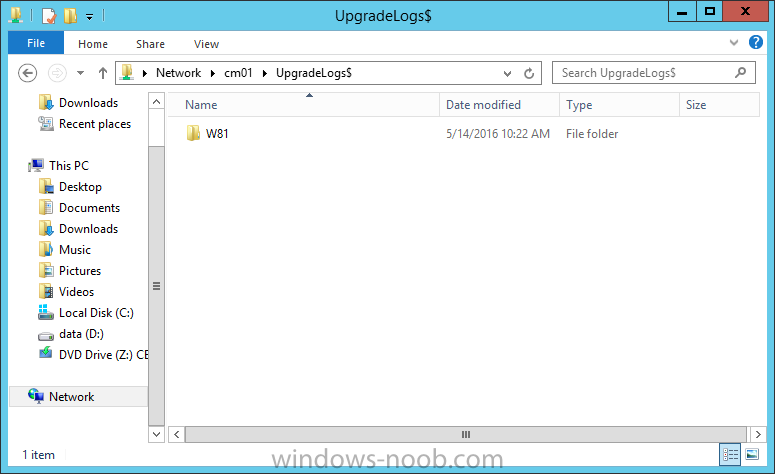
In that folder you’ll find 4 log files:

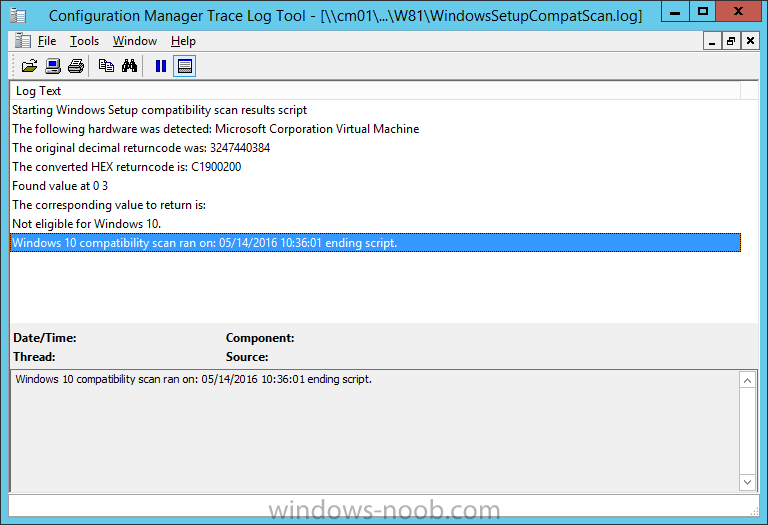
The WindowsSetupCompatScan.log file is generated by the Windows Setup compatibility scan results script and sample content is below. Note that it contains information about what the error was (including friendly text about the error) and the date/time and hardware that it occurred on.
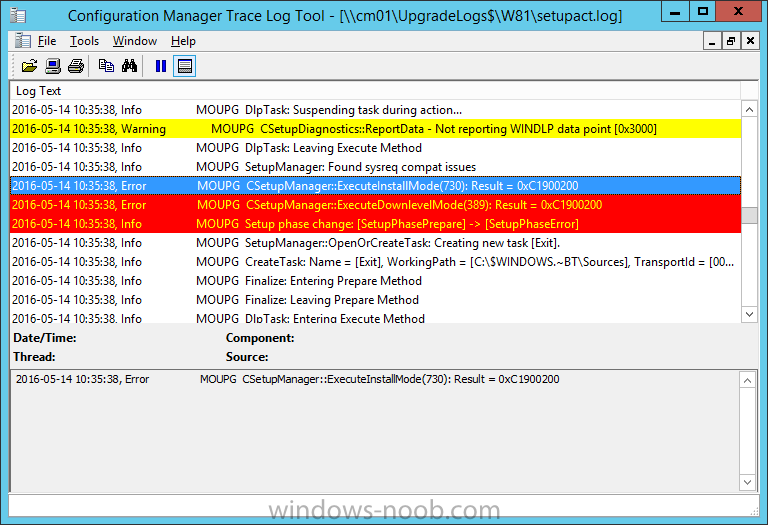
In addition to that log file you have the smsts.log file from C:\Windows\CCM\Logs\SMSTSLOG folder and two relevant Windows setup log files called setupact.log and setuperr.log from the C:\$WINDOWS.~BT\Sources\Panther\ folder.
The failure highlighted in setupact.log is shown below (clear as mud right ?)
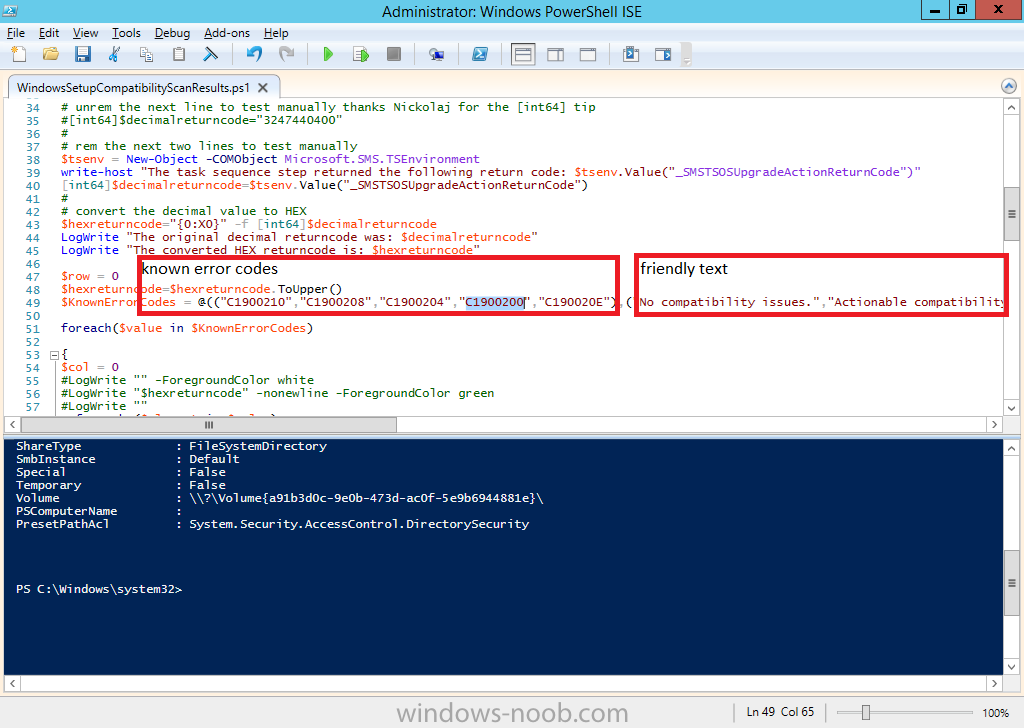
The PowerShell script converts knownerrorcodes into meaningful text that won’t give your end users a heart attack. You can add your own known error codes and friendly text by editing the PowerShell script in this section:
Well that’s it ! job done, I hope this helps you with your Windows 10 Upgrade Task Sequences.
Tip: You can use the MailLog functionality described in the Windows-noob OSD Guides book to be notified of failures in real time.
Summary
Sometimes things don’t go according to plan and the Windows 10 Upgrade task sequence can fail for a variety of reasons. If it does fail, you don’t want your users panicking and you’ll want to capture that data in order to troubleshoot and resolve the issues. This guide helps you achieve that goal.
Related Reading
- Windows Setup /Compat ScanOnly – https://blogs.techne…sing-setup-exe/
- Create a task sequence to upgrade an operating system in System Center Configuration Manager – https://technet.micr…y/mt613172.aspx
- Task sequence steps in System Center Configuration Manager – https://technet.micr…y/mt629396.aspx
- Manage operating system upgrade packages with System Center Configuration Manager – https://technet.micr…echnet.10).aspx
Downloads
You can download a Microsoft Word copy of this guide here dated 2016/05/14.
 a deeper look at the Windows 10 Upgrade task sequence.zip 1.66MB 1 downloads
You can download the PowerShell scripts used above here.
WindowsSetupCompatibilityScanResults.zip 2.56KB 1 downloads
