
Introduction
At the start of this series of step by step guides you installed System Center Configuration Manager (Current Branch), then you configured discovery methods. Next you configured boundaries to get an understanding of how automatic site assignment and content location works. After that you learned how to update ConfigMgr with new features and fixes using a new ability called Updates and Servicing and you learned how to configure ConfigMgr to use Updates and Servicing in one of these two modes:
To prepare your environment for Windows 10 servicing (coming in a later guide) you learned how to setup Software Updates using an automated method (via a PowerShell script) or manually using the ConfigMgr console. Next you used a PowerShell script to prepare some device collections, then you configured client settings for your enterprise and finally you’ll deployed the ConfigMgr client agent using the software updates method which is the least intensive method of deploying the Configuration Manager client agent.
As System Center Configuration Manager (current branch) is being delivered as a service now, version 1602 was made available (March 11th, 2016) and you used Updates and Servicing to do an in-place upgrade to that version as explained here.
The Upgrade Task Sequence
In this guide you will learn about the Upgrade Task Sequence which is now built-in to System Center Configuration Manager (current branch). This new type of task sequence was initially offered as a download from Microsoft for System Center 2012 R2 SP1 Configuration Manager however that version lacked certain abilities (such as installing drivers).
The Upgrade task sequence allows you to upgrade your Windows 7, Windows 8, Windows 8.1 computers (and even Windows 10) to the latest and greatest version of Windows 10. This is a new method of upgrading the operating system and it leaves the users files and settings intact. The System Center Configuration Manager (current branch) Upgrade Task Sequence can even handle drivers in the task sequence which is definitely a useful feature.
Note: In this Lab I’ve already upgraded the ADK version from 1507 to 1511, for details about how you can do that review Brandon’s post here. In addition these boot wims are patched with KB3143760 and you can use Keith’s PowerShell script to do it easily.
Step 1. Create some ConfigMgr folders
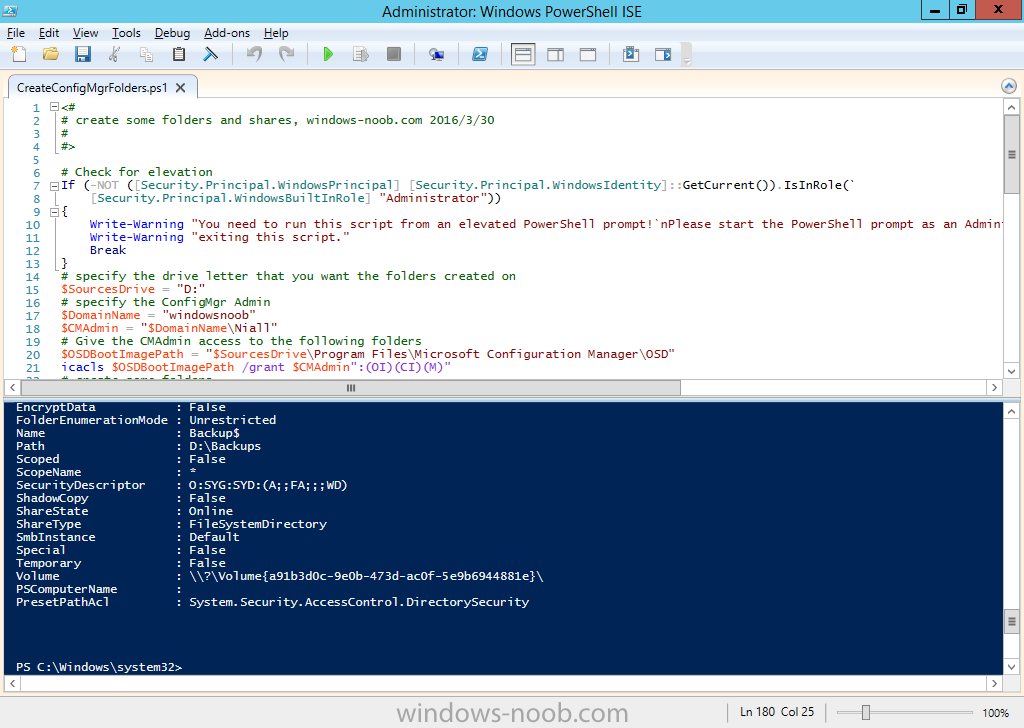
We need some folders created to store things that OSD requires (such as the operating system upgrade package) so let’s use a PowerShell script to create them.
Note: This script creates several custom folders used for OSD, many are not applicable to the Upgrade Task Sequence but I’m including them as they will be used later as part of this series.
The script is available at the end of this post in the Downloads section. To use it simply edit any variables you deem necessary (such as domain, users and sources drive) and save your changes. Open the edited script in PowerShell ISE by starting it as Administrator and run the script by pressing on the green triangle.
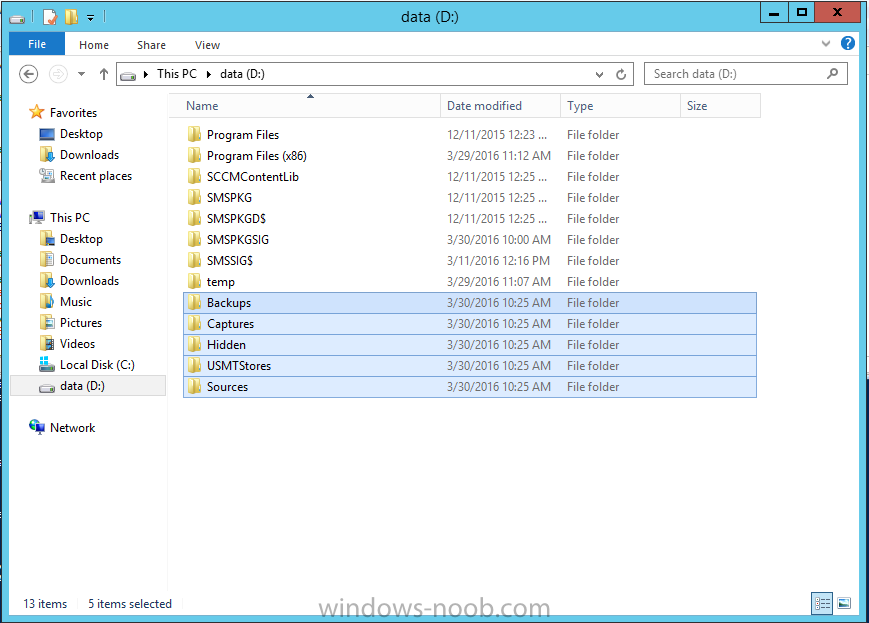
Some of the created folders are shown below.
Step 2. Copy the Windows 10 media
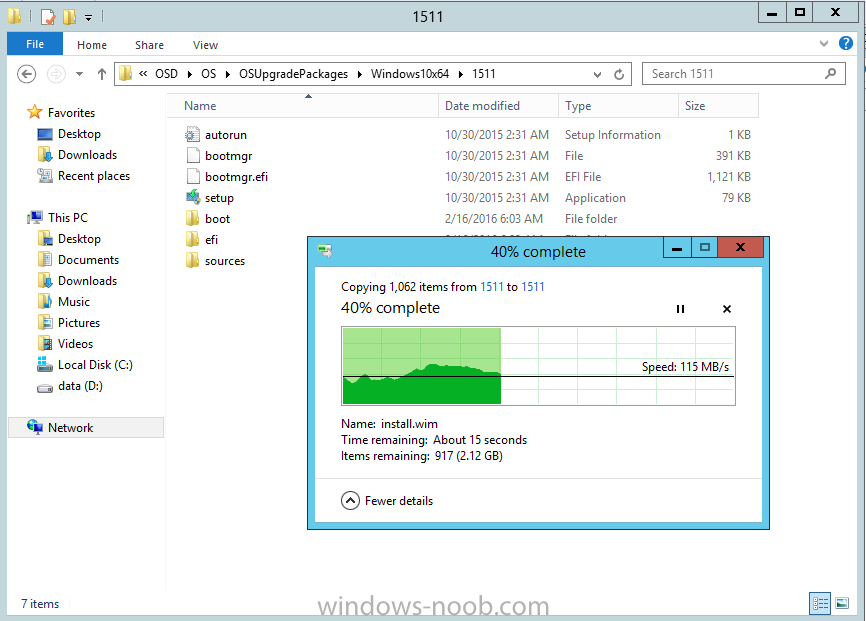
Before you get started with the upgrade task sequence you’ll need a copy of Windows 10 media which you can download from MSDN or your Microsoft Volume License site. In this guide I’ll use the latest version currently available and that is Windows 10 x64 version 1511. Once you’ve located a copy of this media copy the extracted contents of it to the following path (which was created by the PowerShell script above).
\\cm01\Sources\OSD\OS\OSUpgradePackages\Windows10x64\1511
as shown below
Step 3. Add Windows 10 as an operating system upgrade package
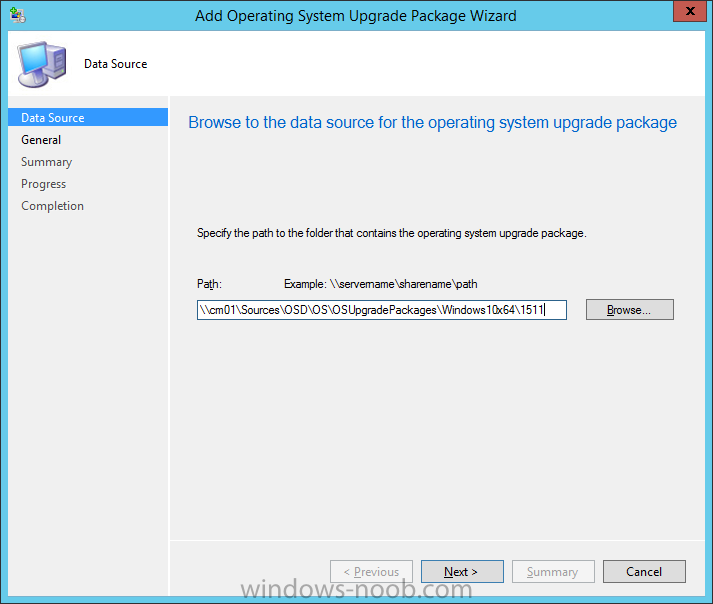
To add Windows 10 version 1511 as an operating system upgrade package do as follows. In the Configuration Manager console, click Software Library and expand Operating Systems then click Operating System upgrade packages. Right click on Operating System upgrade packages and choose Add Operating System upgrade package.

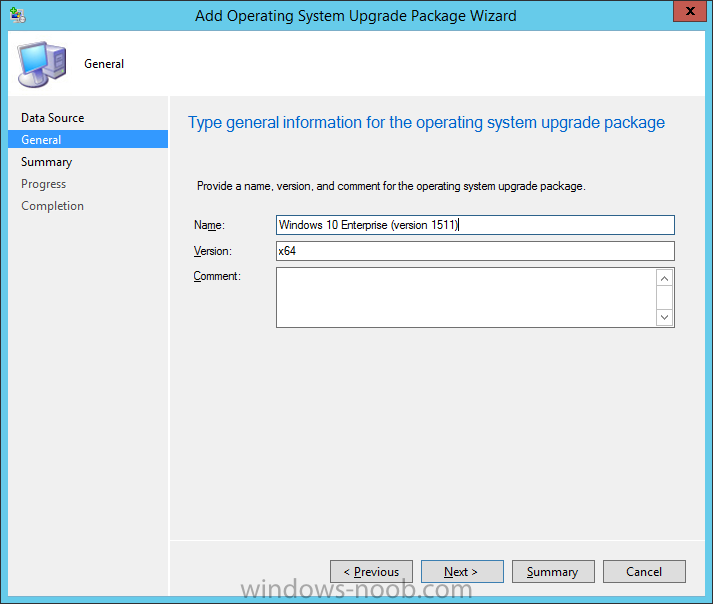
When the wizard appears fill in the path to the media and click on next
fill in some details about the Windows 10 image, and include the version as you’ll need to re-do this process every 6 months or so.
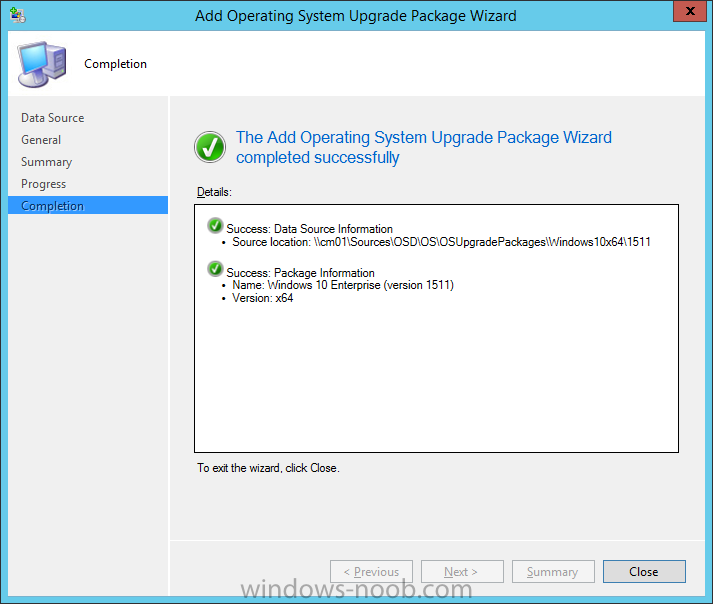
continue through the wizard until completion.
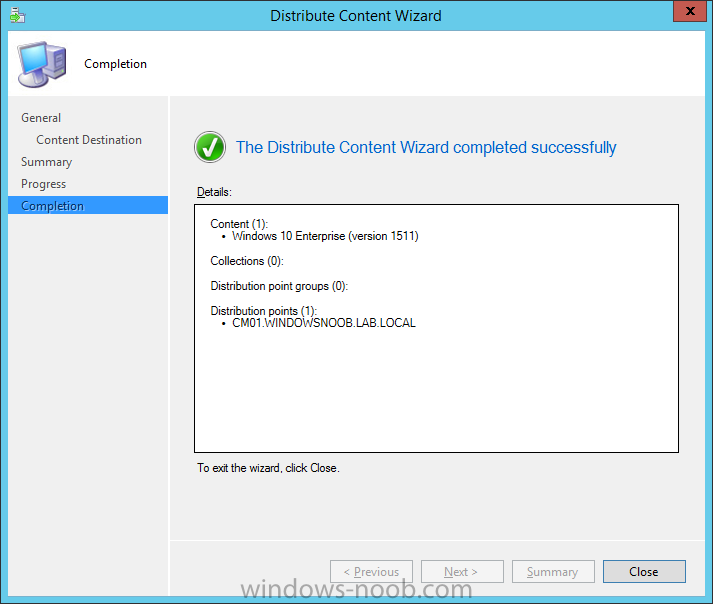
Note: To make the image available on the network, distribute it to your distribution points by right-clicking and choose Distribute Content.
Step 4. Optionally add software updates to the Windows 10 upgrade package
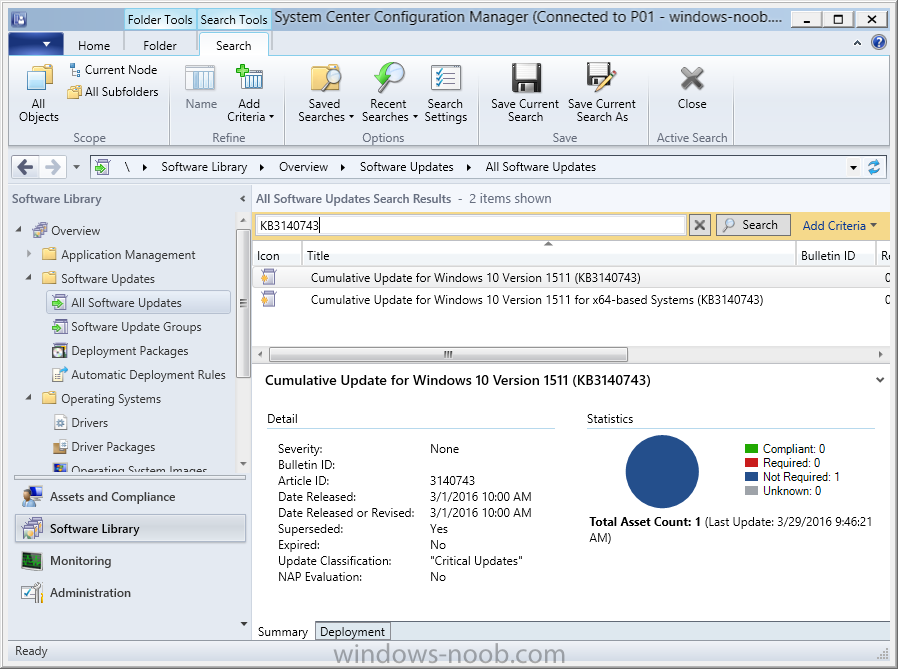
Cumulative updates are released for Windows 10 regularly, and the latest available cumulative update for Windows 10 version 1511 at the time of writing is KB3140743. To make this update available for servicing search for it in Software Updates as shown below.
I won’t go into too many details of making the update available but in a nutshell what i did was as follows:
- Synchronize Software Updates
- create folder structure to store update package (\\cm01\sources\updates\windows10)
- create a Software Update Group from the matching architecture (x64) Cumulative Update above and deploy it to the SUM Windows 10 CB collection
While the above worked for me, all you have to do i:
- Synchronize Software Updates
- Select one or more updates and download them
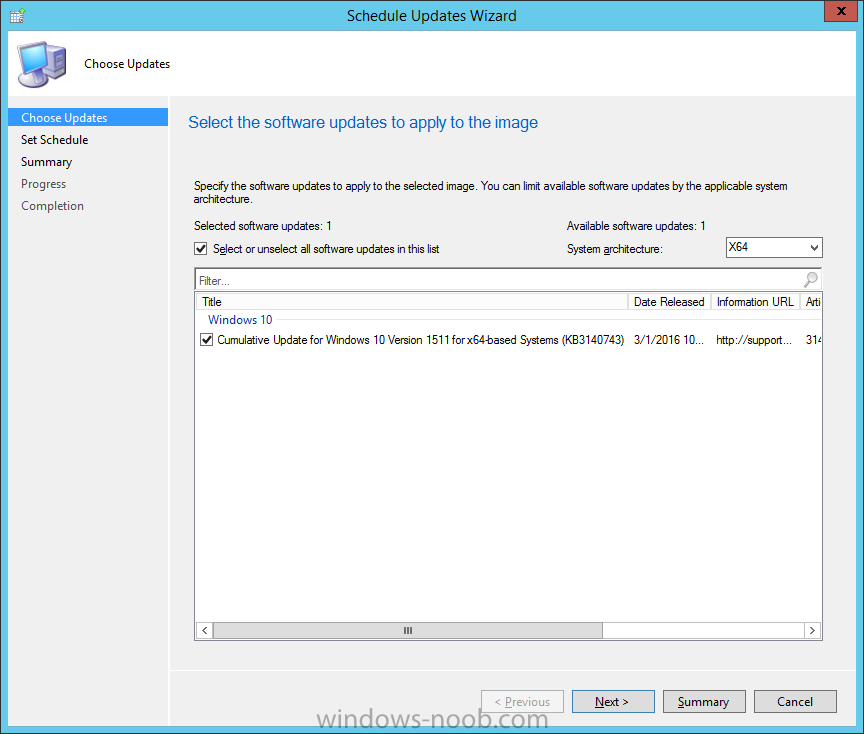
Once done, right click on the Windows 10 upgrade package and choose Schedule Updates
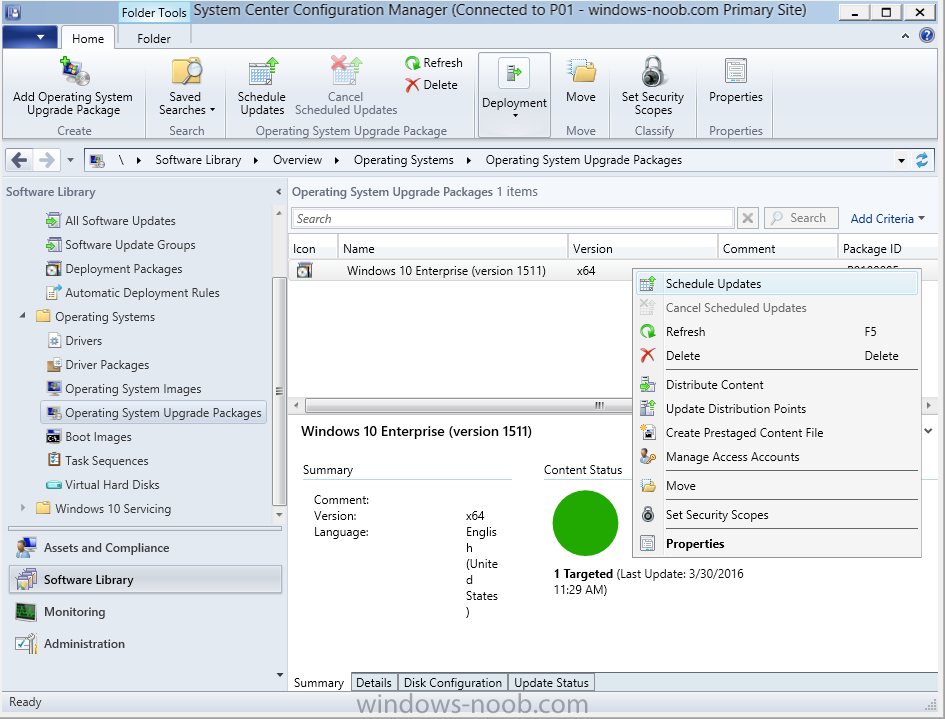
after a few moments you should see any updates you’ve made available and you can select the update you wish to apply or deselect any you don’t want applied
Next, select a schedule that applies to your environment remembering that distribution of the patched wim can consume network resources so perhaps a custom schedule during off-business hours would be useful
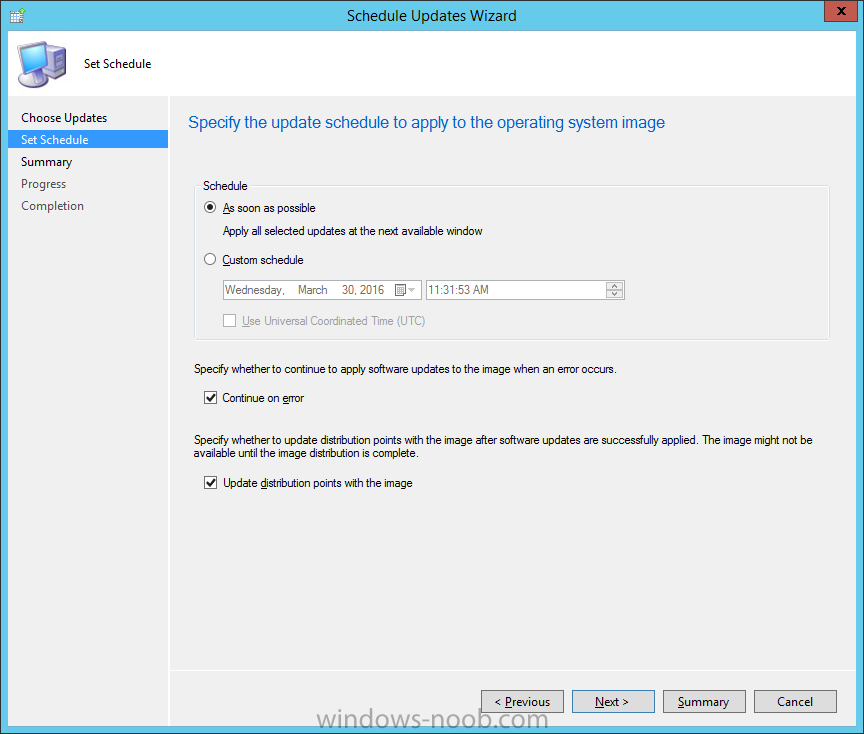
and click next through completion.
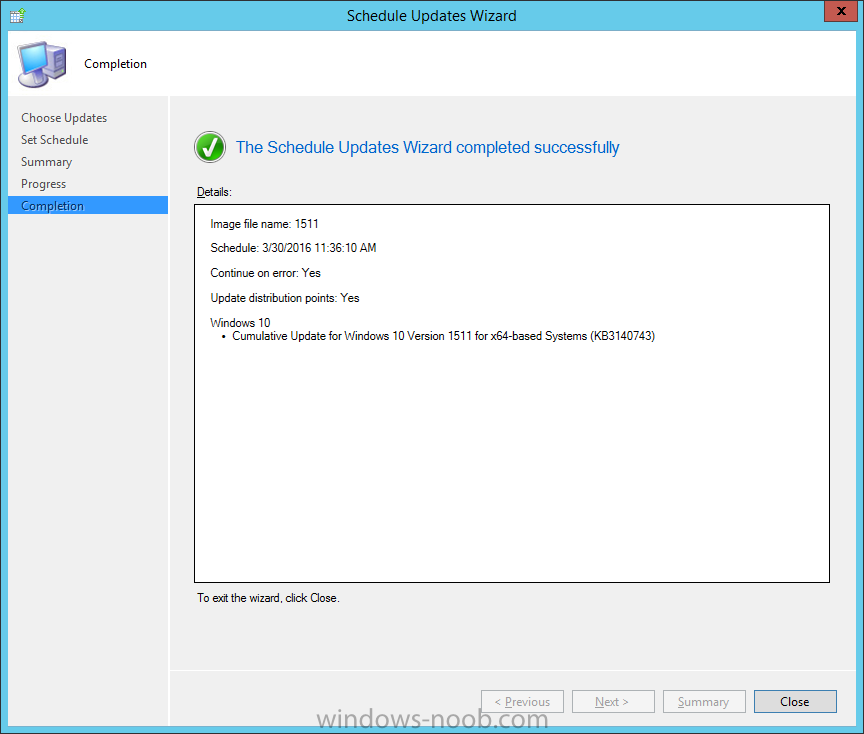
At this point you can monitor the OfflineServicingMgr.log file available in <ConfigMgr Installation Path>\Logs by opening it in CMTrace to get details of the actual patching of the wim file.
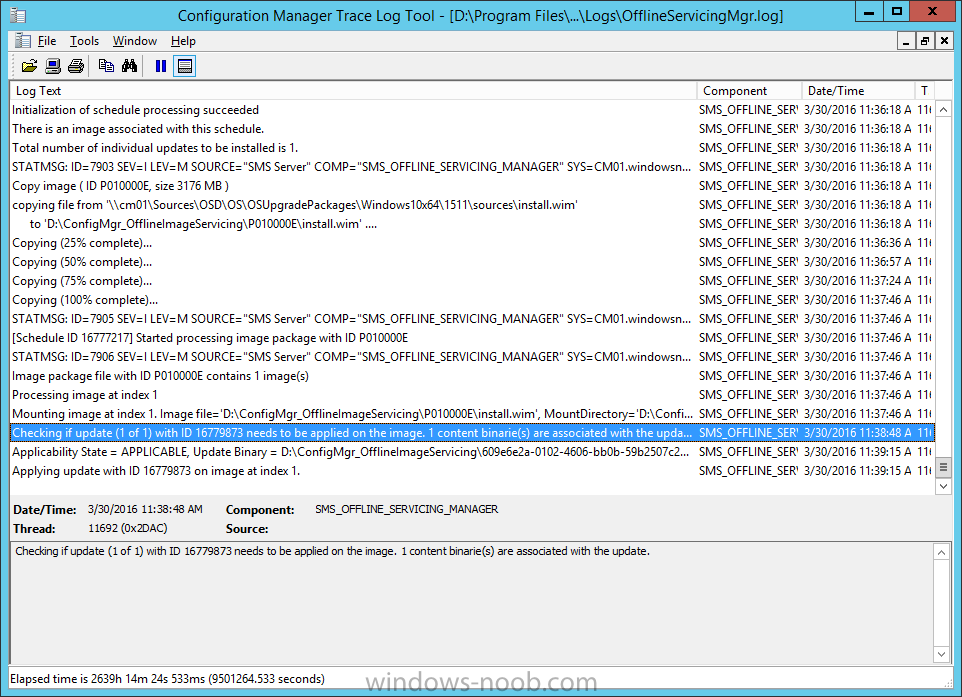
after some time it will check all available updates that you made available to see if they are applicable or not, each update will have an Applicability State which can be listed as any of the following:-
- NOT_REQUIRED
- INSTALLED
- APPLICABLE
- APPLICABILITY_CHECK_NOT_SUPPORTED
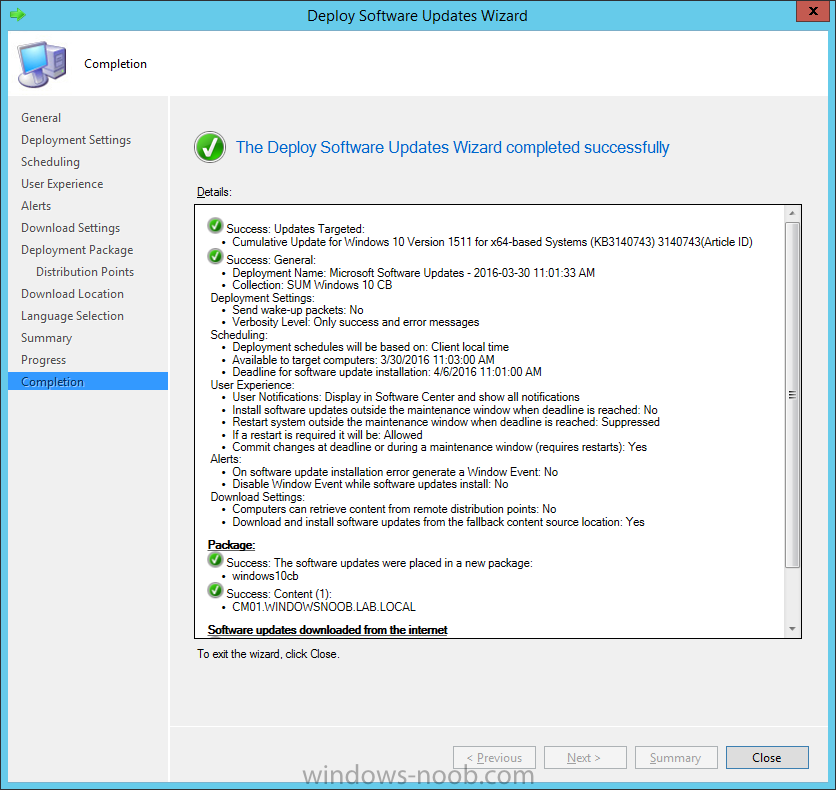
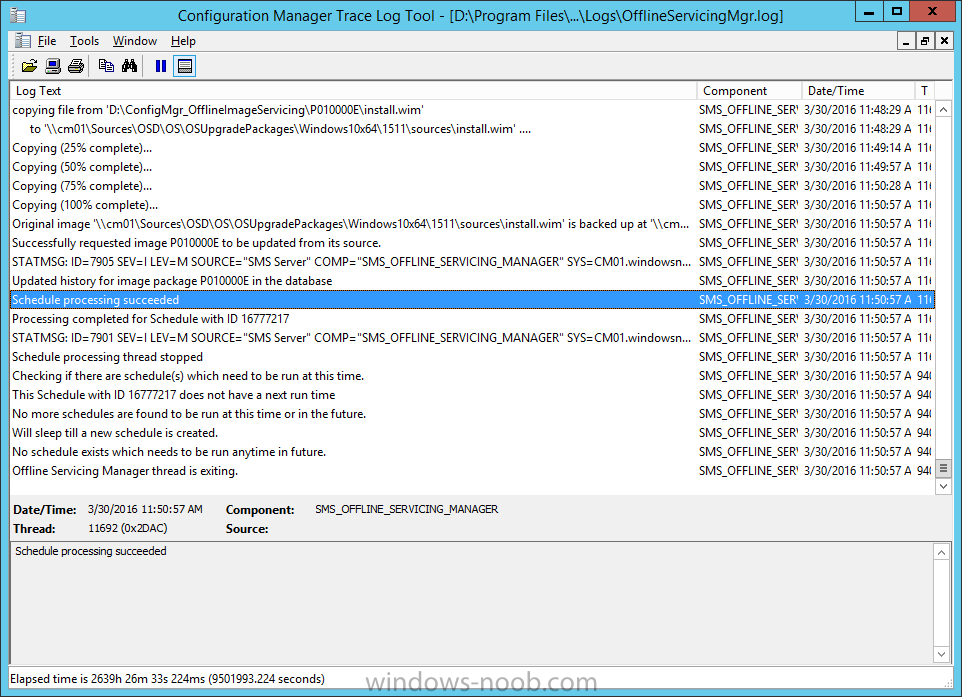
The Schedule Updates process will then commit those changes, you should verify that all is well in the OfflineServicingMgr.log file before continuing with this guide.
Note: In addition to committing the changes the process then creates a backup copy of the original WIM file (with a file extension of BAK). The path to the backup file is included in the log. Below is a sample:
Original image '\\cm01\Sources\OSD\OS\OSUpgradePackages\Windows10x64\1511\sources\install.wim' is backed up at '\\cm01\Sources\OSD\OS\OSUpgradePackages\Windows10x64\1511\sources\install.wim.bak'
To verify that the Schedule Updates process was successful look for a line which states Schedule Processing Succeeded, this notifies you that all is done.
Step 5. Create a task sequence to upgrade an operating system
Now we are ready to create the actual task sequence, to do so in the ConfigMgr console do as follows:
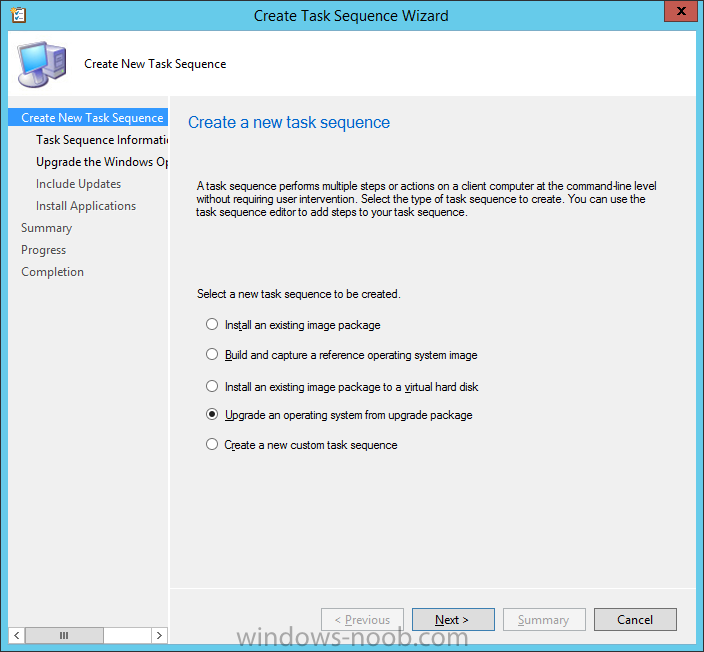
Click Software Library and expand Operating Systems, click Task Sequences. Right click and choose Create Task Sequence to start the Create Task Sequence Wizard. When the wizard appears select Upgrade an operating system from upgrade package from the list of available options as shown below:
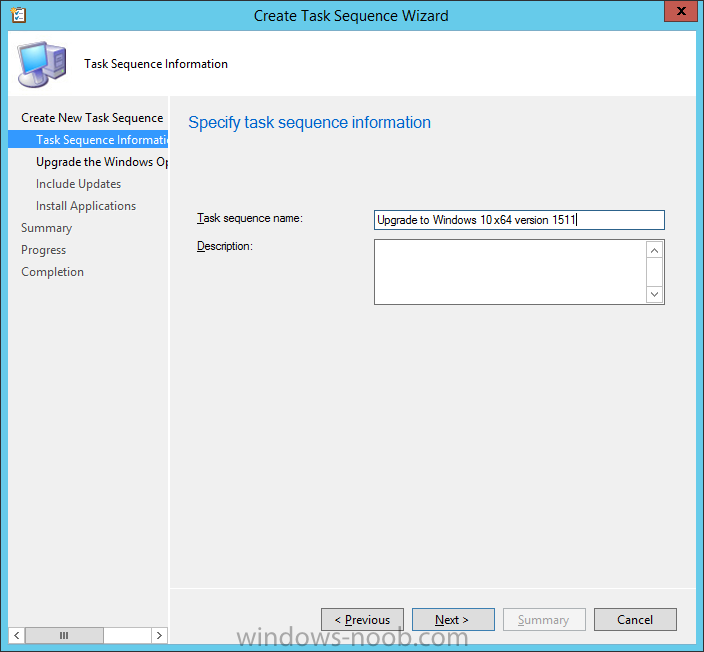
Give the task sequence a suitable name like Upgrade to Windows 10 x64 version 1511
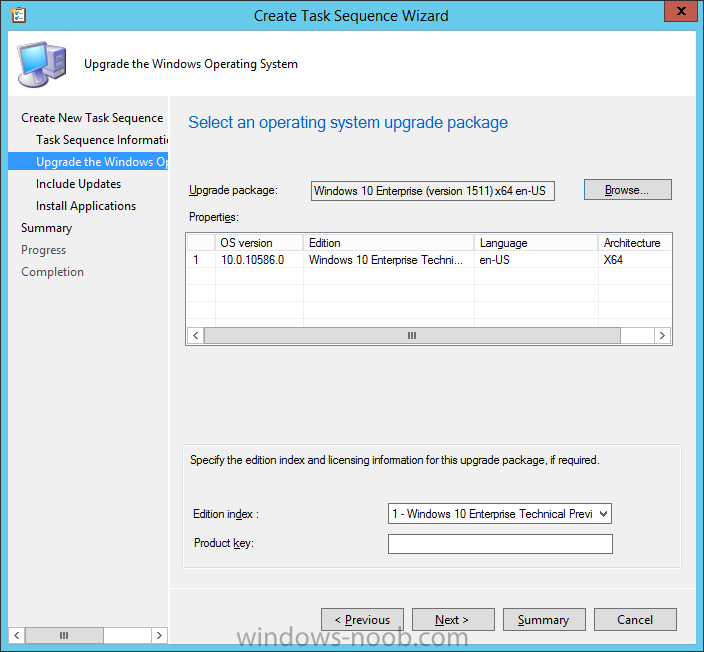
On the Select an Operating system upgrade package step click on browse and select the Operating System Upgrade Package added (and patched) earlier, enter a product key if necessary for your version of Windows
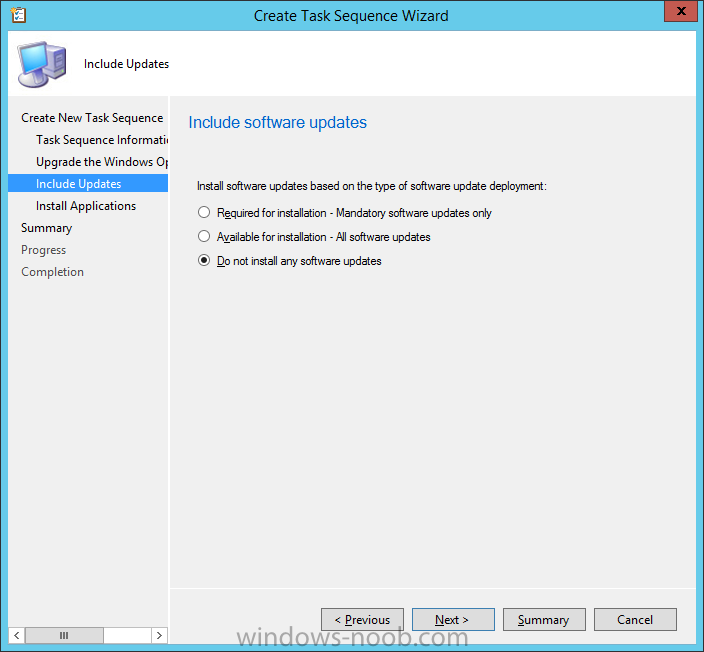
choose your software update options
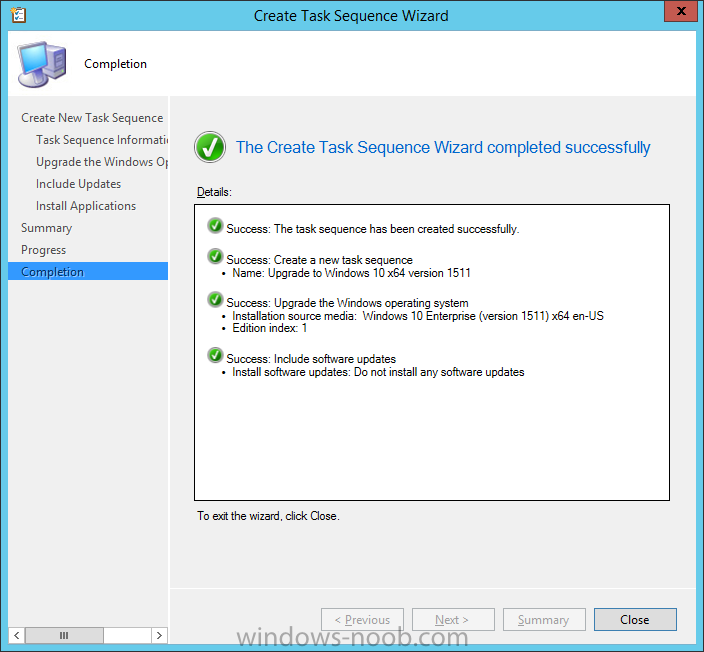
add any applications you want installed and continue through to completion
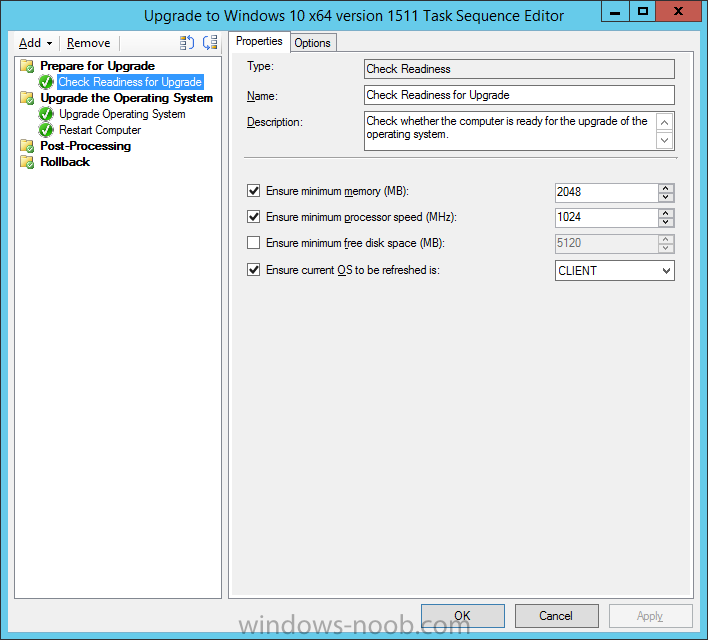
Once created, right click on the task sequence and choose edit, observe the Check readiness for upgrade step
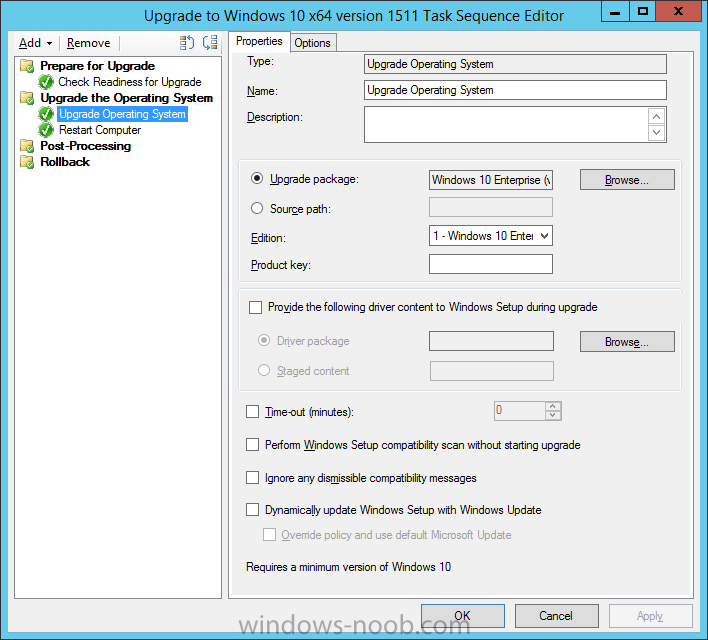
and next review the Upgrade Operating System step, note all the options it provides
Step 6. Add drivers to the task sequence
Note: This post will not cover importing drivers into ConfigMgr, if you want to do that please refer to this post (step 2 and onwards) for a PowerShell script and manual methods to add drivers to ConfigMgr.
To add driver support in the Upgrade Task Sequence for models you intend to upgrade, do as follows:
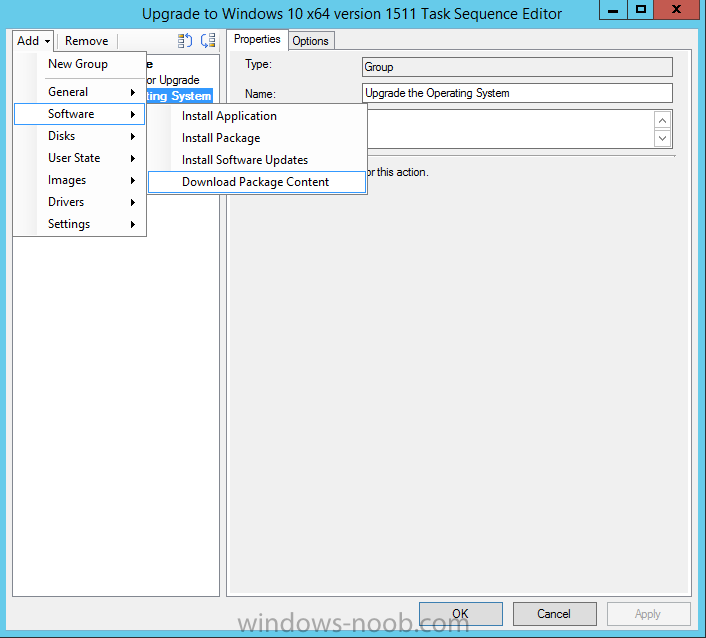
In the Upgrade Operating System group add a new step called Download Package Content
And give it a suitable name such as Windows 10 x64 – Microsoft HyperV depending on the hardware model you intend to support,
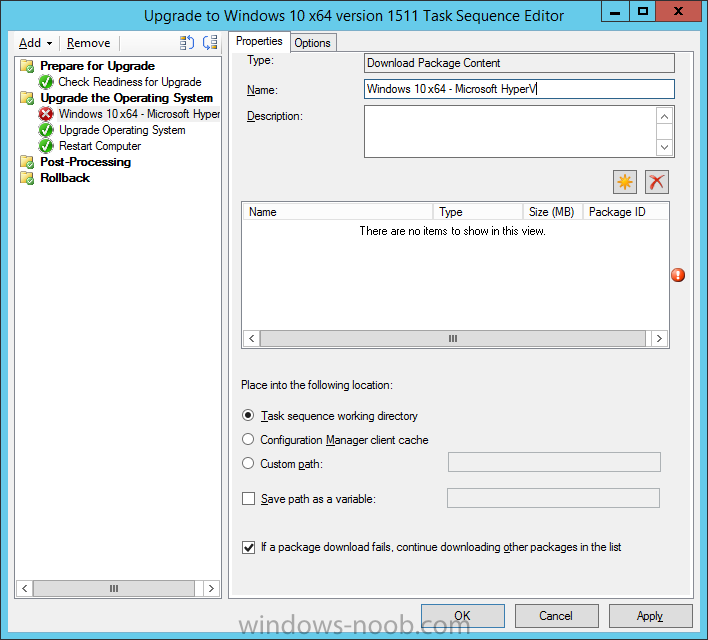
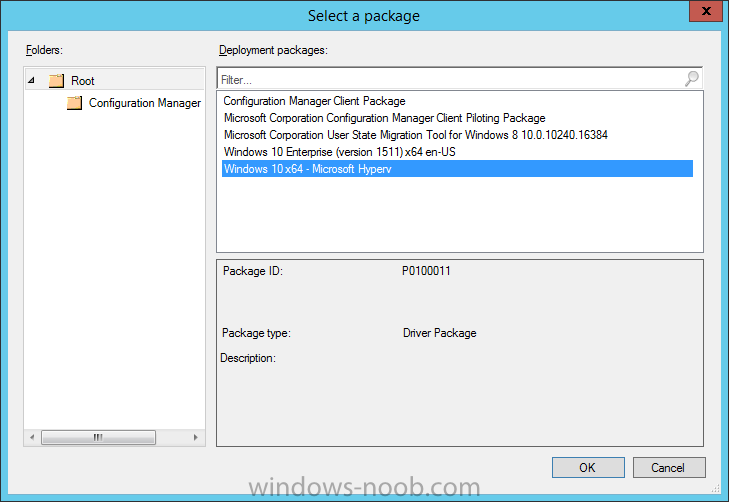
Click on the yellow starburst and select a previously created driver package applicable to this model
In the Place into the following section choose the following:
- Custom Path = C:\Drivers
- Save path as variable = Drivers

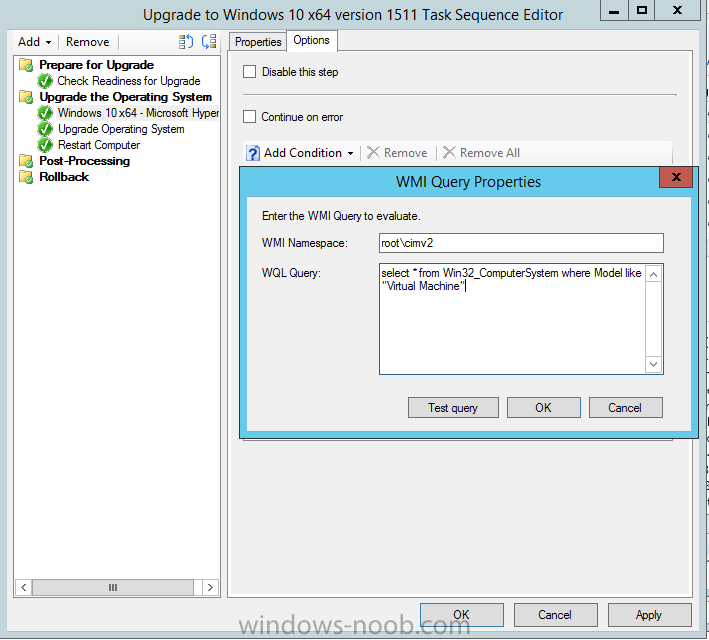
On the options tab select Add Condition, WMI Query and enter a query to look for your chosen hardware
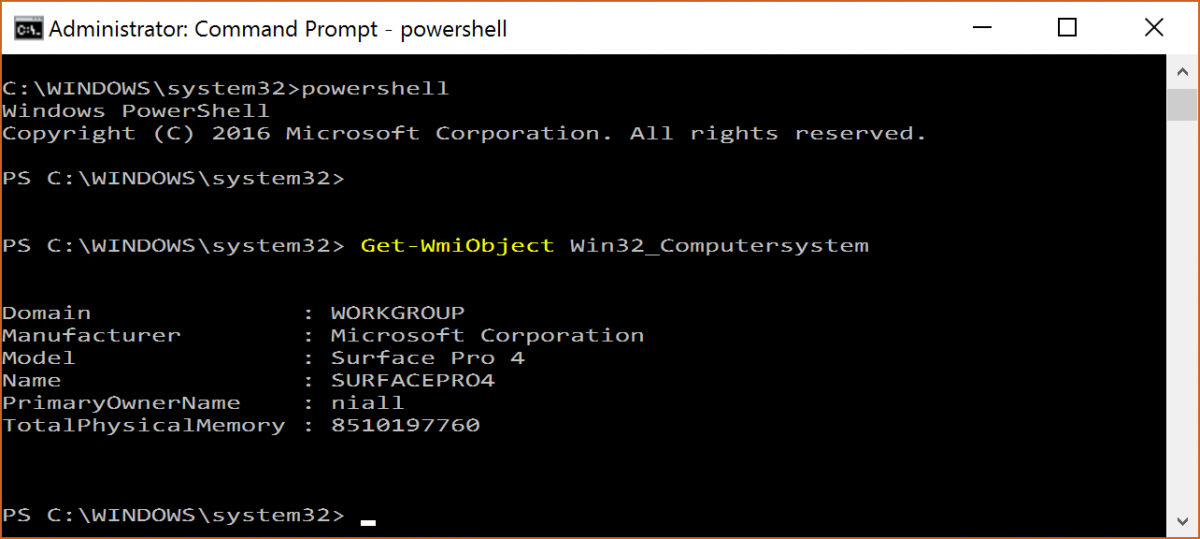
To identify what the model of any computer is use Powershell with the following command
Get-WmiObject Win32_Computersystem
Apply the changes and repeat the above process for each and every model you intend to support

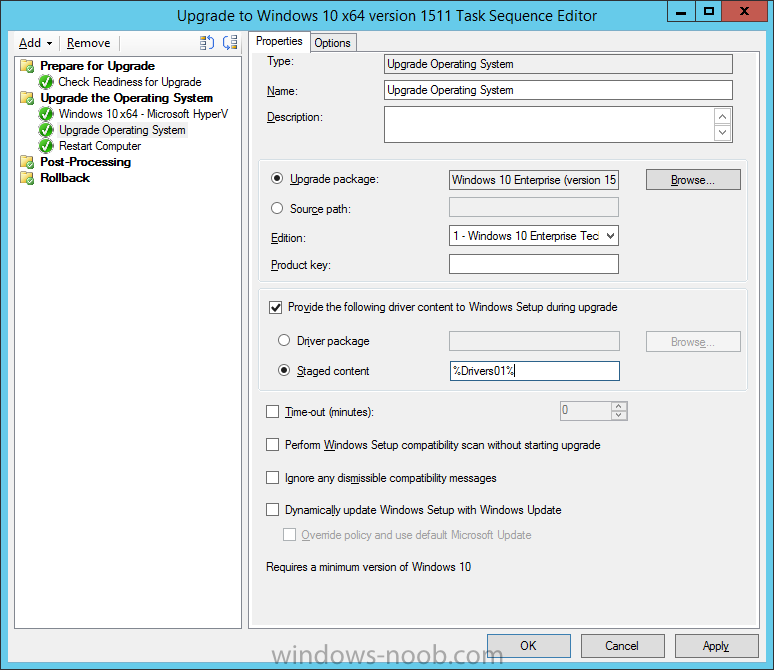
Next select the Upgrade Operating System step and place a checkmark in Provide the following content to Windows Setup during Upgrade and then select Staged Content and enter the following variable
%Drivers01%
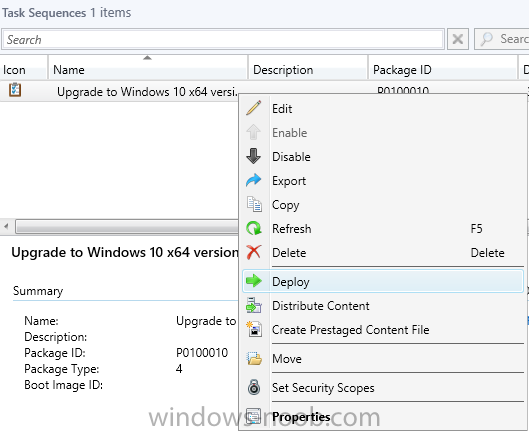
Step 7. Deploy the task sequence
At this point you are ready to start testing the task sequence. Right click it and choose Deploy, this task sequence must run within Windows so whatever collection you use should be created with that in mind…
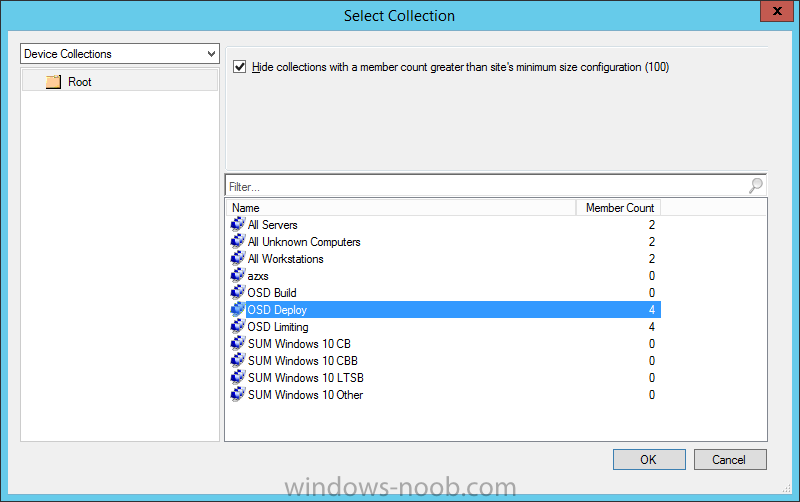
for collection choose OSD Deploy
and for purpose choose Available (required is really only for the brave…, give users choice !)
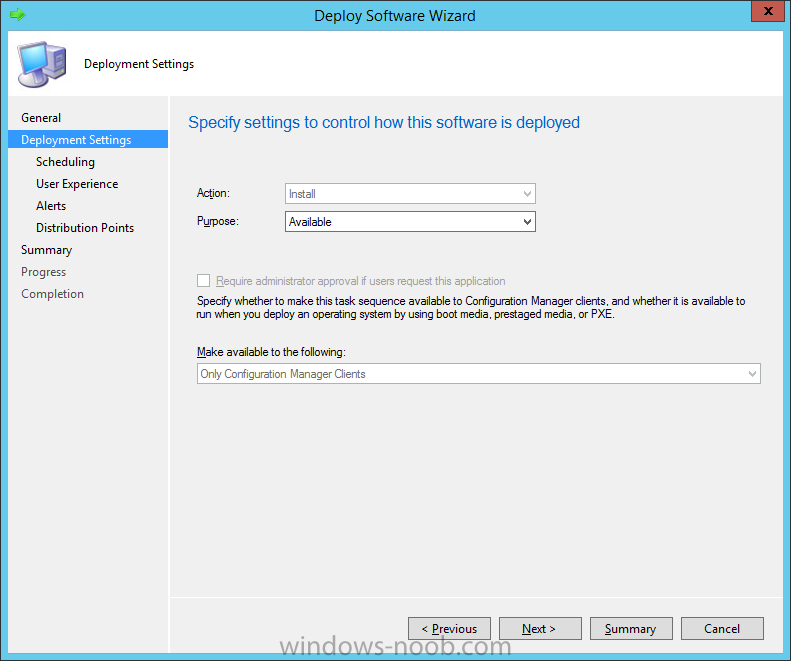
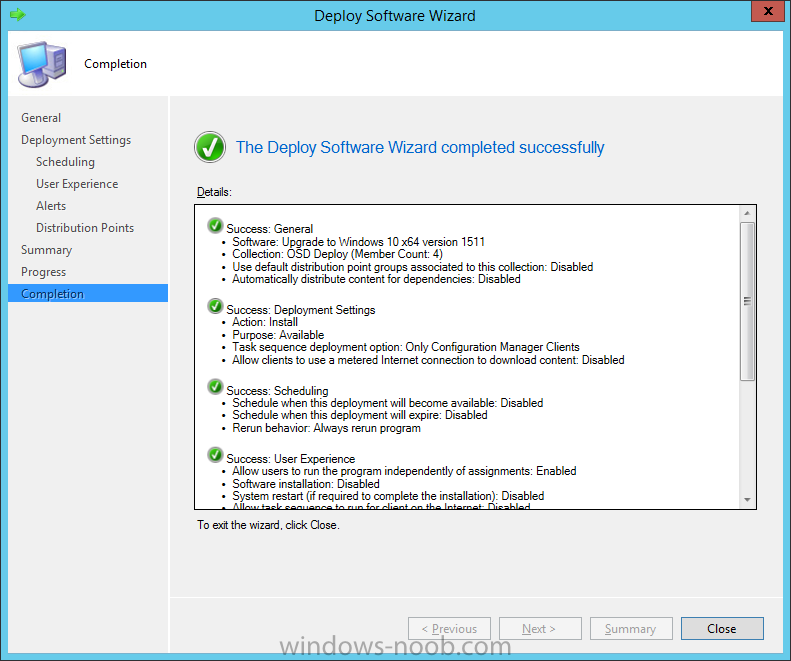
continue through the wizard until completion
Step 8. Review it in action
Note: In Progress/screenshots coming shortly, please check back for updates !
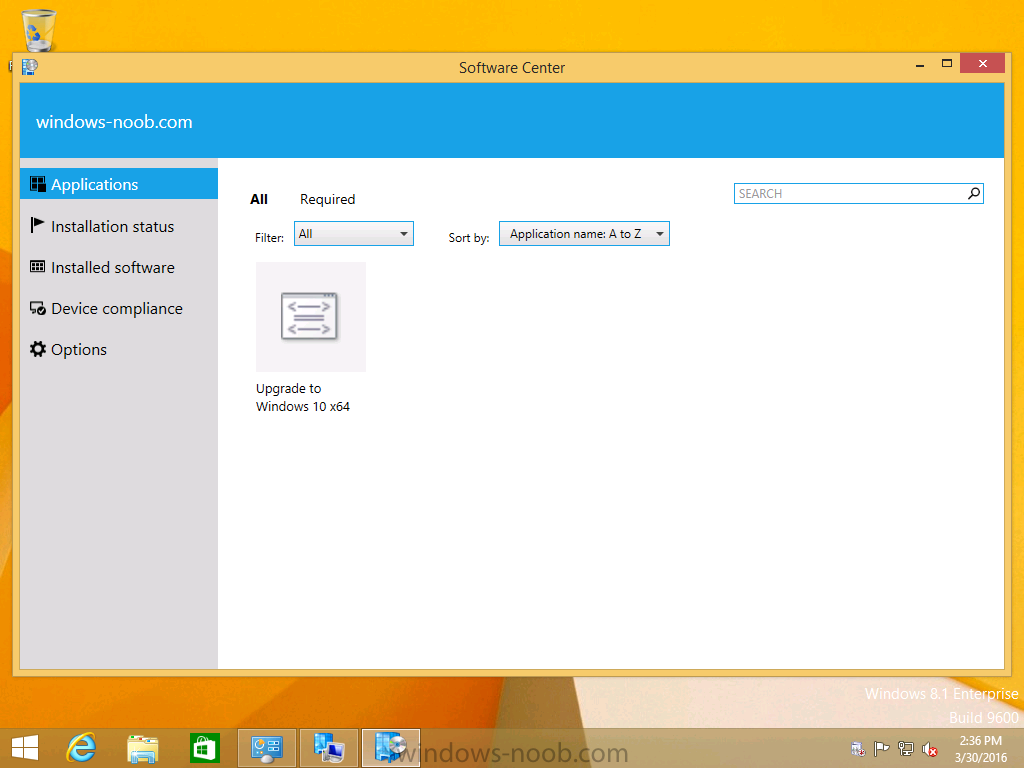
After policy is received you’ll see the following in Software Center
click on it for more details
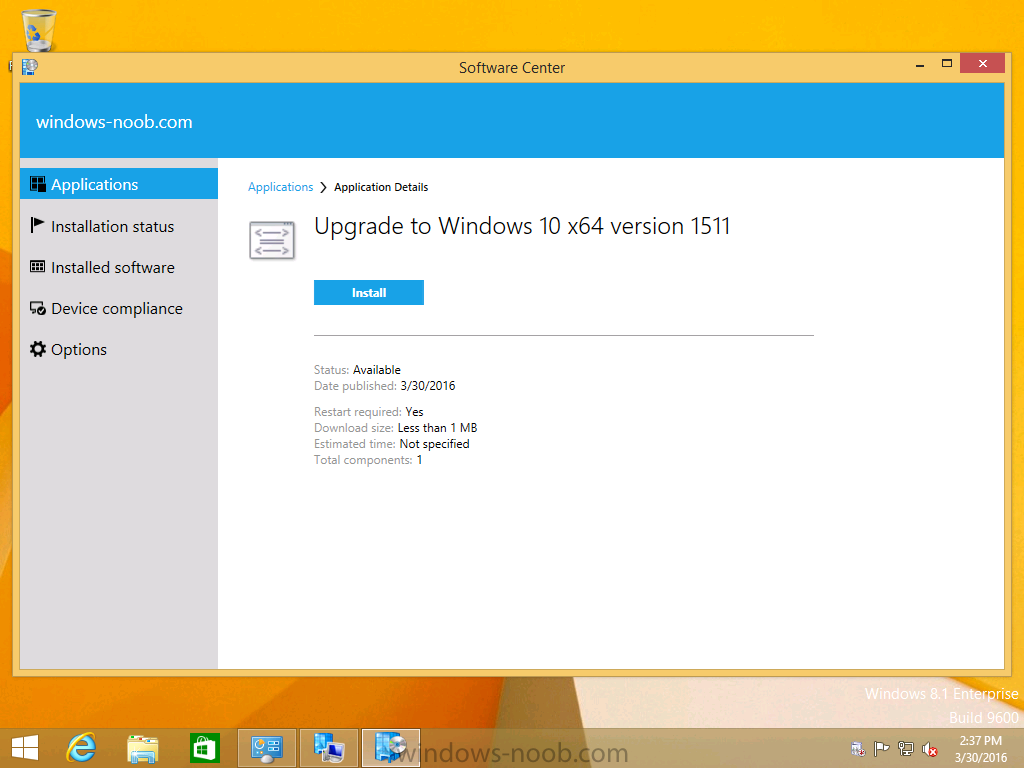
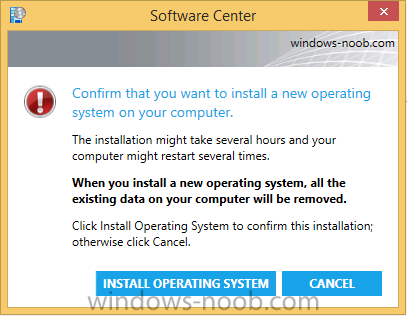
and click on Install to start the Upgrade Task Sequence, notice the popup and the text contained within, if you are using the ‘default’ software center (old style) you’ll see a different popup text (i’ll attach that here soon).
Note: I’ve raised a UserVoice on this point to allow us to change the text in the popup or hide it and the task sequence from software center, you can review that here and vote too !.
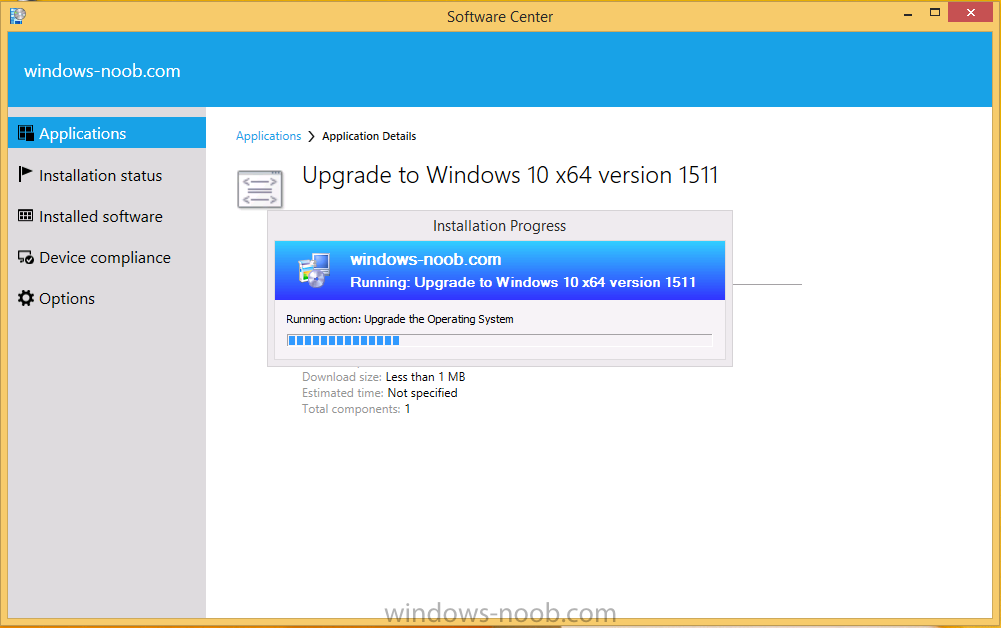
click on Install Operating System to start the upgrade, and off it goes….
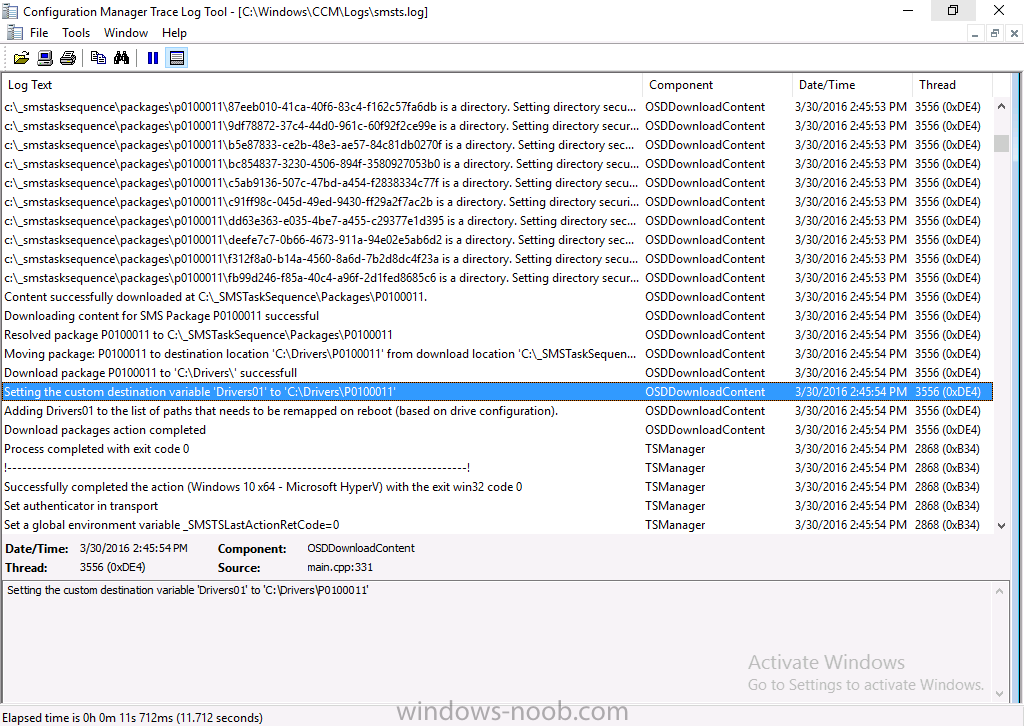
Use CMTrace to monitor the deployment live, the log file you need to review is in C:\Windows\CCM\Logs\SMSTSLOG\smsts.log
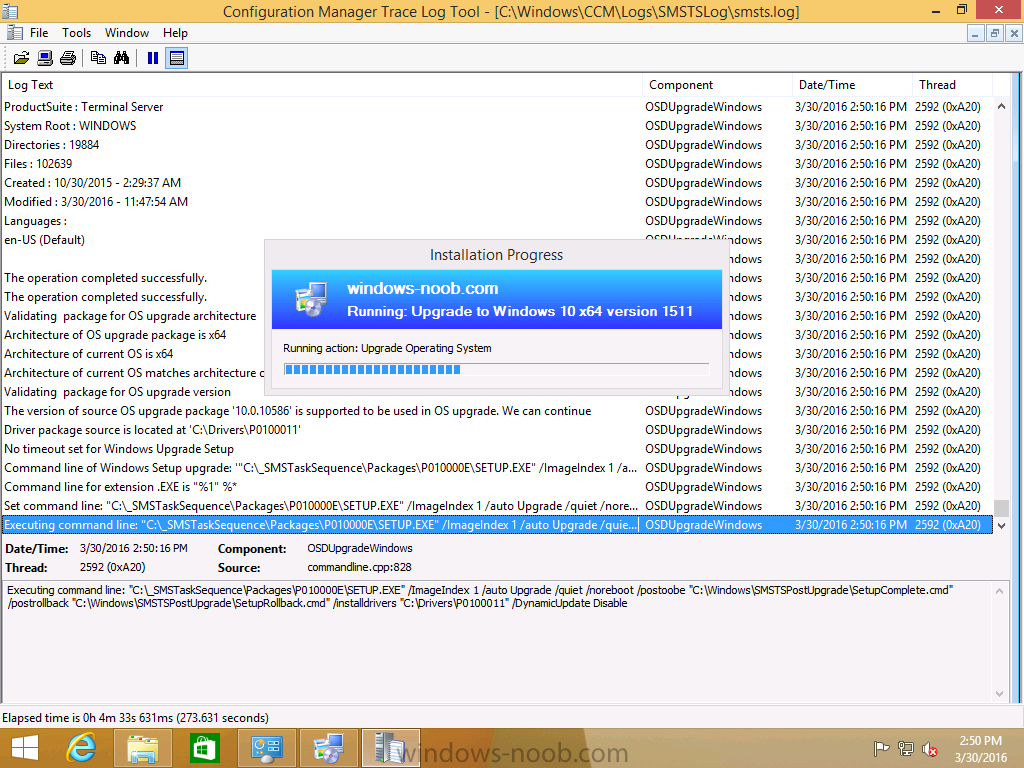
below you can see where it uses the %Drivers01% variable
and off it goes with the actual Upgrade to Windows 10
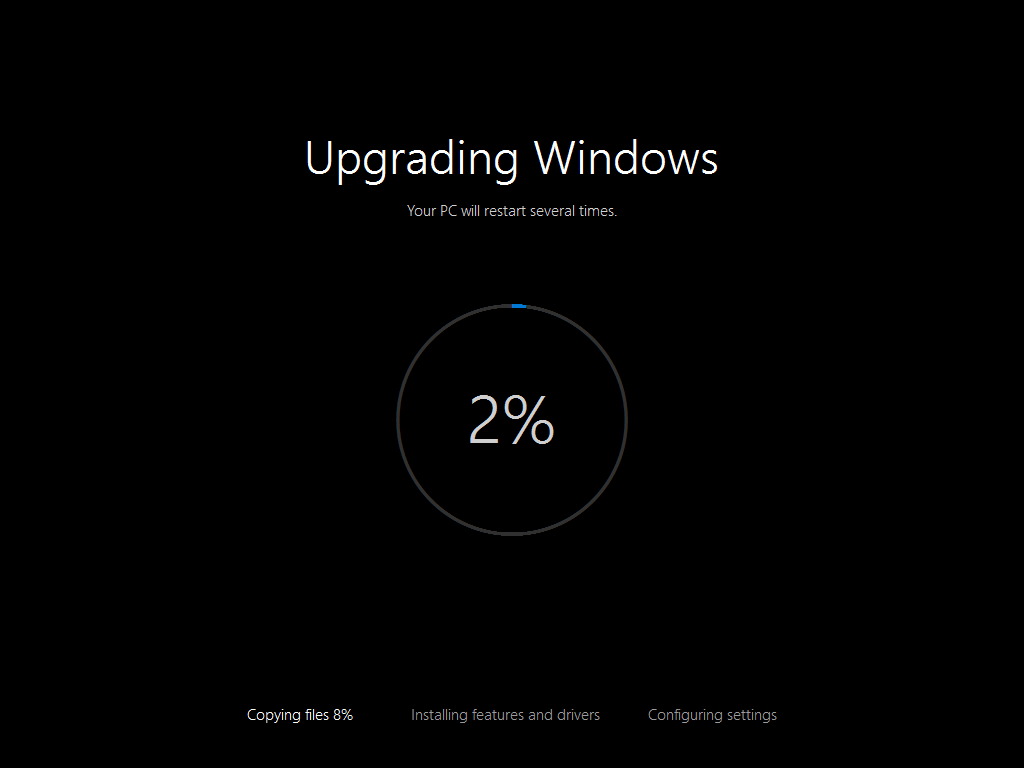
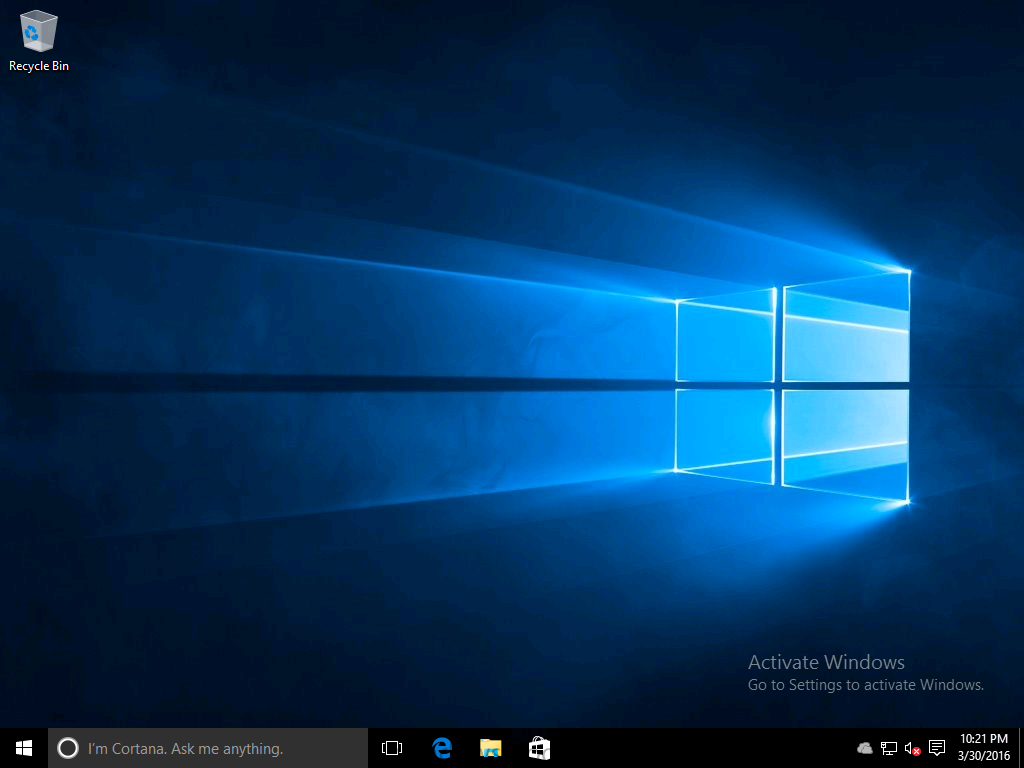
and after some time, it’s completed !
Summary
Microsoft continue to innovate, in System Center Configuration Manager Current Branch (version 1602) you can not only Upgrade your workstations to Windows 10 but you can ensure that they are patched with the latest available updates and installed with all applicable drivers.
Related Reading
- Create a task sequence to upgrade an operating system in System Center Configuration Manager – https://technet.micr…y/mt613172.aspx
- Task sequence steps in System Center Configuration Manager – https://technet.micr…y/mt629396.aspx
- Manage operating system upgrade packages with System Center Configuration Manager – https://technet.micr…echnet.10).aspx
Downloads
You can download a Microsoft Word copy of this guide here dated 2016/03/30
 How can I use the Upgrade Task Sequence in System Center Configuration Manager (current branch).zip 1.46MB 4 downloads
You can download the PowerShell script used above here.
Attached Files
- CreateConfigMgrFolders.zip 917bytes 2 downloads
