
Configuration Manager 2012 SP1 provides several new features when it comes to OSD and one in particular that I like is the ability to deploy hidden task sequences, what this means is that you can target task sequences to a collection and they will be hidden from view in Software Center, Boot Media and PXE boot unless you know how to access them.
I will assume that you already have a Deploy Windows 8 X64 (or similar) task sequence created at this point and now want to avail of making one hidden. Why would you want to hide a task sequence ? well perhaps you are still testing features within the task sequence that you do not want readily available to your users so hiding it is a good idea indeed.
Step 1. Create a Hidden collection
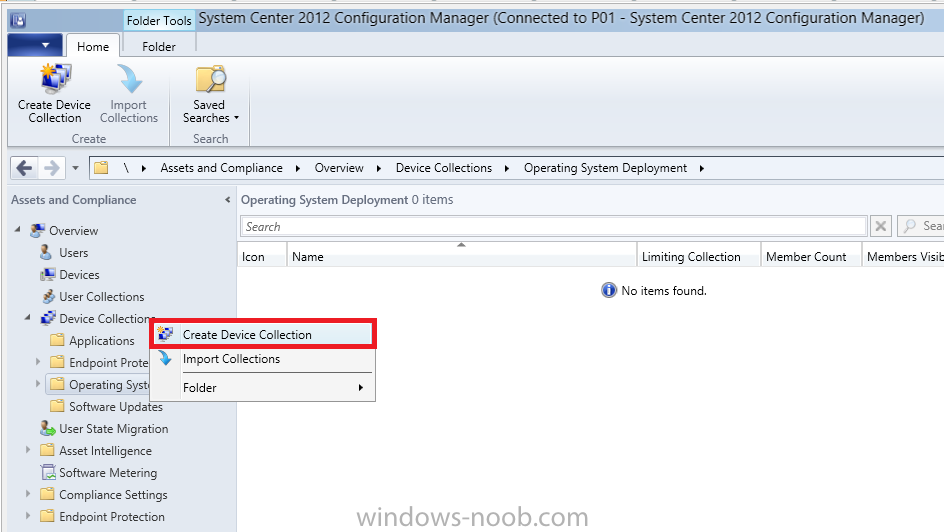
We will be deploying our hidden task sequence to a specific collection, so to make this easy to understand we’ll create a new collection called Deploy Windows 8 Hidden, right-click on Device Collections and choose Create Device Collection,
give the collection a suitable name like Deploy Windows 8 hidden and limit it to All Systems
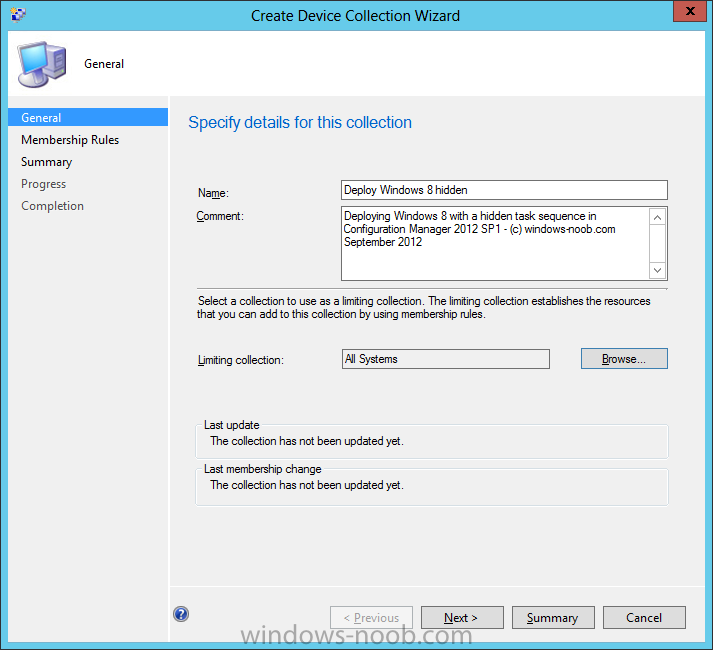
and click your way through the rest of the wizard, no need to configure any membership rules at this point as we will add computers to the collection later.
Step 2. Copy an existing task sequence
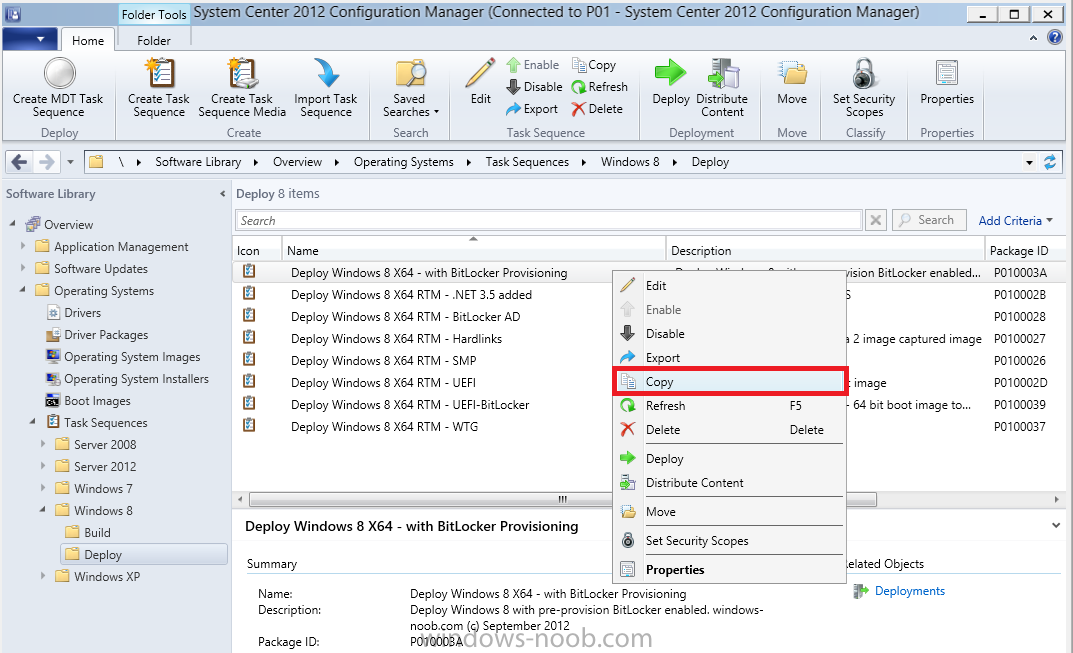
Locate a task sequence that you want to make hidden or create a new one from scratch, right click on the task sequence and choose Copy.
once the task sequence is copied you’ll get a message informing you.
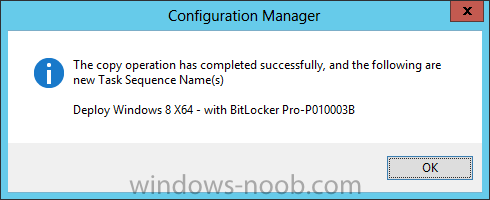
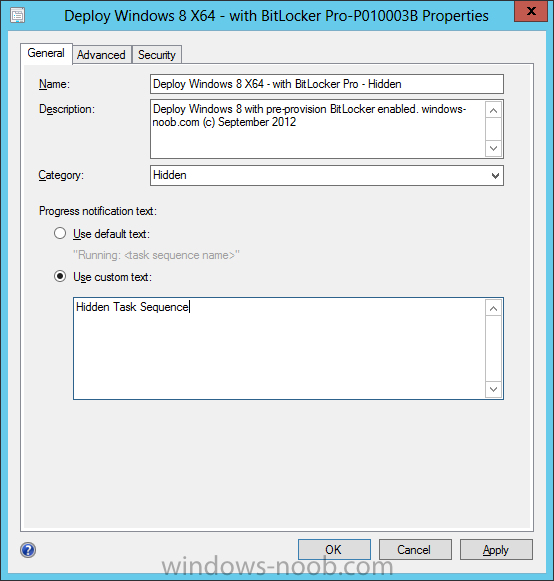
Locate the copied task sequence (the name was in the message above) and right click on it and rename it by choosing Properties, append the word Hidden. You can optionally add a category of Hidden and change the custom text to read Hidden Task Sequence as per the screenshot below.
Step 3. Add a prestart file to a custom boot image
This step is important as in order to access the hidden task sequence we need to add a prestart command via a file added to a custom boot image. The boot image should be separately created from your default X86 and X64 boot images as we don’t want our normal task sequence deployments to be prompted with the prestart script.
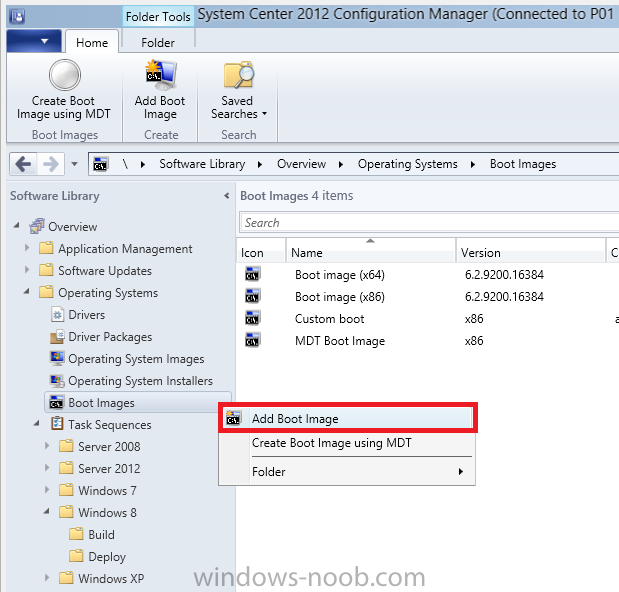
To create the custom boot image do as follows, right click on boot images and choose Add Boot Image.
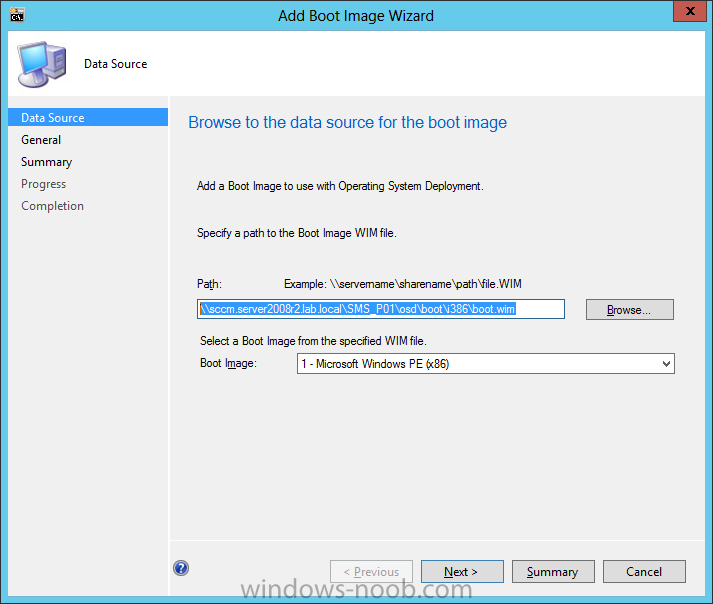
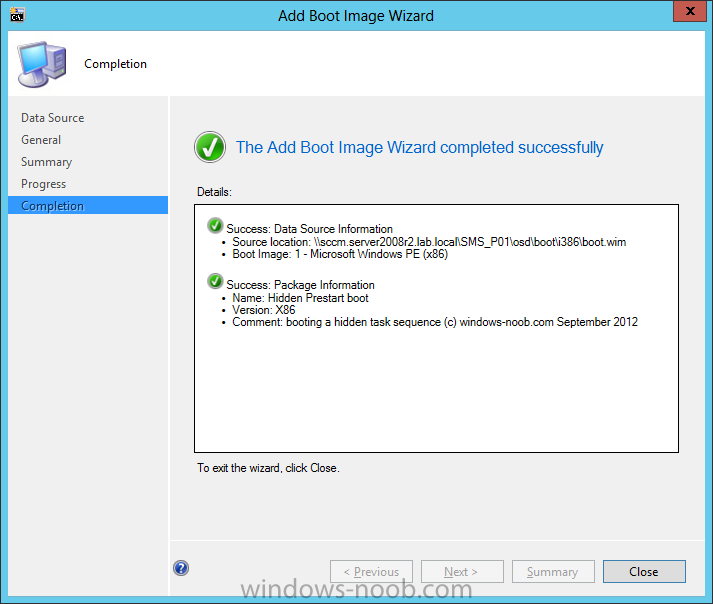
browse to the UNC path of your default X86 boot image (something like \\sccm.server2008r2.lab.local\SMS_P01\osd\boot\i386\boot.wim) and select that boot wim file
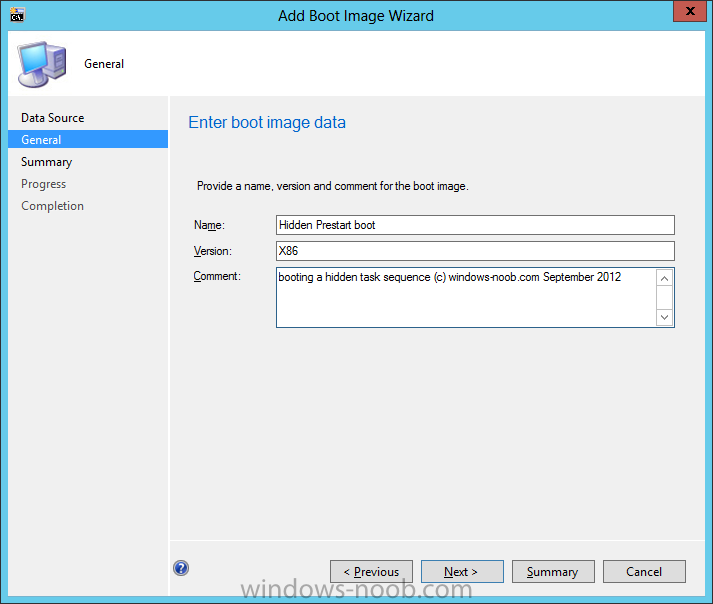
fill in some details about this custom boot image including it’s version (x86)
and click your way through to the end of the wizard.
Now that we have a custom boot image, let’s right click on it and add some changes.
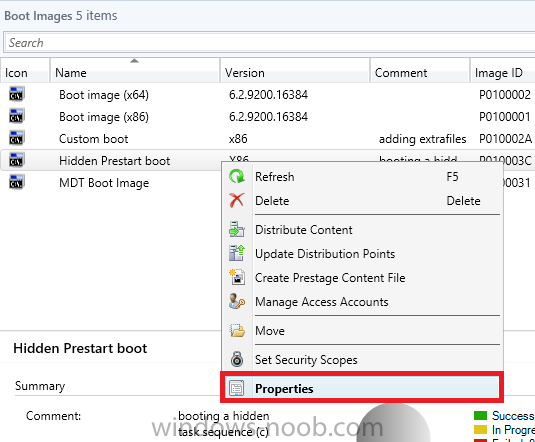
select the Customization tab, and make sure to place a checkmark in the following options
- Enable prestart command
- Include files for the prestart command
- Enable command support (testing only)
so that it is like the screenshot below
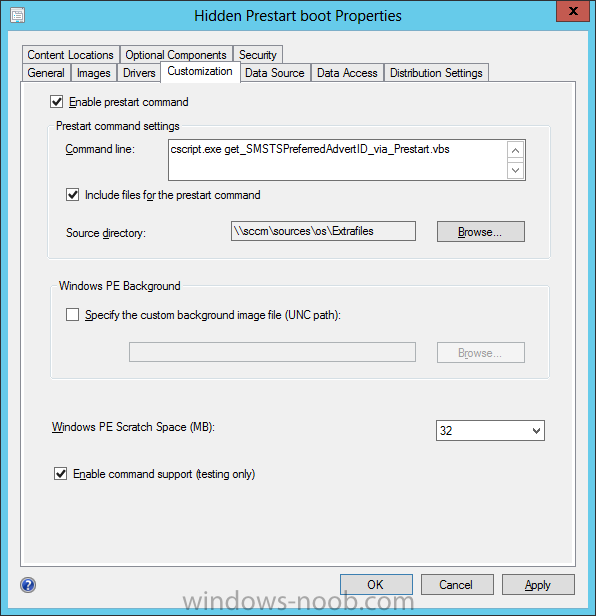
Point the prestart command to the following script file by typing
cscript.exe get_SMSTSPreferredAdvertID_via_Prestart.vbs
here’s the VBS
 get_SMSTSPreferredAdvertID_via_Prestart.vbs.txt 322bytes 2407 downloads
Note: remove the .TXT extension on the file above before using it.
save get_SMSTSPreferredAdvertID_via_Prestart.vbs to \\sccm\sources\os\extrafiles
next click on the Deploy tab, make sure that Deploy this boot image from the PXE enabled distribution point is selected
click ok and answer NO when prompted to update to Distribution points as we have not selected any distribution points for this boot image yet.
Continue to the end of the wizard.
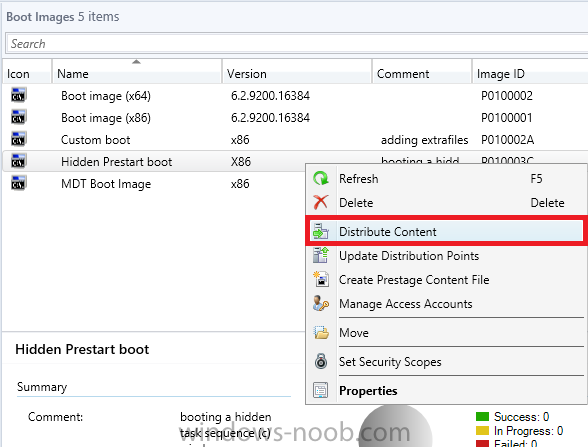
Step 4. Distribute our prestart boot image
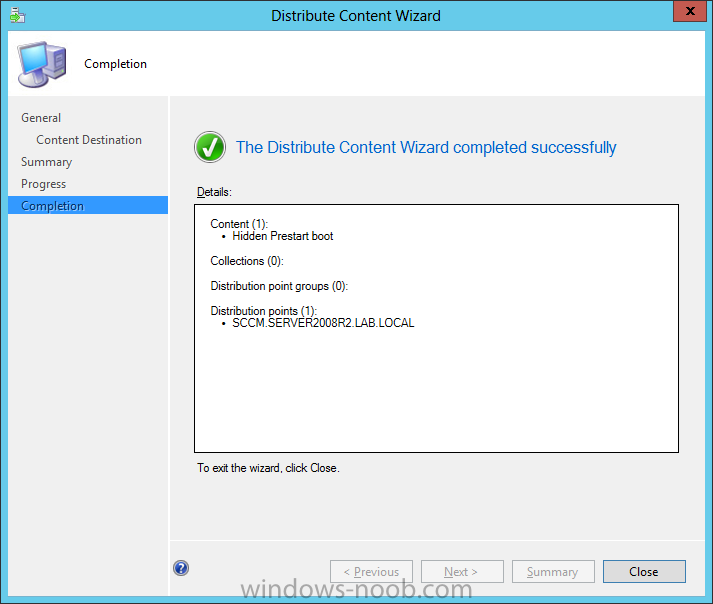
Right click on our Prestart boot image and choose Distribute Content
the distribute content wizard appears, add your distribution points and continue through the wizard until completion
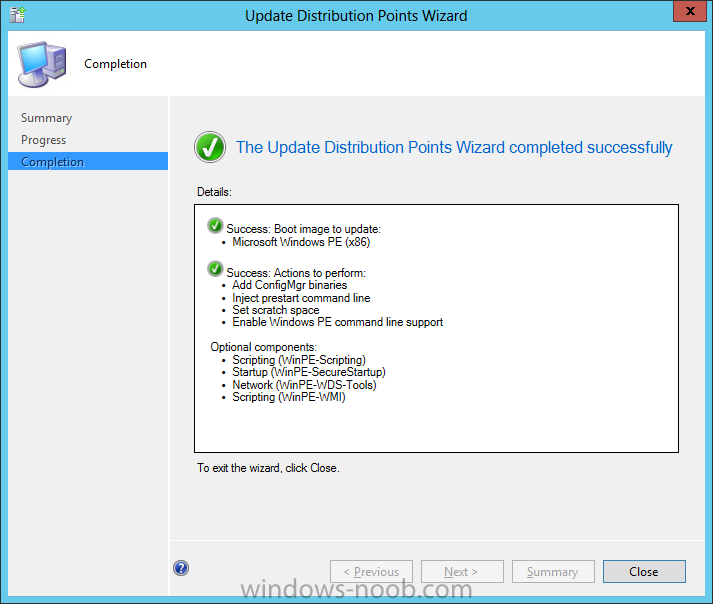
once done, right click on the Prestart Boot Image and choose Update Distribution Points, continue through that wizard.
Step 5. Attach our prestart boot image to our hidden task sequence
In Task Sequences, select our hidden task sequence, right click and choose properties, select the Advanced tab and change the boot image from the X86 default boot image to our hidden prestart boot image as per the screenshot below
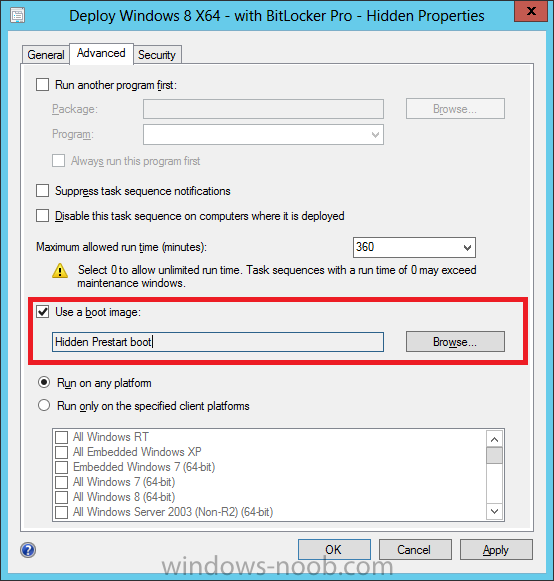
click apply and ok.
Step 6. Add a computer to the hidden collection
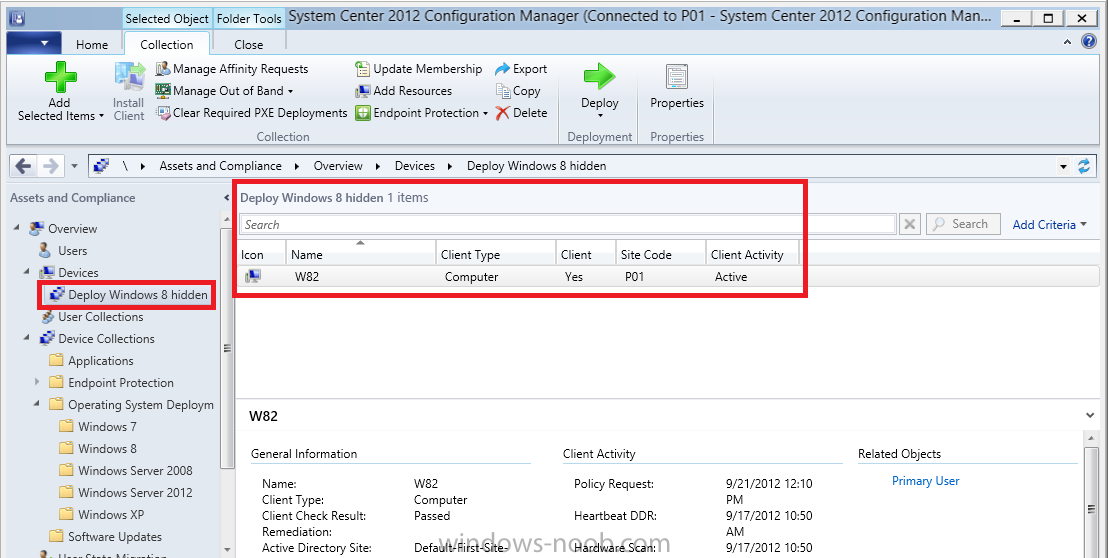
using direct membership (or whatever method you wish) add a computer to the hidden collection, verify the computer object exists in the collection before moving on to the next step.
Step 7. Deploy the hidden task sequence
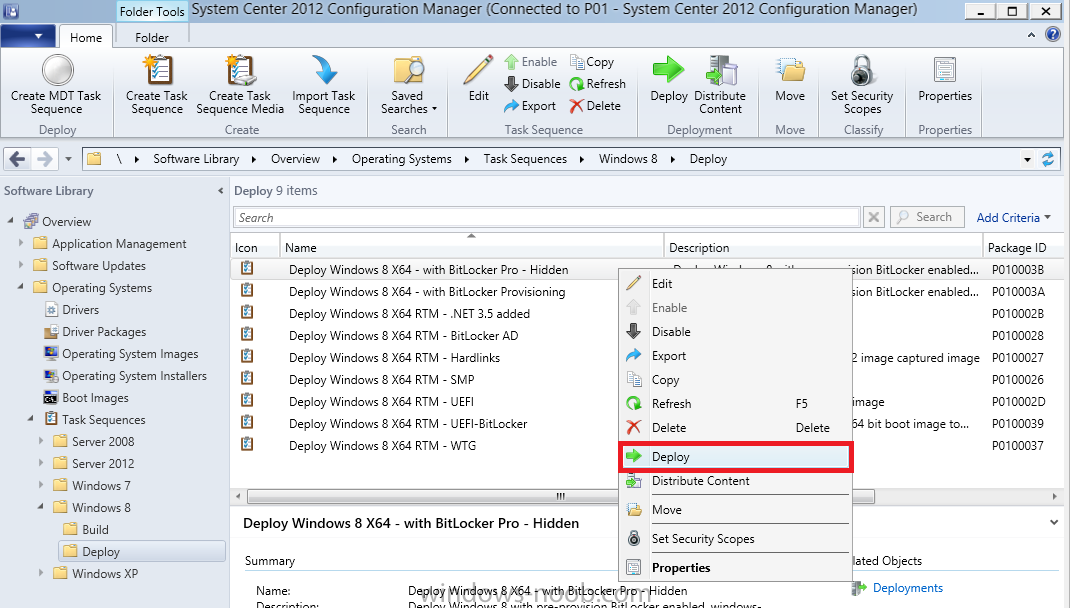
right click on our new Hidden task sequence and choose Deploy
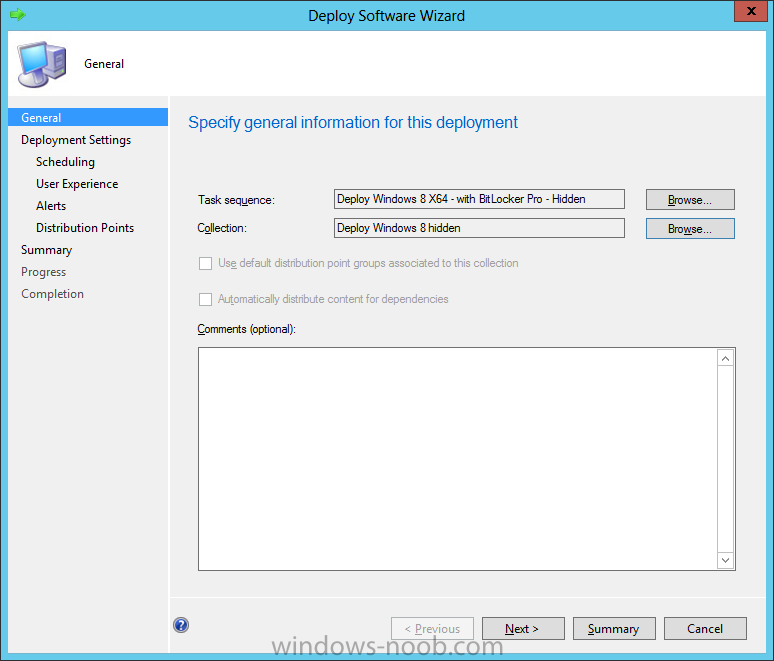
choose our previously created Deploy Windows 8 hidden collection and click next
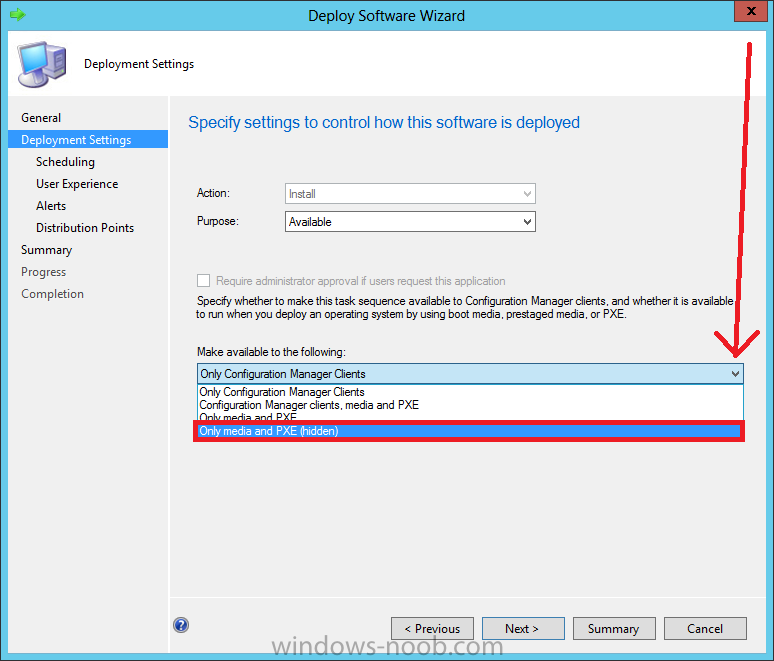
and on the Deployment Settings screen click the down arrow beside Make available to the following and select Only media and PXE (hidden)
click your way through the rest of this wizard.
Step 8. Locate the Deployment ID of the hidden task sequence
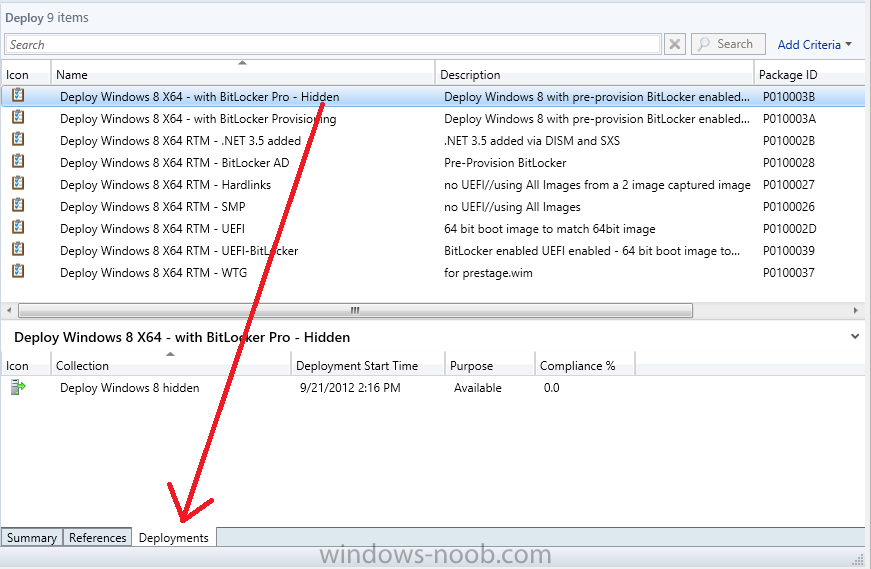
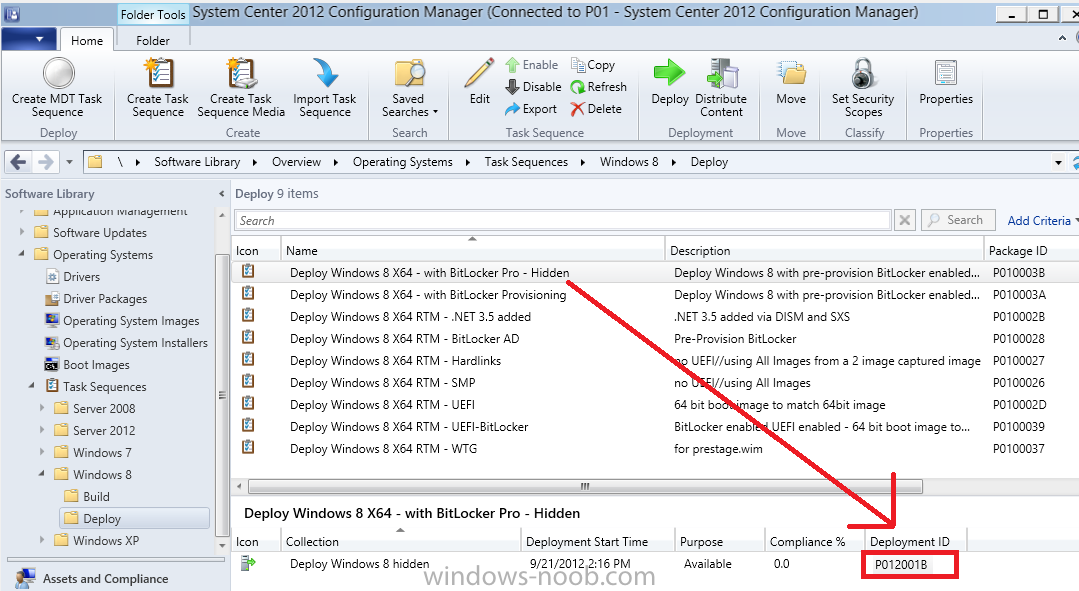
In Task sequences, select our hidden task sequence and click on the Deployments tab below it
our Deployment is listed, click on the column in a blank space and right click to add new column options, select Deployment ID from the list.
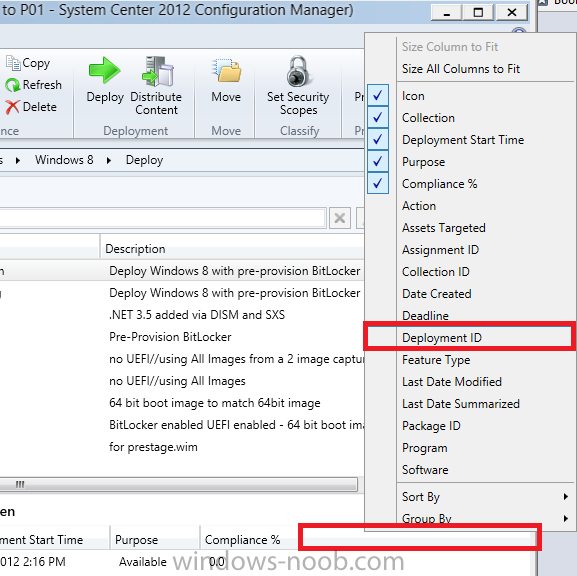
and now we can see our Deployment ID, take note of what it says (write it down).
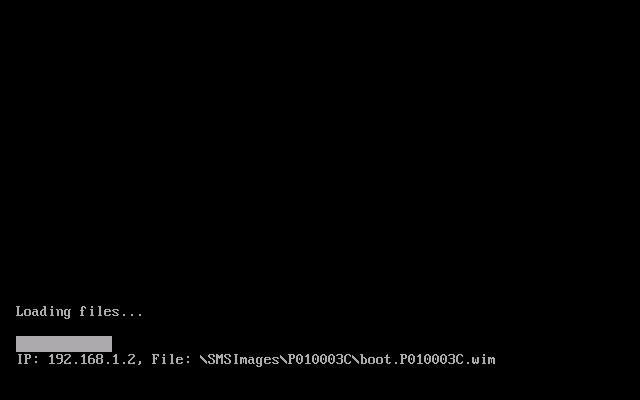
Step 9. PXE boot your client
Now that the hard work is done, PXE boot the computer you added to the hidden collection, note the boot WIM file listed is the Image ID of our Prestart Hidden boot wim
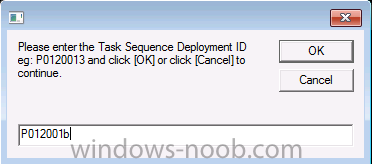
if you did everything above correctly you’ll see the following immediatly after entering your PXE password (if you set one) and before the task sequences are normally displayed (assuming you have some available task sequences)
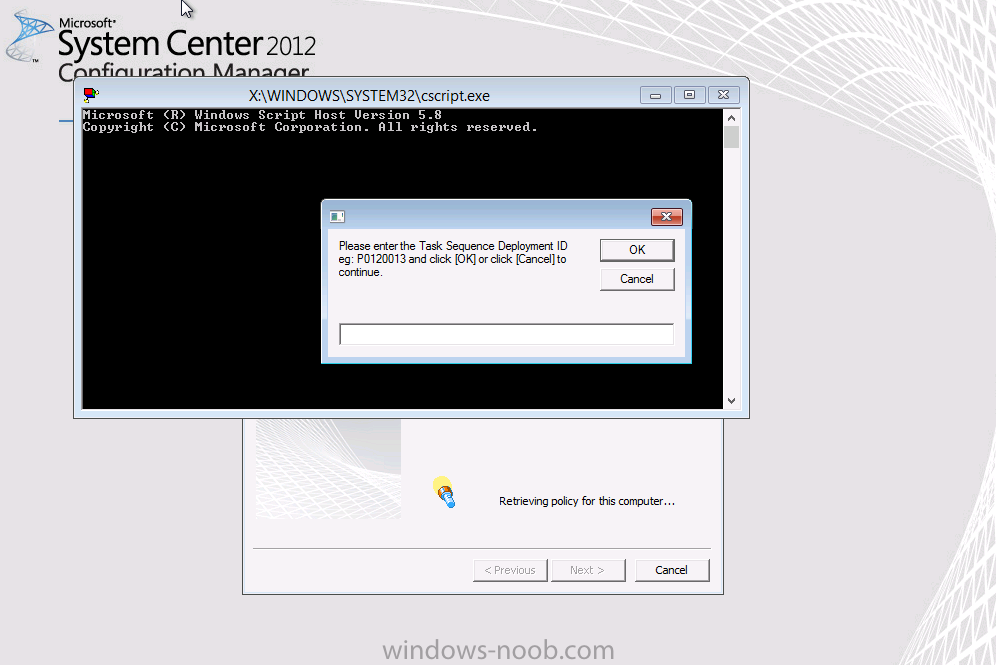
enter the Deployment ID we noted from above, that was P012001B or don’t enter it and just get to see the normal list of available task sequences.
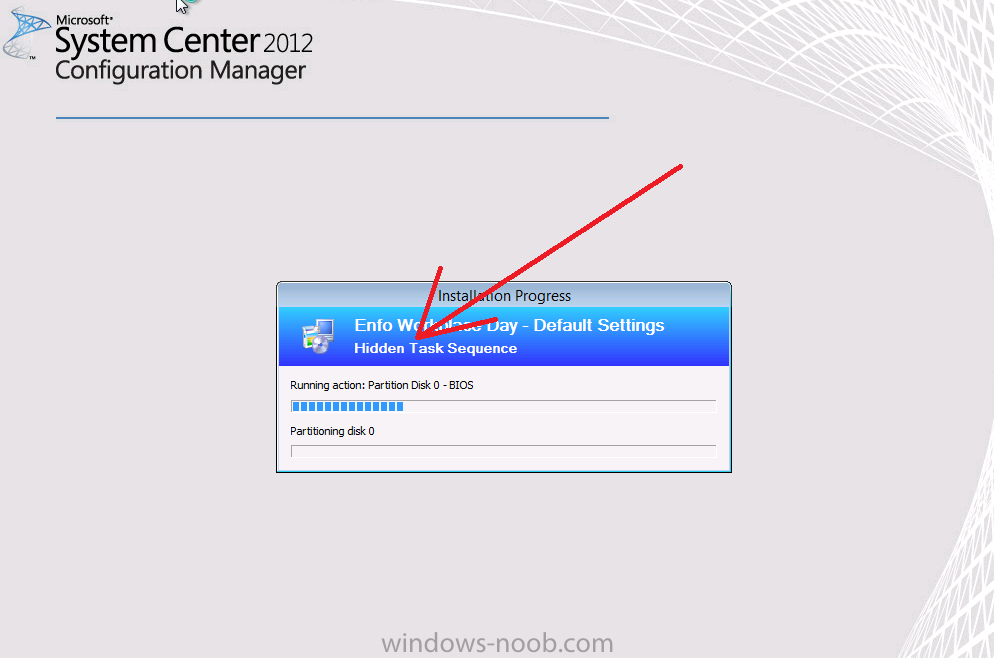
and if you entered the Deployment ID correctly you’ll see your hidden task sequence kicking off, cool huh ? yup, cool.
until next time, adios !
Next Steps: Perform the above ‘on-demand’, if you want to learn how, click here.

One thing I would point out is that this new deployment property is not recognized by pre-SP1 clients. As such, if you have upgraded your site/hierarchy from ConfigMgr 2012 RTM to ConfigMgr 2012 SP1 and you still have a mix of RTM and SP1 clients, you’ll want to take care in your targeting. Otherwise, the deployment will be visible in Software Center for your targeted RTM clients.
Pingback: Hide an OSD Task Sequence from the Software Center | SCCM Tips and Fixes
Thanks for the awesome guide! This helped my organization out a ton for using test task sequences. I have though tried to take it a step further and instead use an HTA that is launched via a hot key that queries our CAS for all Task Sequences and lists them in a drop down menu for selection. I’m running into a problem however that after the list is populated, something must give OSD the go ahead to continue running as if the script completed and the list of task sequences for the machine appears; instead of waiting for the user to select a TS from the drop down and click okay to populate the variable. Would you happen to know how to stop the HTA from exiting the Sub function and wait for the user to select a task sequence from the drop down? Thanks for any help you might be able to provide!
well i’d need to see the script you are using to figure it out, can you post it here or mail it to me and i’ll take a look
Pingback: How can I make multiple hidden task sequences available on-demand in Configuration Manager 2012 R2? | just another windows noob ?