

Note: This post was done using a technical preview version of Windows 10 and due to that fact, Configuration Manager 2012 R2 does not currently support this (or any) version of Windows 10. As a result, this is not supported by Microsoft. I’m only doing this because I want to see if it’s possible to deploy Windows 10 with the current release of Configuration Manager, which at the time of writing (Oct 1st, 2014) is 2012 R2 CU3.
Please also read the Support statement from Microsoft about Windows 10 here of which I’m copying the relevant bits below:
- The next version of System Center Configuration Manager will deliver full support for client deployment, upgrade, and management of Windows 10 and associated updates.
- System Center 2012 R2 Configuration Manager or SP1 – we will provide an update to support Windows 10 deployment, upgrade and management with existing ConfigMgr features.
- System Center Configuration Manager 2007 (SP2, R2, and R3) – we will provide an update to support the management only of Windows 10
- Microsoft Deployment Toolkit (MDT) will be updated with support for Windows 10.
Step 1. Download the ISO and Extract the contents
Download Windows 10 Technical Preview Enterprise edition from here, I used the X64 Enterprise ISO (9841.0.140912-1613.FBL_RELEASE_CLIENTENTERPRISE_VOL_X64FRE_EN-US.ISO) for my Guide.
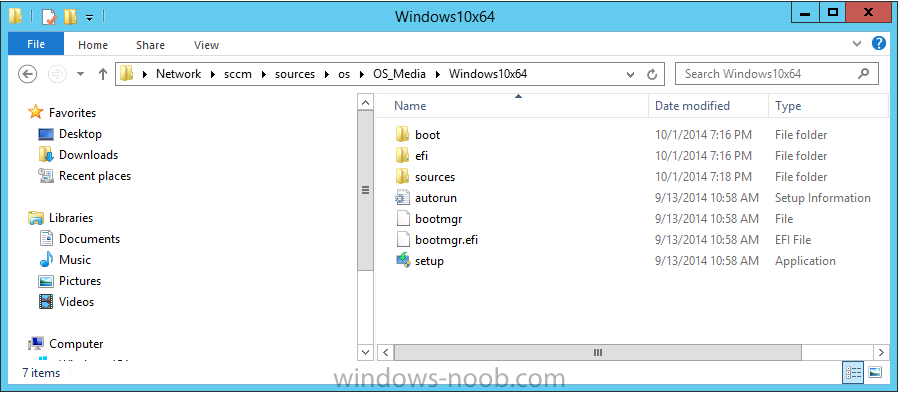
I then Mounted that ISO in my Configuration Manager 2012 R2 Hyperv virtual Machine and extracted the contents to \\server\sources\os\os_media\Windows10x64
you might also want to download the technical preview guide from here.
Step 2. Add the Operating System Installer Image and Distribute Content
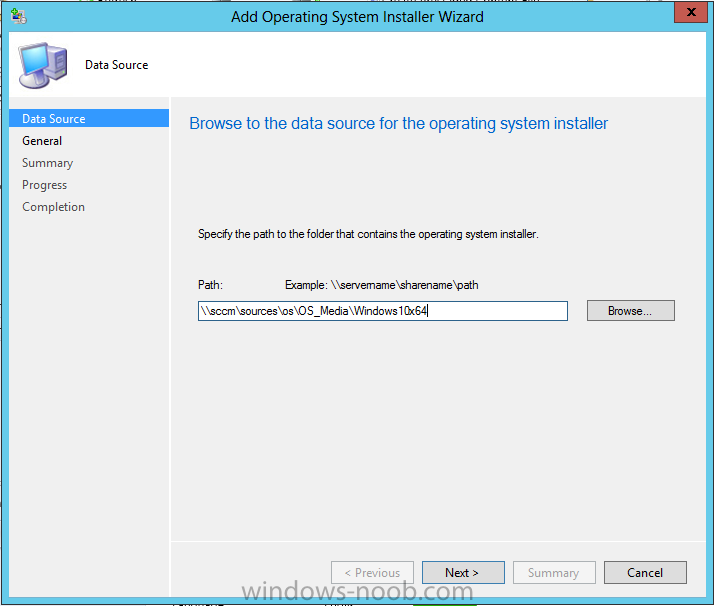
In the Configmgr Console, expand Software Library, Operating Systems, Operating System Installers, right click and choose Add Operating System Installer

browse to the path where we extracted it in Step 1
fill in some details about the image
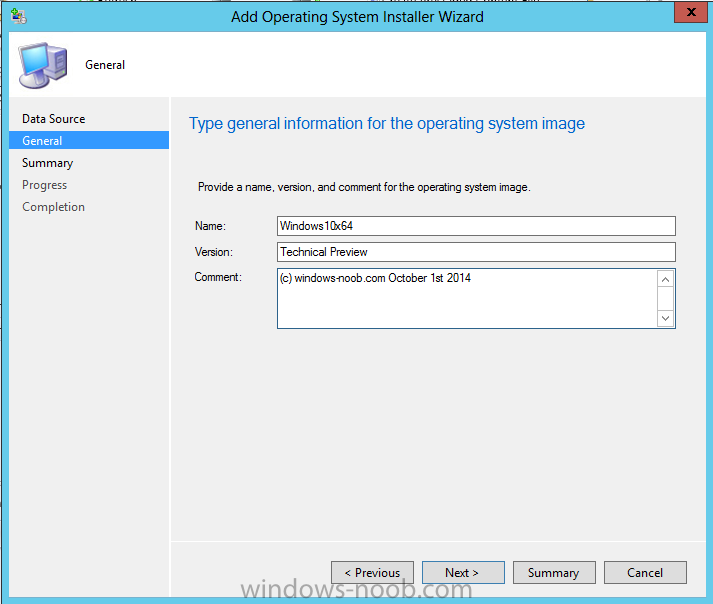
and click next through to the summary

Step 3. Distribute the image to your distribution points
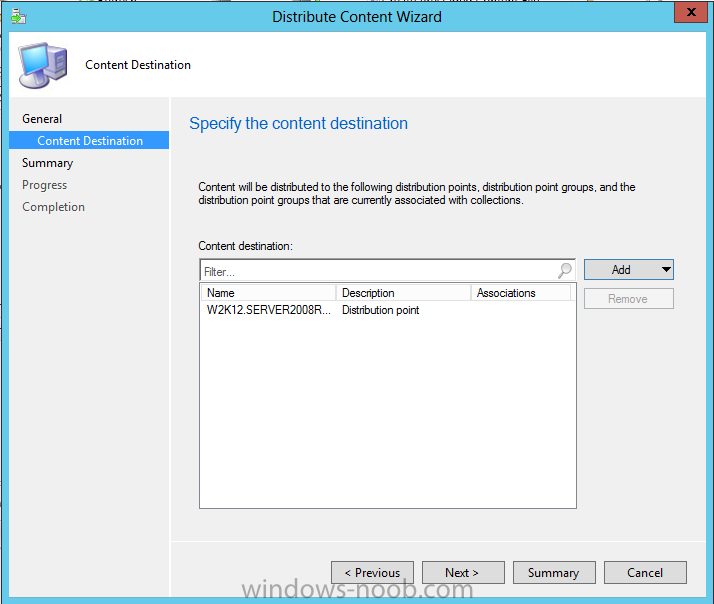
Once added, distribute the content to your DP’s by right clicking the image and choose Distribute Content.
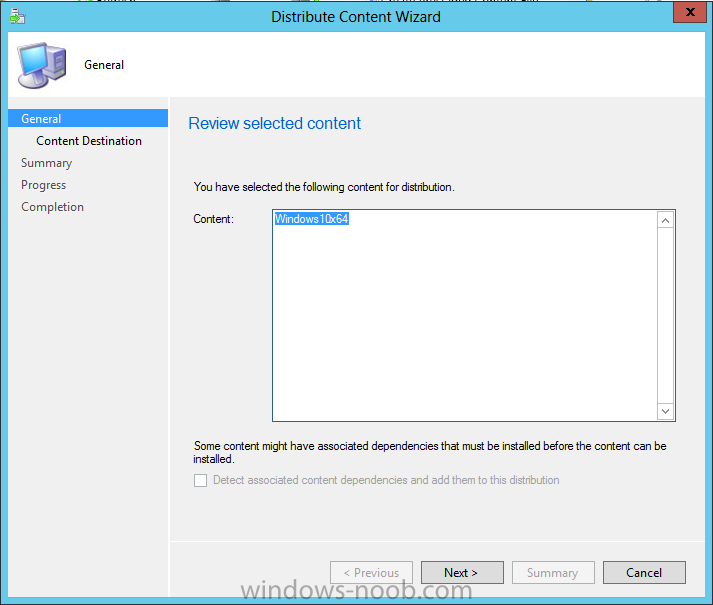
and continue through the wizard
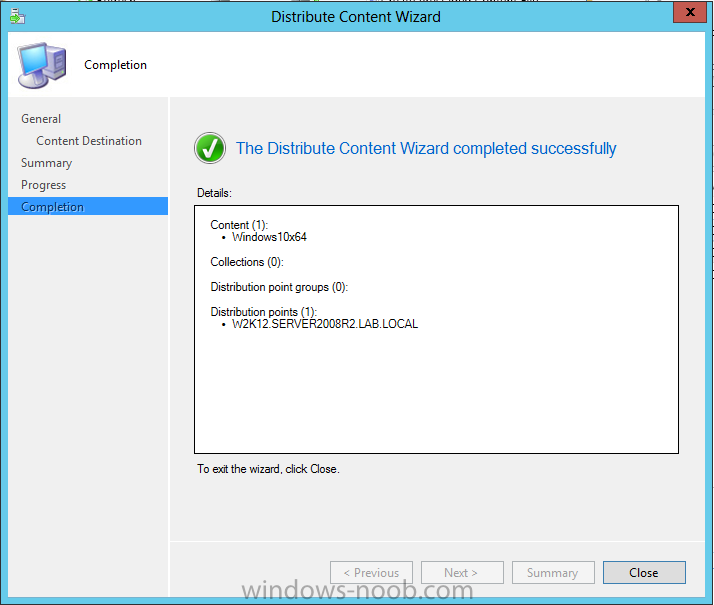
and continue through to completion
Step 4. Create the Build and Capture Task Sequence
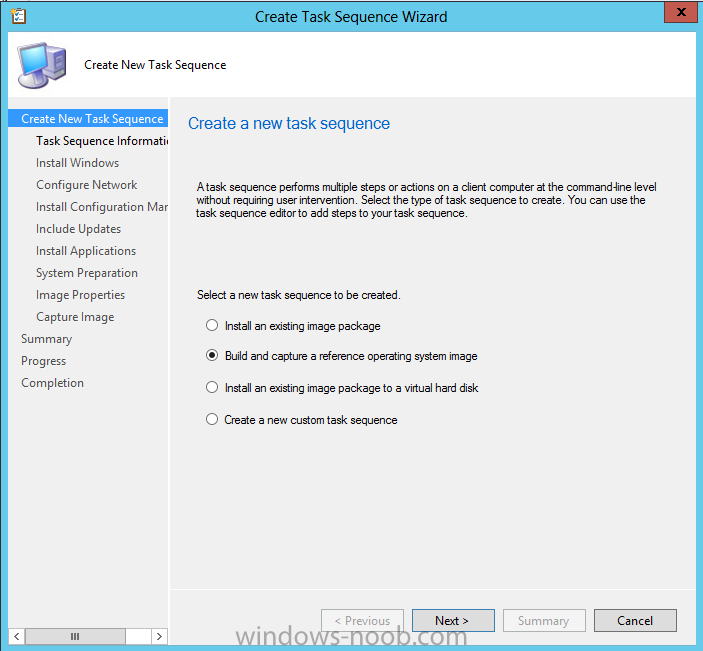
In task sequences, right click and choose Create Task Sequence

Choose the Build and Capture a reference operating system image option
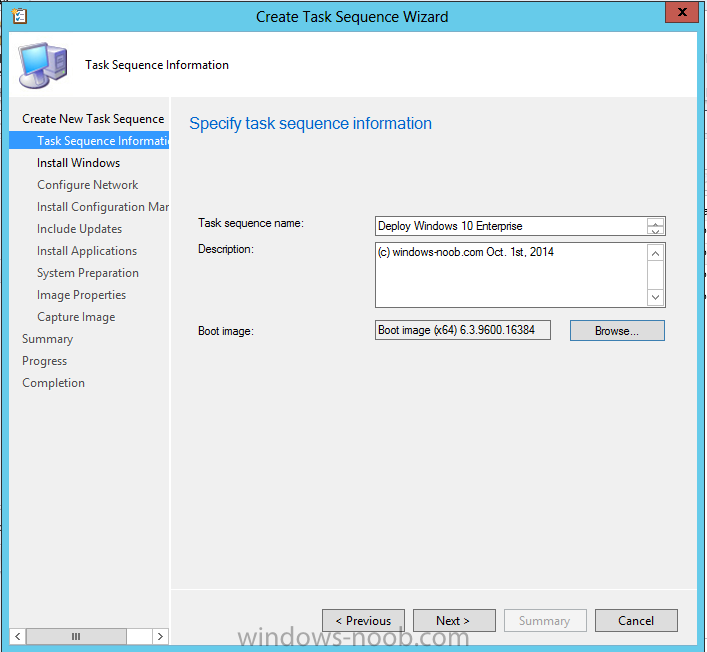
fill in the details and choose a X64 boot image
Next, edit the Install Windows step, select any OS other than Windows 10 (which won’t show up anyway, we’ll add it later), in this screenshot I selected Windows 8.1 Enterprise.
Note: We will edit this step later.
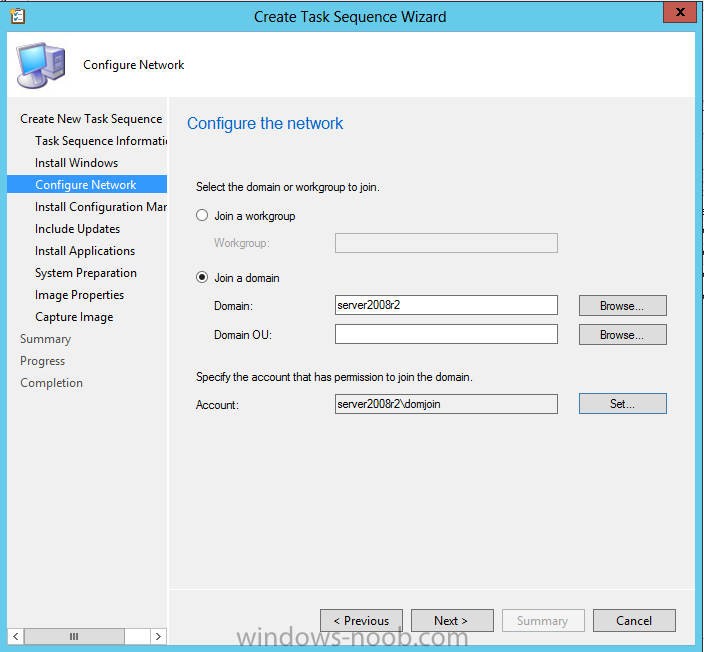
for network select to join your domain and enter the credentials required
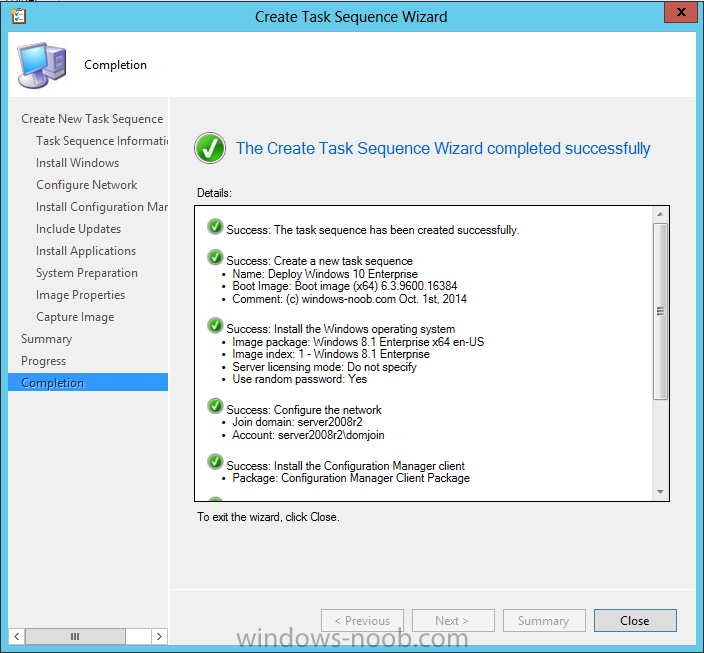
select your Configmgr Client in the next step then next your way through on to the Capture image step (if you get any capture wim filename error, ignore it), fill in your capture details, click next through to summary
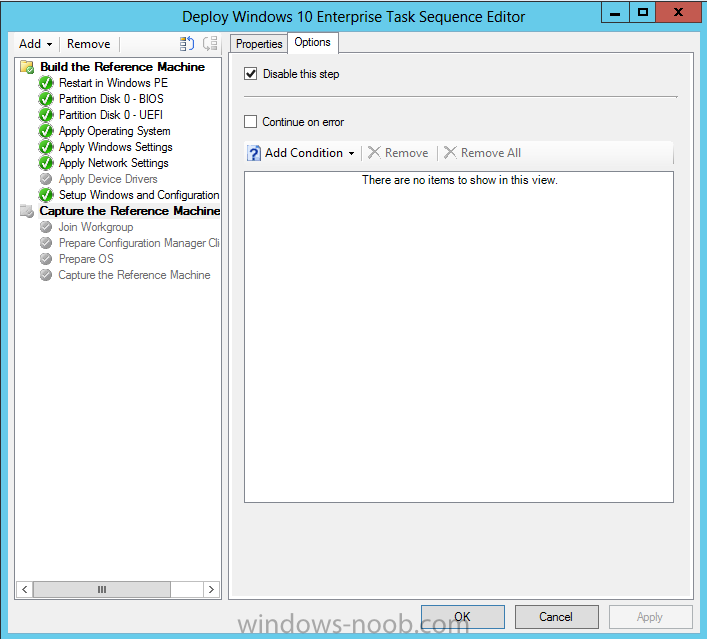
Now right click the task sequence and choose Edit, Disable the Entire Capture Group (for now) and also disable the apply device drivers step as shown below, if you are deploying to real hardware, you could try using Apply Driver Package steps here (I have not tested that yet, will update when I have).
And edit the Apply Operating System Image step, so that it points to our Windows 10 installer instead of a previously captured Windows 8.1 image as shown below
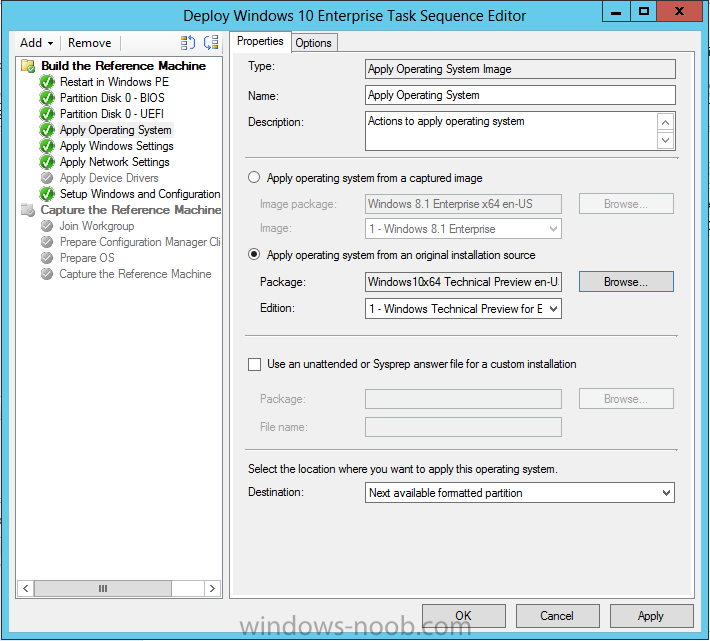
Edit the Apply Windows Settings step, for Product key, use the key contained in the media’s sources folder, in a file called PID.TXT file, otherwise the Setup Windows and Configmgr step will fail (error 31) later on in the process.
Step 5. Deploy the Task Sequence
Right click on the task sequence and choose Deploy,
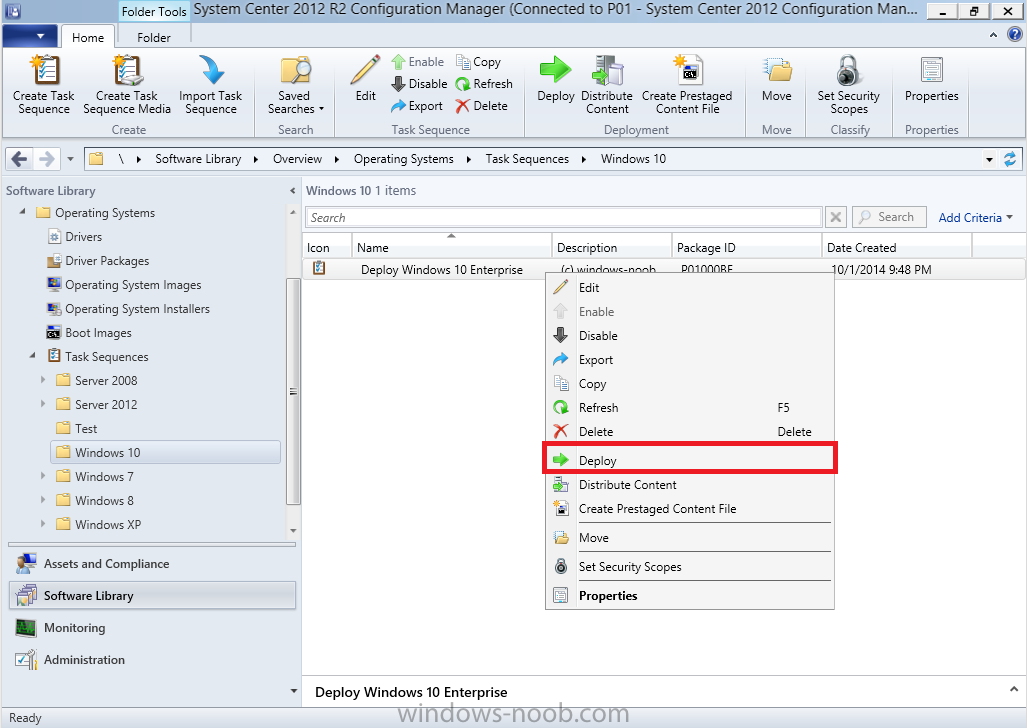
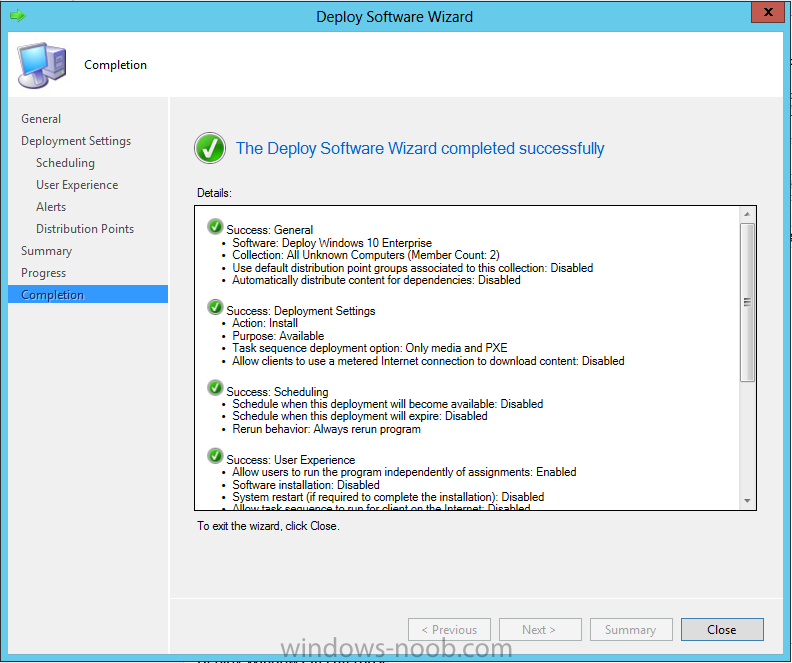
point it to the All Unknown Computers Collection, choose an Available (optional) purpose, and continue through the wizard until completion.
Step 6. PXE boot a new virtual machine and start the process
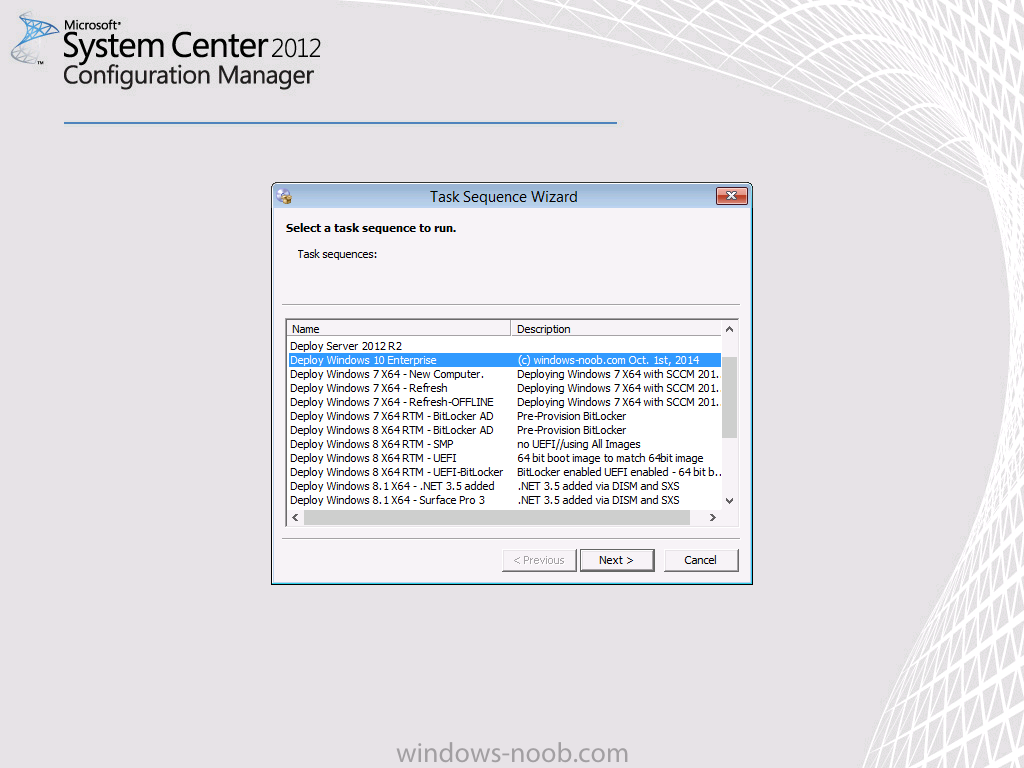
PXE boot your Virtual Machine (create a new one in hyperV), Press F12 for Network boot then you’ll see the now familiar and very nice Configuration Manager 2012 splash screen
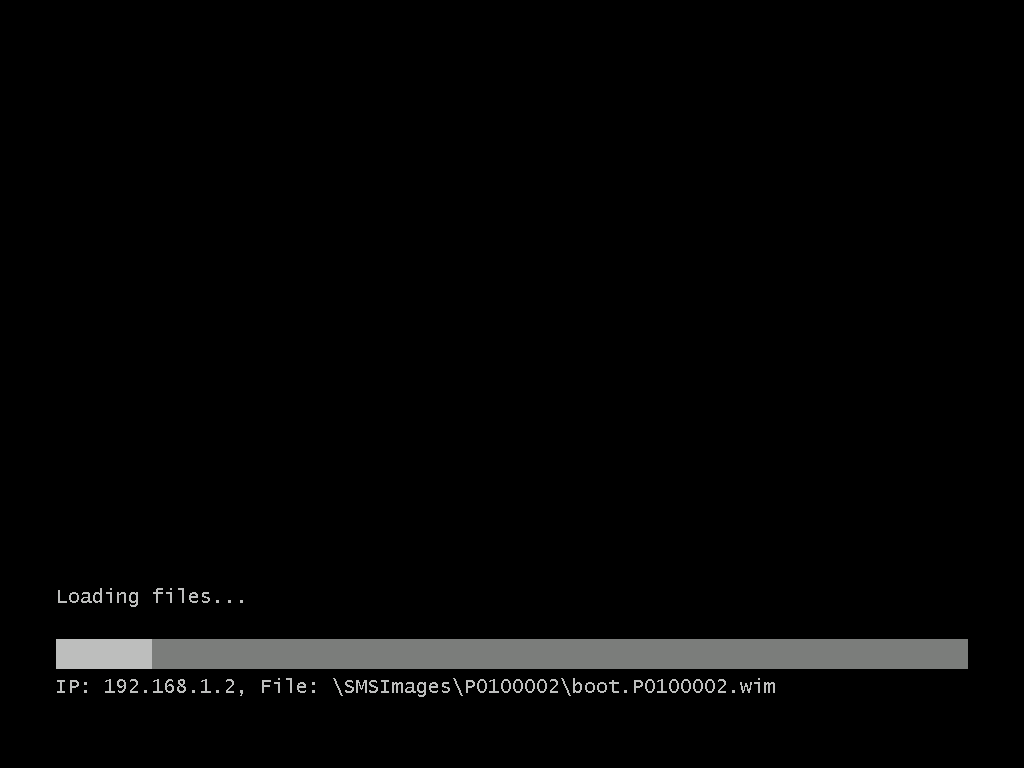
select your Deploy Windows 10 Enterprise Task sequence and press enter, it starts applying the OS
I’m monitoring the installation using cmtrace…
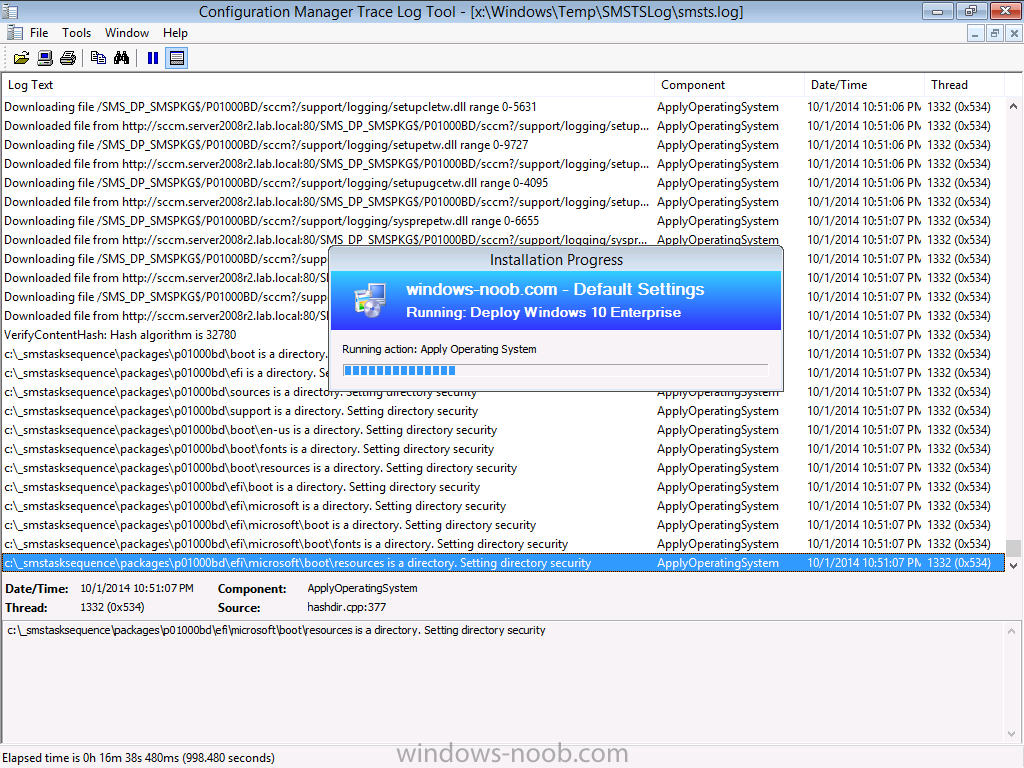
once the operating system image files are copied down, the Operating System installation starts..and the os installation begins
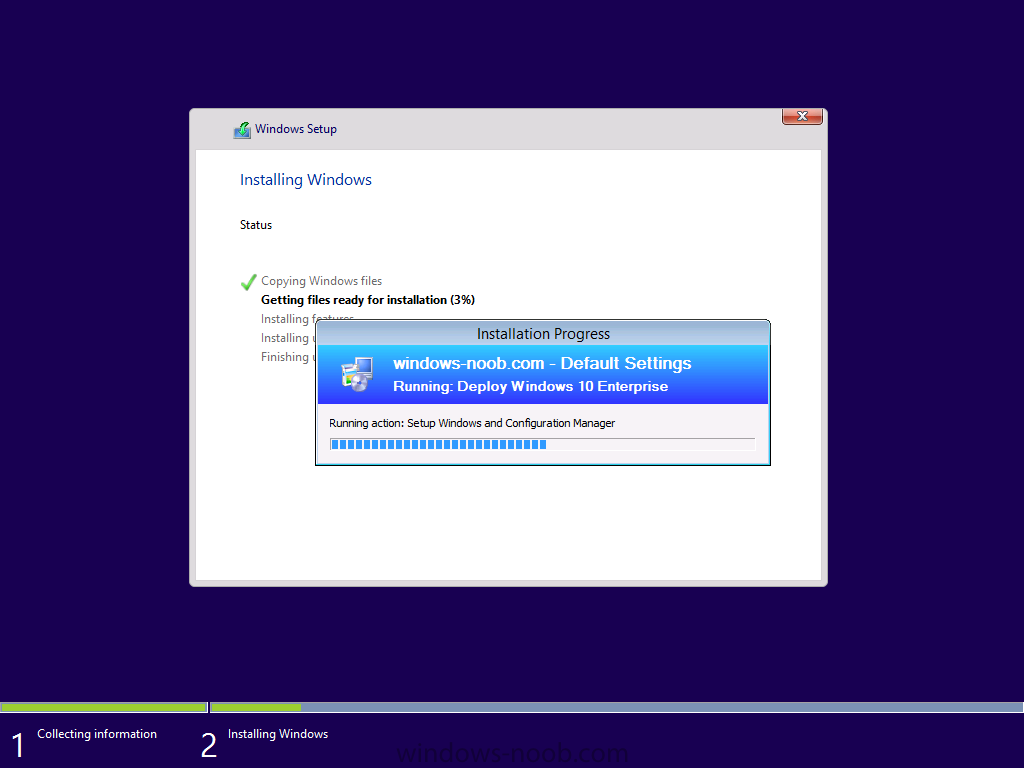
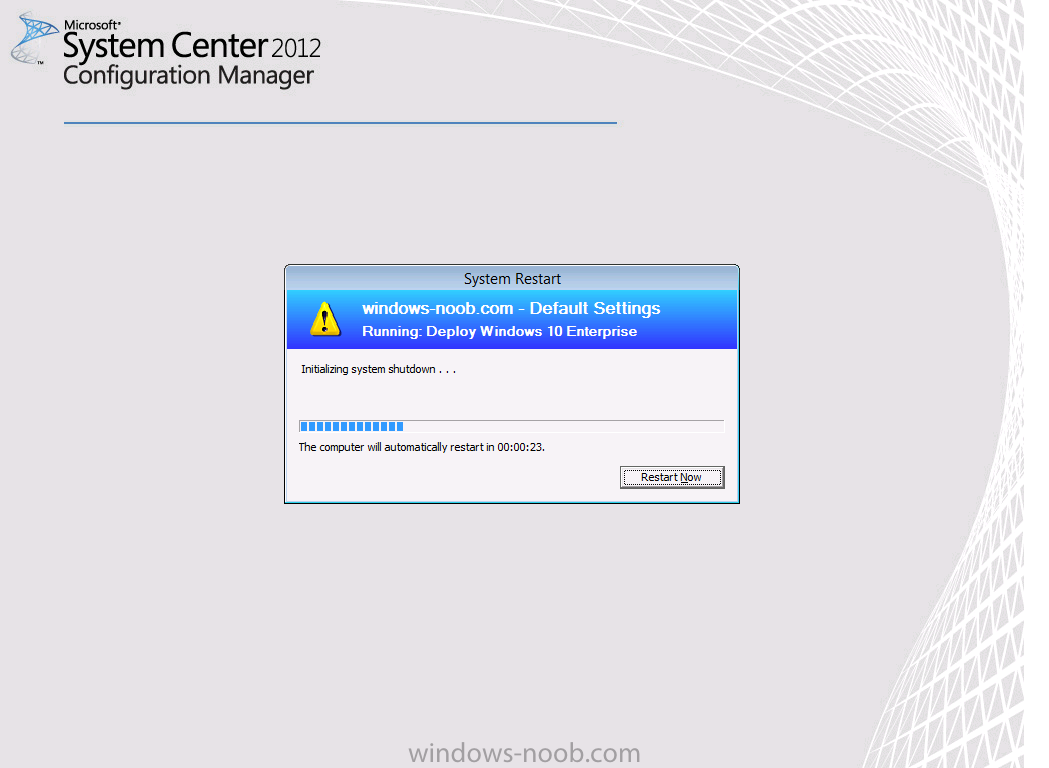
followed by a reboot
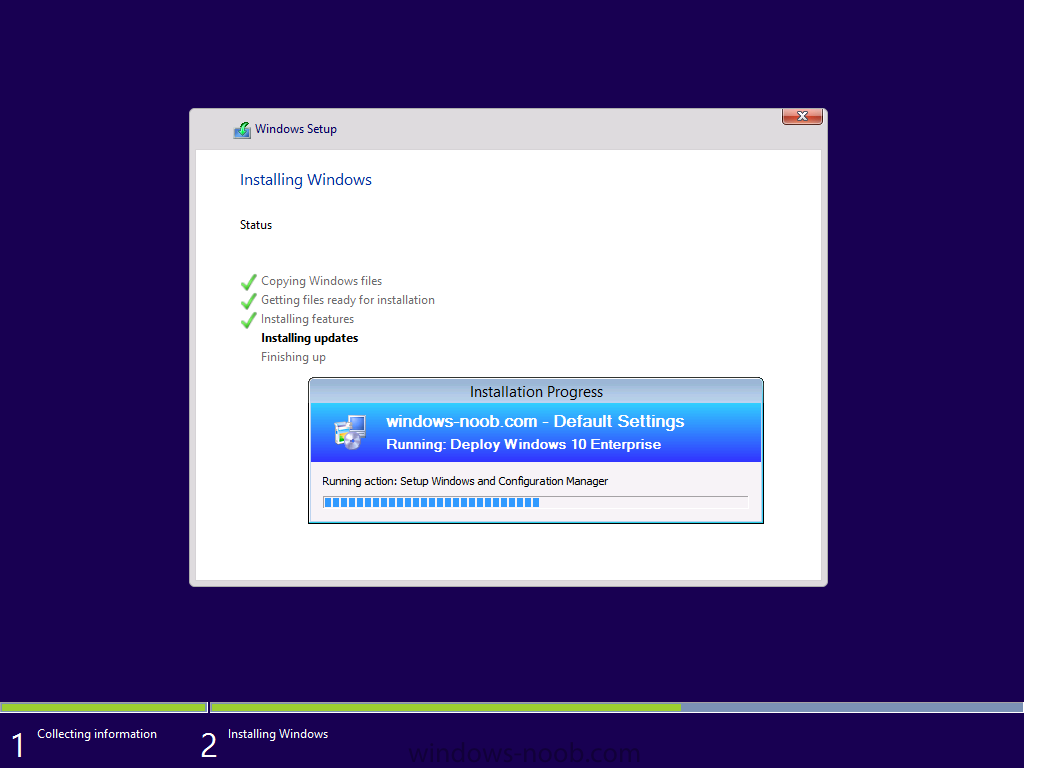
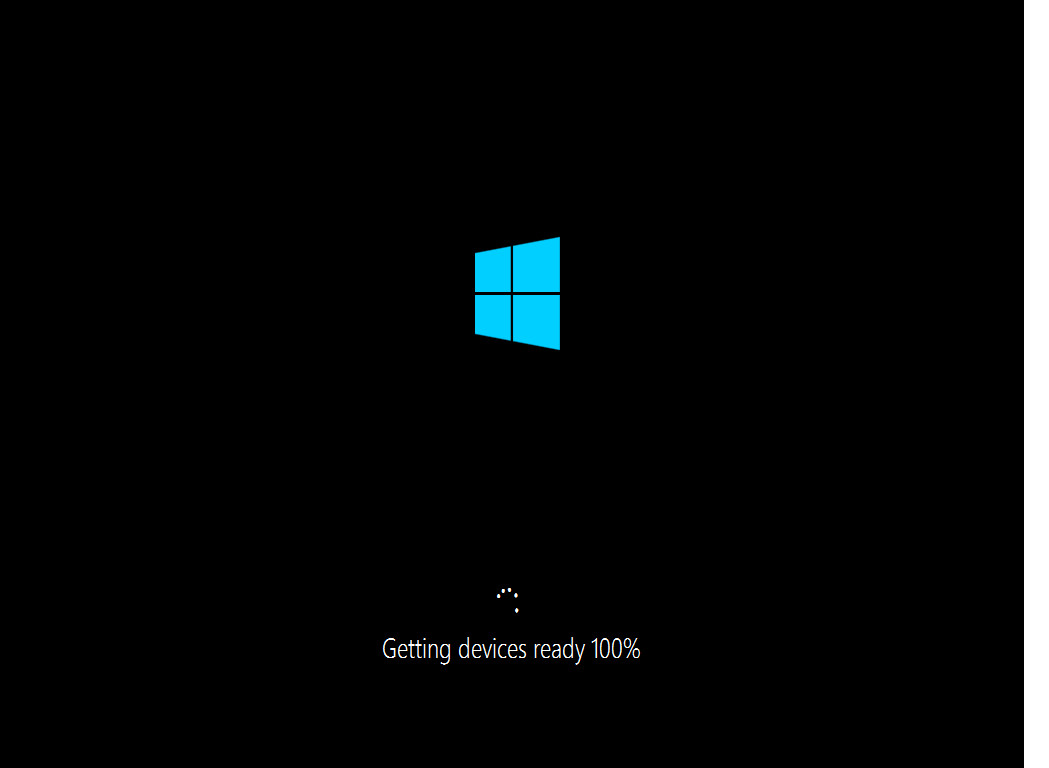
and after the first reboot we get our first look at Windows 10 Technical Preview setting itself up, it looks a lot like Windows 8.1 🙂
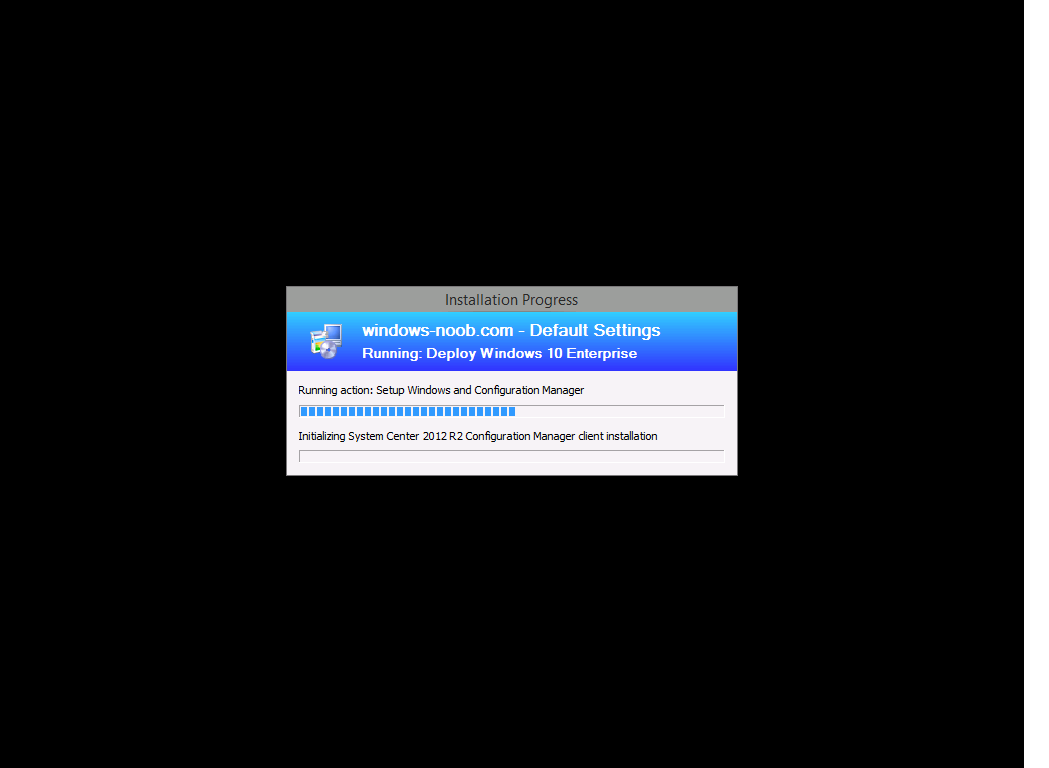
and then Setup Windows and ConfigMgr does it’s work..
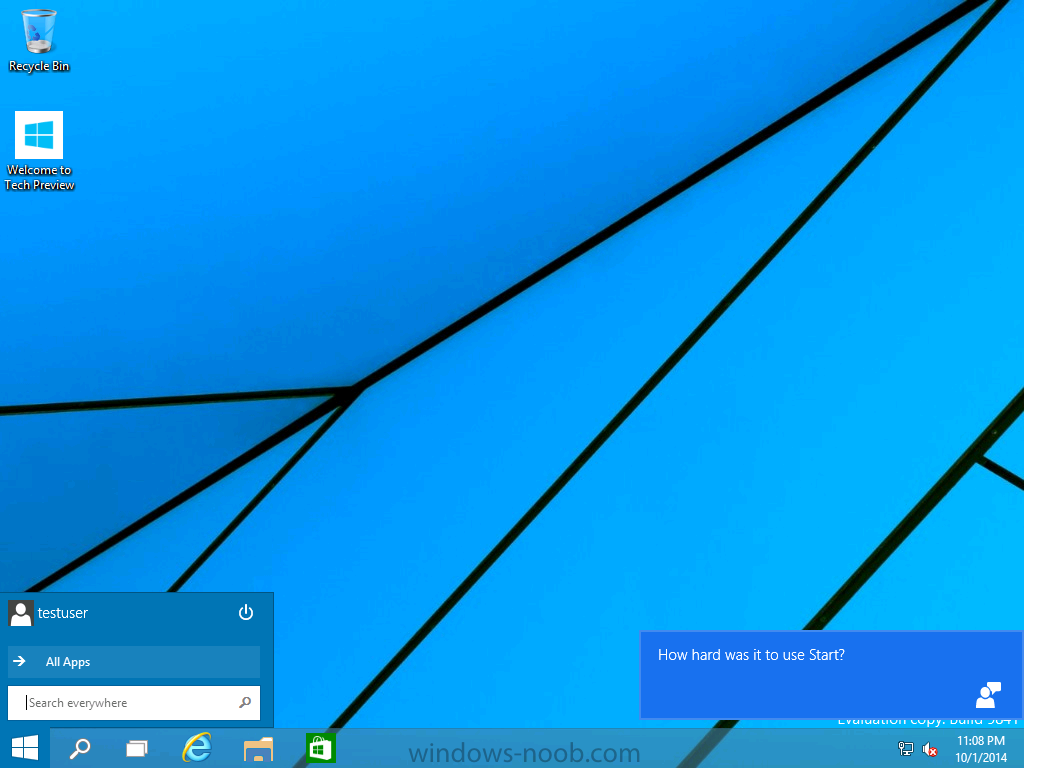
and we are done ! or are we 

yes, we are done !
Summary
It just goes to show, that with a little effort, you can deploy Windows 10 Enterprise edition using System Center 2012 R2 Configuration Manager. Awesome.