

In Part 1 of this series we got our AD and SCCM servers ready, and then we installed System Center 2012 Configuration Manager as a standalone Primary site. In Part 2 we configured the SCCM server further by adding some Windows Server roles necessary for the following Configuration Manager 2012 functionality, Software Update Point (SUP) and Operating System Deployment. In Part 3 we configured the server further by Enabling Discovery methods and creating Boundary’s and Boundary Groups. In Part 4 we configured Client Settings, Added roles and Distributed the Configmgr Client to our Computers within the LAB, then in Part 5 we enabled the Endpoint Protection Role and configured Endpoint Protection settings and targeted a collection called All Windows 7 Computers with these settings and policies.
In Part 6 we configured our SUP further to Deploy software updates to our All Windows 7 Computers and Build Windows 7 X64 collections. In Part 7 we used the Build and Capture process to create our Base Windows 7 X64 wim image. In Part 8 we created a USMT 4 package to migrate the users data using hardlinking and then we imported the captured image into ConfigMgr and created a Deploy Windows 7 X64 task sequence. We created a Deploy Windows 7 X64 Collection and set some User Device Affinity collection variables.
In Part 9 we created an Application, and created a deployment type for that application to only install if the Primary User
was True for that device (User Device Affinity), we then copied our
Task Sequence (duplicated it), deployed the new Task Sequence, added a
computer to the new collection and then PXE booted the computer to the
Deployment Menu. In Part 10
we monitored the Deployment process in a lot of detail to how UDA sent
state messages and we verified that our application installed on the
users Primary Device, in addition we modified our collection variables,
and added a prestart command to our boot image to prompt for the
SMSTSUdaUsers. In Part 11 we setup the Reporting Services Point Role and verified that reporting was working.
In Part 12 we demonstrated a new feature in ConfigMgr which allows us to Patch operating system WIM images using Offline Servicing. This means that you can apply Windows Updates by using Component-Based Servicing (CBS) to update the your previously captured WIM images. In Part 13 we looked at how Role Based Administration is used within ConfigMgr and we created a new custom role
to allow a user (or users within a Security Group) to view Software
Update Reports. This is useful because you will probably want one team
to take care of configuring and deploying software updates, and to grant
another (Management etc) the capability of reviewing Compliance
Reports. In Part 14 we performed a side-by-side migration from Configuration Manager 2007.
Now we will test deploying Windows 8 Consumer Preview.
Note: This is a Windows 8 Consumer Preview OS being installed using a release candidate product so your results may vary and of course it’s not supported by Microsoft.
I’m only doing this because I want to see if it’s possible to deploy
Windows 8 with the current release of Configuration Manager 2012 and of
course it’s fun 🙂
Windows 8 Consumer Preview System Requirements
Windows 8 Consumer Preview works great on the same hardware that powers Windows 7:
- Processor: 1 gigahertz (GHz) or faster
- RAM: 1 gigabyte (GB) (32-bit) or 2 GB (64-bit)
- Hard disk space: 16 GB (32-bit) or 20 GB (64-bit)
- Graphics card: Microsoft DirectX 9 graphics device or higher
- To use touch, you need a tablet or monitor that supports multitouch
-
To access Windows Store and to download and run apps, you need an active
Internet connection and a screen resolution of at least 1024 x 768 - To snap apps, you need a screen resolution of at least 1366 x 768
Step 1. Get the ISO and Extract the contents on your Configuration Manager 2012 server
Download Windows 8 Consumer Preview from here, I used the X86 ISO (Windows8-ConsumerPreview-32bit-English.iso) for my Guide.
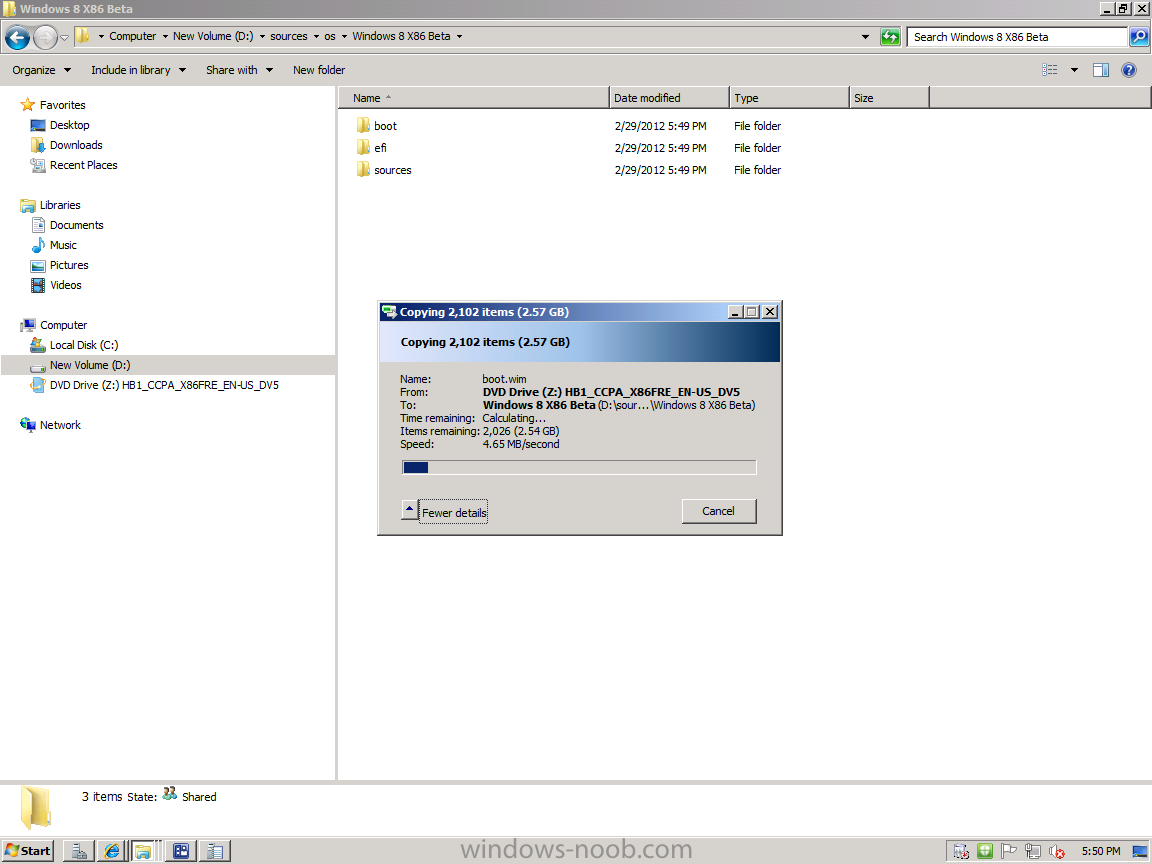
I then Mounted that ISO in my Configuration Manager 2012 RC 2 Hyperv virtual Machine and extracted the contents to \\sccm\sources\os\Windows 8 X86 Beta
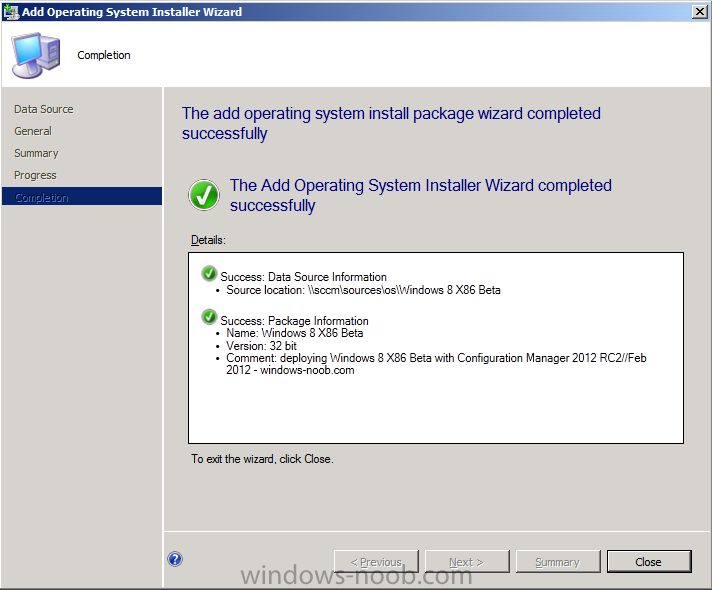
Step 2. Add the Operating System Installer Image and Distribute Content
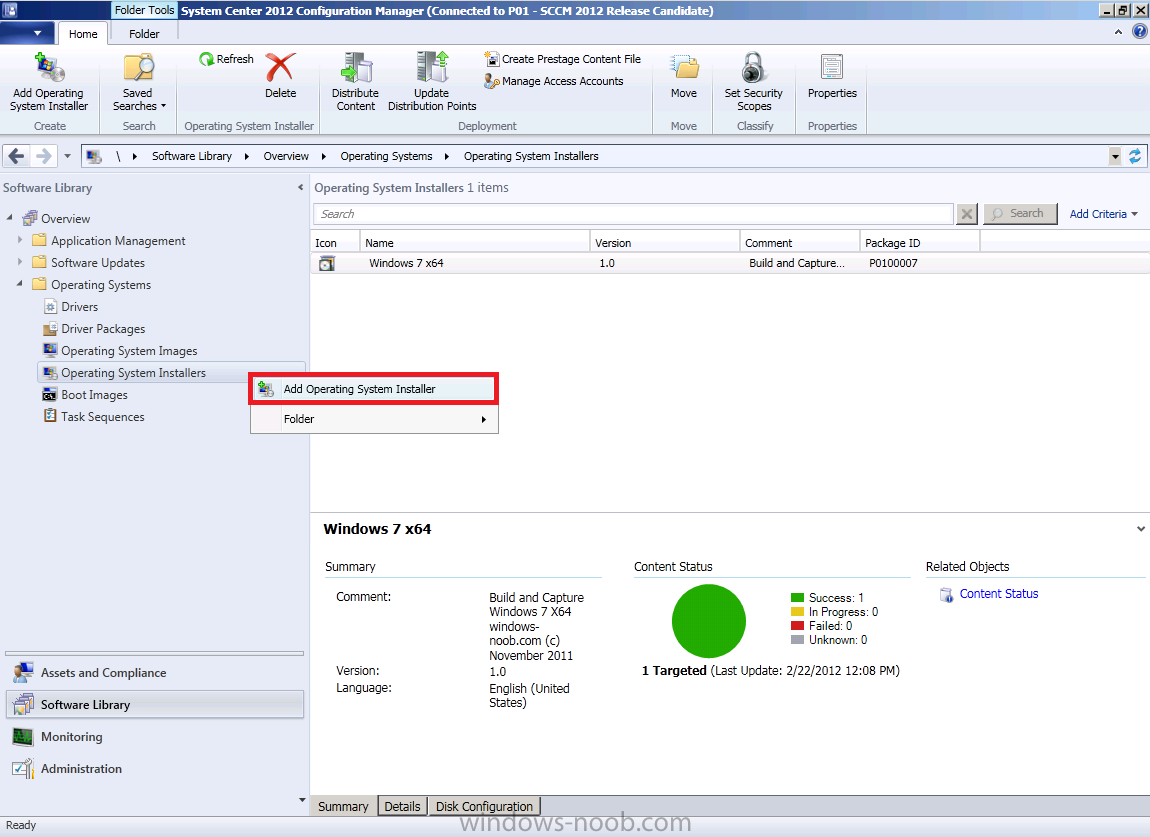
In the Configmgr Console, expand Software Library, Operating Systems, Operating System Installers, right click and choose Add Operating System Installer
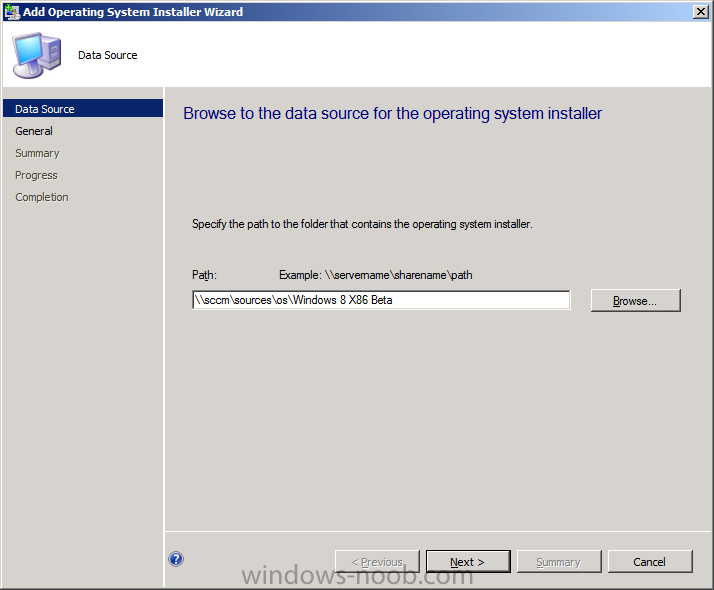
browse to the path where we extracted it in Step 1
fill in some details about the image
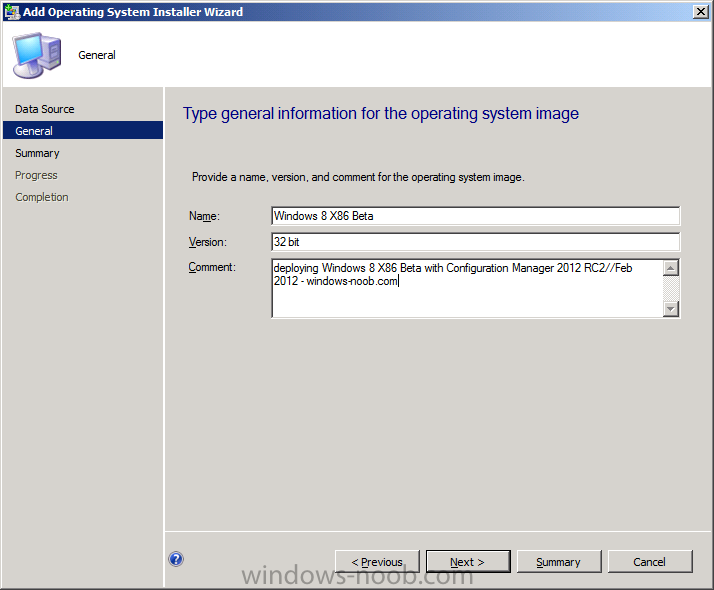
and click next through to the summary
Once added, distribute the content to your DP’s by right clicking the image and choose Distribute Content.
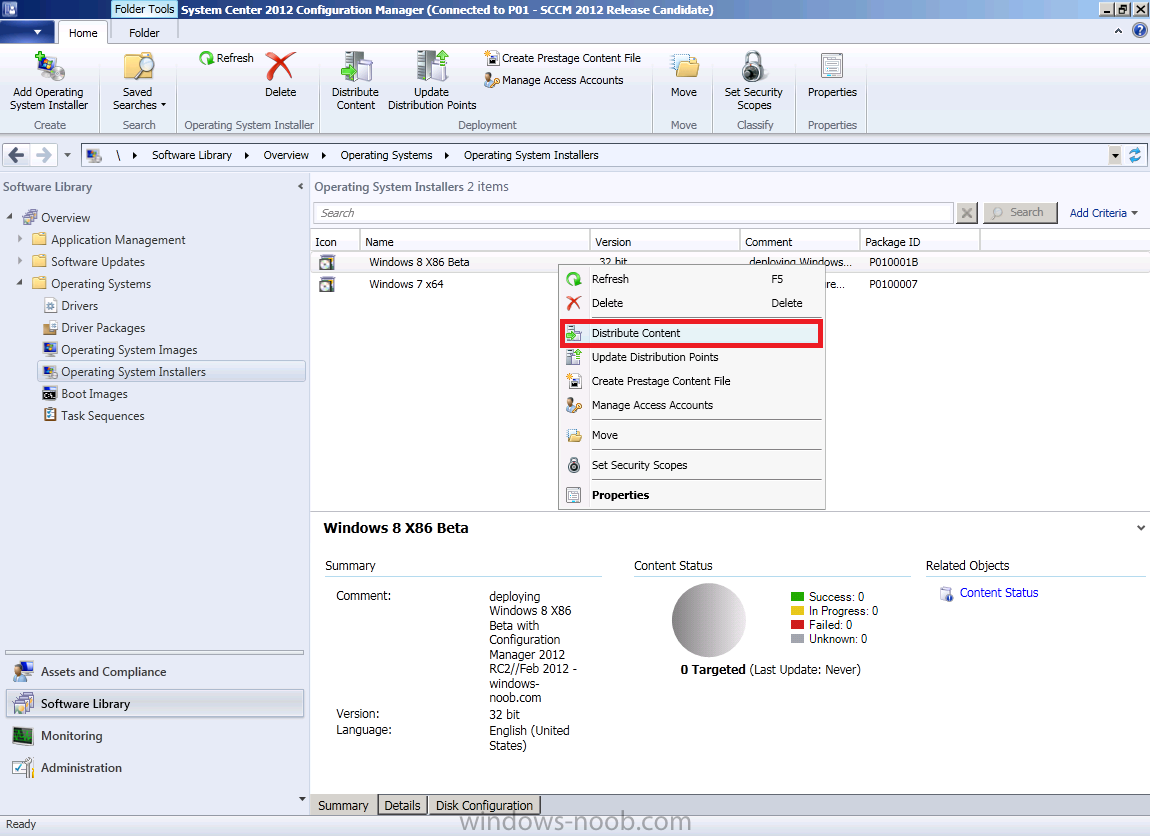
and continue through the wizard just like you’ve done before with Windows 7’s installer image.
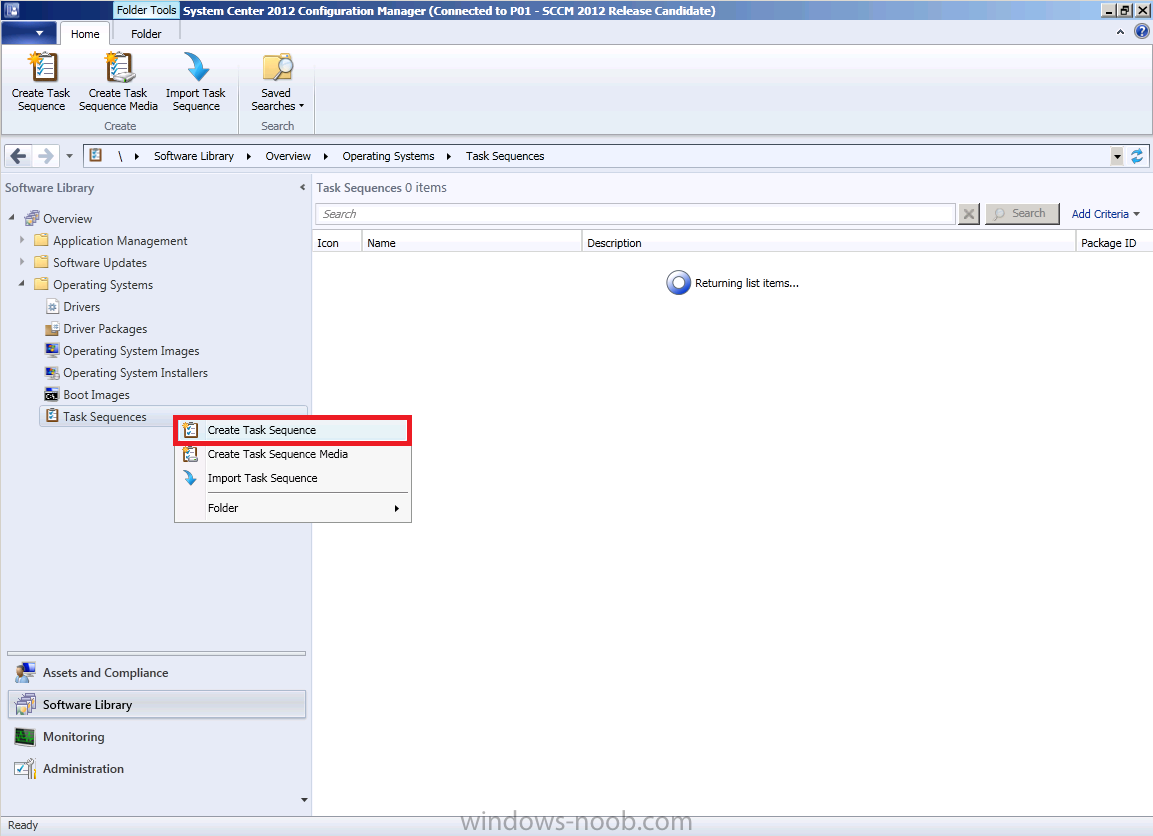
Step 3. Create the Build and Capture Task Sequence
In task sequences, right click and choose Create Task Sequence
Choose the Build and Capture a reference operating system image option
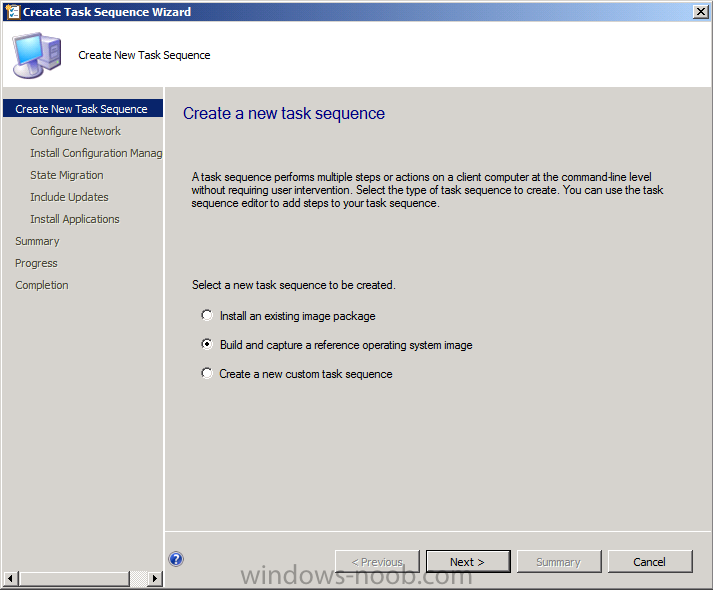
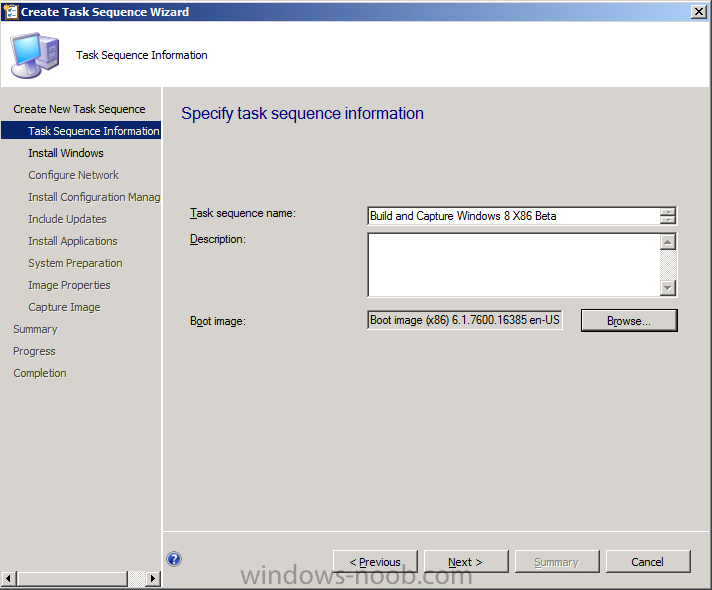
fill in the details and choose a X86 boot image as we are Build and Capturing the X86 Windows 8 image…
Note: if you are trying with the X64 image, then use a X64 boot image.
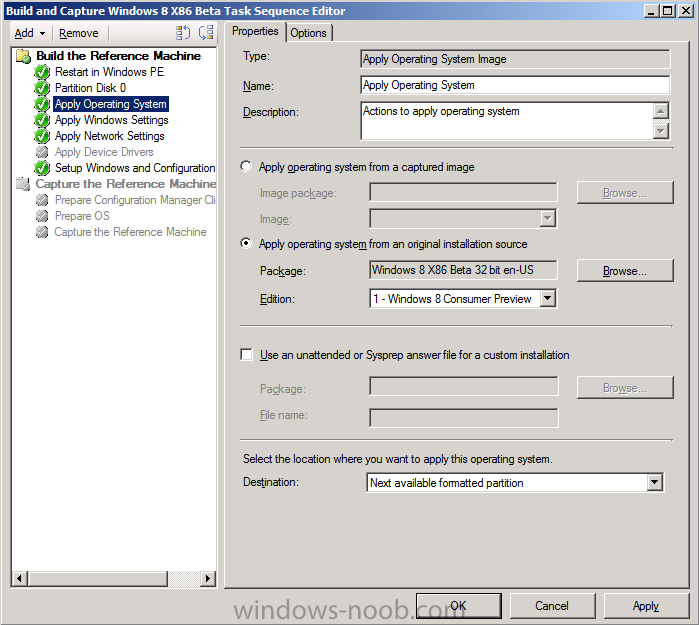
for the Install Windows step, select the following options, for Product key, use the key listed here otherwise the Setup Windows and Configmgr step will fail (error 31) later on in the process.
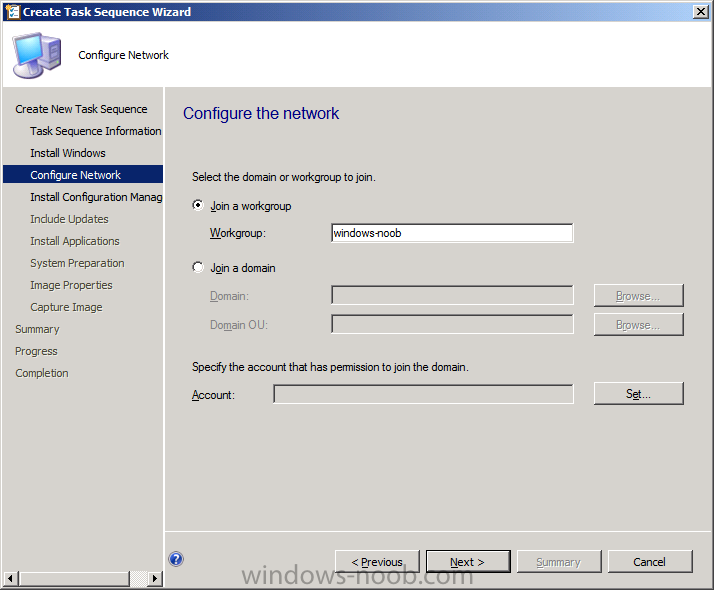
for network select to join a workgroup
select your Configmgr Client in the next step then next your way through on to the Capture image step, fill in your capture details
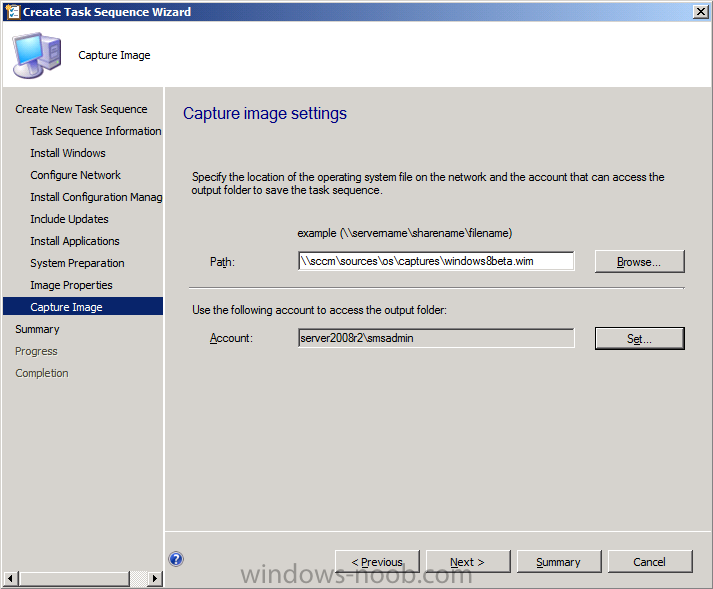
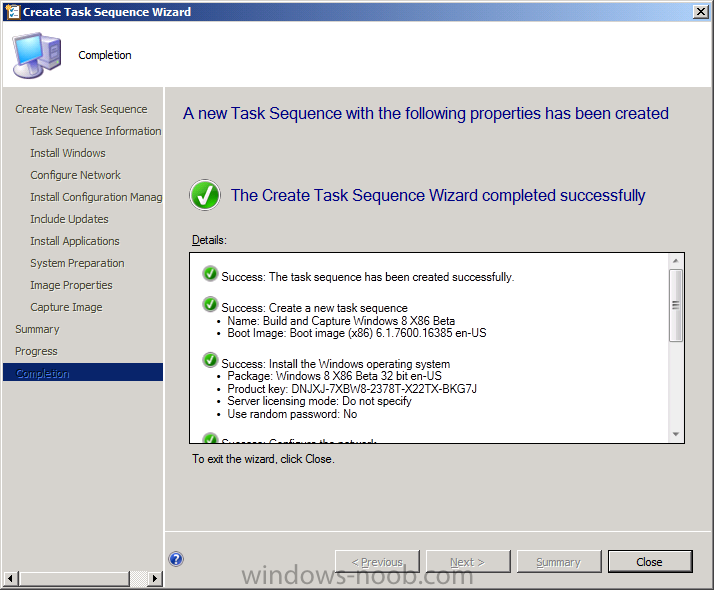
click next through to summary
Now right click the task sequence and choose Edit, Disable the Entire Capture Group (for now) and also disable the apply device drivers step.
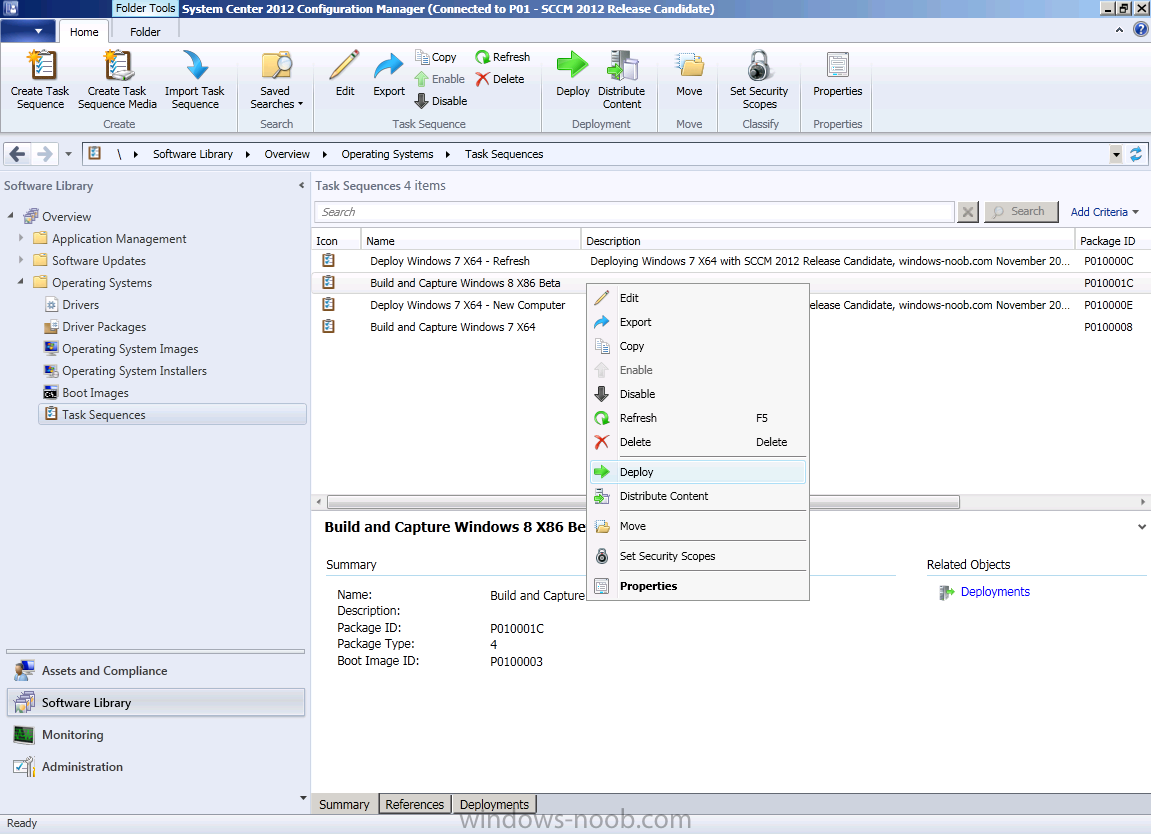
Step 4. Deploy the Build and Capture Task Sequence
Right click on the task sequence and choose Deploy,
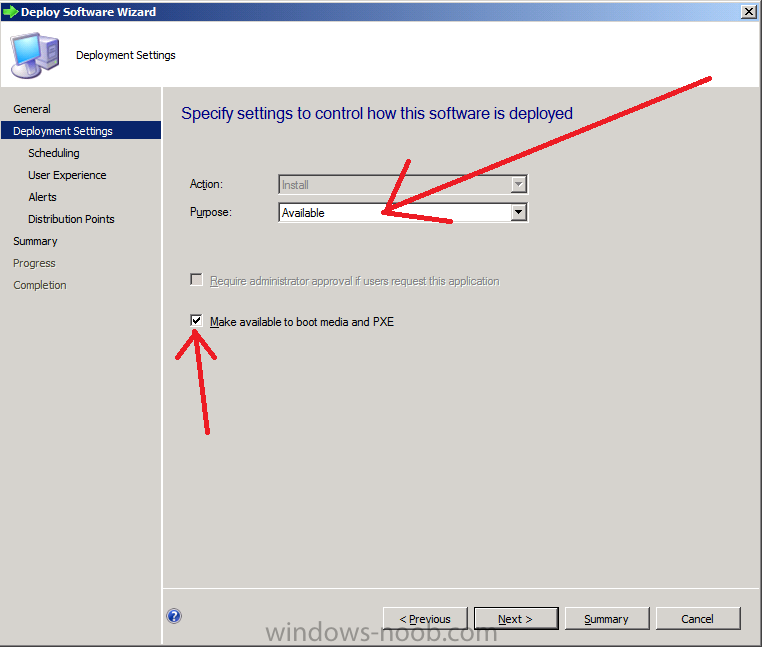
point it to the All Systems Collection (this is a LAB so this is OK, don’t deploy task sequences to All Systems in production please….)
make sure it’s set to Available and enable PXE
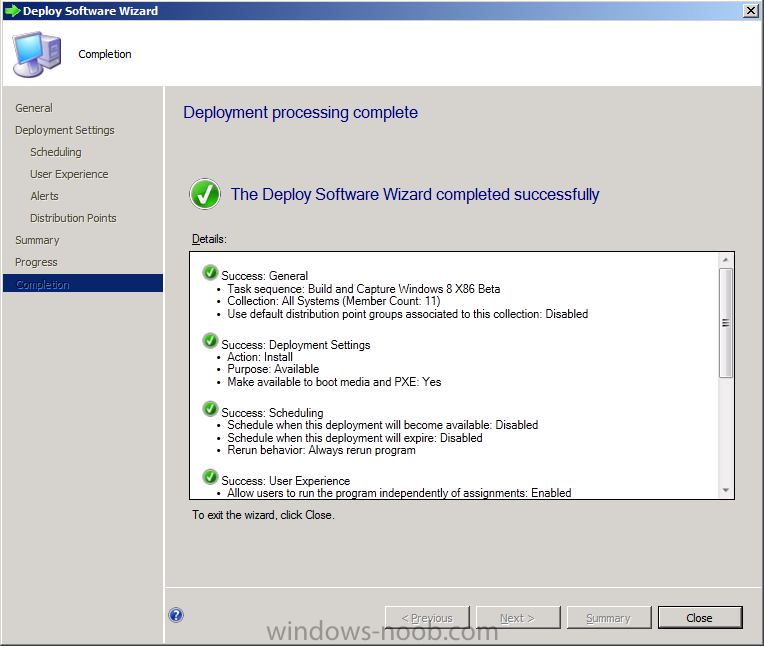
click your way through to completion of the wizard..
Step 5. PXE boot a new virtual machine and start the process
PXE boot your Virtual Machine (create a new one in hyperV), Press F12
for Network boot then you’ll see the now familiar and very nice
Configuration Manager 2012 splash screen
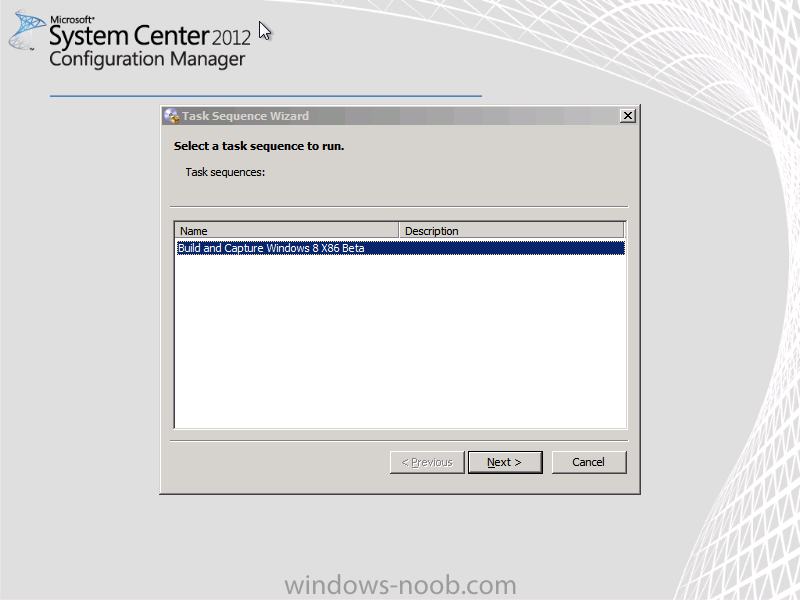
select your Build and Capture Task sequence and press enter, it starts applying the OS
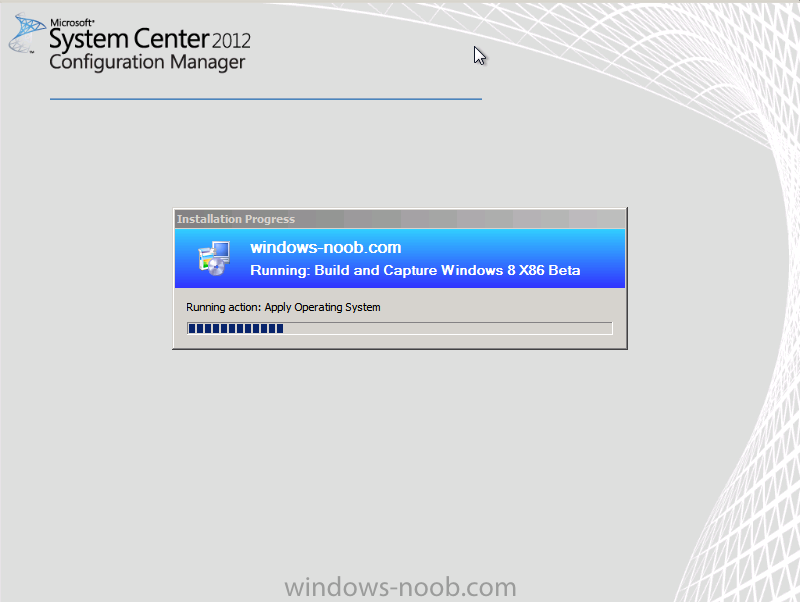
and the Operating System installation starts..notice the color scheme is
slightly different to what we are used to, and I like it !
before it reboots it might be an idea to monitor the SMSTS.log file using cmtrace
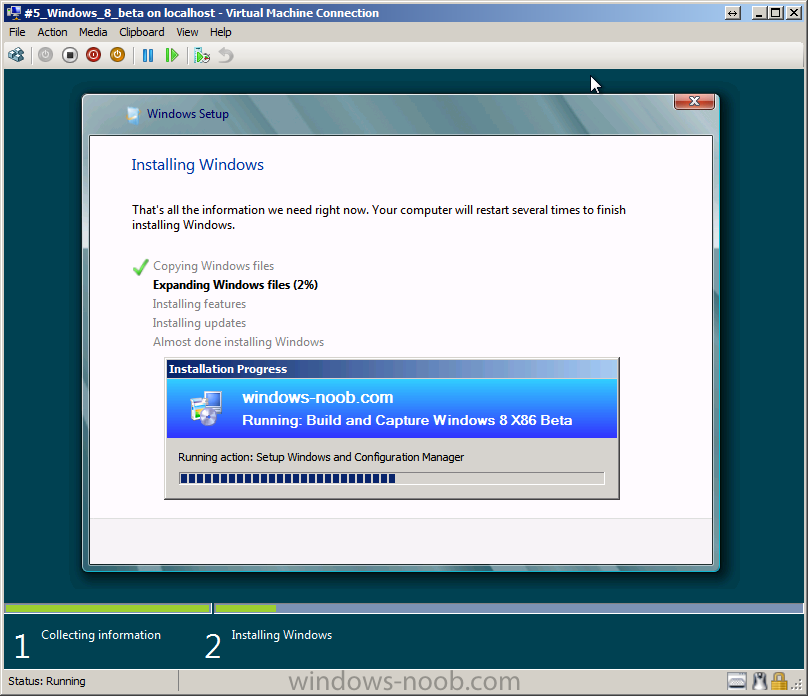
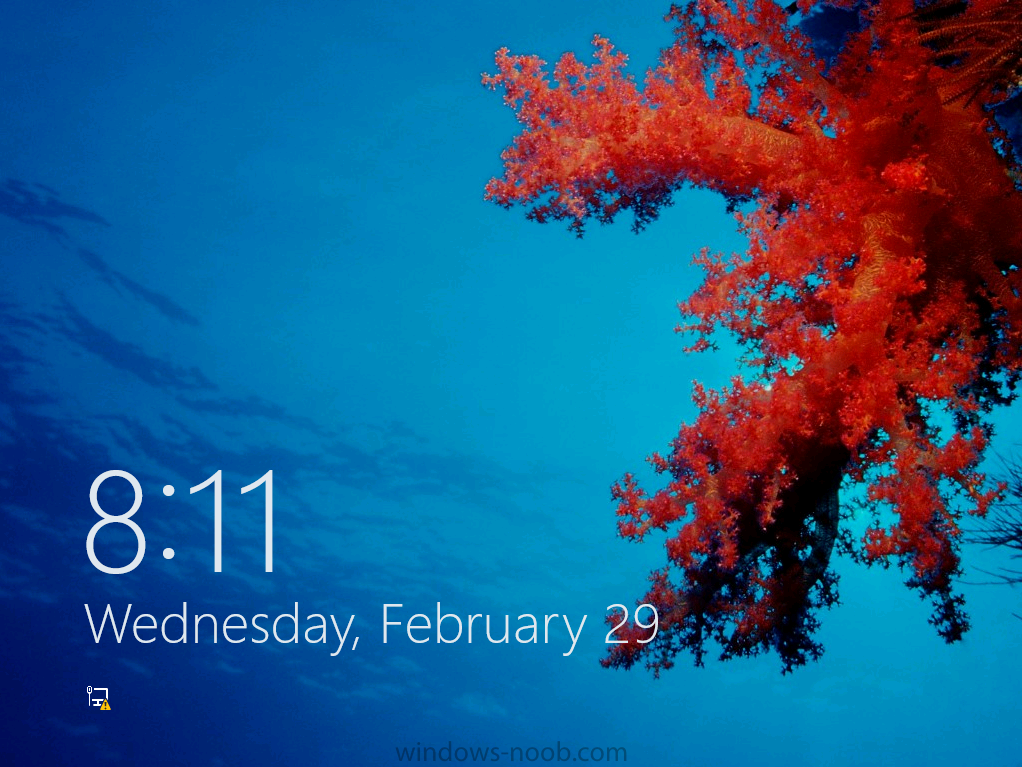
and after the first reboot we get our first look at Windows 8 Consumer Preview setting up 🙂

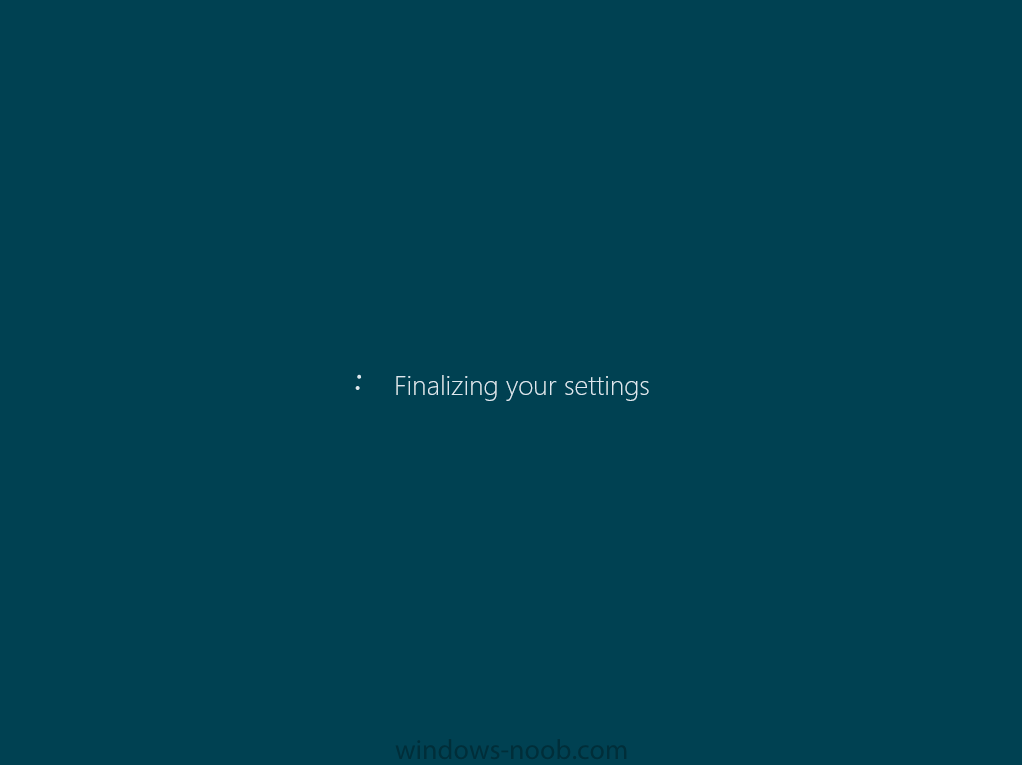
and another reboot takes place..before Windows 8 finalizes settings
and then Setup Windows and ConfigMgr does it’s work..
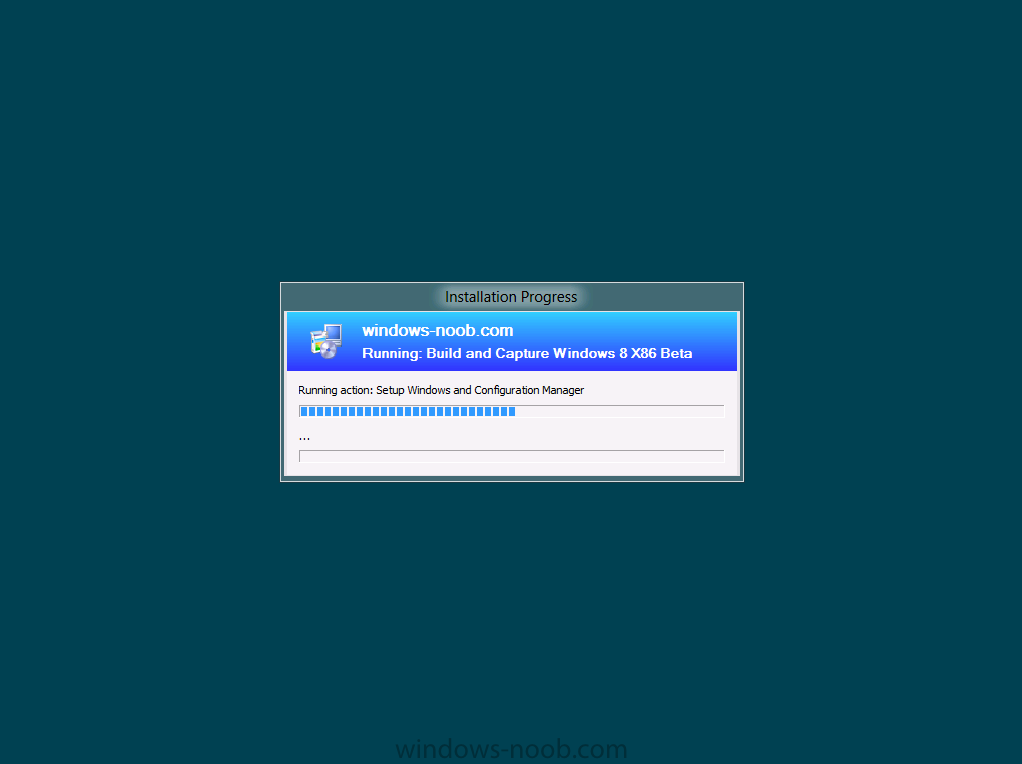
and we are done !
Conclusion: ConfigMgr rocks, and Windows 8 Consumer Preview rocks !!
more screenshots coming soon when bandwidth allows…currently it’s worse than 56k dialup !!!
The original post is here on windows-noob.