

In part one of this guide,
we prepared Office 2010 X86 by downloading the files required
(including the OCT), and created our own MSP file. Now we will add that
customised package to ConfigMgr.
Step 1. Create the Office 2010 Package
Note: Before starting this step, copy the c:\Office2010x86 folder we created in part one of this guide, to your application sources share on your SCCM server, eg:
\\WIN-CILZXI45G1Q\apps\office2010x86
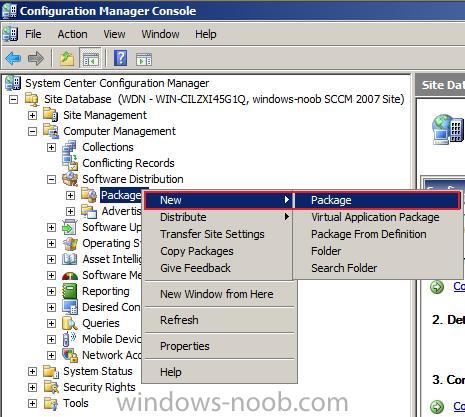
Open your ConfigMgr console, and expand Computer Management, Software Distribution. Right click on Packages and choose New Package.
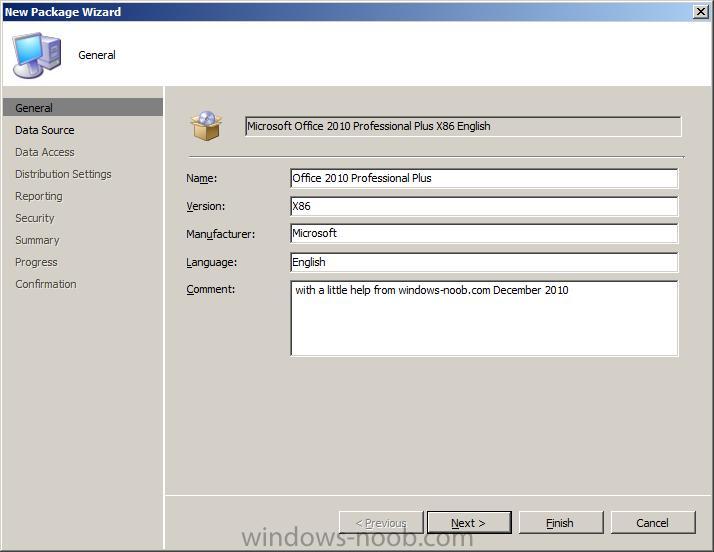
Fill in your package details on the wizard screen
point it to the data source on your network share
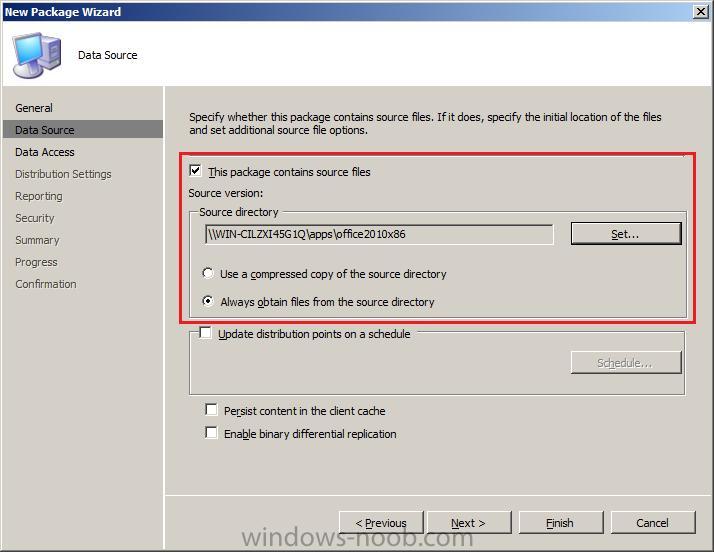
and click next through the wizard until you see the confirmation screen.
Step 2. Create the Office 2010 Program.
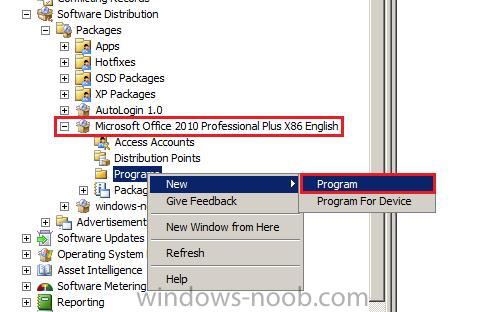
Select our newly created package from above, expand it, right click on Programs and choose New Program
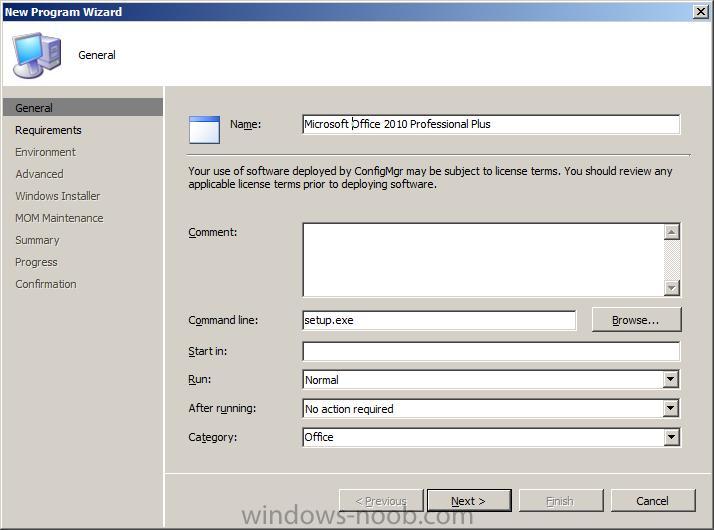
fill in your program details
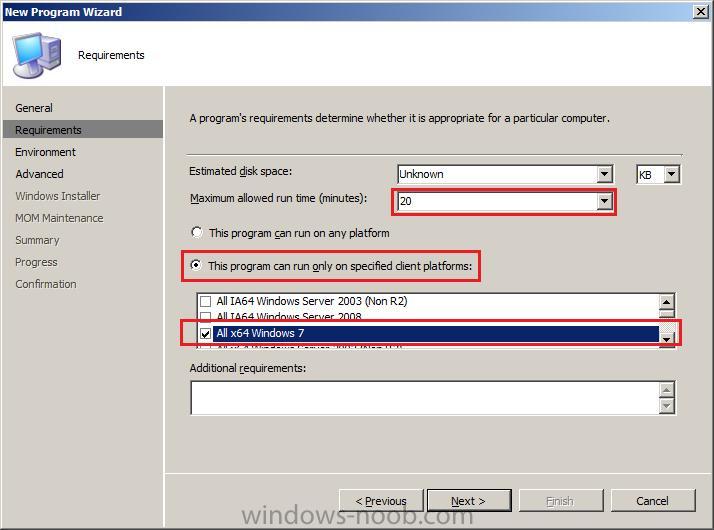
enter your desired requirements, here you can limit the program availability to All Windows 7 X64 and All Windows 7 X86,
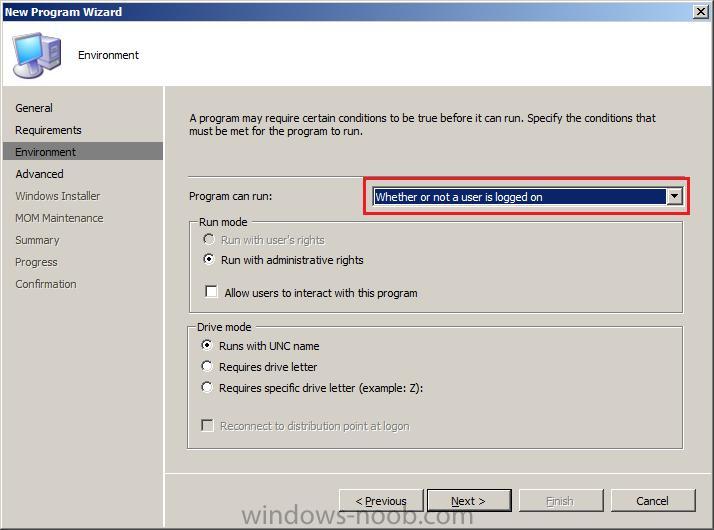
set the Environment to run Whether or not a user is logged on and make sure that ‘allow users to’ is NOT selected.
for the Advanced properties, set allow this program to be installed from the Install software task sequence without being advertised

and then click next through to the confirmation screen.
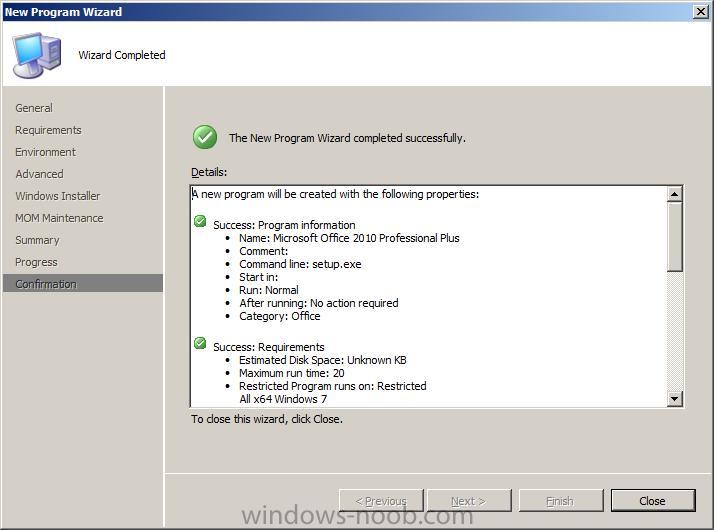
click Close.
To read the entire post (with screenshots) click here